For this dresser repurposing project, we had quite the task ahead of us. My friend from work, Mackenzie, asked us to design two dressers for her and her boyfriend. We had two non matching dressers that we wanted to make different, but still match enough to put in one room and have unity. I need to forewarn you, these two dresser are not for the faint of heart. :) It took a lot of time and effort, but in the end we love them.
Today is part one…. I like to call it the Gentleman’s dresser.
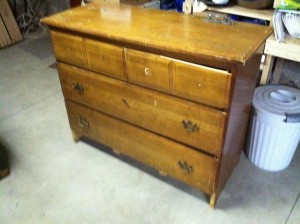
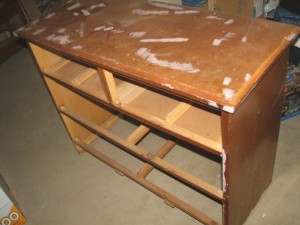
It was in not so great shape, as you can see! It needed a new bottom board, new handles, the top two drawers were broken and not repairable, and there was a crack on the main board between those two top drawers. On top of that there were lots of dents and chips all over it. We first used Bondo to fill all of the scratches and cracks.
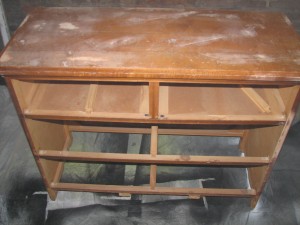
Ok, onto the top drawer problems… we had to wood glue and clamp the center board to fix it. This was the before.
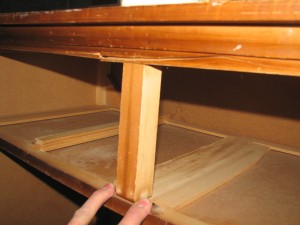
We took the top two drawers and cut the fronts off using a small hand saw.
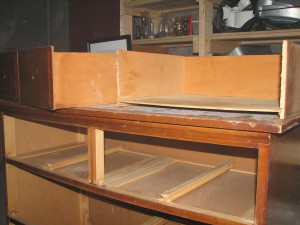
Then we primed all of the drawers.
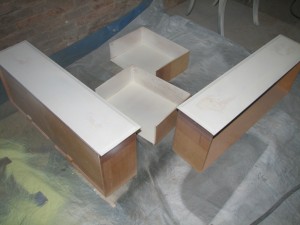
Then we primed the rest of it two times and painted everything two times with a flat black paint using our air sprayer. Word to the wise, don’t use black flat! Go Satin if at all possible. The Polyacrylic that we sealed it with was satin so it evened out in the end, but flat black is really hard to work with all along the way.
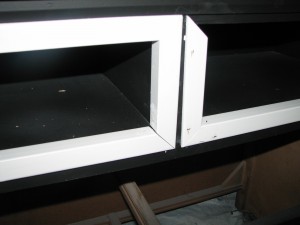
John put the “guts” of the drawer back in and framed them out with an L shaped trim. He used his nail gun to actually nail the boxes into place and nail the trim on. After you nail the trim, you’ll have to fill it with wood filler or putty and paint over it again.
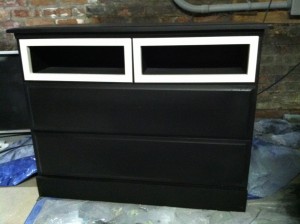
When we removed the old handles, we filled the holes because Mackenzie wanted glass knobs which required only one hole instead of two. We filled it just like it any hole and sanded it down. Two days before we were suppose to deliver this one, I realized that we forgot to attach the bottom board that was missing. We hadn’t even cut or primed it!!! What in the world?? How did we both miss that? So, John worked hard and late to get the bottom board cut, primed, painted twice. Once everything was repaired and painted, we sprayed it twice with satin Polyacrylic. Here it is before we added the handles.
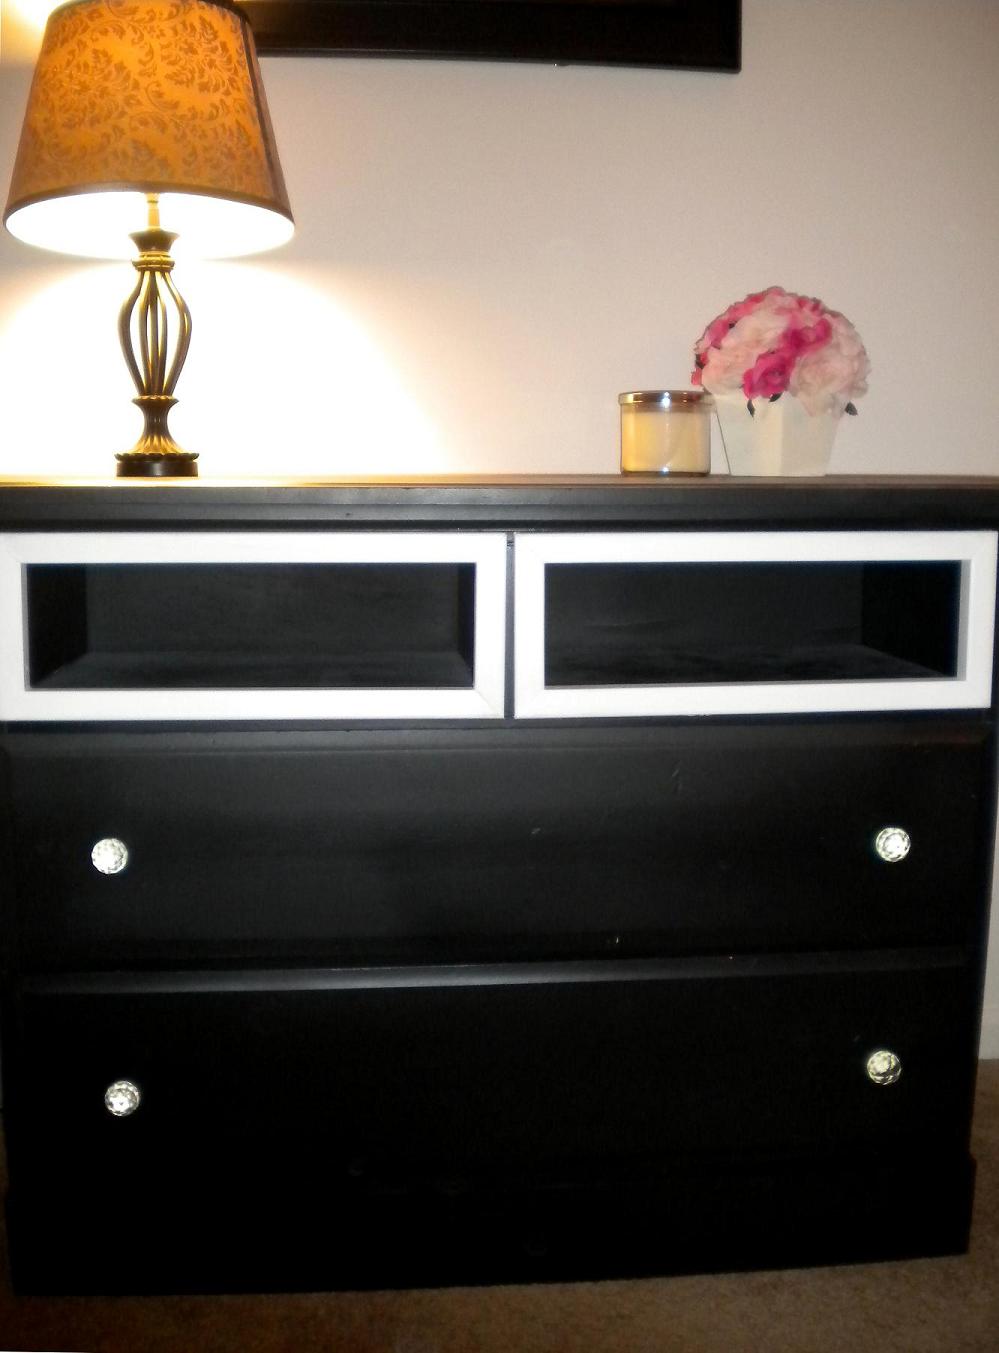
Now that it’s all set, we quickly brought it over to Mackenzie which is why I forgot to do an “after”picture. Mackenzie took one for me at her house. Thanks Mackenzie!!
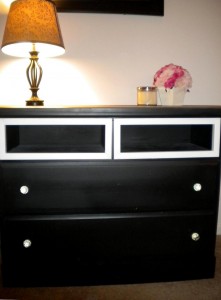
She will also be getting baskets for the top two openings and I think that will finish this one off handsomely. :) Stay tuned for part 2, the Ladies Dresser! I LOVE the 2nd dresser!!
If you like what you’re reading, please like us on Facebook at: www.facebook.com/funcycled
Thanks for reading!
Sarah
