This is part 2 of our Ladies and Gentleman’s dressers. This is the hardest dresser we’ve done so far, but definitely one of my favorite finished products. Thanks for pushing me to try new things, Macknenzie! This dresser was so ugly as you can see below; I really think you won’t believe it’s the same dresser in the end.

First, I took all the knobs off because we were getting new glass ones for it (well, actually Mackenzie was getting them). I then painted everything with all in one primer that doesn’t requires sanding using our air sprayer. Then, we painted it with two coats of flat black paint. As I said in part 1, don’t use flat black. Lessons learned! :)

Another lesson learned, don’t work on too many projects at once. I was priming another piece and the spray must have floated in the air and landed on the dresser. It wouldn’t come off, so I had to paint it AGAIN. See!

Can you tell what tools I had sitting on top? Sand block and paint brushes! :) lol
After the black was done, we added paintable wallpaper to each drawer. When you’re picking out the paper, make sure the design goes the right direction because usually wallpaper is not wide enough and you have to run it length wise. The only tricky part about it is making sure all the designs line up correctly. It wasn’t that hard though. After each was cut, I used spray adhesive to attach it to the dresser (make sure you do that outside as the spray is very potent).

After it completely dry, I sprayed it with black paint. After the black was dry, we added white trim. We had to use a hand saw to cut the trim because a circular saw chopped it apart. What a handsome guy that is working away? ;)

Then we glued it on using liquid nail. You’ll have to put something on top to push it down and have it dry correctly. After it’s dry, fill in the corners and touch up paint.

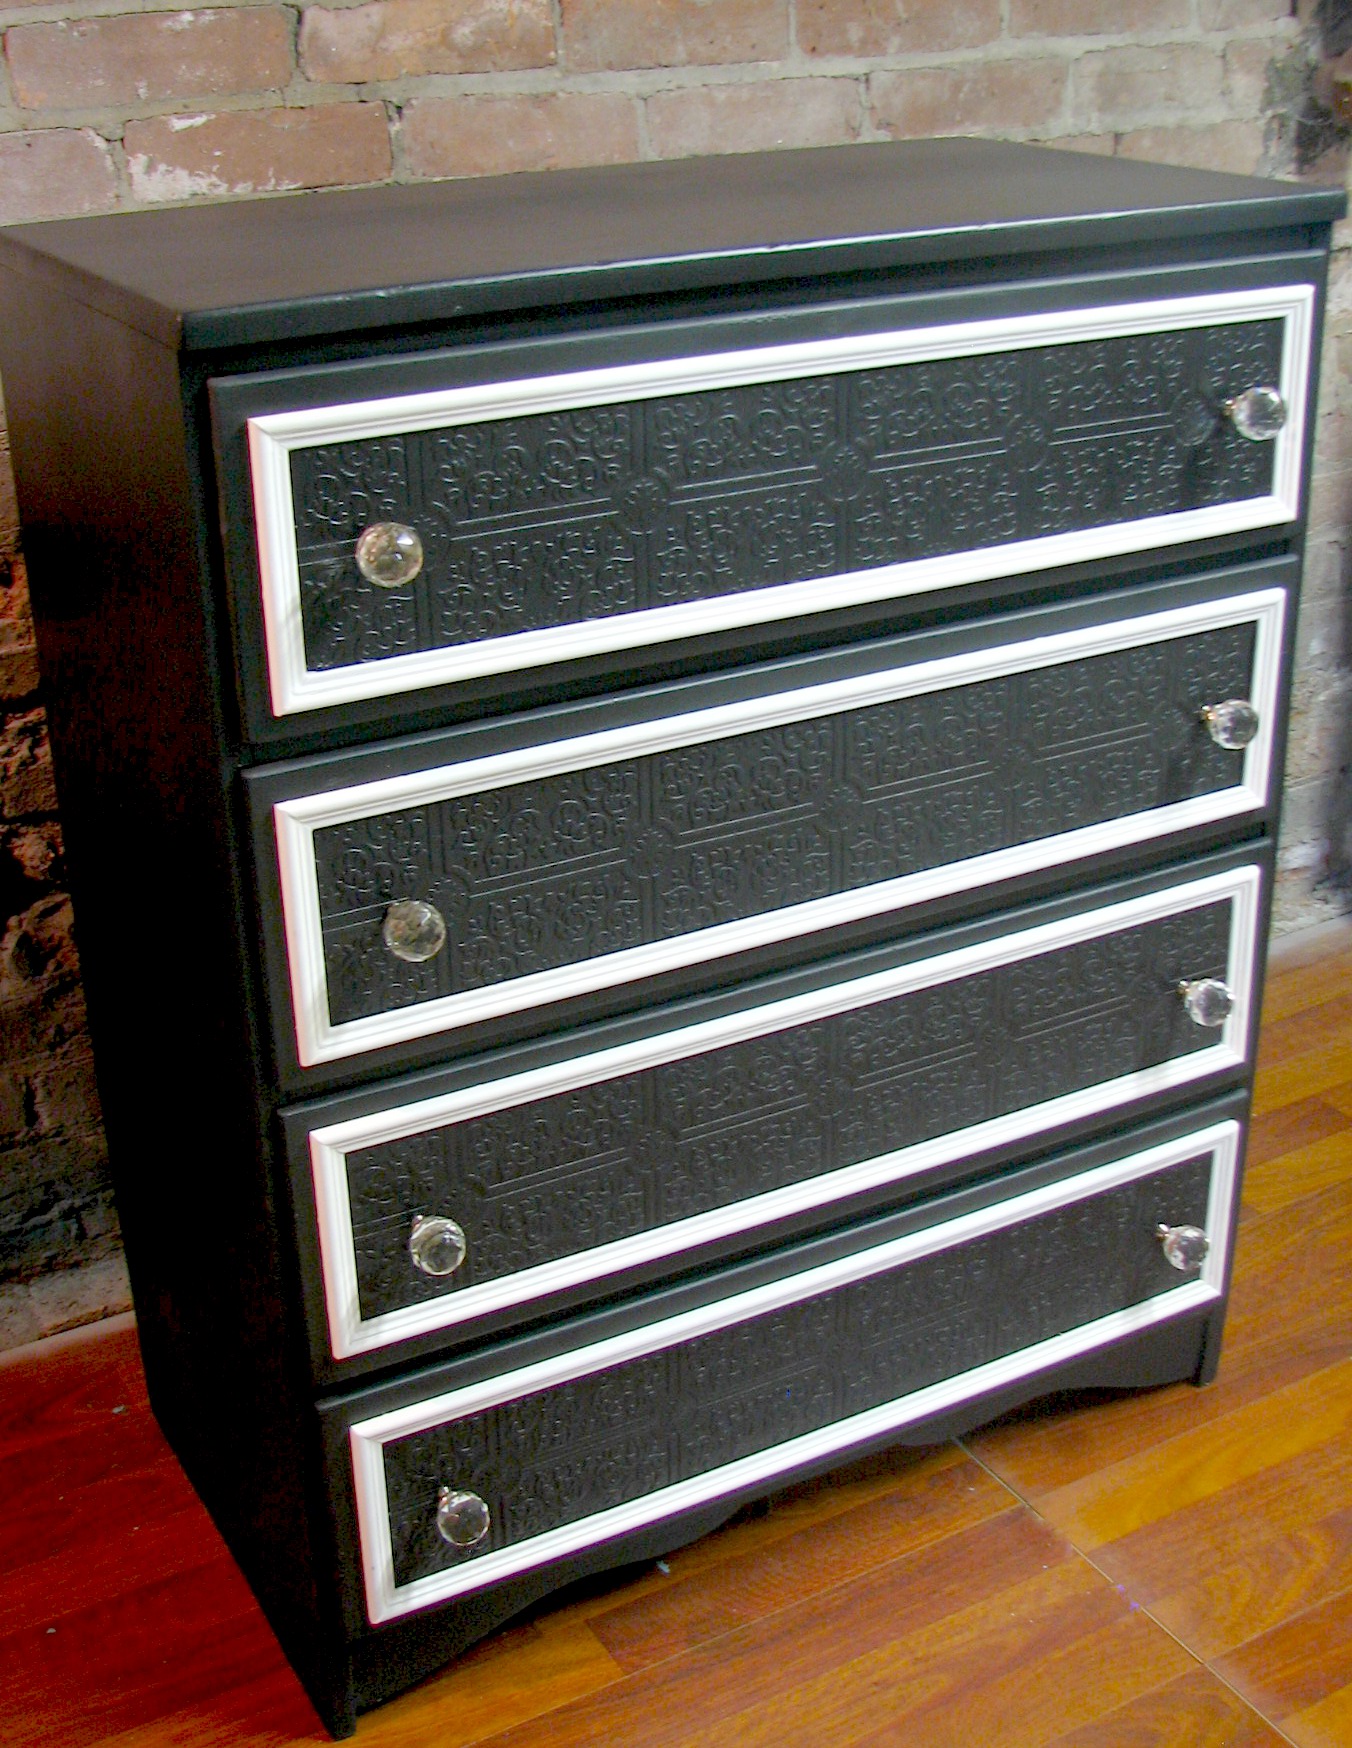
Once everything is all set, we painted it twice with Polyacrylic. Then the final step was to add the glass knobs and that’s what pushed me over the edge on how much I LOVE this dresser.

And the finished product!

If you like what you’ve seen, please like us on Facebook: www.facebook.com/funcycled
Thanks for learning with us,
Sarah

That’s fantastic! Loving that style, guys…
you two sure do have some talent!! way to go! i love the paintable wallpaper!
Thanks you guys! :)
So beautiful!
Thanks, Lara! :)
Love it!
Thanks, Marcie! ;)