
This dresser is the heaviest dresser I’ve carried so far! Holy heaviness batman! It wasn’t in bad shape, but it had some scratches and the paint had yellowed (probably from using polyurethane instead of polyacrylic). I wanted to try this idea that I read about online using gift wrap paper on the top of the dresser. I found some fun paisley pink and teal paper and it inspired me to try doing a girls room dresser. The problem was, I HATED it. It was such a bummer at the end. All of that work and to feel like it’s not great in the end. Here’s it at the first “finished” stage.

I guess this could be someones cup of tea, but it just wasn’t mind. The paper bubbled all over the top. Other sites said that it would, but it would have a leather-like look. I disagree. I think it had a wrinkled paper look. Maybe they had a trick I didn’t, but I just couldn’t take how much I disliked it. So, I started again. This time I was doing it for our little Sweetie’s bedroom.
First, here’s all the products we used to redo the dresser the 2nd time.

Citri-Strip (it’s safe to use inside), Behr interior eggshell paint, Minwax Cherry Mahogany stain and poly, Rust-Oleum hammered brown spray paint, Martha Stewart’s metallic glaze – mercury satin, a plastic scraper (I forgot to put that in the picture), a foam roller and foam brushes.
This was my first time trying out the Citri-Strip based on recommendations I read about online. I thought it worked really well. The only tough part in this case is that I had some gift wrap that just wouldn’t come off so it made stripping the top very difficult. Use a paint brush to apply the stripper and let it sit for at least 30 minutes. Then use a plastic scraper to scrape it off. I used a metal one at first, but found the plastic to work just as well if not better.

The paint came off quickly and I redid this step about 3 or 4 times to get it all off. Then we hand sanded it to make sure it was ready to use the Minwax.


I then used the foam brush and roller to hand pain the bottom section. I mixed a tan and grey that I had to make a beautiful cream color. This is the first time I’ve used the roller and I LOVED it. No drips, spray, light spots. It takes a little longer than using an air sprayer, but still a good option for future projects.

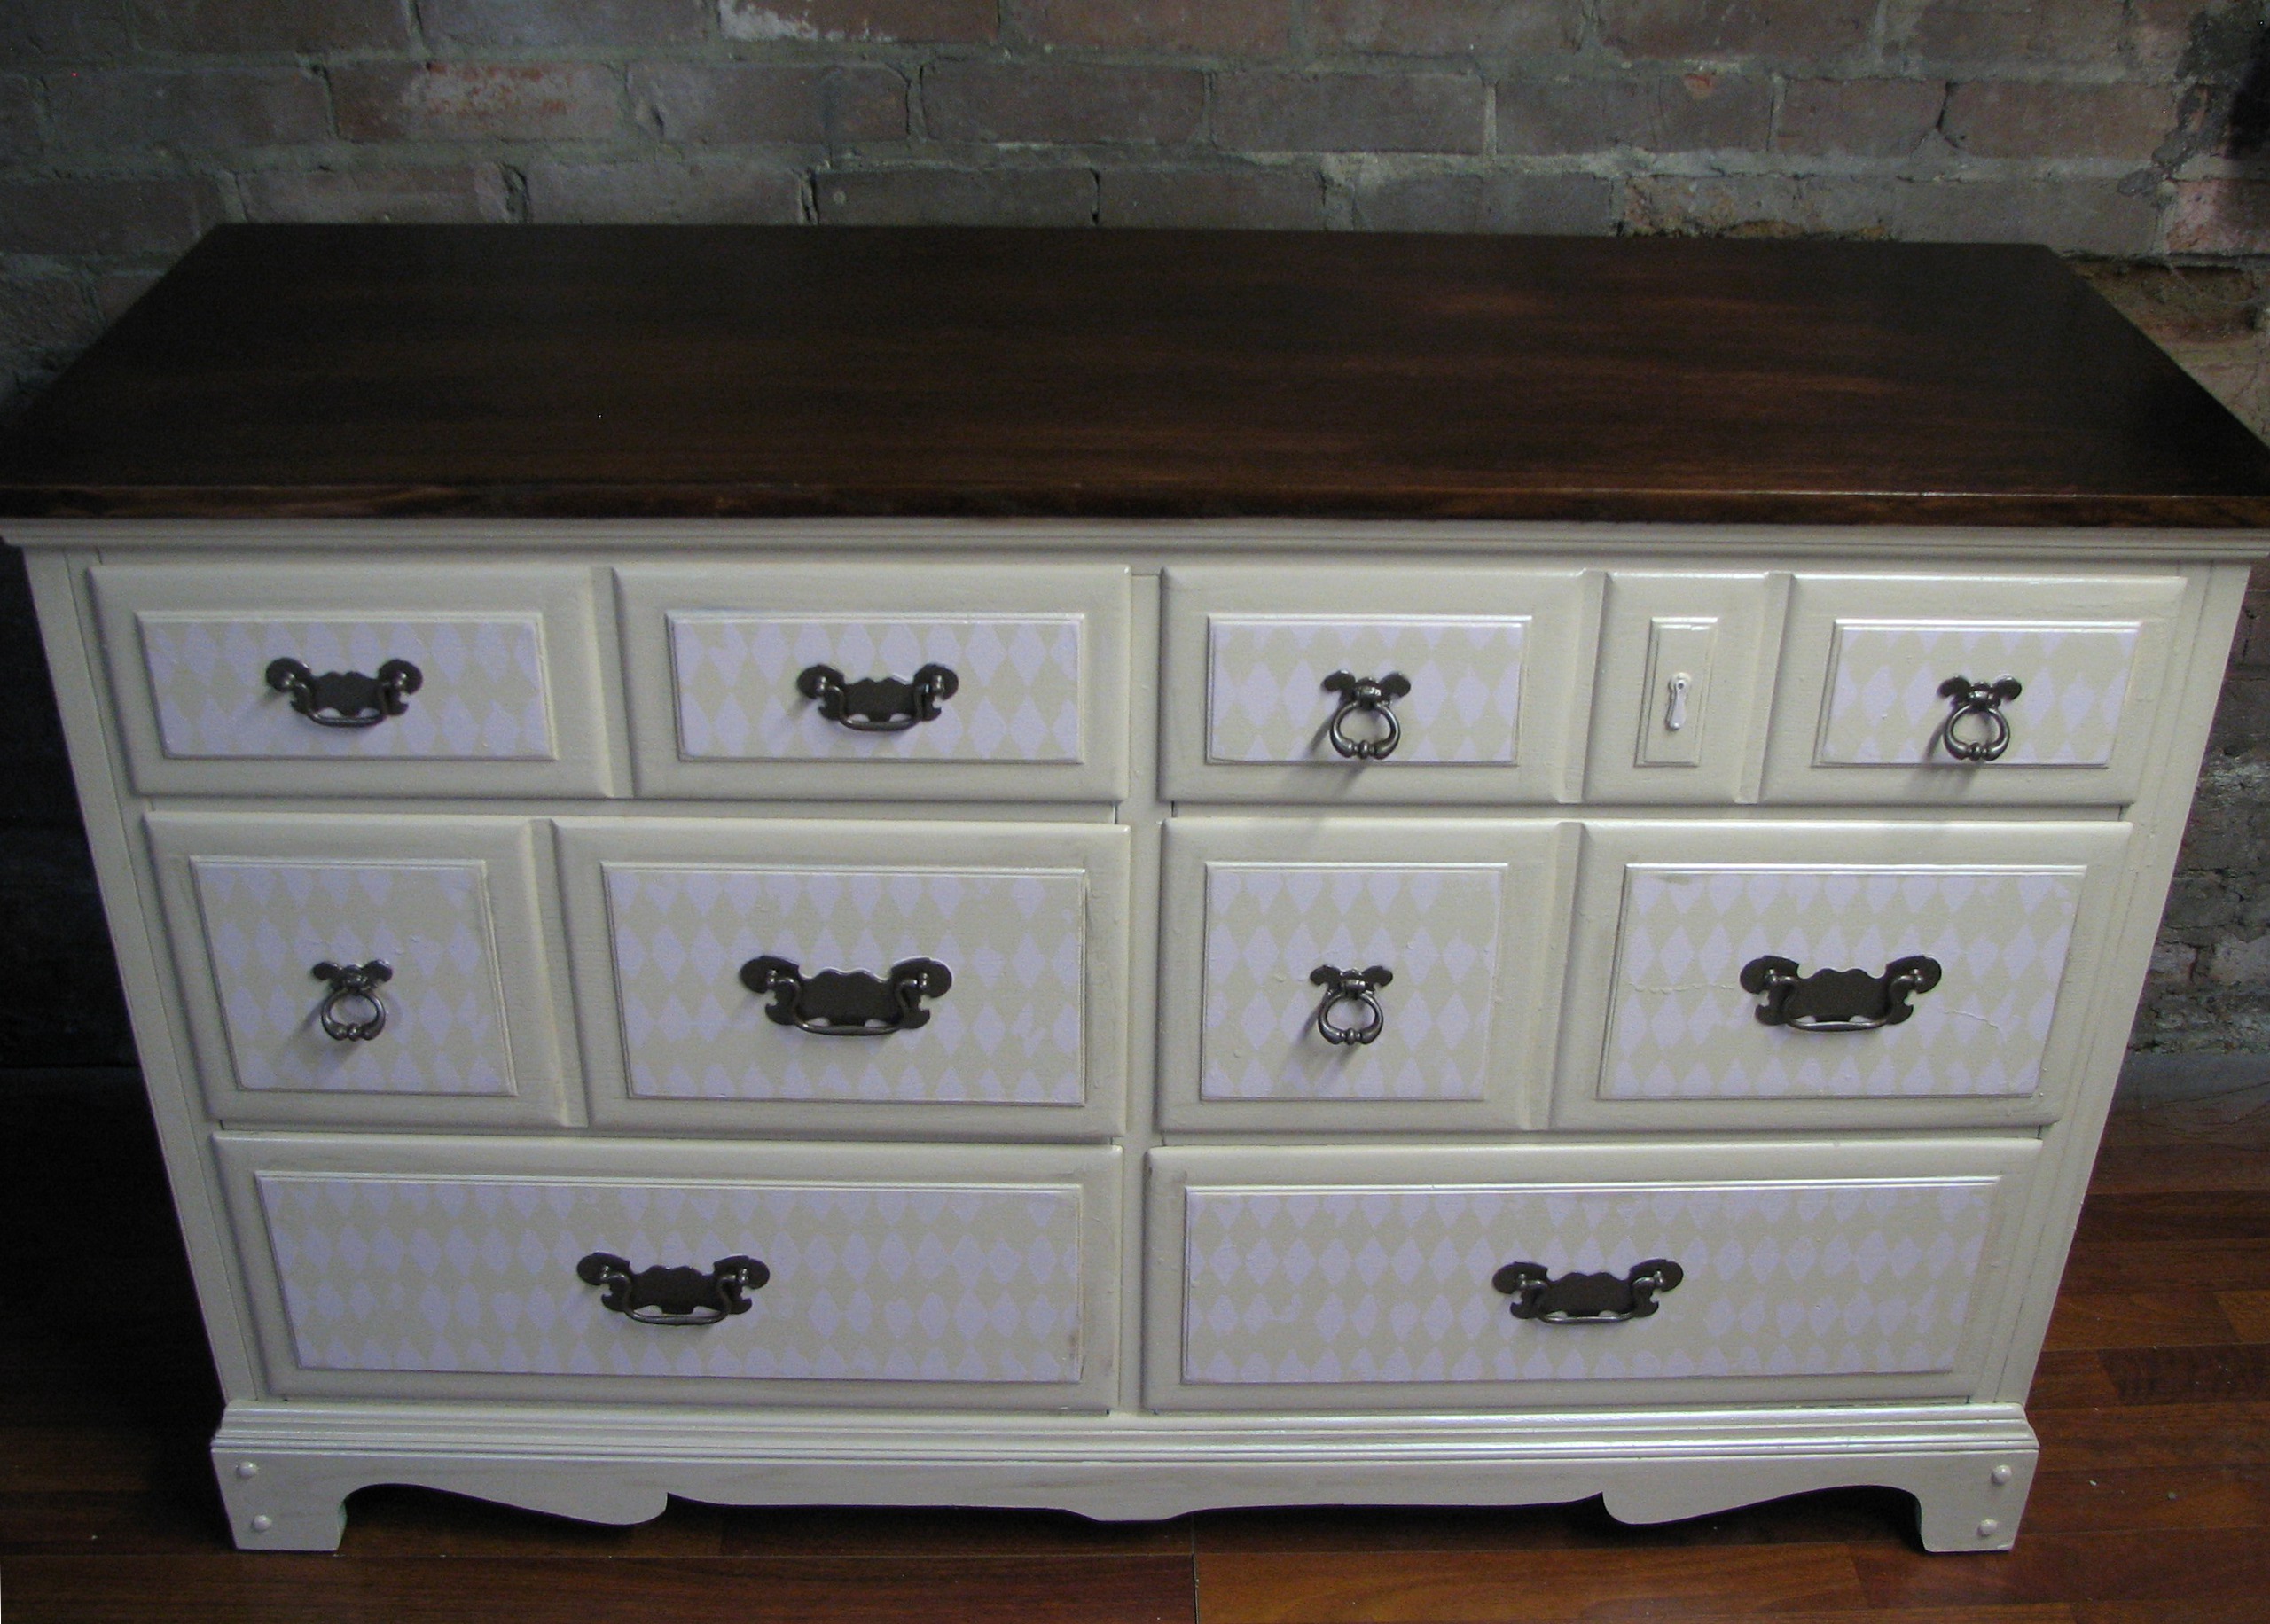
I went to Hobby Lobby and bought an awesome argyle stencil. Her room already has argyle on her kitchen so I thought it would work well.

I mixed the grey (that I had mixed with the tan) and the pink (that I had used for the first finished dresser) to make it a very light pink. I wanted it to almost blend with the current color on the dresser. I taped the template using painters tape and started painting.

I really love how it came out!

Then I used a foam brush to apply the Minwax to the top. While that was drying, I used the glaze on the bottom half to give it subtle depth. I also took the handles off and sprayed them with the hammered brown color. I went with hammered because they were pretty simple, and it added some character. Thanks to my mom for this one! She drove all the way to the store for me to get it even though she wasn’t feeling well herself. I was home with sick little monkeys so it meant a lot! :)

Here she is… the first step to Sweetie’s room makeover. You’ll see the rest of the room makeover as we go. Even if it takes me a year. What do you think??


If you like what we’re doing, please like us on Facebook at: www.facebook.com/funcycled or share this on Pinterest!
-Sarah

Wow – seems like an incredible amount of work – but in the end well worth it. It is gorgeous! I am one of the ones that did like the pink dresser for a lil girls room, but Sarah is right – the paper was a cool idea and I loved what she had picked out – but it ended up looking very amateurish – and that is not good enough for Sarah – and for her to sell. I hope she learns more about the technique because I think it is clever and stylish – but just not this time. In the end – the argyle was a winner – and it will look perfect in her little angel’s room.
Well done my friend!
Thank you for encouraging me every step of the way, Jo Ann! Love you more.
LOVE the hardware! Great job, as always.
Thanks Doreen! ;)
So beautiful, Sarah! Looking forward to seeing what we can do with Jacobs dresser.
Thanks, Lara! I can’t wait to see what we can do to his dresser, too. How about purple??
;)