Hi FunCycled Friends!!
Are you stopping by to see how to transform your furniture? We’re here to help you repurpose your furniture piece! Since painting has the same steps no matter what the piece, we’ve created this page to help everyone!
The steps that we take to repurpose furniture with a professional finish are below. If you’re looking to do it as a business or get a fine finish, we recommend getting a high end paint sprayer because that makes a huge difference in the finish.
If you’re looking to paint your own piece without making a business out of it, here are step by step instruction for you! ;)
Step 1 – Prep the Surface
The best paint job starts with the right prep work! Although there are some products designed to paint plastic, laminate, etc, the easiest to work with is solid wood or a wood veneer pieces. The others can be a bit tricky to paint. If the wood is glossy, you’ll want to sand it with 100-120 grit sand paper. We prefer to use an electric sander on all top surfaces and hand sand using a sanding block on the detailing. If it’s unfinished wood, ignore that step and head to step 2.
Step 2 – Repair
Fill in any holes, scratches, etc, using wood filler and a putty knife. We use Gorilla All Purpose wood filler.
Let it completely dry (the dry time depends on the size of the holes). Sand the spots with the wood filler smooth. Also, remember if you are going to be replacing the knobs, take them out now and fill in the original holes so that you can drill new holes that are the correct size (unless they match exactly). If you have hardware on the piece that you like the look of but not the color, leave it on the piece and prime that, too. After it’s primed, remove it and use spray paint to paint it the color of your choice. Using the same hardware will save you a ton of money!
Step 3 – Clean It Well
Clean, clean, clean. Most likely if it’s been sitting around long enough to need a paint job, it needs a good cleaning. If you don’t clean the surface well, the paint won’t stick properly and you won’t get a nice smooth finish. There are plenty of different products out there and I am not married to just one. At the moment, I am using a vinegar and water mixture because I like things all natural as much as possible. I breath in enough chemicals as it is, thank you very much. :)
Step 4 – Bonding Primer
Time to prime! We use a water based primer and try to stick with Zinsser 1-2-3 Primer. You’ll want to look for the gallon that says it sticks to all surfaces without sanding.

We use this for a couple reason. It is less toxic than oil based primers and it is easier to clean up. Not to mention, it does an awesome job!!
You can apply all of your product with a brush, a foam roller, or an air sprayer. If you are doing this as a one time job, just use a foam brush and foam roller brush. I think it applies better than using a regular bristle brush. We use a commercial air sprayer which is a huge investment (it took us 4 years to buy the one we use). If you use an air sprayer to paint using latex paint, you will need to water it down to have it work correctly and not get spitting. See the user manual for your sprayer to find out the exact mixture needed.
Here’s a list of my favorites:
Brush
Roller Set
Foam Brush
Step 5 – Paint
Time to paint with the color of your choice.The same brush choice applies as in Step 4. We prefer Clark and Kensington or Benjamin Moore paint. As a tip – check out the “oops” section of your local hardware store to see if they have paint that has been returned. This will save you money if you can find the right color. As you begin to paint, make sure you do thin coats of paint so you don’t get dripping and uneven coverage. Always watch for drips. Drips love me and want to ruin my life! If you catch them quick, it’s much easier to fix.
Step 6
If you are going to be painting something that will be getting a lot of use (table top, dresser top), you will want to add a sealer to protect it. We have used Varathane Water Basic Clear Coat.
Step 7
This may feel like the hardest part! Wait, wait, wait. It’s best not to use a piece for 5-7 days and can take up to 30 days to completely cure. I know, I have cheated and put it in place earlier than that but it’s risky business. If you want to put it in the room and not touch it or put anything on it, that should be ok. Just enjoy it from a distance for a week, ok?
You can do it and if you try and can’t finish, shoot me an email I’ll try to help!
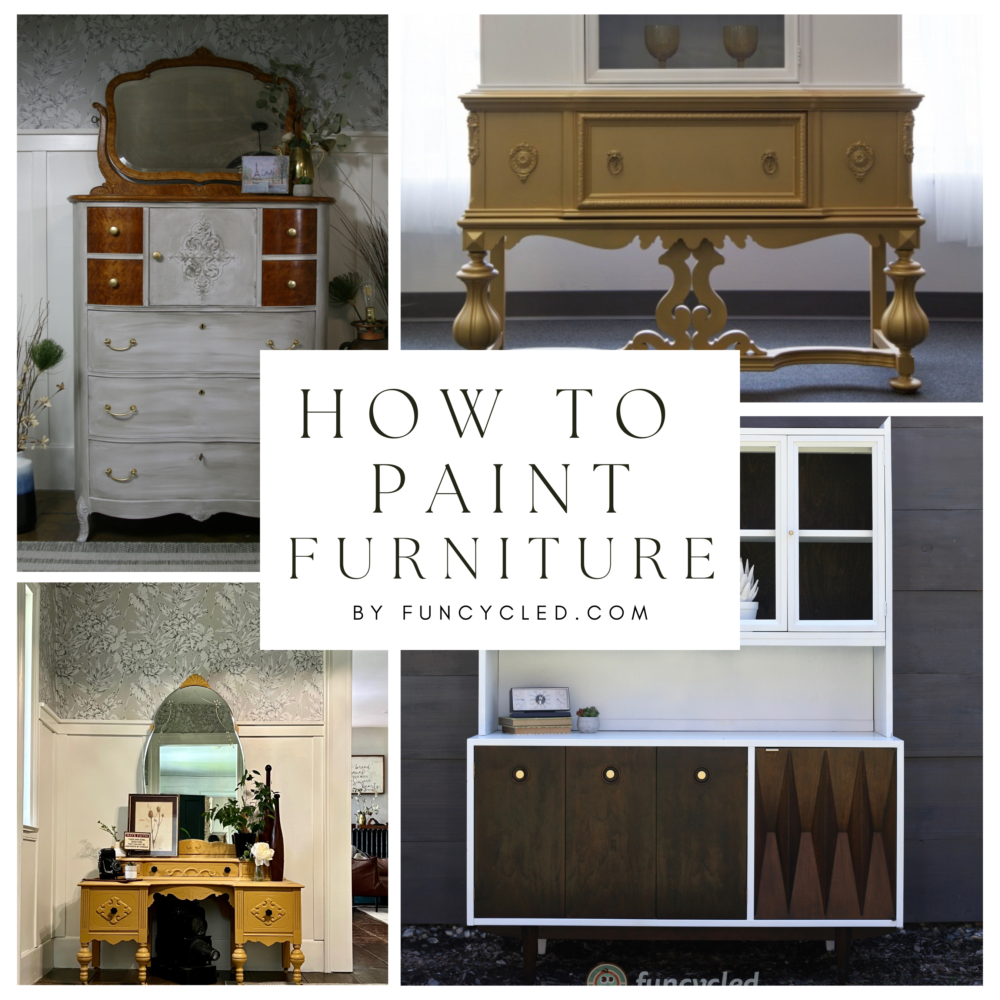
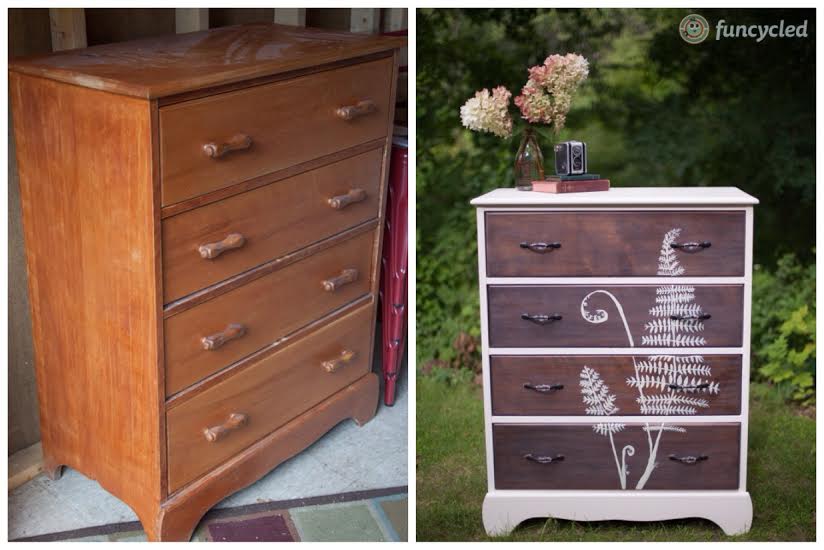
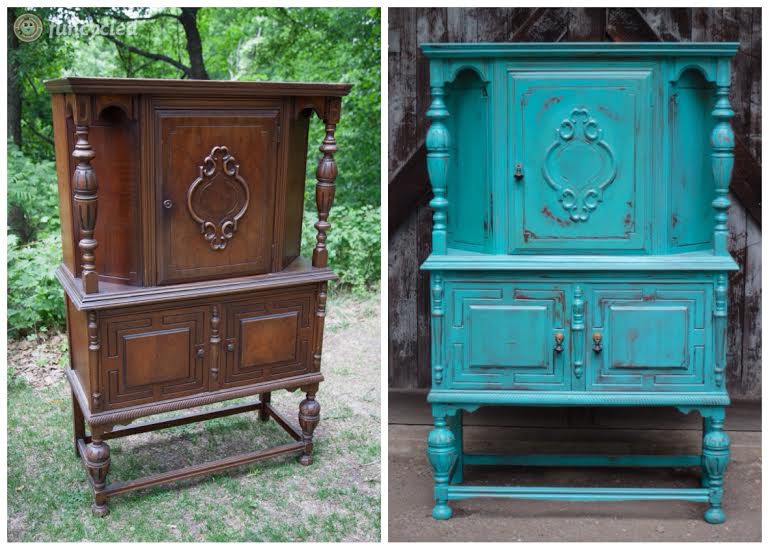
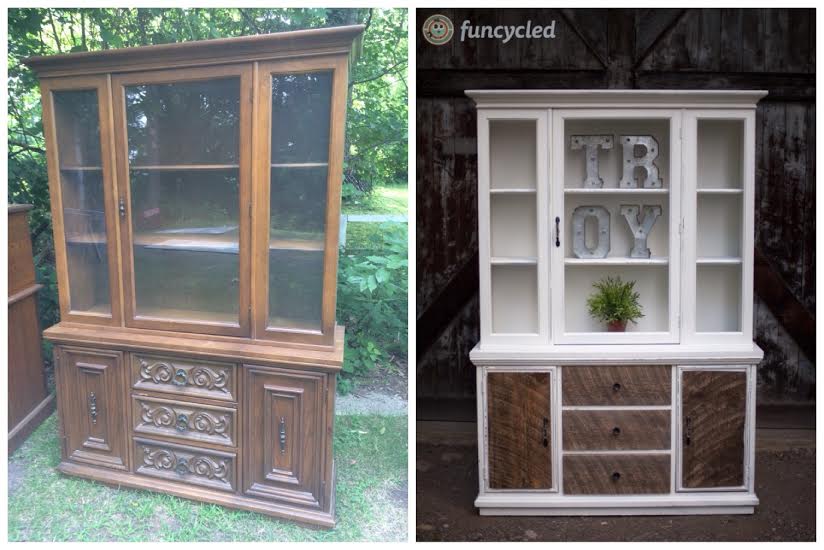
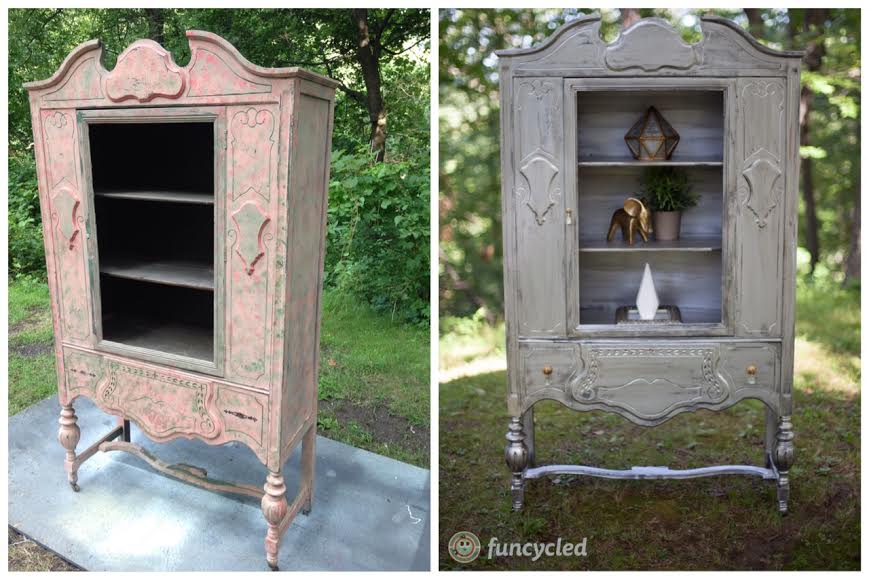
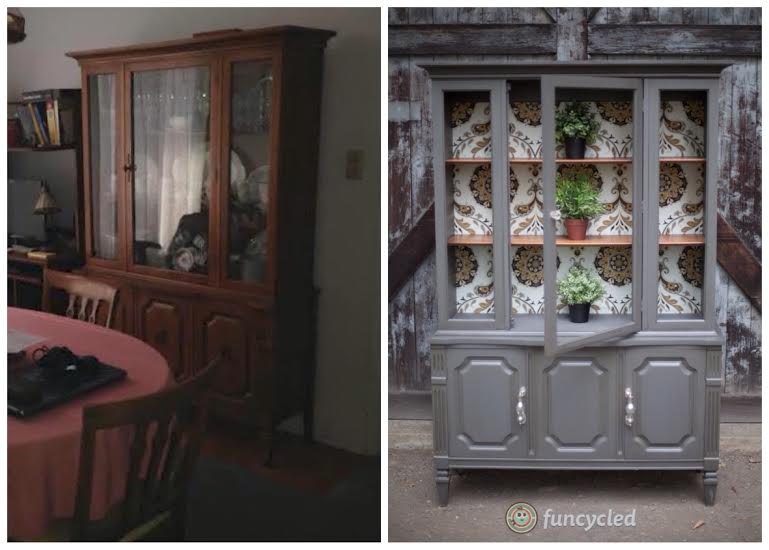
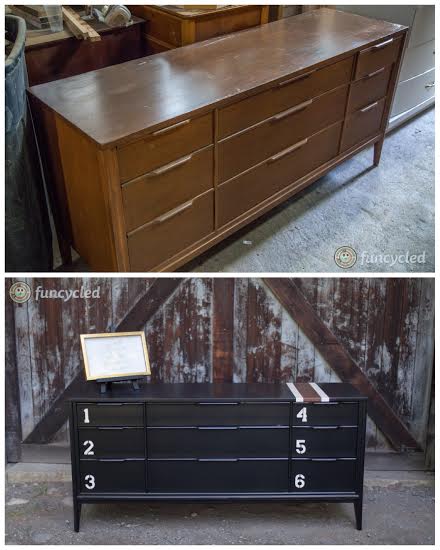
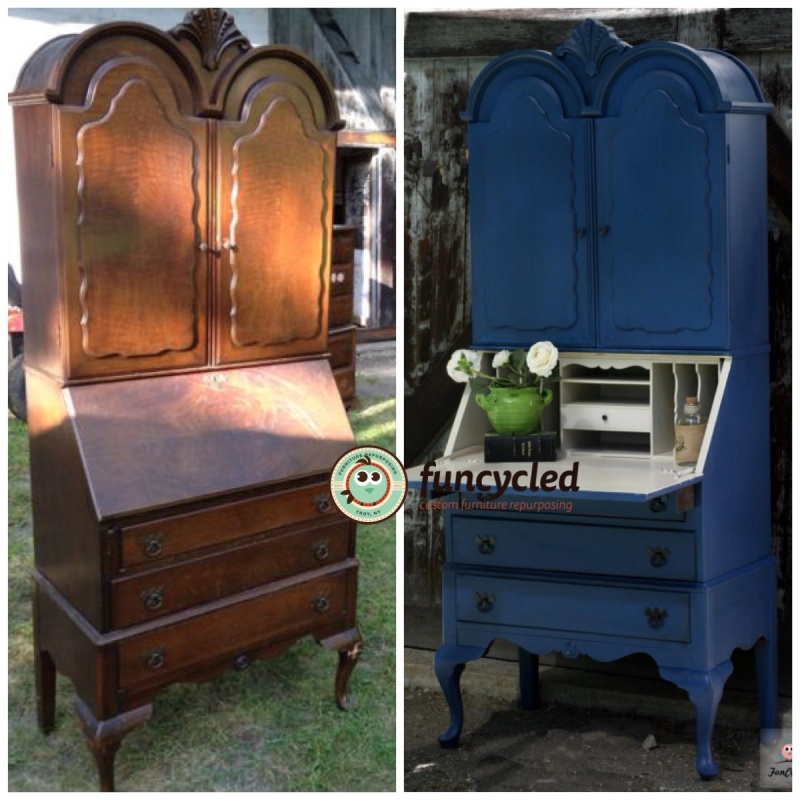
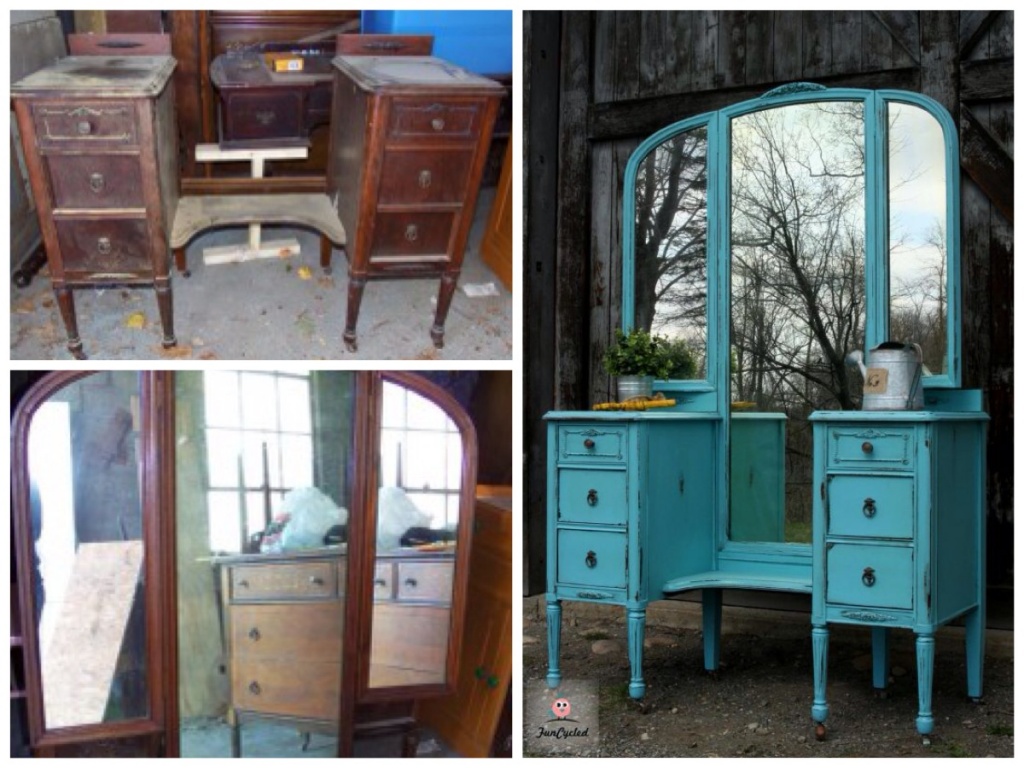
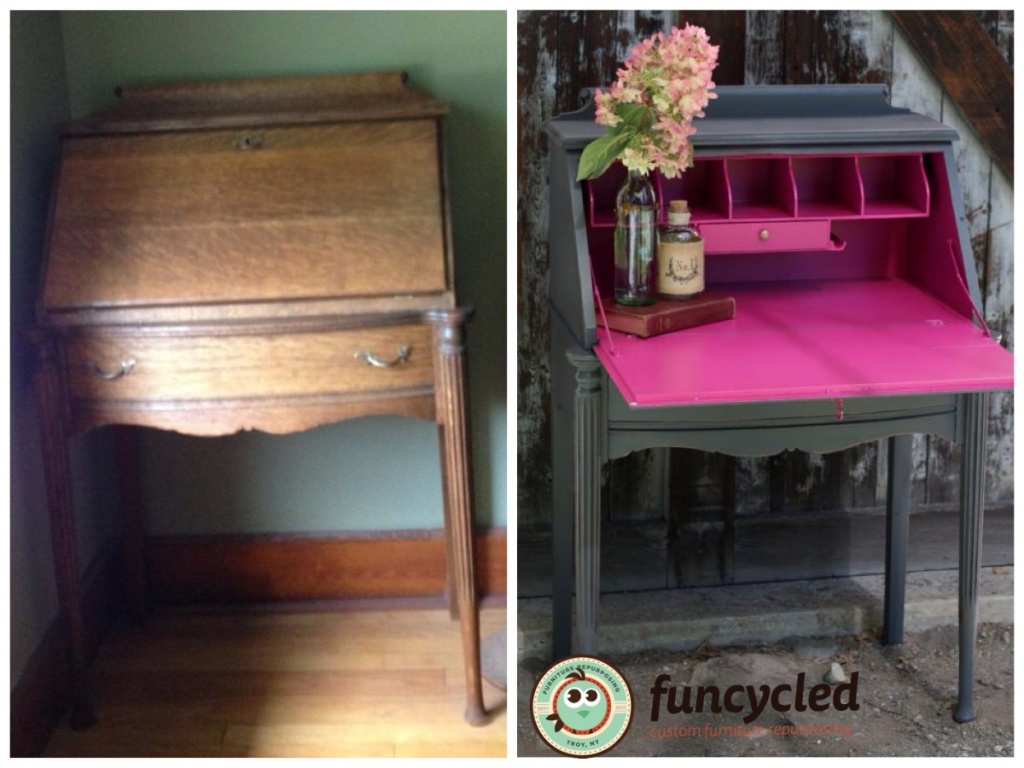
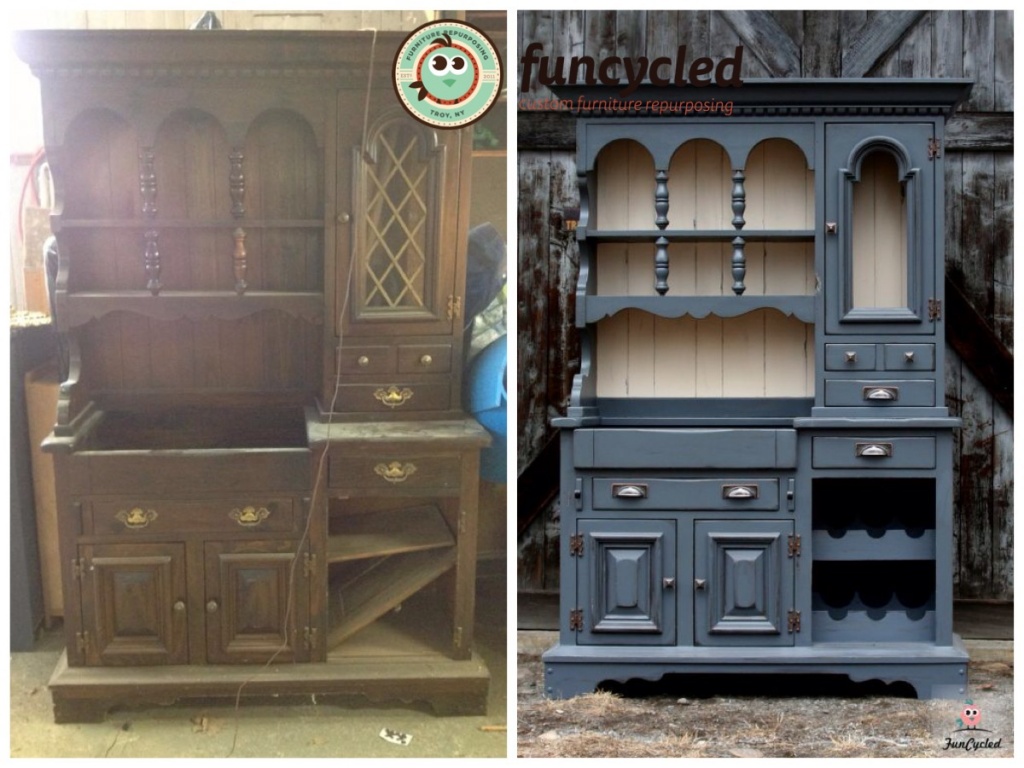
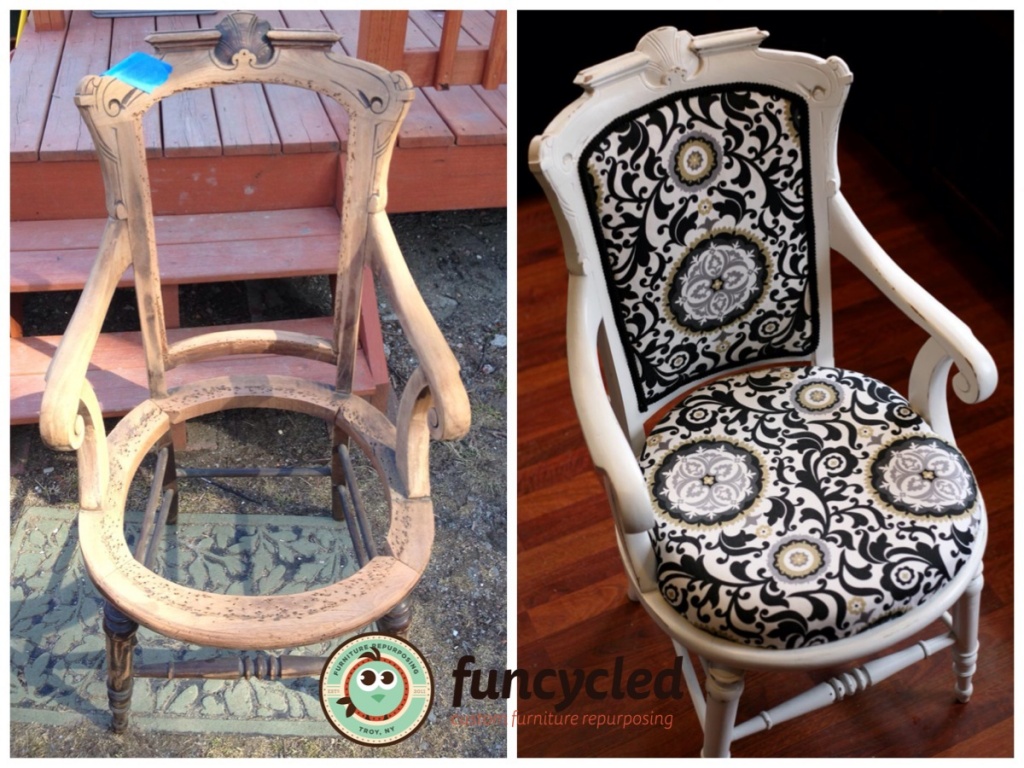
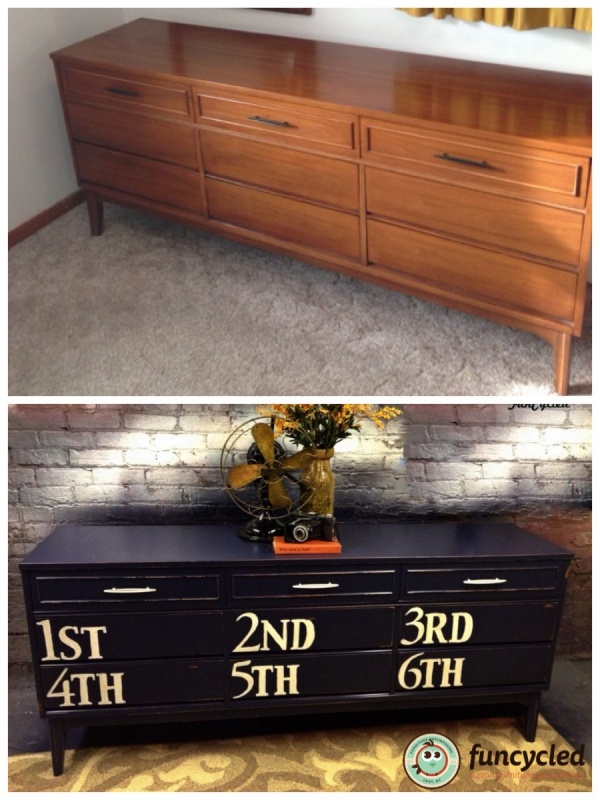
Here’s some of our favorite before and afters for you to enjoy:
Thank you all for following along! If you’d like to get this blog in your email once a week, please sign up for our weekly newsletter by adding your email in the little box below my picture.
Did you decide you’d like us to paint your furniture for you? Contact Us today!
If you’ve enjoyed this post, please like FunCycled on Facebook, Instagram and Pinterest if you don’t already. Keep up to date on the newest finds, vote on colors and give your input on our creativity. We share fun tutorials, great before and after, and new design inspirations.
We offer interior design, kitchen cabinet painting, and custom built tables, barn doors, and repurposed furniture. Thank you, again, for working with us and for taking the time to spread the word about what we do.
Happy FunCycling Friends,
Sarah ;)

Sarah, thank you so much for showing me all of your projects the other day! I loved it :) I am so in love with the red hutch! I love that you put this tutorial here :) Keep up the awesome work.
Hi Sarah!
Thank you for wanting to see the projects and for being so encouraging. :) I am glad you took time to look at our site.
-Sarah :)
How do I get a hand rubbed Pottery style look with black.
Any particular paint brand, will it work if I don’t spray and
what do I use for a finish.
Thanks.
k
I’m not sure exactly what you mean by hand rubbed. If you don’t have an air sprayer, I would recommend buying a 2-4 inch foam roller brush and a couple cheap foam craft brushes. The roller will help give it a smoother finish. If you haven’t seen this page yet, it might help. http://funcycled.com/projects/how-to-paint-furniture/
Let me know if you have any other questions. Happy Redesigns!
hi sarah! i see ur stuff on craigslist all of the time! i LOVE ur black and white dresser set. i auctually pulled all of my bedroom furniture into the garage monday and have been busy ever since. its taken over my life lol! ive started painting the cedar trunk 2 dressers 2 nightstands and my bed black. i bought silver metallic paint for the hardware it its looking amazing! the only sad thing is i saw the pics of ur black and white dresser after i painted the drawers of mine! i love the white drawers and black background. im thinking i may need to go back to get white paint and redo the drawers! your designs are great!
Hi Stacy,
Thank you for checking out our site. I’m glad you are FunCycling your own pieces. :) Send me some before and after pictures when you’re done. I’d love to see your handy work.
Sarah
I love your work! On the last armoire, what do you call the ornate/decorative item that you placed on the doors? Did you make it yourself?
Thanks so much! Wooden onlays. ;)
Sarah-
Your work is amazing! My mind is blown. My wife and I upcycle/paint furniture and sell it in a flea market booth in Muncie, Indiana, but it is nothing compared to what you’re doing. We do it to raise money to take missions trips.
At any rate, I have a question. I’ve seen a lot of your furniture with it being partially painted and then partially stained. My wife and I LOVE that look. Some of the “wood” portions look like it has a gray wash or glaze of some sort. Do you have a tutorial on how you do this or could you give me some pointers, please?
Any help you provide would be GREATLY appreciated!
Hi Justin! Thanks so much for checking out our site. We usually use a grey stain on the drawers. We just stain it like you would any wood stain. Usually weathered grey by Rustoleum or drift wood. Thanks for asking. If you need anything else, just email me at sarah@funcycled.com. Thanks!
Sarah
What color is the red hutch and where to get it-_thanks!
Hi Sarah,
Again, congratulations on your success on Flea Market Flip! I enjoyed your episode so much and am waiting for it to air again. I also REALLY want to check out your store when I’m in the Albany area.
A few questions…….
Do you air spray the Polycrylic on your pieces as well as the paint?
Can you recommend an easy-to-use air sprayer?
Do you ever finish a piece with wax? Can you recommend a low voc wax that doesn’t cost a fortune?
Thanks so much!
Hi Sharlee,
Thanks so much! Yes, we do air spray on the water based poly. We don’t use wax because it’s not easy to change the color of a piece once you wax it and we want that to be an option for our customers for years to come. We have used many different sprayers. We use a sprayer with an air compressor now, but I would say the best for home use is a Wagner latex sprayer. If you have any other questions, just let me know. :)
-Sarah
Do you have to do anything special to paint furniture that already has wood stain on it?
Hi Mistie,
No, you just want to make sure you use a sealing primer. We like Zinger 1-2-3 plus. -Sarah
I’m so impressed and just found your site.Thank you for sharing some of your tips.Great short and to the point tutorial, definitely has me ready to take on some of my painting projects!!!!
I’m surprised that you use Clear Gloss Poly. Doesn’t that make it too glossy? Any other suggestions on a clear coat that protects well? I’m starting a desk that will have a lot of use and want the top to look professional and hold up well. Thanks!
Hi Sarah,
I love your mid-century pieces and how you’ve updated them. I have a dresser set that was my grandma’s and would love to make it look my own and give it some new life at the same time keeping some of that 60’s flare to it. My only problem is that much of the trim around the side of the box in front of both pieces is missing therefore exposing the pressed particle board underneath the veneer. Should I try to just fill in that trim with wood filler or put new trim on and then paint over that.
My second question is are you staining the veneer on these pieces or are they all solid wood?