Do you have an old dining room set that you would like to replace? Think about repainting it instead. This is step 1 of 3 in our redesign project – revitalizing an antique maple dining room set. The table is taking us longer than we expected and the hutch is almost done so we decided to break this up into 3 posts.
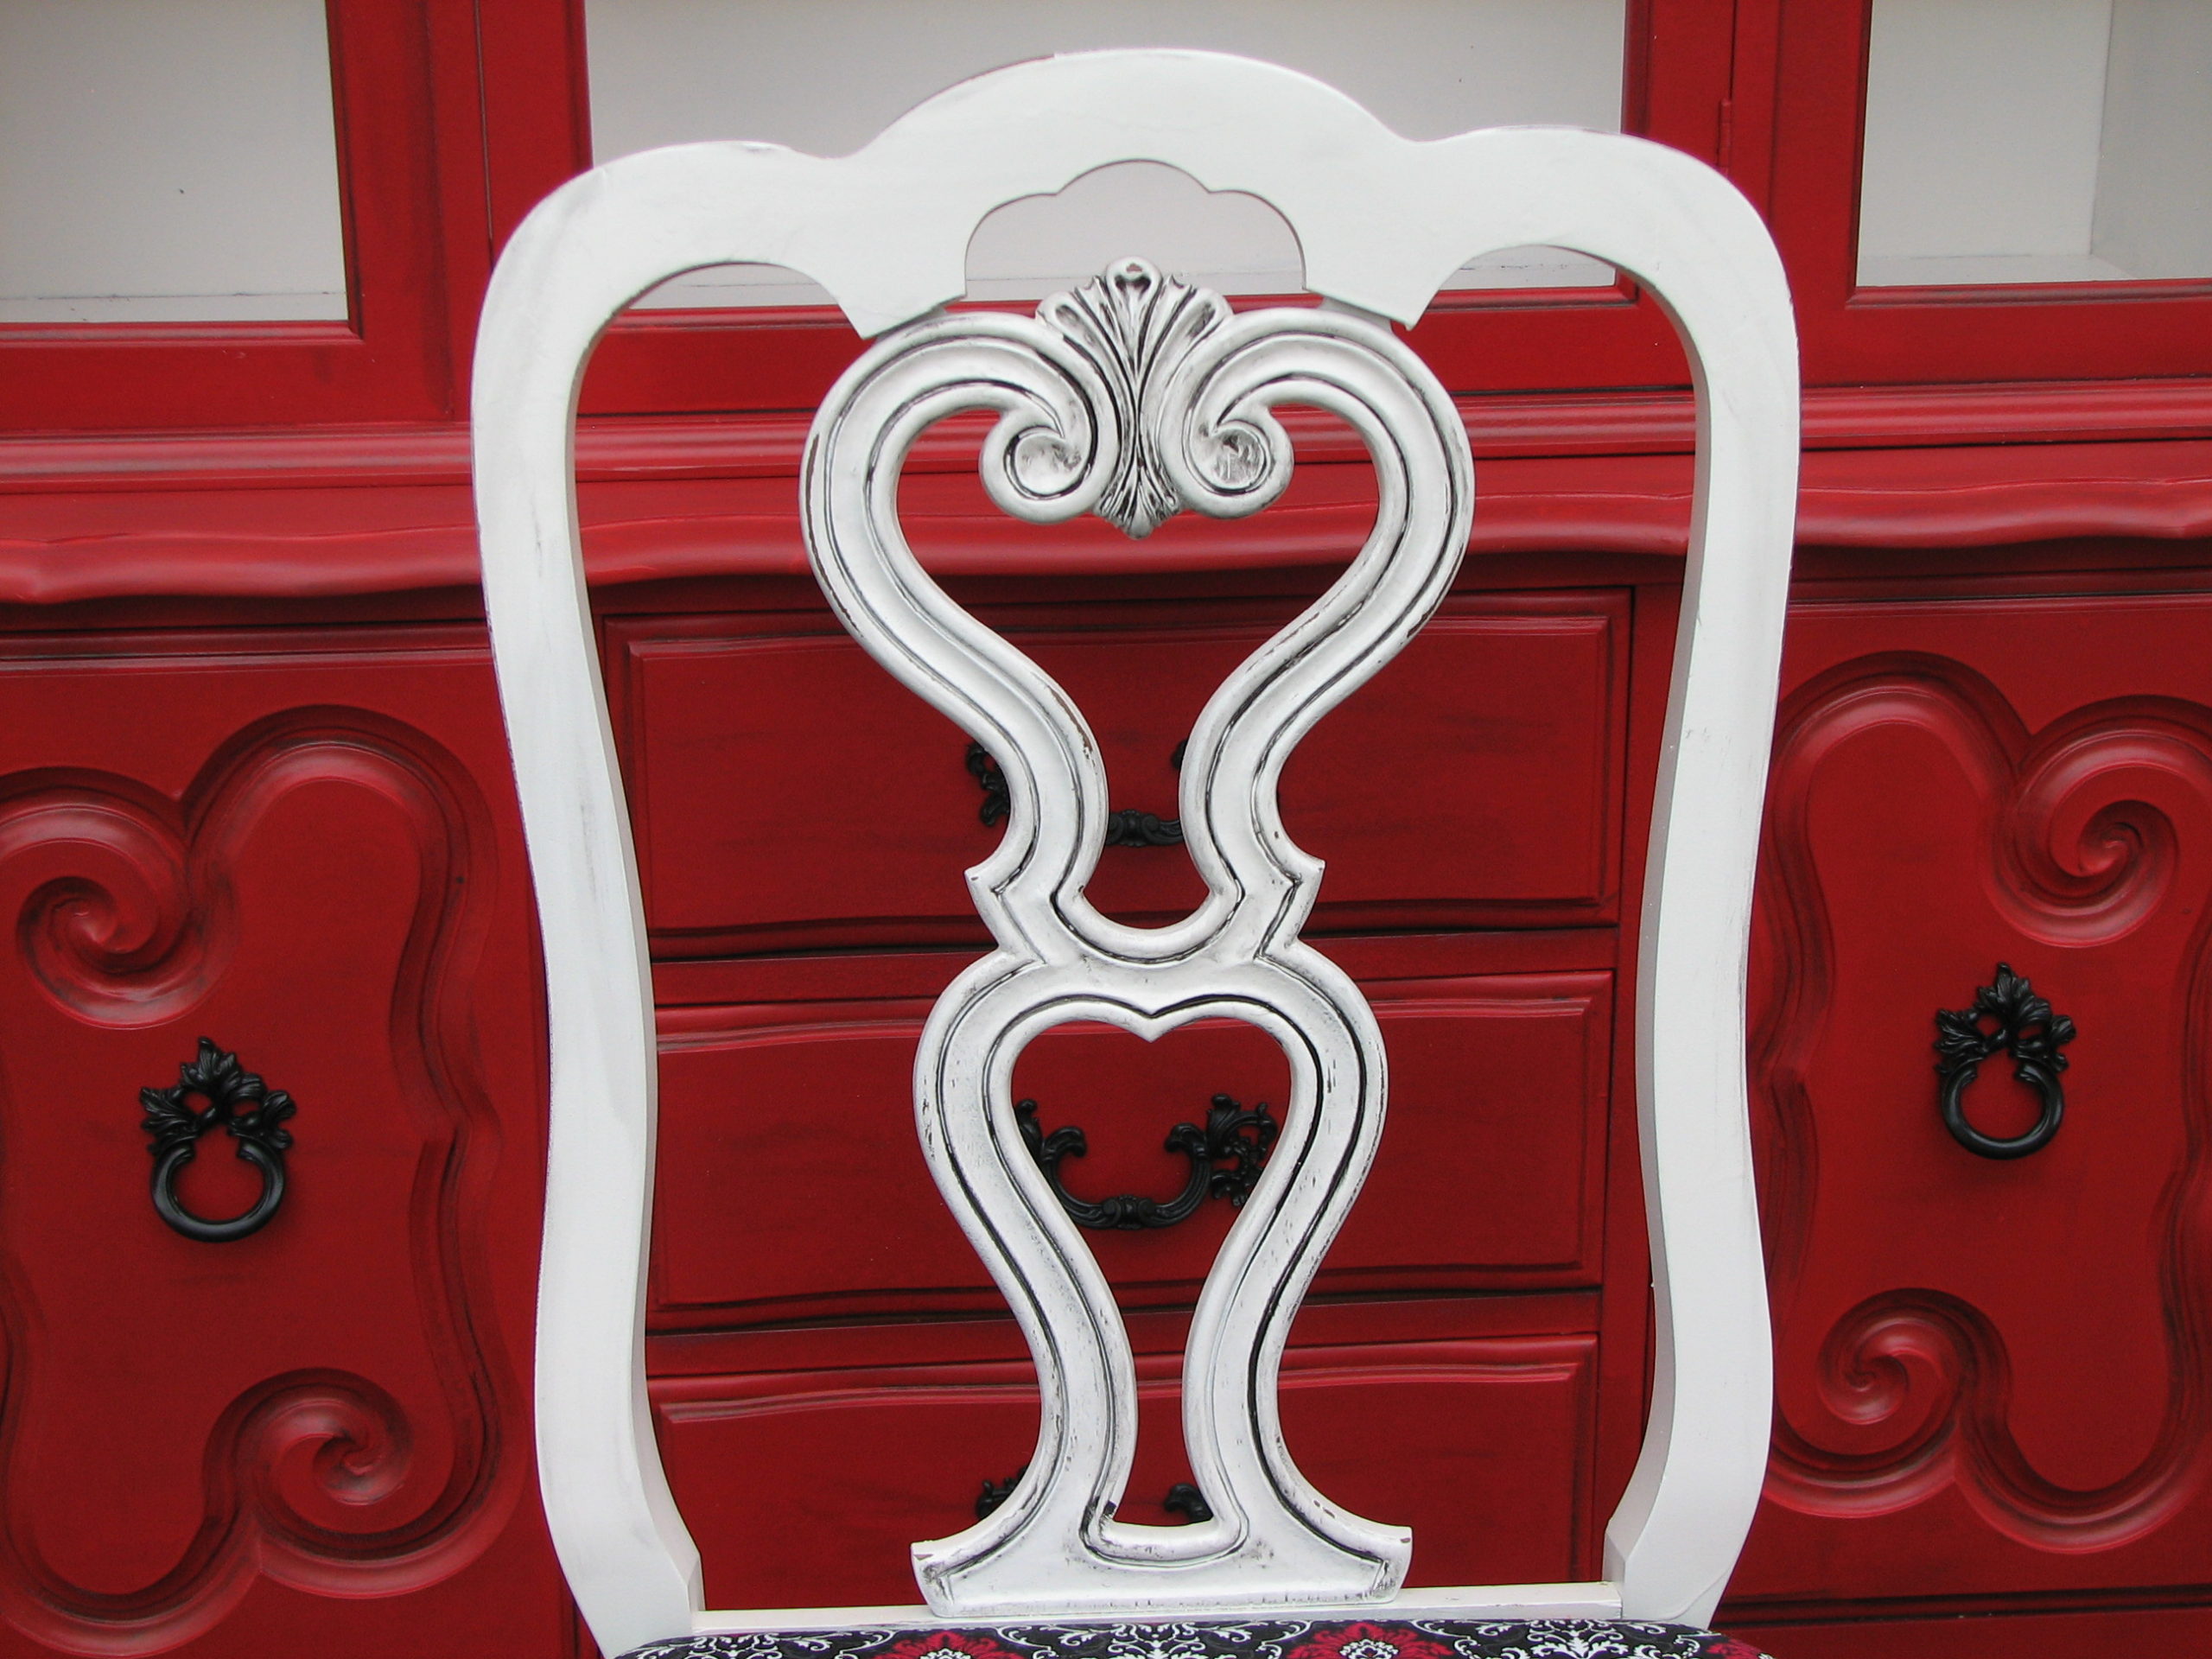
First, the chairs had a nice design about them, but we didn’t like the color of the wood. Also, we thought glazing would bring out the intricacy in the detailing. We lightly sanded each piece, primed and painted them using our air sprayer. Be careful, because it will drip easily. We had to touch them up quite a few times.

Love, love!
Next, we headed to Hobby Lobby and picked out new fabric for the seats. We brought it home and didn’t like it. Back I went with both little ones determined to pick the right thing. We ended up going with this beautiful fabric. I am breaking the news about the hutch, but I decided to do it red so this fabric should hopefully tie everything together.

There were two layers of fabric already, a green that we removed and this original gold color.

Here are the tools you’ll need:

Fabric scissors would work better, but I couldn’t find mine. You’ll want to flip the seat cushion up side down and then pull out all of the staples. Then cut the fabric leaving about 1-2 inches extra on all sides. The tough part about this pattern is that you have to keep it in a straight line. We carefully made sure that each pattern was lined up the same way for all four chairs, too. After the fabric is cut, lay the cushion upside down on the table and staple about one inch from all the edges and make the staples about 3-4 inches apart.

Bunch the corners like so and staple quite a few times to make sure they are secure. When you get to the last side to staple, make sure you pull tightly so their is no loose fabric.

Then trim the excess fabric to give it a clean look.
Then I sanded the corners of the chairs for an antiqued look. Last but not least… glazing. I rubbed it all over the detailed wood and waited about 5 minutes. After that I rubbed most of it off using a damp rag.

Pretty, right?
Up next, spray it with a Polycrilic to seal all of the exposed wood and keep it from being easily scratched. Last but not least, attach the seats with the screws that were originally attached. Here’s the finished product!

Remember to stay posted to see the rest of this dining room set makeover. See the hutch behind the chair?? That’s tutorial is coming next. If you like what we’re doing, please like us on Facebook at: www.facebook.com/funcycled or share this on Pinterest!
Happy Redesigns!
Sarah