Some projects that we work on go quickly, some are tedious and some are just a huge pain in my booty! This dining room table was redone so many times, but it also shows that you shouldn’t settle for less than what you love. We could have stopped the first time we refinished it, but it just wasn’t the look we wanted.
I completely forgot to take a good before picture of this table. It was actually in really good shape, just didn’t have the look we were going for. Here’s a picture of it after the first sanding:

After sanding once using our electric sander and 120 grit paper, we wiped it down really well to remove all the dust particles. Next, we primed it and painted it three times with Behr Swiss Coffee satin paint. Then, I used a polyacrilic for the whole piece. Since a dining table gets a lot of wear and tear, I wanted to make sure it was well protected. When I did the first layer of polyacrilic, little dust particles and dirt kept dropping on top and every little thing showed! I tried to sand it and repaint it twice, but it would NOT sand down right. It was such a pain.

After looking at it and coming up with new design ideas, I decided that I wanted to keep the top wood and leave the legs white. So, we stripped the whole top down. Which took about 5-6 steps!


I used CitrusStrip and it worked really well, but we had painted it so many times it took alot of elbow grease. :) Here’s the first step of stripping. You have to let it set for 30 minutes at least, but I found the longer I left it, the easier the paint came off. Here’s the table after the first stripping.

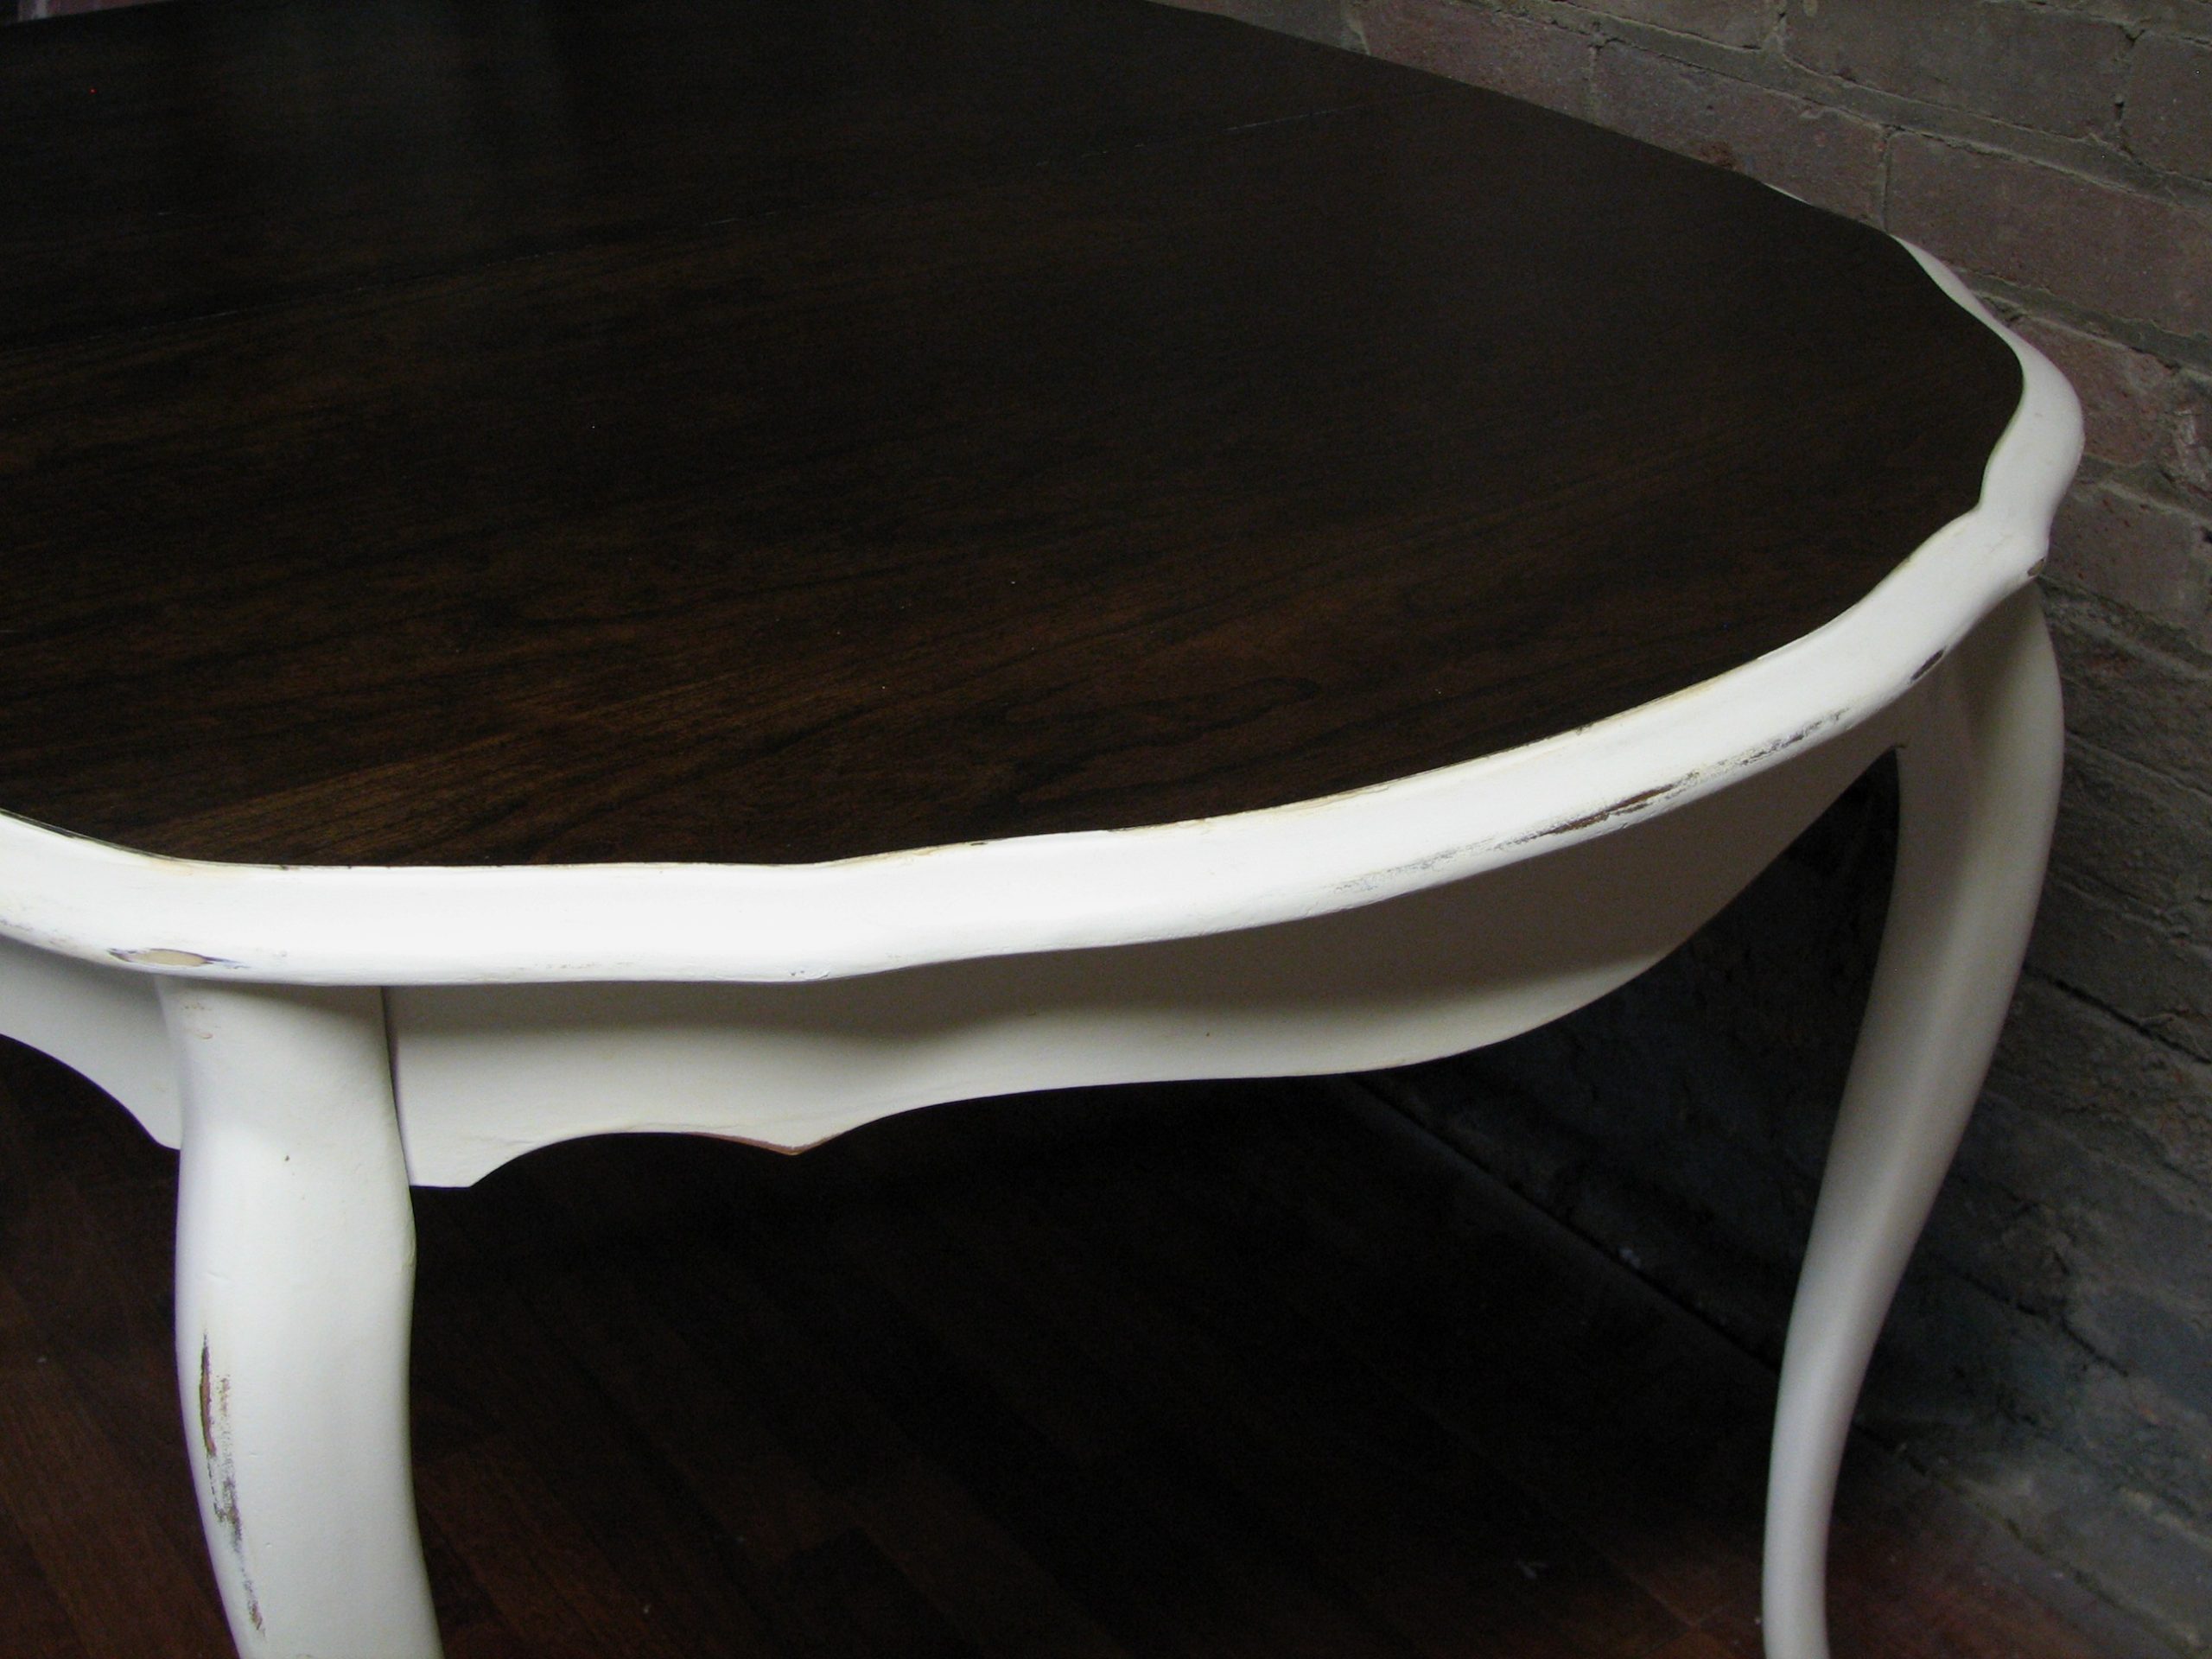
Once we had it all stripped, we had to lightly sand it to make sure it was all ready to be stained. I wanted a dark stain to bring out the black in the Chair’s fabric.We went with Minwax Dark Ebony and then polyacrylic over it four more times to seal the top really well. You’ll want to use a very fine sanding block (320 grit) and hand sand between layers to ensure that it grips well. Then, let is set for a least a week before using it.

I also distressed the white to match the chair’s and give it more of an antiqued look.

See how the we did the rest of this set: Dining Room Chairs and Matching Red Hutch
Happy Redesigns,
Sarah
PS- If you like what we’re doing, please like us on Facebook at: www.facebook.com/funcycled or share this on Pinterest! Also, you can now get each of our new projects emailed to you when you enter your email address in the box at the top right side of this page.