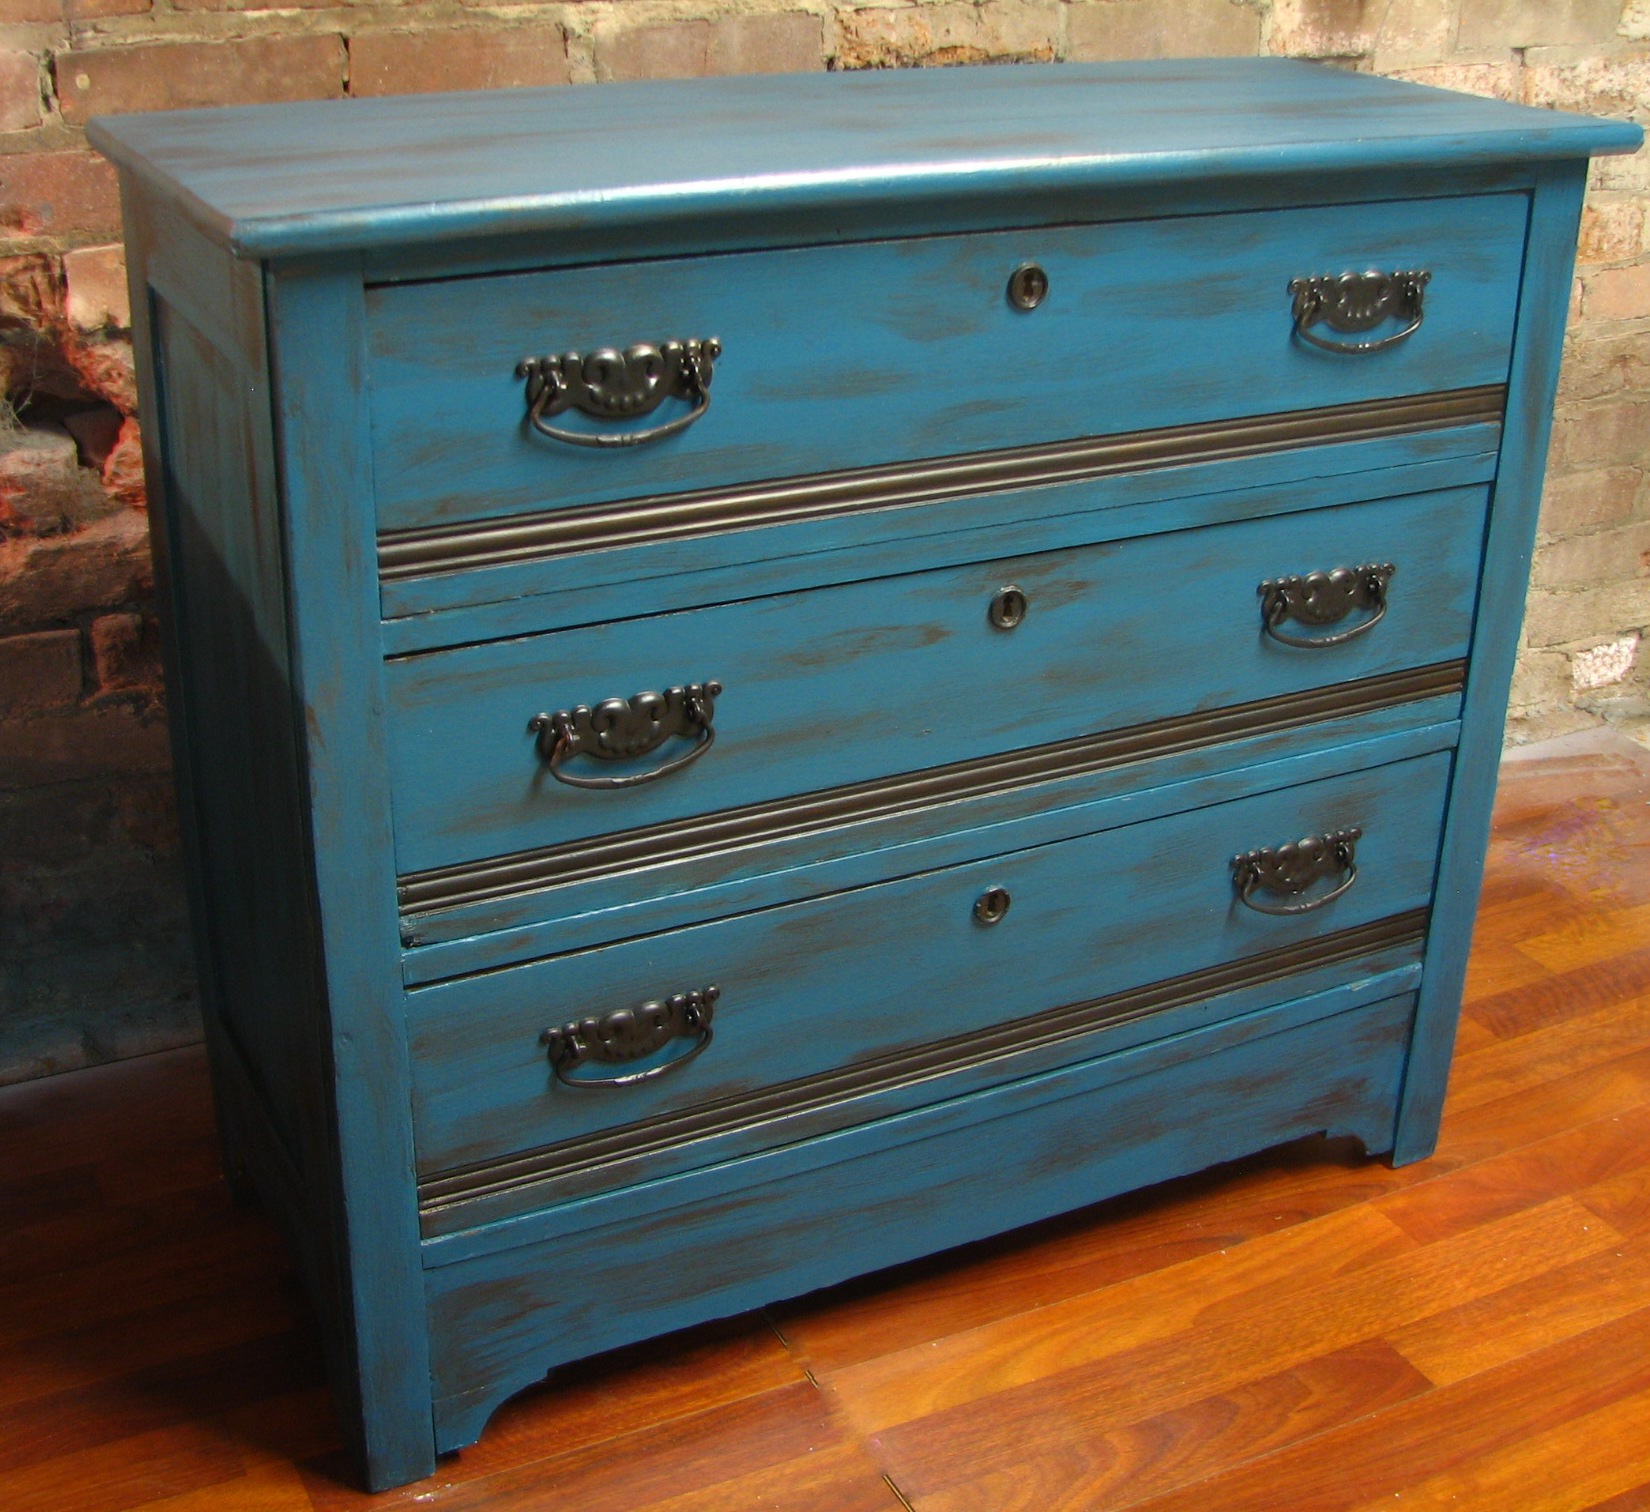
This solid pine, antique dresser was so much fun to make over; my favorite project so far. We found this on craigslist and drove 40 minutes into the country to pick it up. The trip out there on a Sunday afternoon was an adventure. I had never been to the area, but found out John had family who lived two houses down from where we picked up the dresser. It was on a long, creepy dirt road. We would pass by a dilapidated shack with a tarp for a roof that was being lived in and then the next house was a mansion. We turned into the driveway and it was this long, icy road to a house that we couldn’t see yet. I then told John we were going to be murdered by some crazy craigslist killer… to which he laughed (as usual) and told me it was fine. He was more than comfortable in that “neck of the woods”. The house ended up being hand built and amazing! The woman was so kind and gave me a free Craftsman shop vac while we were there.
Ok, ok, enough about the pick up; onto the pictures! I know that’s what you’ve been waiting for. :)
The left side of the dresser had a chuck ripped out of it. Almost like a dog had chewed on the side. Other than that and a couple dents here and there, the structure was perfect. So, we started by building up the damaged section with Bondo. In case you haven’t read our other blog posts, we find that it hardens better than wood filler so it’s our filler of choice.
We then started the typical painting steps…
Prime with Zinsser 123 primer (no sanding necessary and it covers really well).
After priming, I painted it with two coats of teal. Speaking of the paint; I learned on this project that you can mix paint finishes to get the look you want. So, I had this awesome teal (the same one I used on the Teal Chair), but it was high gloss and too bright for what I was wanted. I mixed it with a little bit of flat black paint; the color and finish came out just like I wanted. I then used Martha Stewart’s Coffee Glaze to give it more of an antique look. Remember when glazing, less is more. You don’t need much on your paint brush at all! I originally planned to leave some of the wood exposed and only paint part of it.

Then after looking at it for WAY too long and asking lots of friends advice, I decided to paint the whole thing. Oh, and I also took the handles off, primed and painted them a flat black. At first I painted all the wood except the bottoms of each drawer. I didn’t like that either, so the next step was to change that wood into black strips on each drawer.
After the painting, I hit it with one coat of Minwax Polycrylic using our air sprayer. I finally figured out after using the air sprayer for other projects that you have to turn the pressure really low on your air sprayer when you are on using polycrylic. Otherwise it sprays way too much and you end up having dripping, and an uneven gloss. Ok, the last step was to use wood wax on each drawer to make sure that it slides easily. All you do it rub it on the bottom of each drawer (a candle would work just as well, too).
Are you ready for the finished product??

Hope you enjoyed!
-Sarah


I saw the finished dresser in person and could not beleive the transformation – it was beautiful ! Sarah already has people “fighting “over this furniture piece.
Thanks, Jo! I do agree that the pictures don’t do this one justice. Thanks for your encouragement as always. :)
I didnt know you could just paint the knobs the same way…. nice tip!
Thank you for taking the time to read it and for sharing your thoughts! :)