There is a massive design myth floating around the internet: if a client has a small space, you must paint it bright white and keep it completely minimalist to make it feel bigger.
But what happens when you throw a sharp, awkward attic angle into the mix? You usually end up with a room that feels less like an airy sanctuary and more like a sterile, cramped cave.
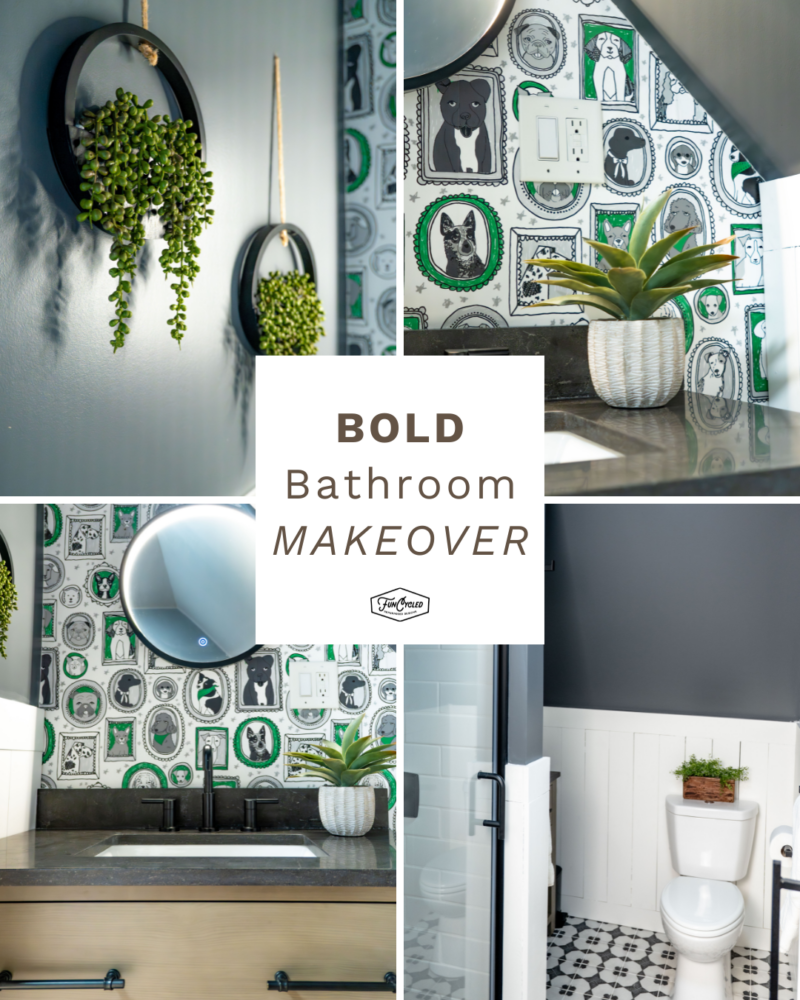
When we signed on to tackle this guest bath for our client, we decided to throw the old rulebook out the window. Instead of fighting the architecture, we leaned into it. By pairing moody, high-contrast elements with clever space-saving fixtures, we turned an awkward layout into the most talked-about room in their house.
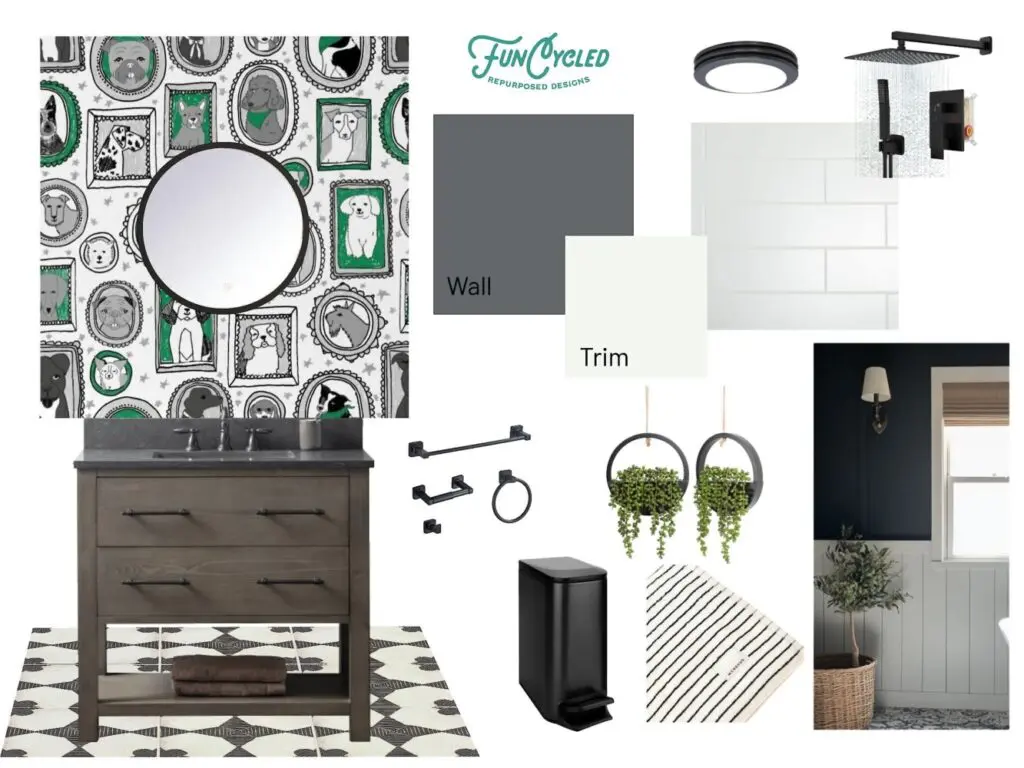
Whether you are staring down a sloped ceiling of your own or trying to maximize a tiny attic footprint, here is exactly how we mastered this makeover—complete with our exact design board and product links so you can recreate the look!
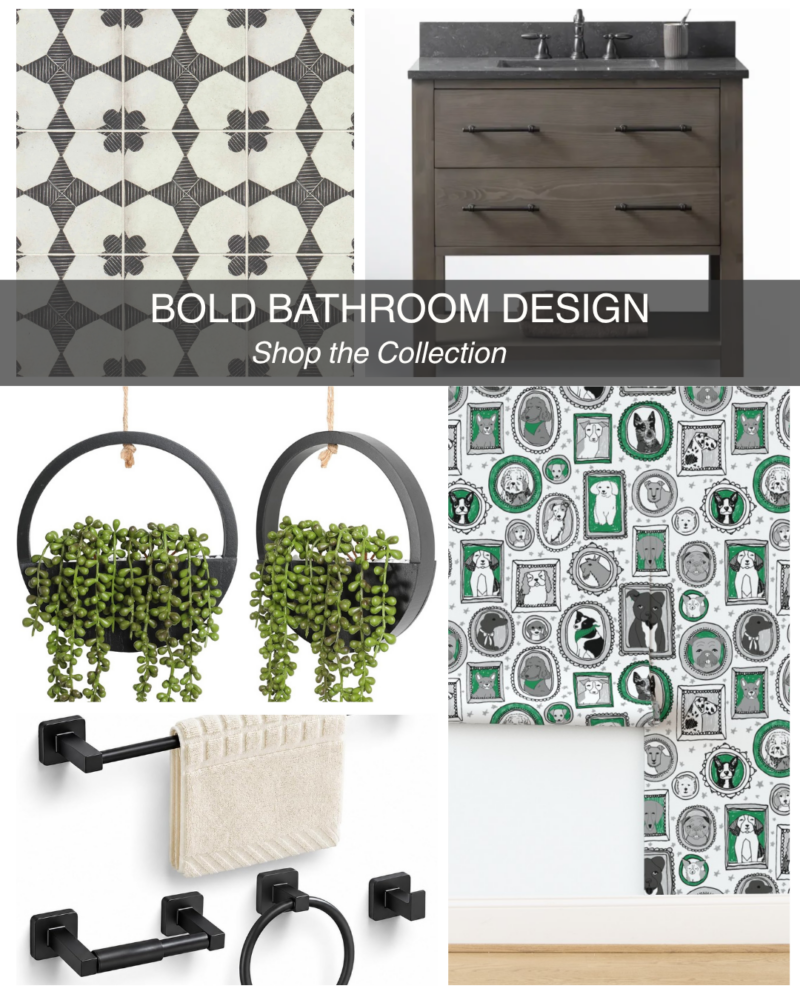
Here is the concept we pulled together for this bathroom.
The “Before”: Beige, Boring, and Cramped
Let’s be honest: builder-grade bathrooms love a sea of beige. Our client’s original bathroom was drowning in muted tones, dated faux-wood flooring, and zero personality.
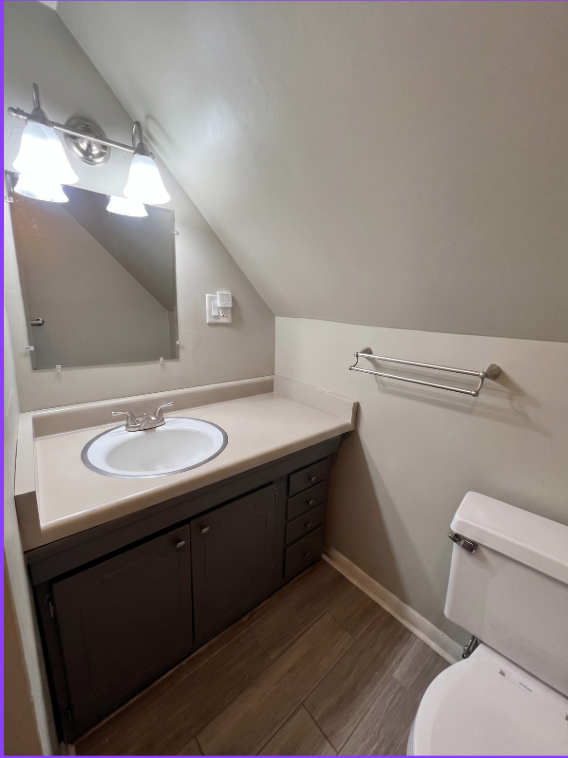
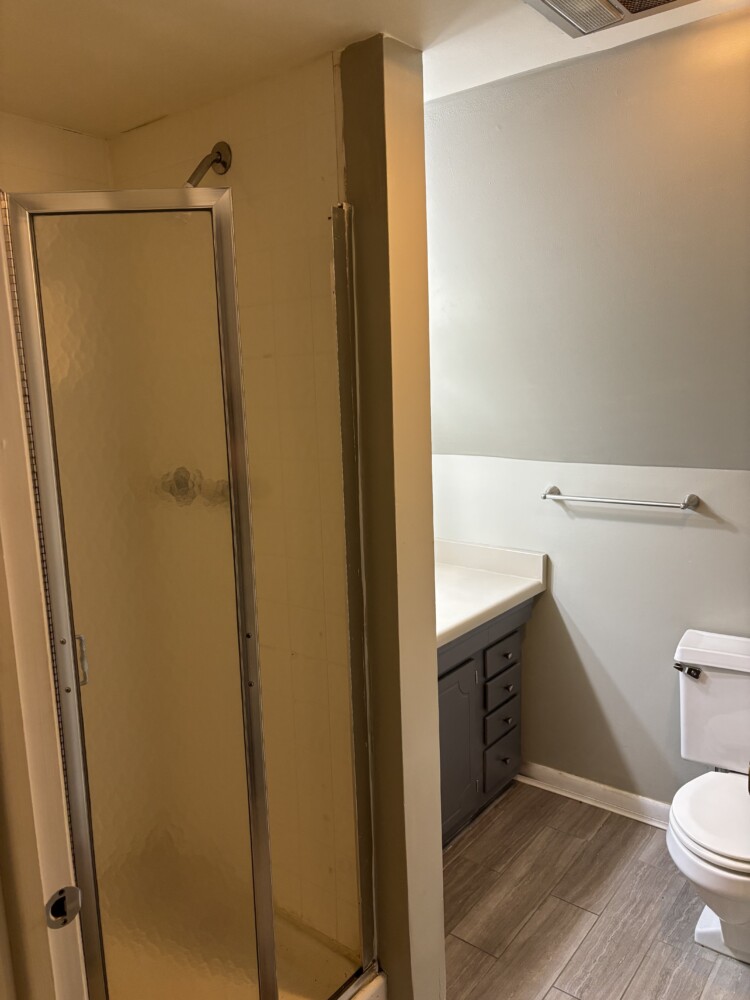
Beyond the outdated aesthetics, the layout had some serious functional flaws that were driving our client crazy:
- The Over-Sized Vanity: The original laminate countertop was far too wide for the sloped wall, making the sink area feel crowded and cutting off the room’s physical flow
- The Shadow Effect: The traditional multi-bulb light fixture over the mirror cast harsh, awkward shadows thanks to the angled ceiling.
- The Claustrophobic Shower: The old shower featured a dated chrome frame and textured frosted glass that blocked light and shrunk the room instantly
The Strategy: Embrace the Angle
Our goal wasn’t to hide the sloped ceiling for our client; it was to make it the star of the show. We designed a dramatic, high-contrast palette: deep charcoal walls to add depth, offset by crisp white vertical wainscoting to keep the room grounded.
Here is how it all came together:
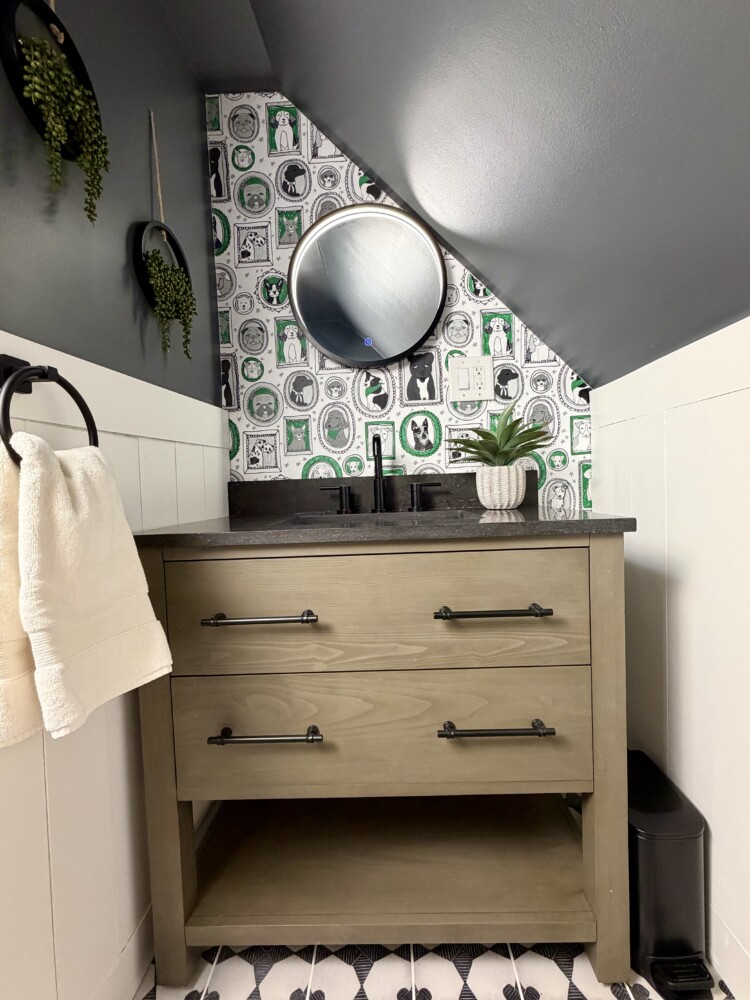
1. The Small-Scale Vanity & Bold Feature Wall
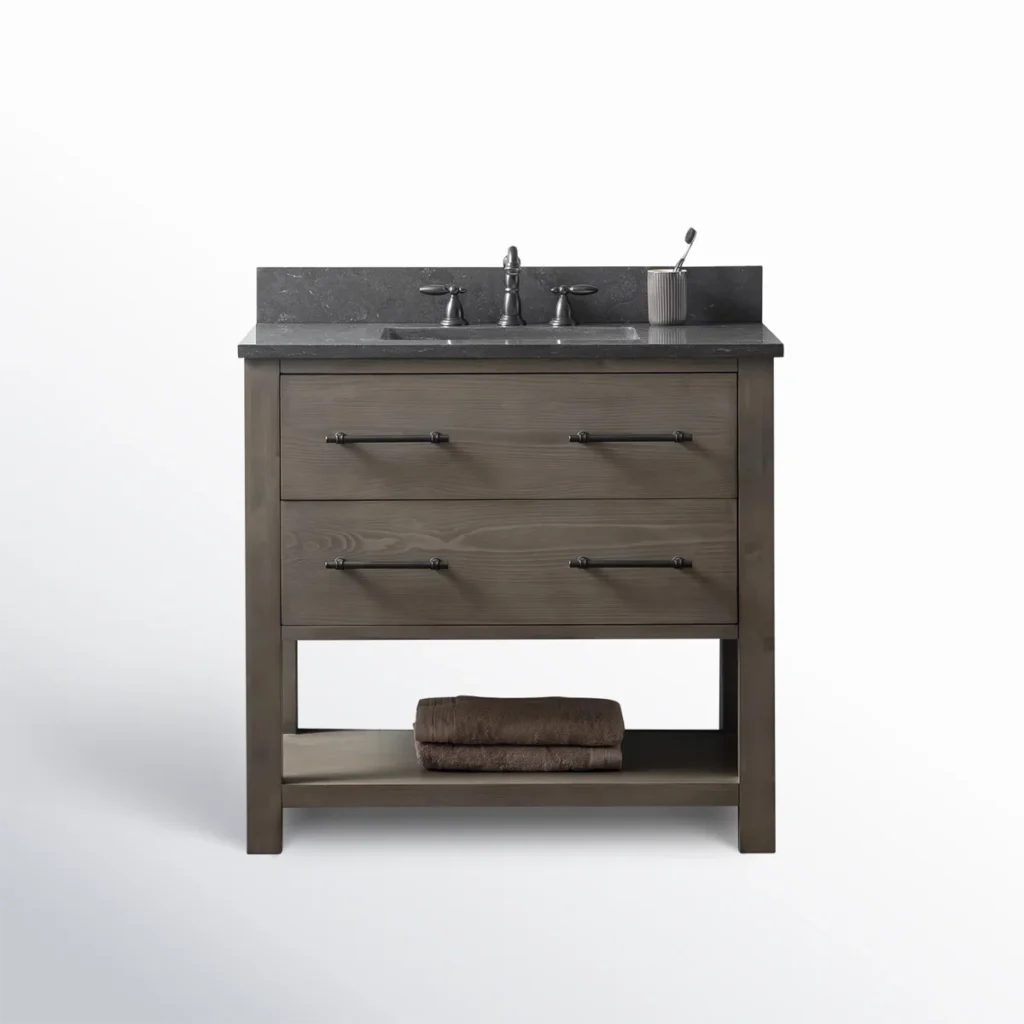
To open up the walkway, we swapped out the bulky original vanity for a narrower, rustic wood vanity with a dark stone top and industrial black hardware.
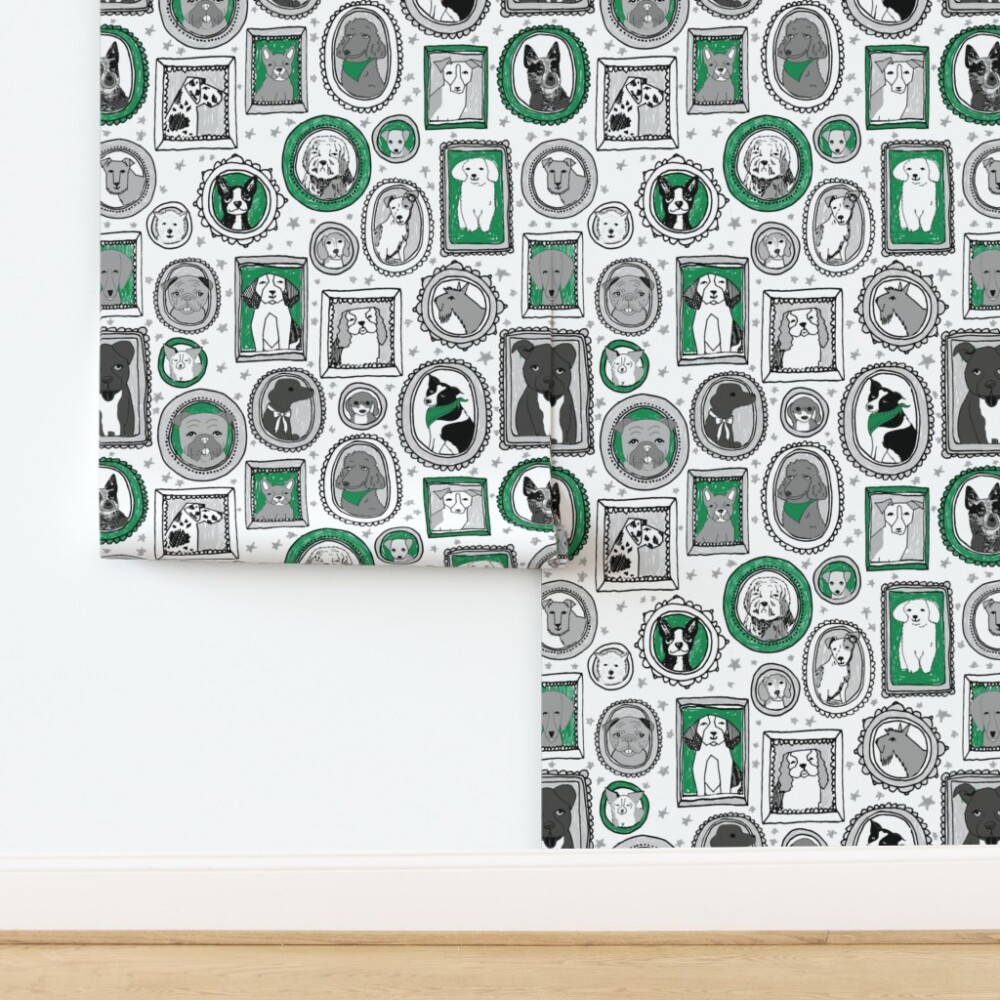
Next we turned the sharp slope into a feature wall by installing a whimsical, framed-dog portrait wallpaper (our client absolutely loved this touch of personality!). Instead of a traditional vanity light that fights the ceiling angle, we utilized a sleek, circular LED backlit mirror. It provides flawless lighting without taking up a single inch of wall space.
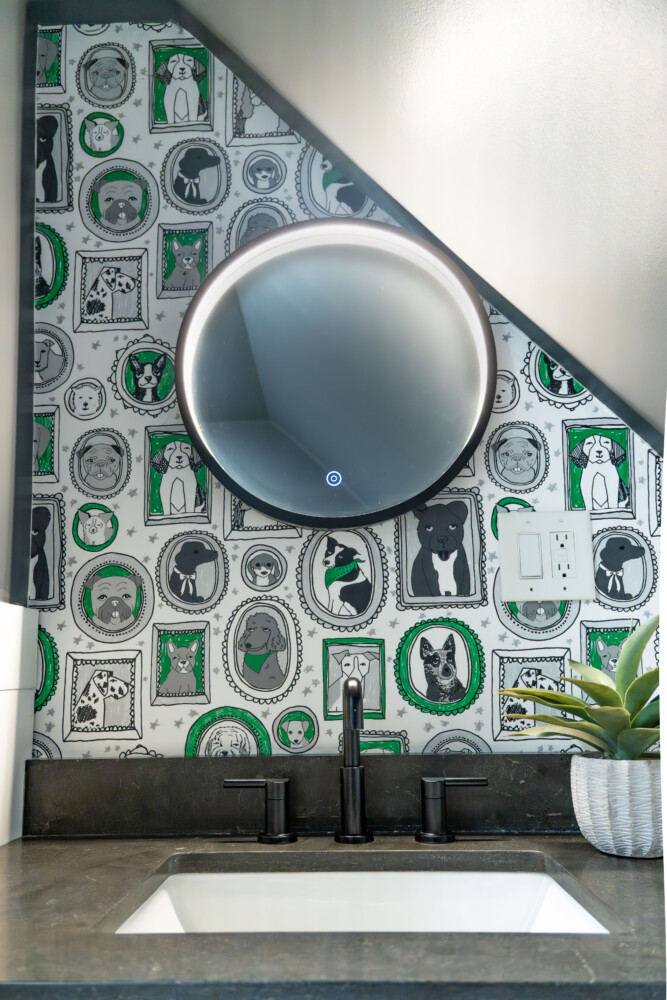
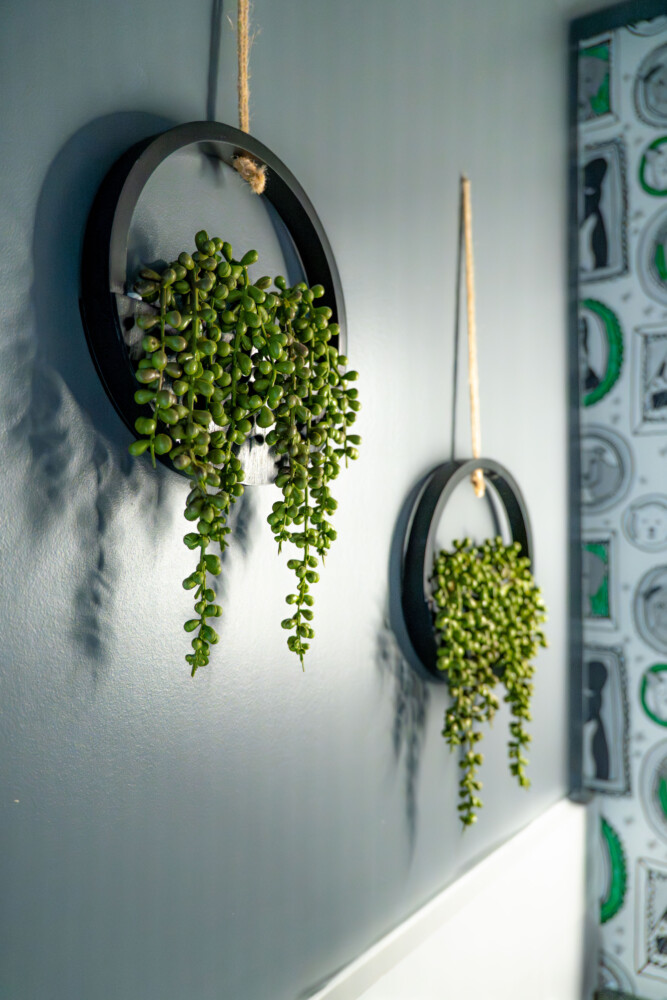
Adding greenery (even faux) offers touches of nature to your bathroom. This will help create a peacefulness and keep your design grounded.
2. The Custom Frameless Shower
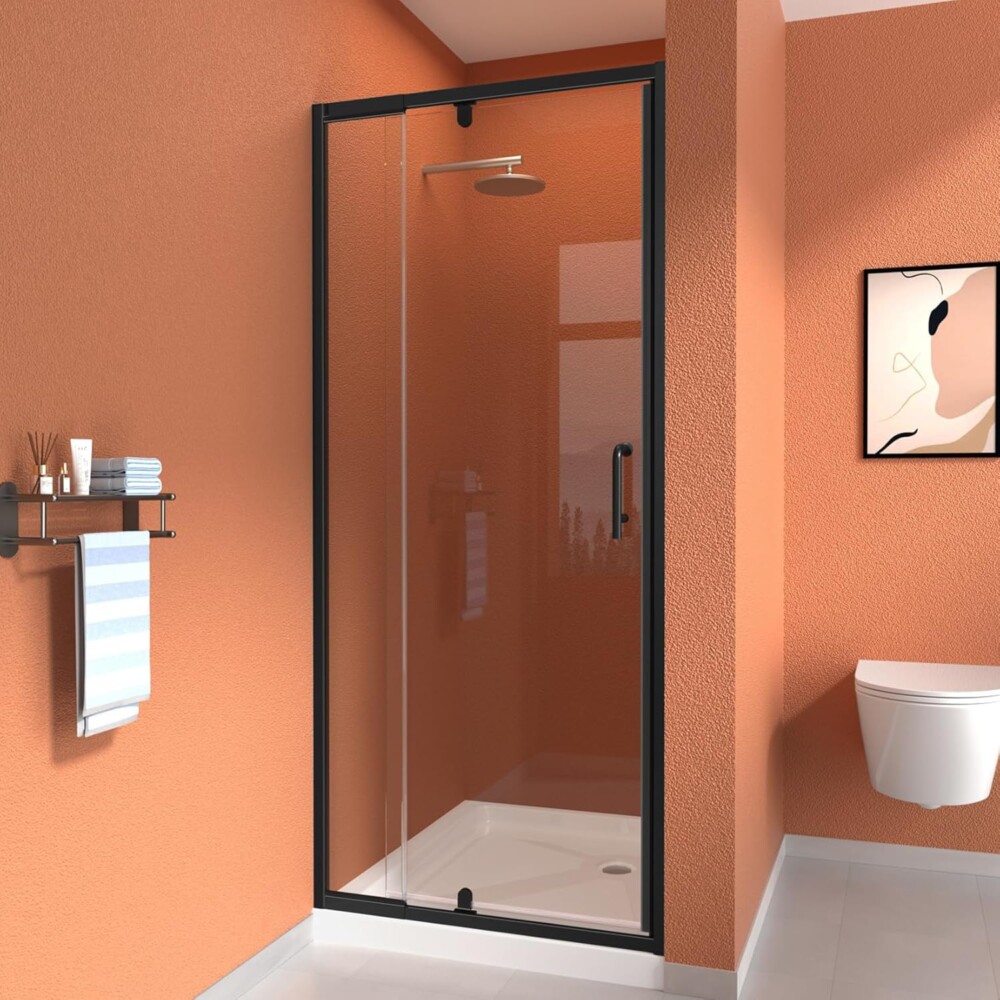
A huge game-changer was the shower overhaul. We completely removed the dated metal tracking and installed a clean, black-framed clear glass enclosure.
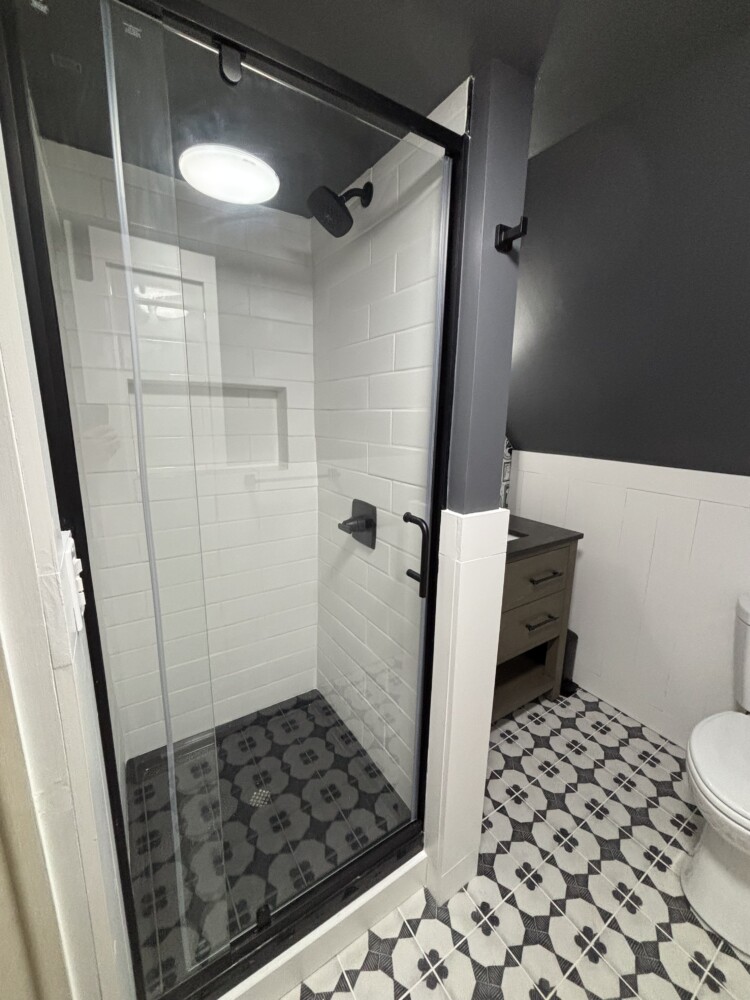
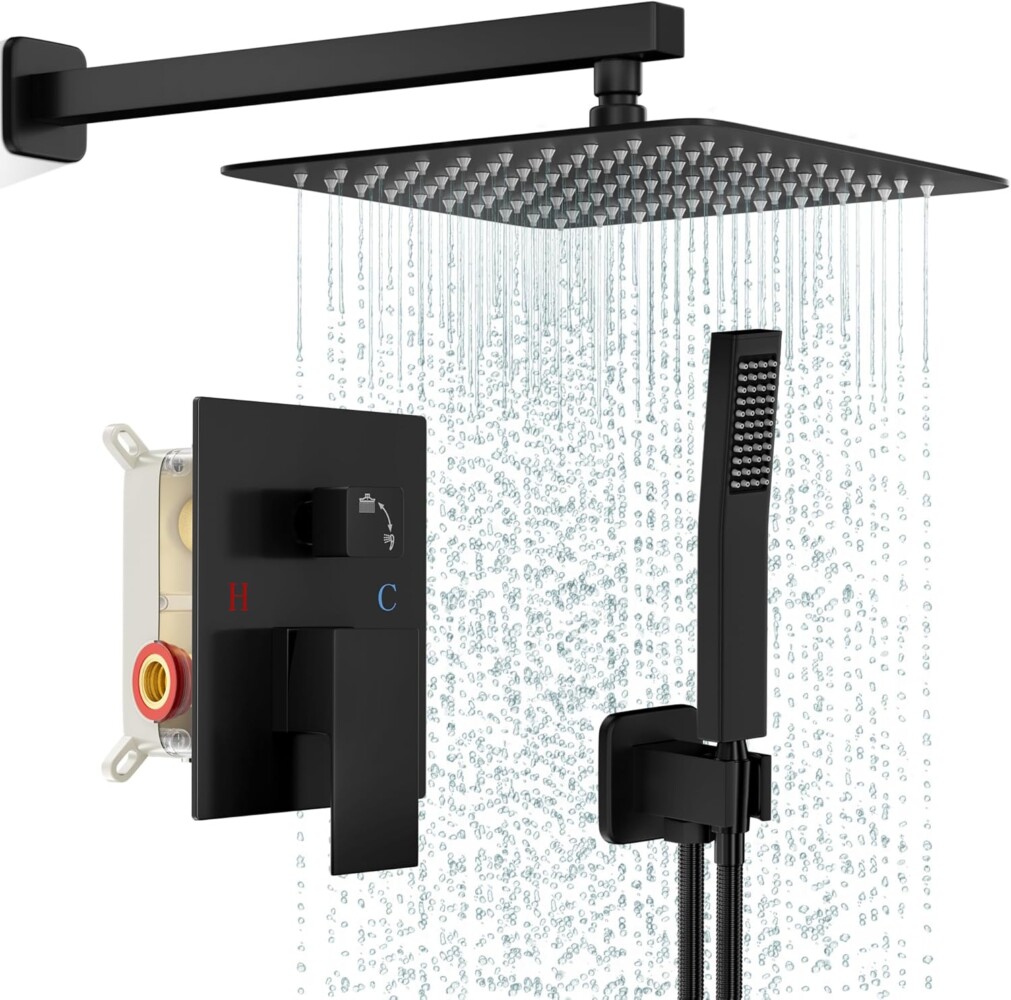
Inside, we used classic bright white subway tile on the walls to bounce light around, but gave it a modern edge with a matte black showerhead and a graphic, dark-patterned floor tile.
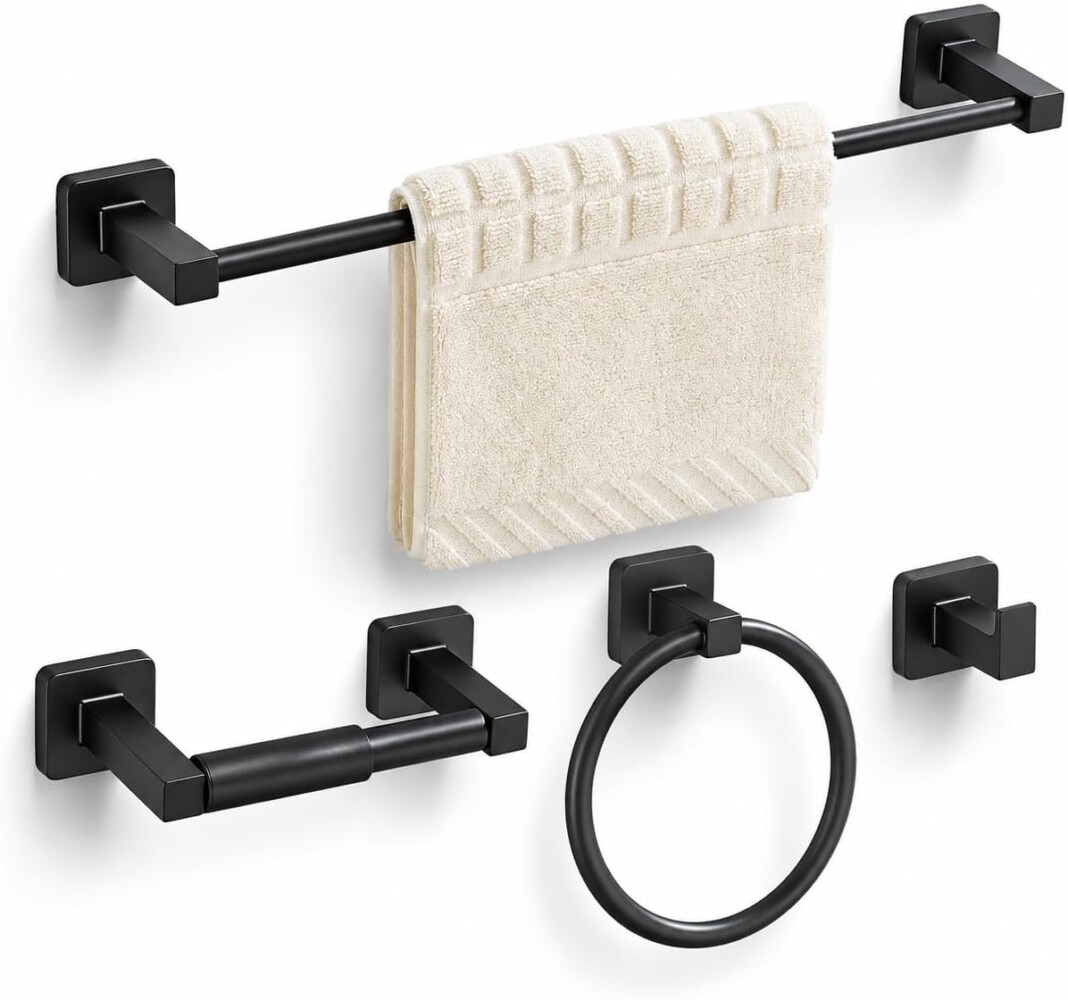
Keeping your fixtures cohesive creates an elevated and modern feel to any space.
3. Graphic Flooring to Tie it Together
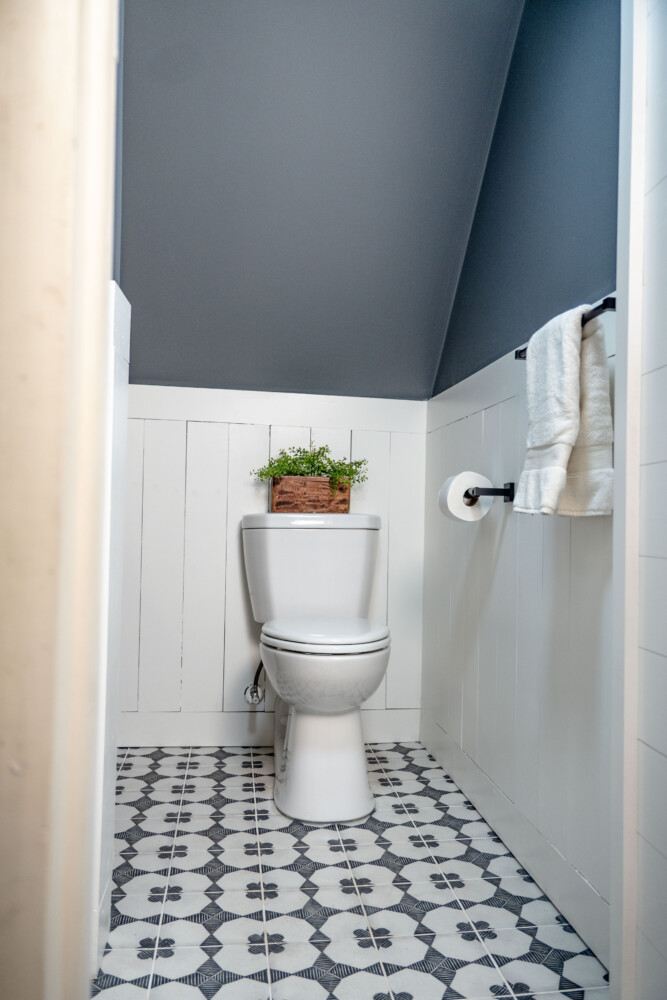
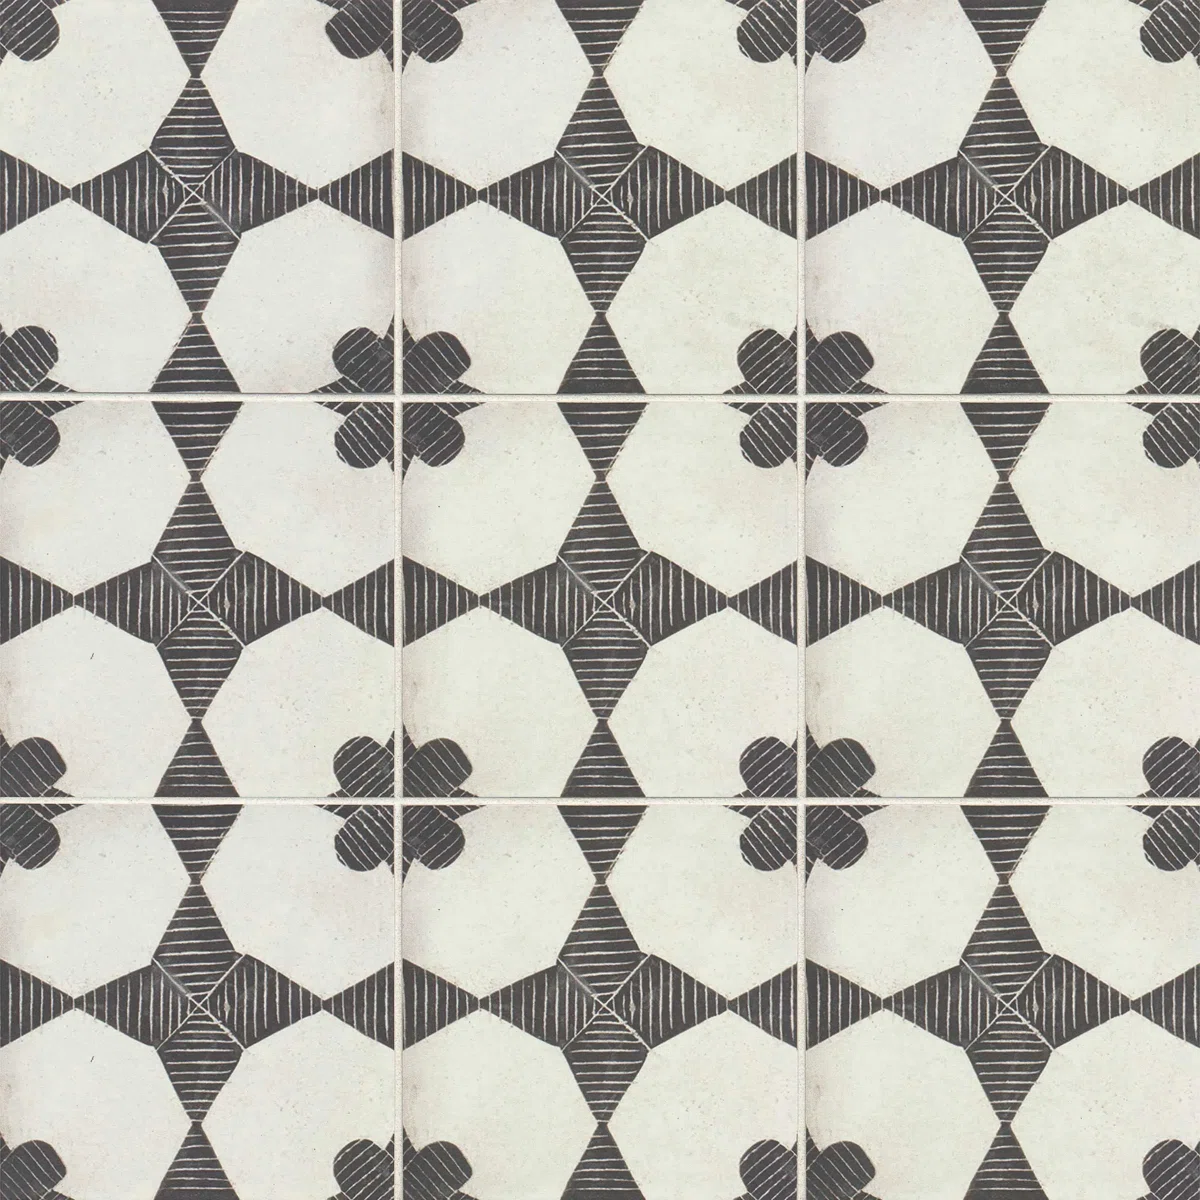
To make a small bathroom feel high-end, using strong focal points offers a designer touch and thoughtful approach, making your space feel intentional. To accomplish this, we not only added the bold wallpaper but we decided to pait it with a high contrast floor tile. This bold pattern helps pull together the black and white shower install and you need a strong focal point underfoot. We carried a bold, geometric starburst tile across the main floor. Because the vertical wainscoting breaks up the dark paint and the patterned tile, the busy floor feels intentional and high-end rather than overwhelming.
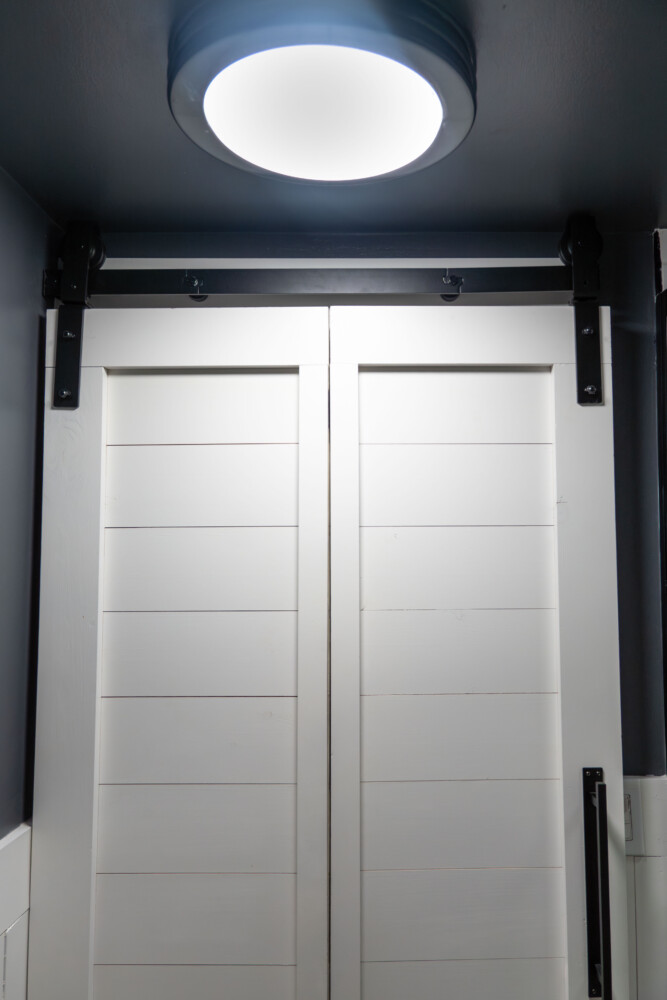
4. The Secret Weapon: A Custom Door & Shiplap walls
When you’re dealing with tight angles and a small footprint, every single inch matters—including the doorway. A standard door swing would have eaten up half of our client’s usable floor space or constantly banged into the fixtures. To solve the layout puzzle, we added a custom door that fits the space perfectly without sacrificing style or privacy.
Three Rules for Your Sloped-Ceiling Remodel
If you are currently planning your own small bathroom remodel with sloped ceiling, keep these three designer takeaways in mind:
- Rethink Your Doors and Vanities: Shaving just a few inches off your vanity depth or swapping a standard door for a custom space-saving solution can completely transform the traffic flow of a tight bathroom.
- Make the Angled Wall an Accent: Don’t paint it out and hope it disappears. Use wallpaper or a statement paint color to make the architecture look entirely intentional.
- Invest in Clear Glass: If you have a small bathroom, frosted glass is your enemy. Clear glass instantly doubles the perceived size of the room by letting your eyes see all the way to the back wall.
Love this bathroom and want to find similar products? Shop the whole collection below.
Ready for Your Own Transformation?
To get started, schedule a design consultation so we can create a plan for your home. Click the link below to book an appointment.
Did you know? Project Management is Just as Important
At FunCycled, we can also project manage your design project. Whether you are renovating your bathroom, updating your kitchen, or adding on to a part of house, there are so many details that need to be considered and properly managed to assure your project goes according to plan and executed well! Communication and detail management are key to accomplishing this, and FunCycled can do this for you.
As project managers, we ensure your project stays on schedule. These are the details we will ensure: smooth communication with your contractor and any vendors required for your project, ensure proper layout and installation, coordinate details for deliveries, take care of ordering products to mitigate incorrect products, and provide oversight to the full scope of the project.
Final Thoughts
Thank you all for following along! If you’d like to get this blog in your email once a week, please sign up for our weekly newsletter by adding your email in the little box below my picture at the top of this page.
If you’ve enjoyed this post, please like FunCycled on Facebook, Instagram and Pinterest if you don’t already. Keep up to date on the newest finds, vote on colors and give your input on our creativity. We share fun tutorials, great before and after, and new design inspirations.
We offer interior design, kitchen cabinet painting, and custom built tables, barn doors, and repurposed furniture. Thank you, again, for working with us and for taking the time to spread the word about what we do. This post may contain affiliate links. I may earn a small commission at no extra cost to you. As always, I only recommend products I genuinely love and trust.
Happy FunCycling Friends,
Sarah ; )
Because home is where peace begins.