Hi, Friends!
I hope you had a wonderful and beautiful Thanksgiving! My family and I enjoyed time with friends and family. I am blessed, and I hope you feel the same!
Today’s blog is a great example of an open kitchen concept that isn’t quite flowing. Often times when a kitchen is built, right next to it is the dining area which quickly flows into the living space of the home. Makes sense, right?! From a layout perspective, it totally does. But what do you do when that space doesn’t exactly work together? The flow may be fine, but visually is a different story. Jessica and her husband have a great kitchen – it has a lot of storage, it has good flow, and it is connected to an eating area as well as living area. The problem is (well was) that it was not cohesive and it was missing a few functionalities and a little character. Thankfully, FunCycled knows how to tackle all of that!
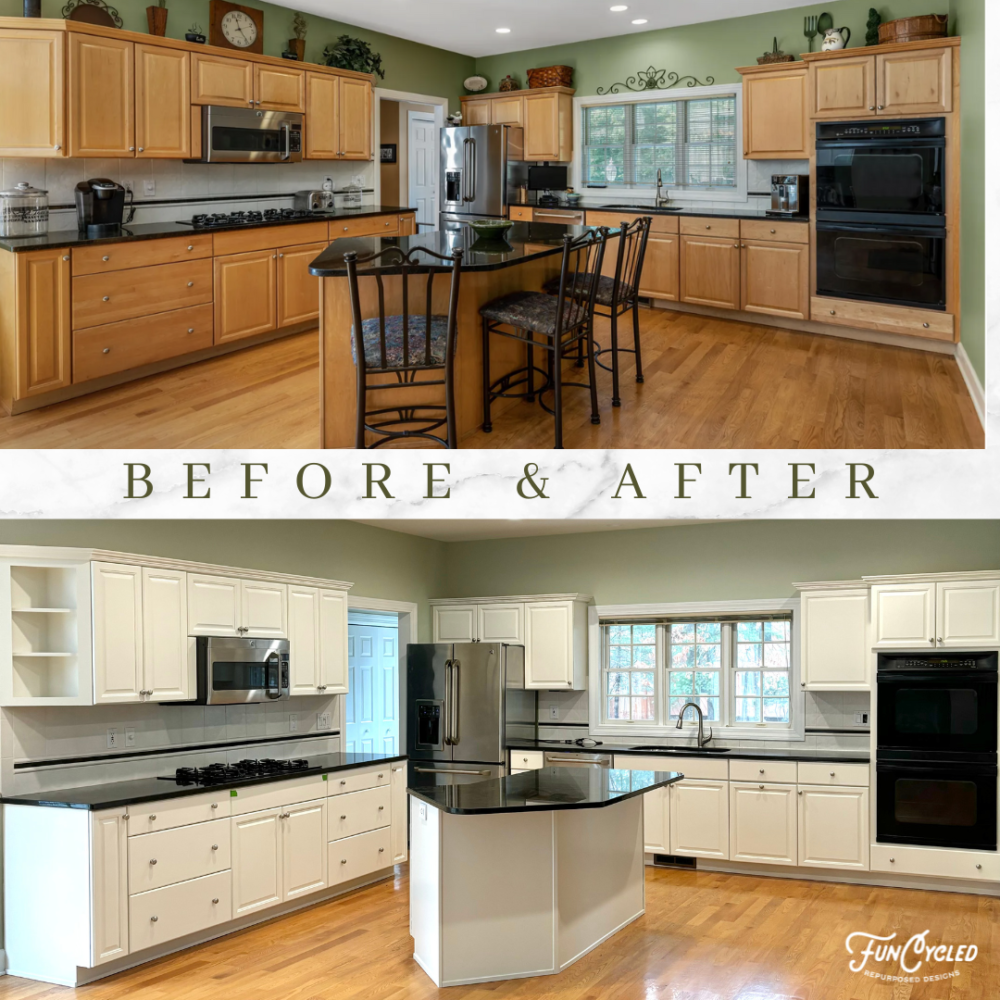
Let’s take a look at Jessica’s kitchen BEFORE.
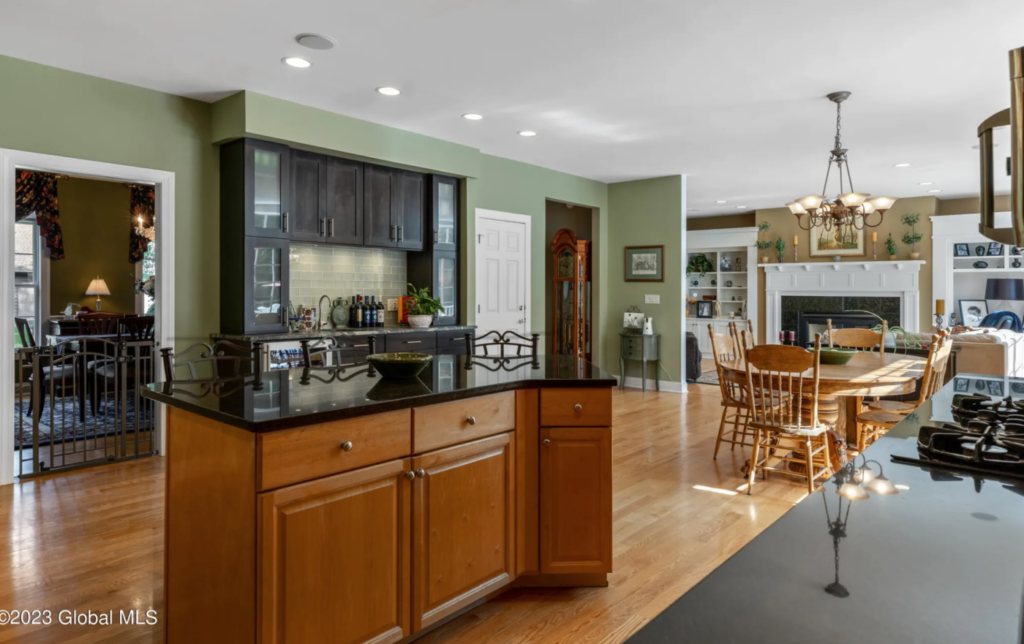
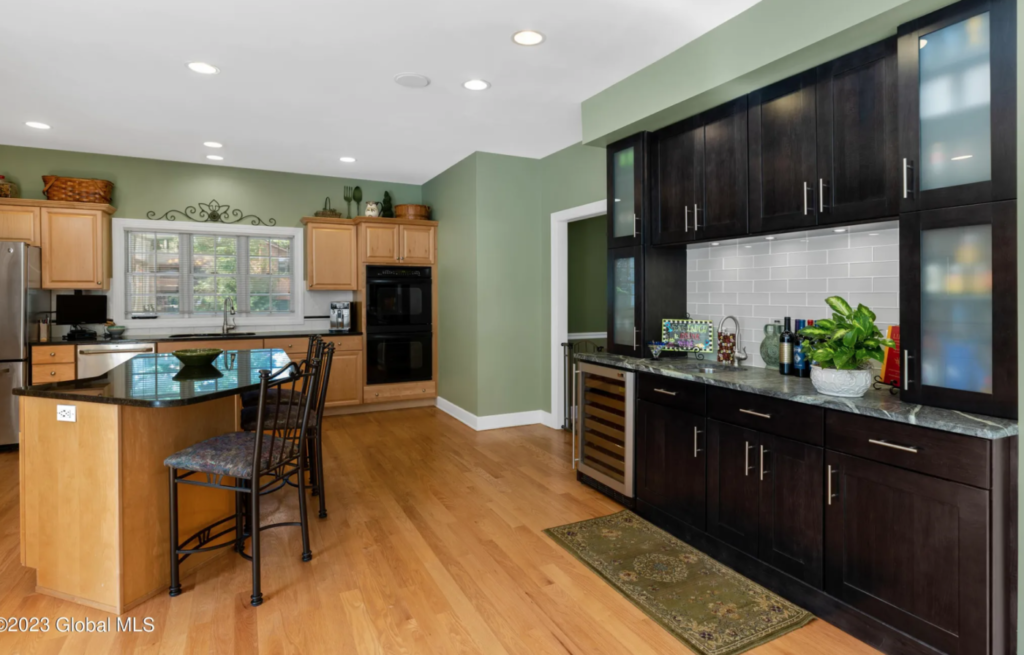
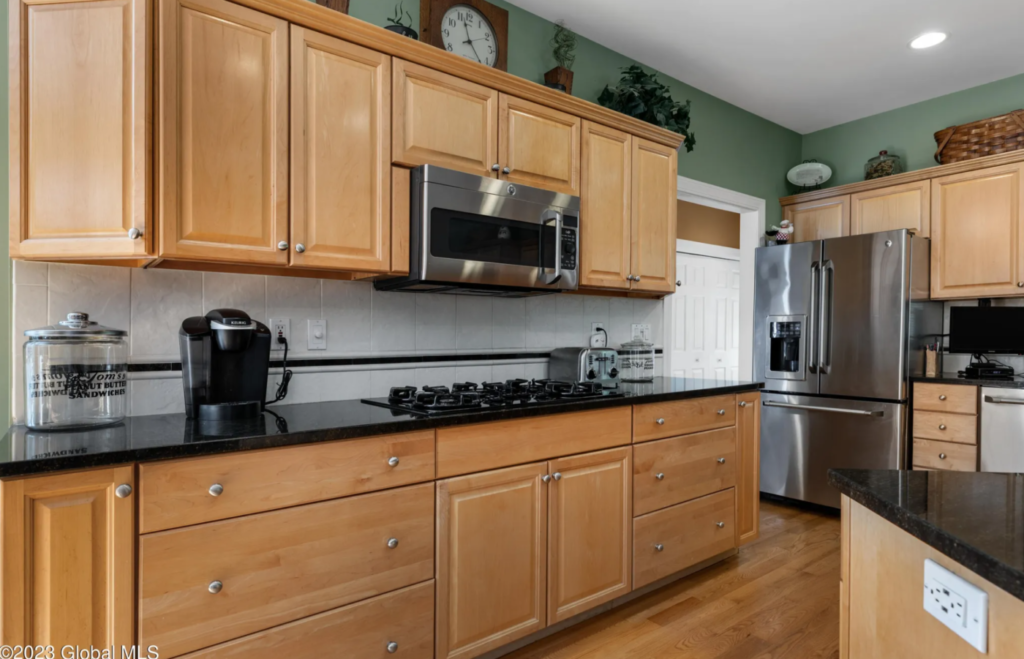
So let’s identify the challenges and issues that Jessica and her husband were facing: Wood tone on wood tone, different cabinet designs, too many elements competing with one another, and finally, no place to house a garbage can. That’s right! Sometimes the best laid plans overlook the very essentials we need! So here’s what we did!
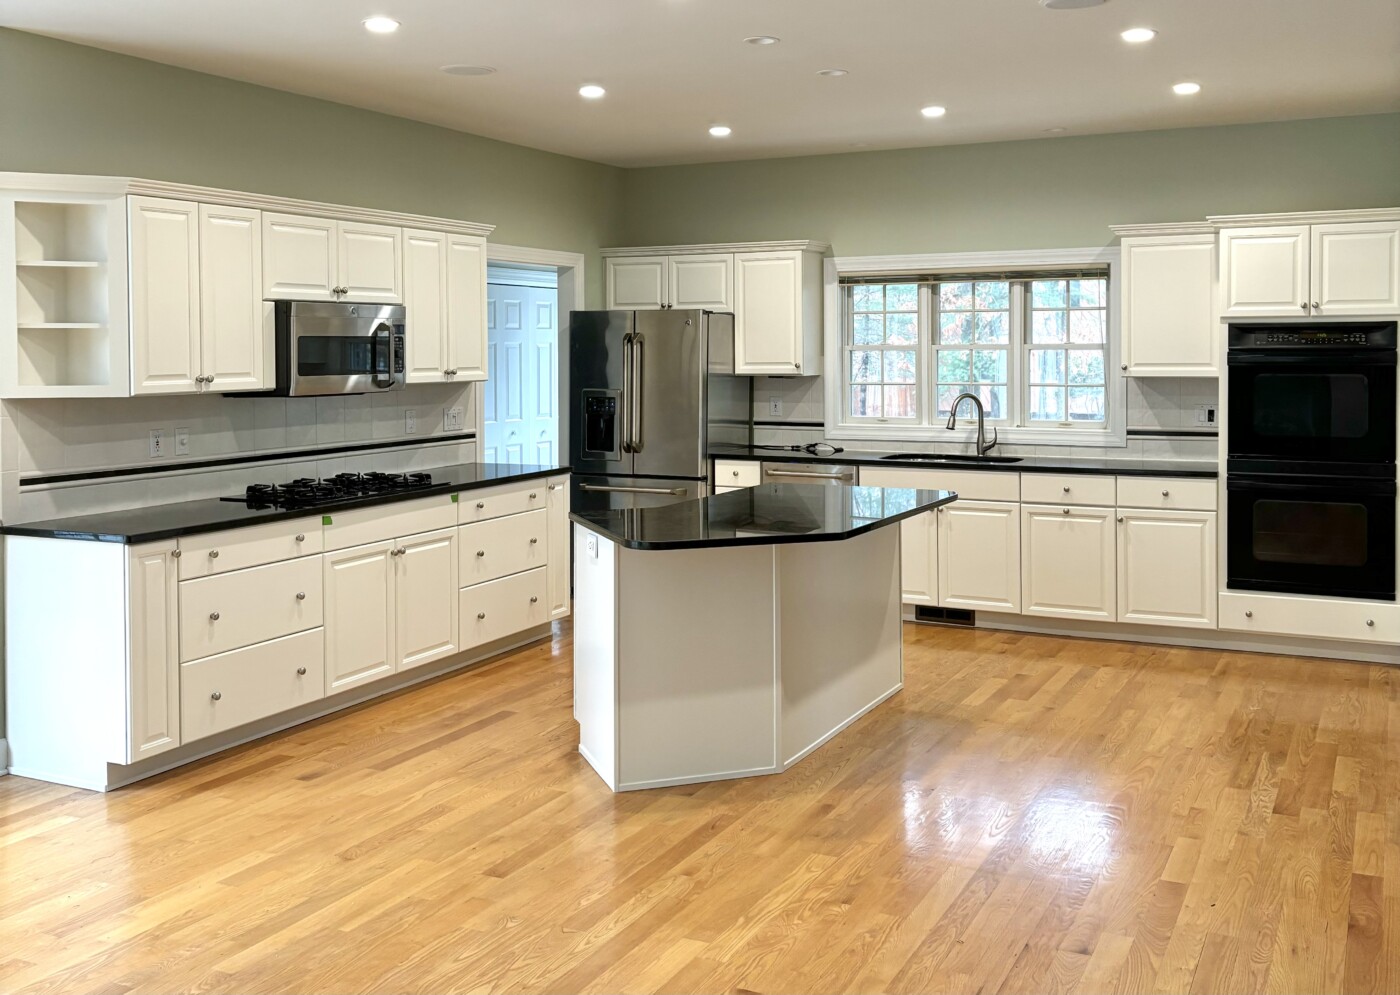
The color on the cabinets is Soft Chamois, pronounced “shammy” – it’s French ; ) This color serves to brighten the space up while keeping it warm. This beige hue works to neutralize the competing wood tones, and since it is a warm white is complements the wood floors, making the design rich and inviting!
And here are the after photos. Can you believe the difference?
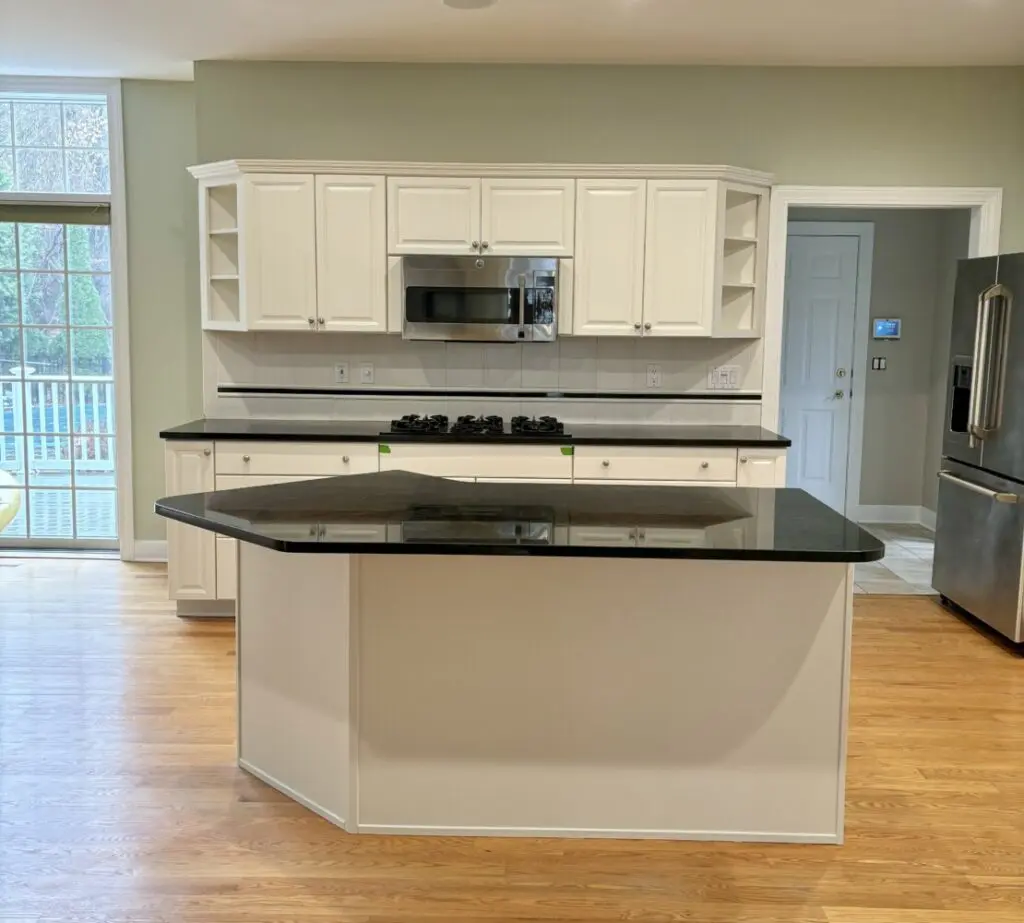
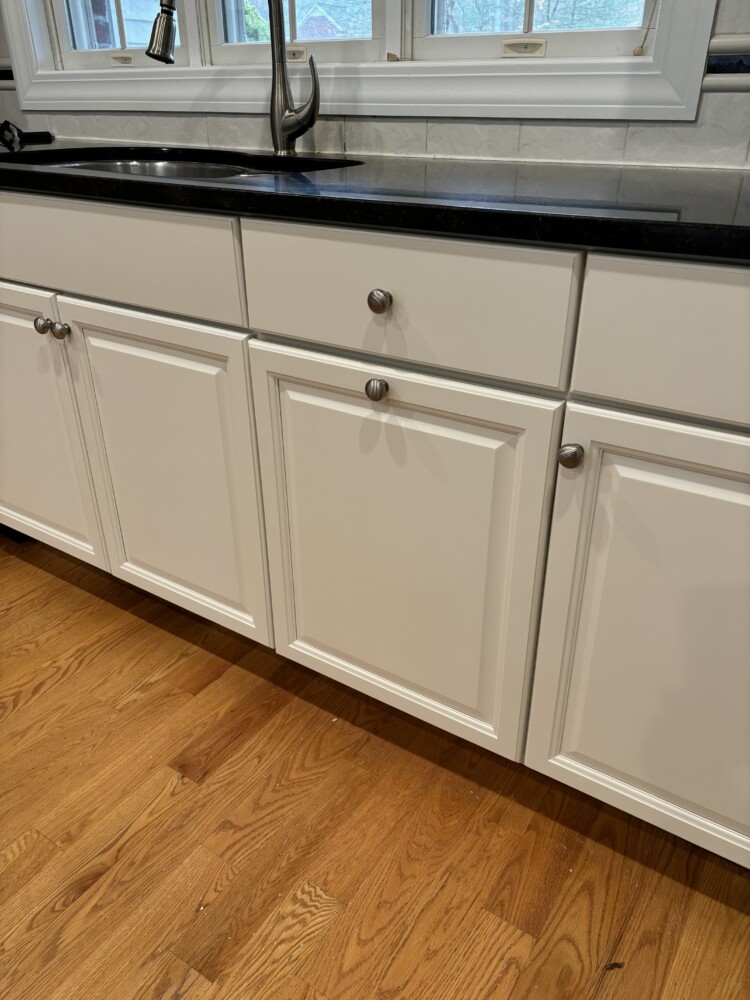
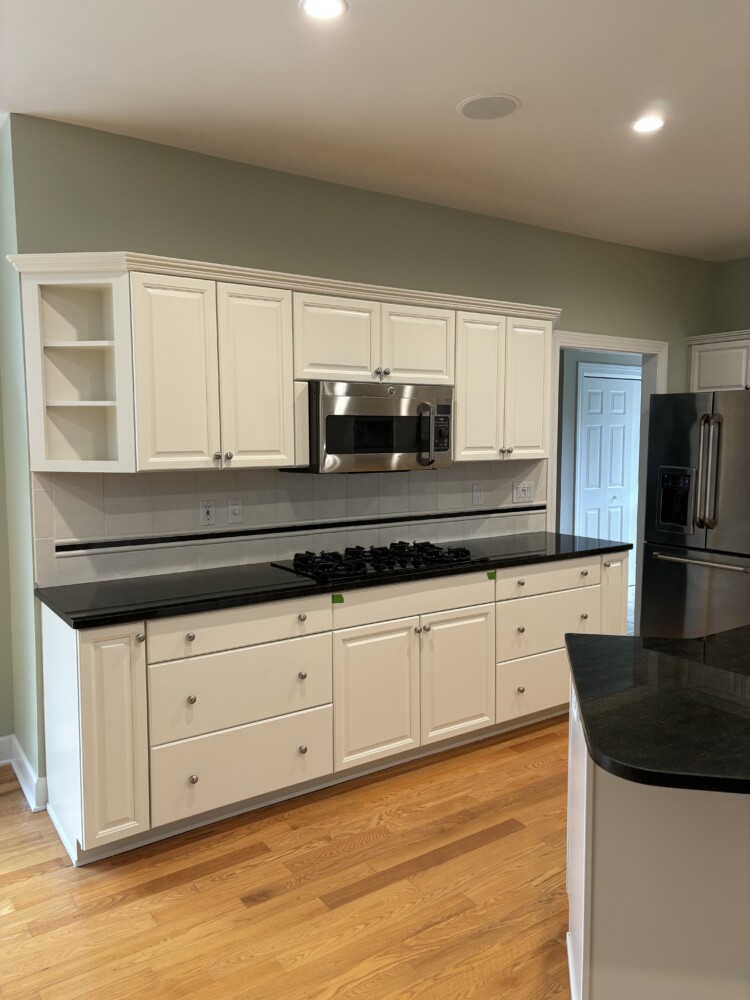
And remember how I said Jessica was missing some important functionality in this kitchen? Like, no place for the trash can….Well, all has been remedied! John converted part of the lower cabinet to accommodate the garbage and recycling bins. Problem solved. Here’s the before and after.
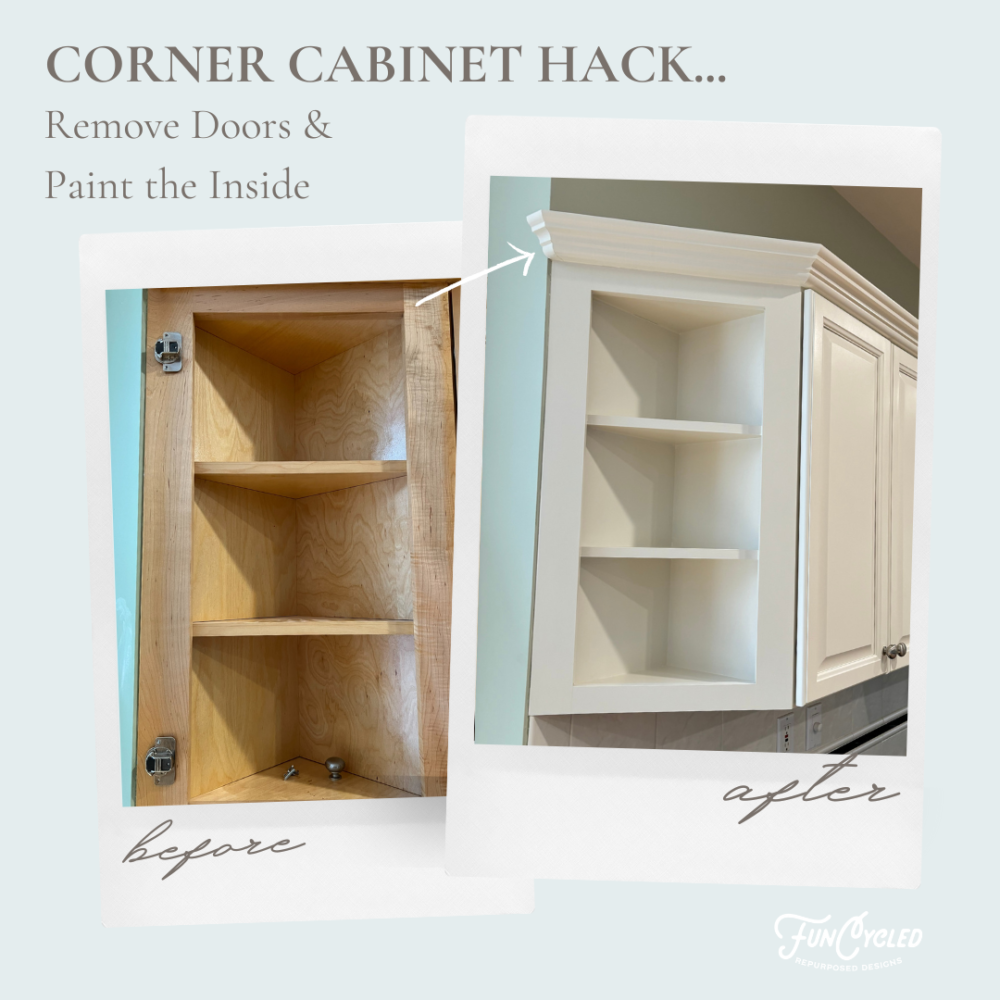
Corner cabinets are tricky. They aren’t exactly functional, so Jessica asked if we would be able to leave the doors off. So, off came the doors, and we painted the inside and removed the hinges, of course! Take a look at the change. Now the end cabinets can be used for display or to hold small kitchen essentials that are also pretty to look at!
We just loved completing this project! Thanks, Jessica, for working with us and for trusting FunCycled with your kitchen project!
Thank you all for following along! If you’d like to get this blog in your email once a week, please sign up for our weekly newsletter by adding your email in the little box below my picture at the top of this page.
If you’ve enjoyed this post, please like FunCycled on Facebook, Instagram and Pinterest if you don’t already. Keep up to date on the newest finds, vote on colors and give your input on our creativity. We share fun tutorials, great before and after, and new design inspirations.
We offer interior design, kitchen cabinet painting, and custom built tables, barn doors, and repurposed furniture. Thank you, again, for working with us and for taking the time to spread the word about what we do.
Happy FunCycling Friends,
Sarah ;)
Note some of the the links provided are affiliate links, and as an Amazon Associate, I earn from any qualifying purchases.


