Hi Friends,
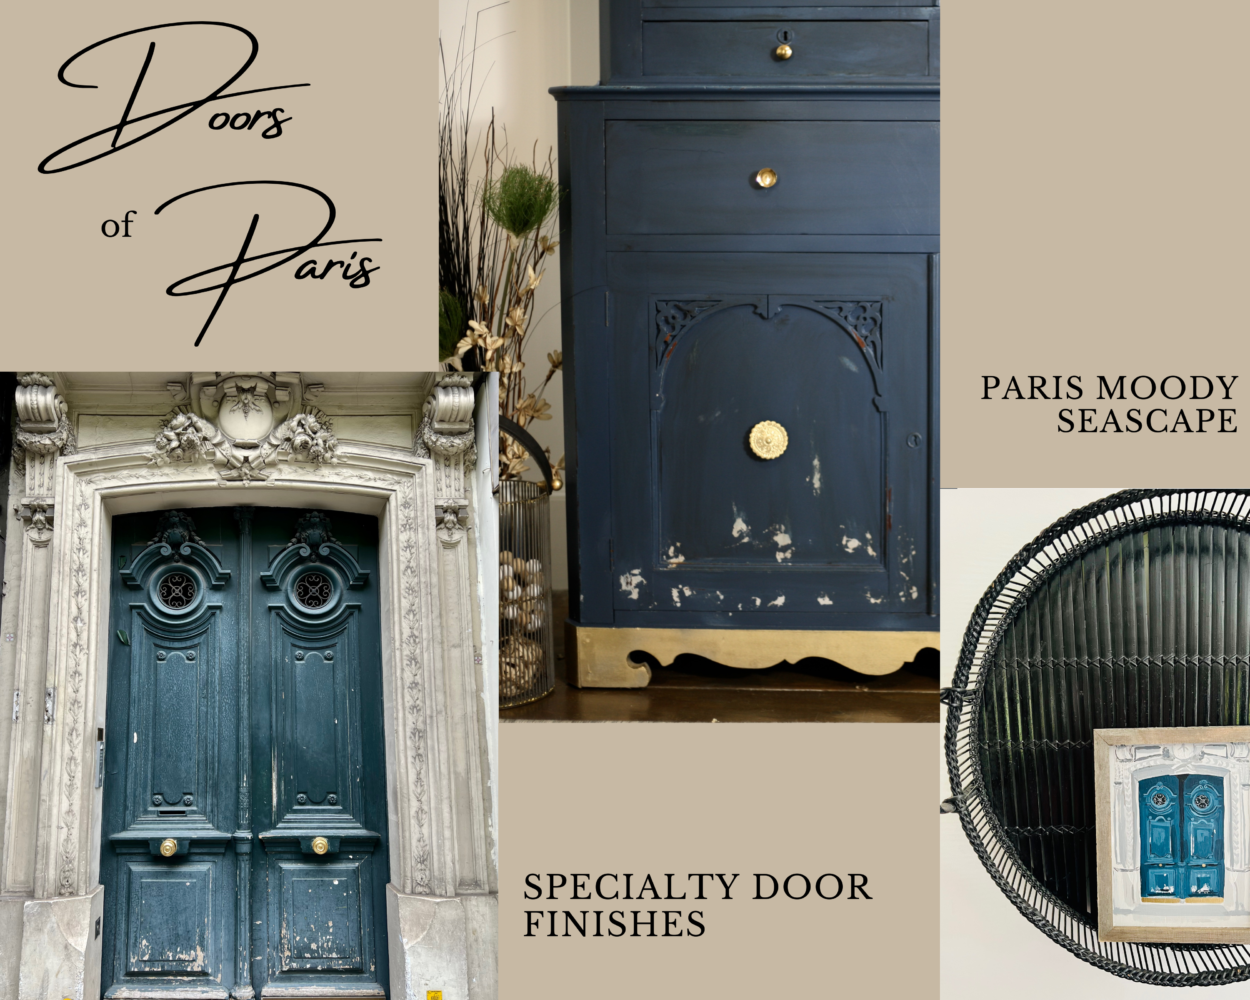
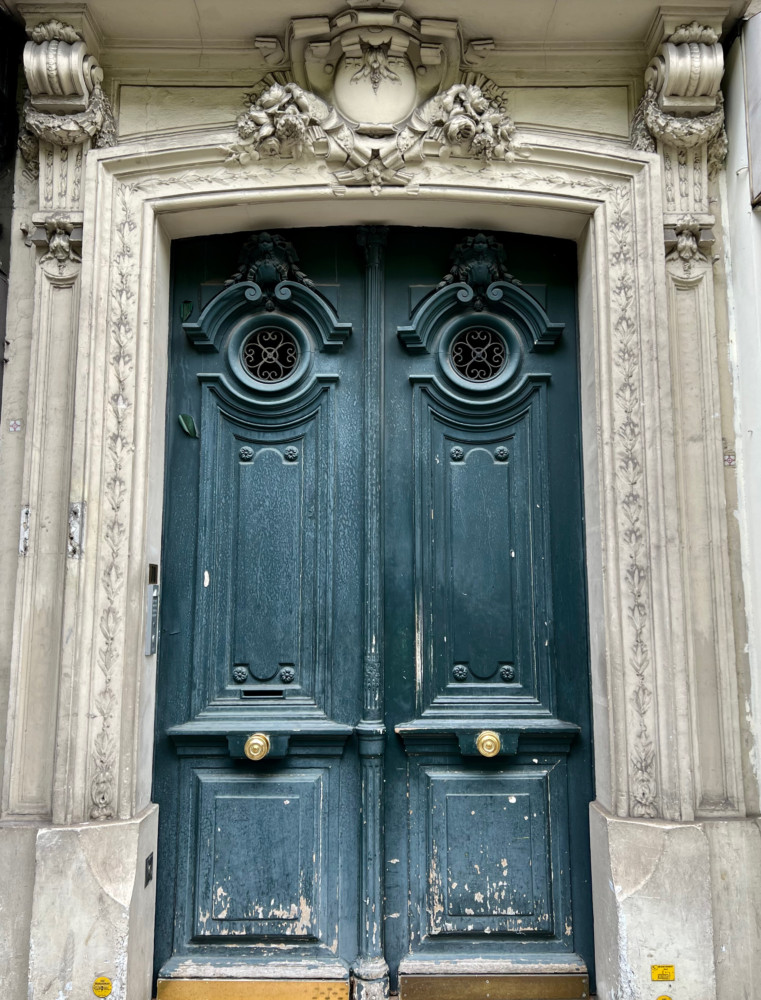
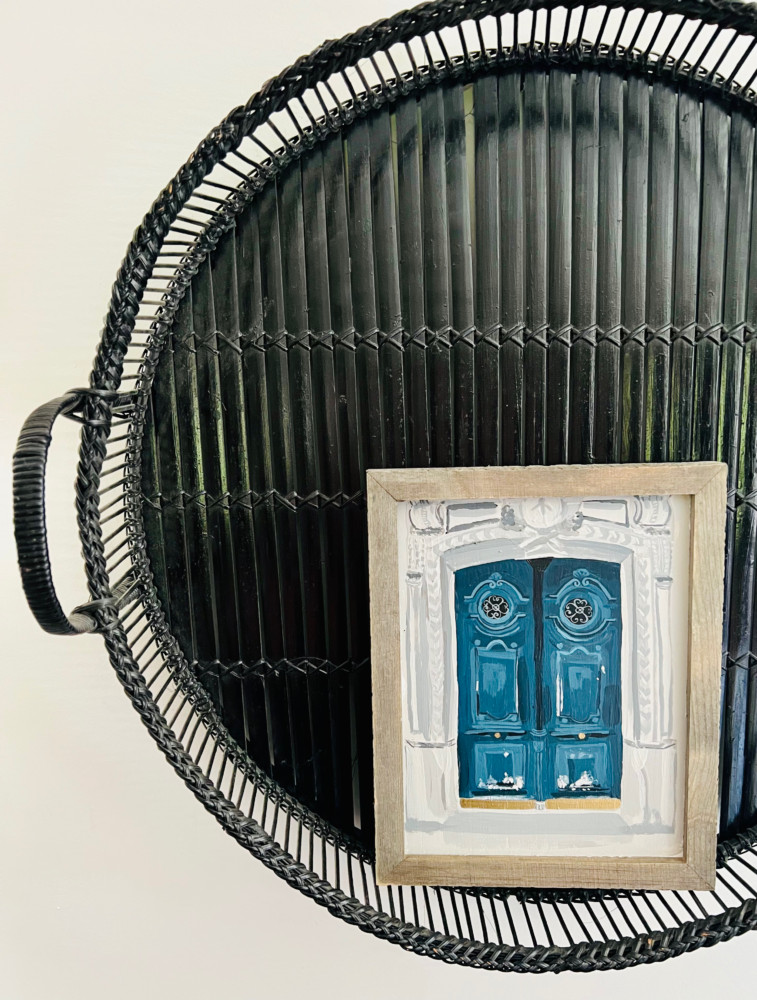
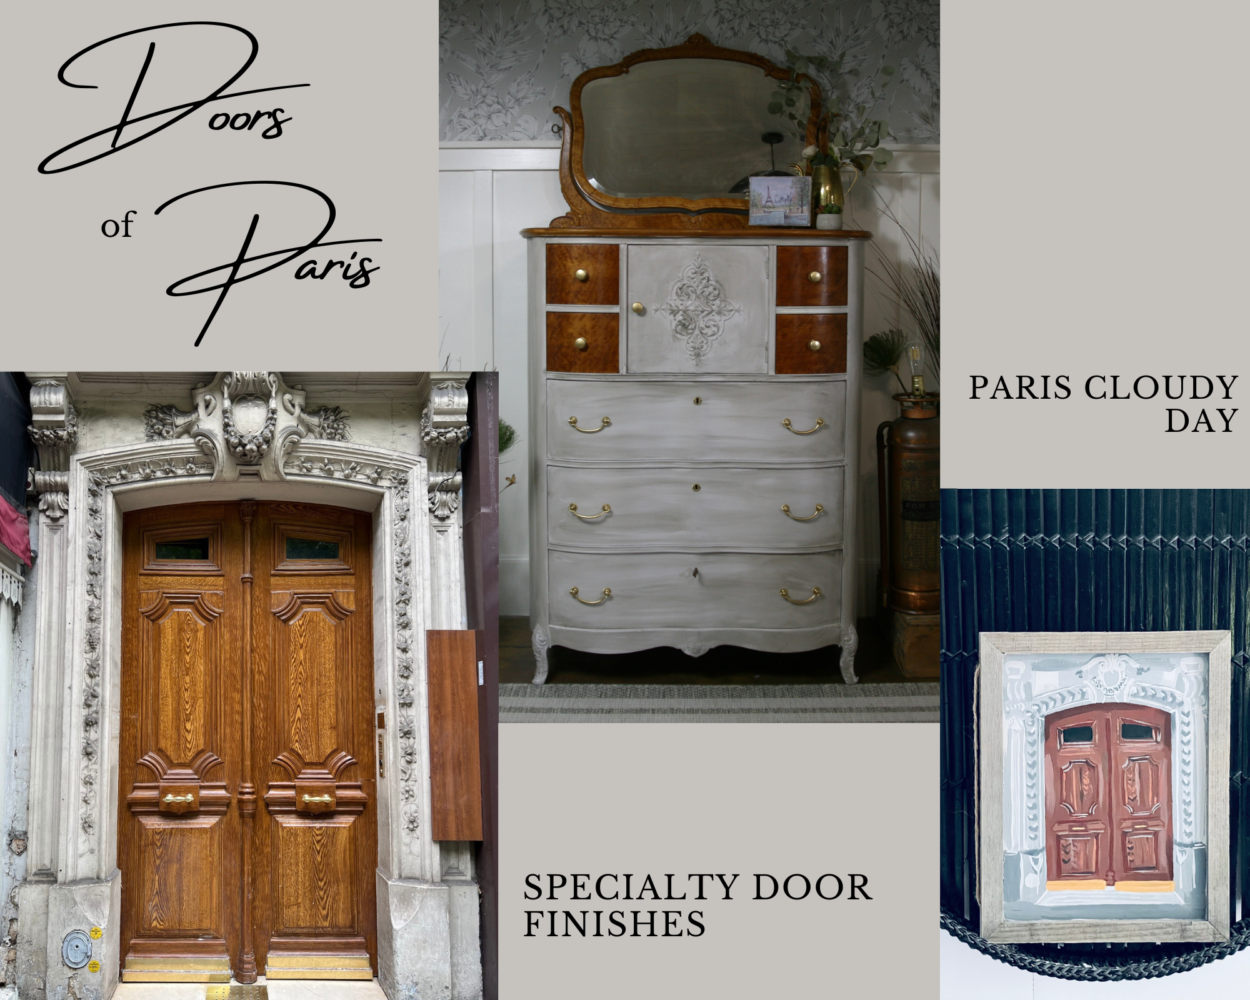
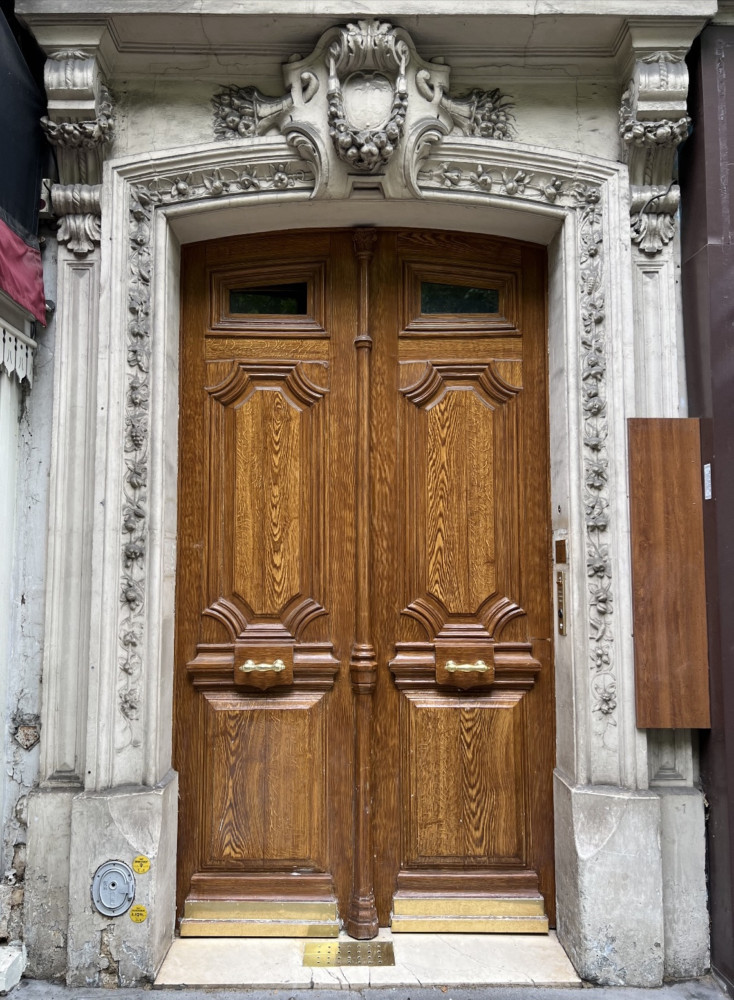
If you missed our prior post or are new to the FunCycled blog, we started specialty finishes on furniture inspired by old doors. This door was another door from our Paris trip and will be part of our specialty finishes posts.
Here’s the door we loved:
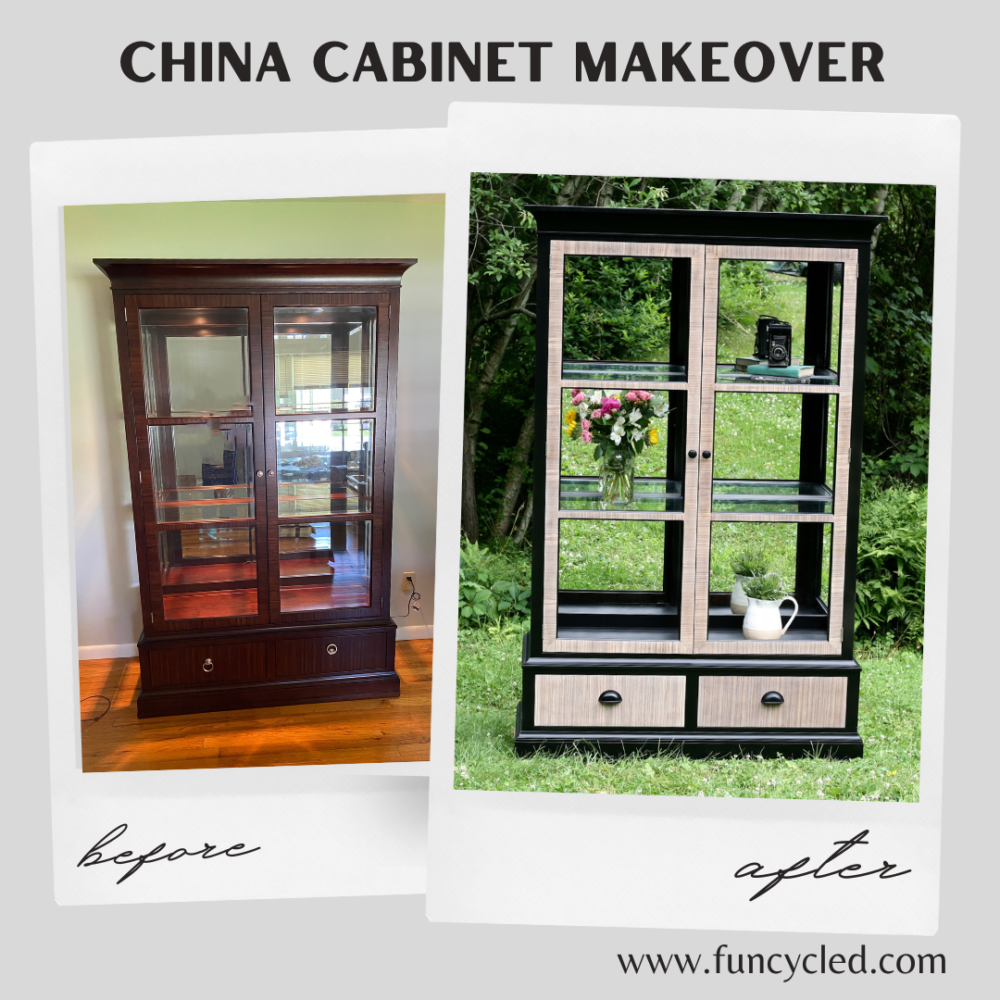
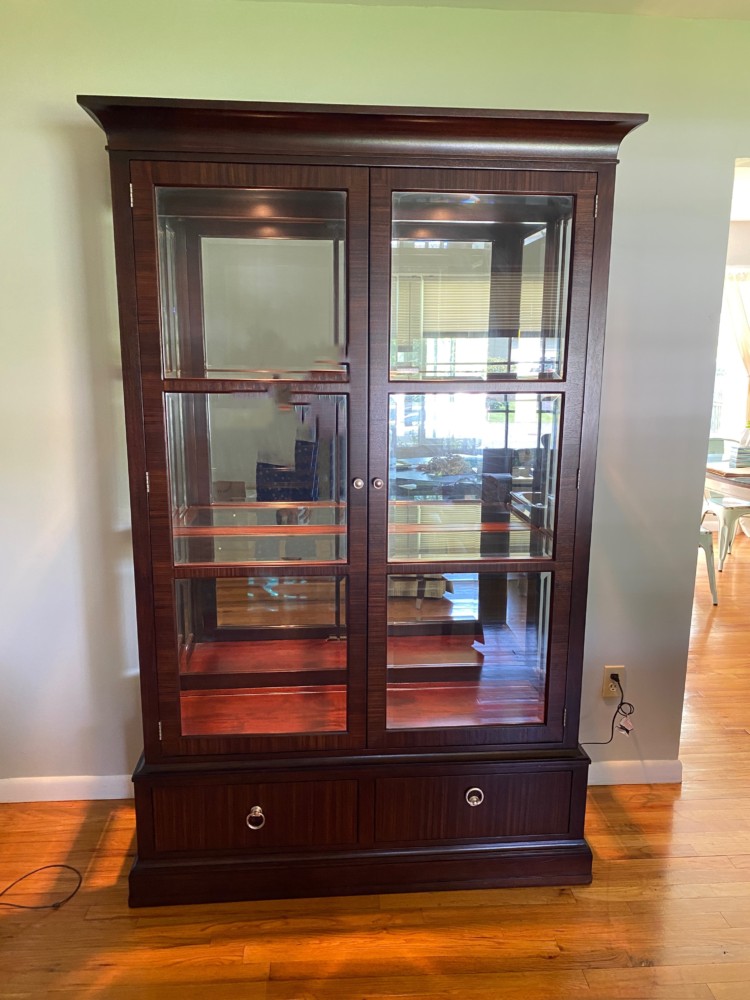
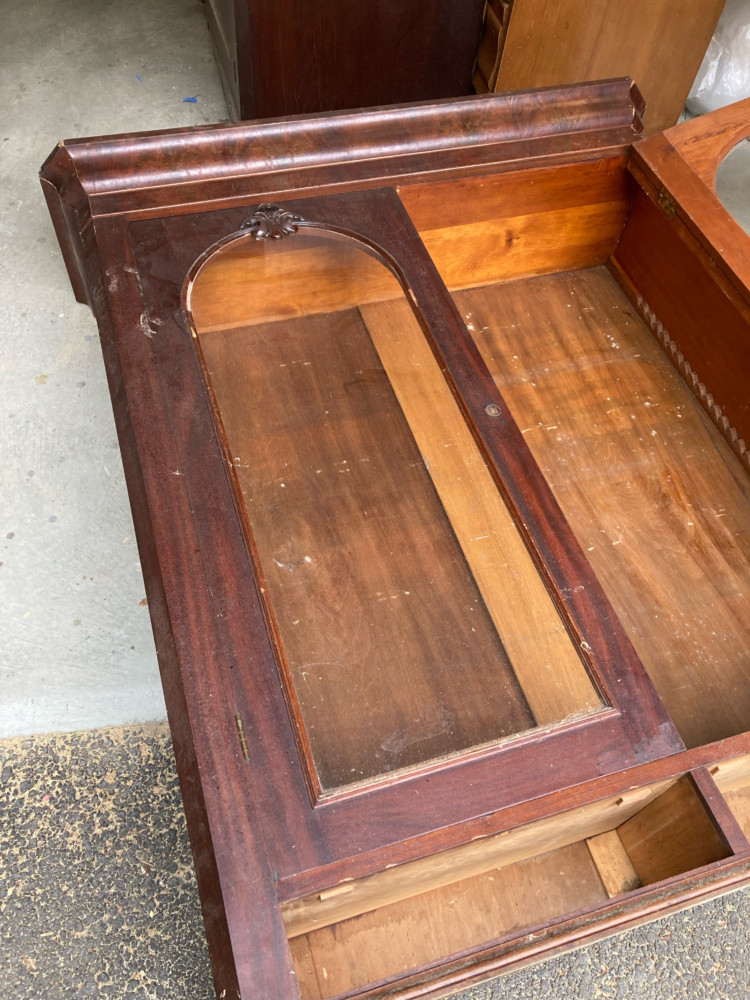
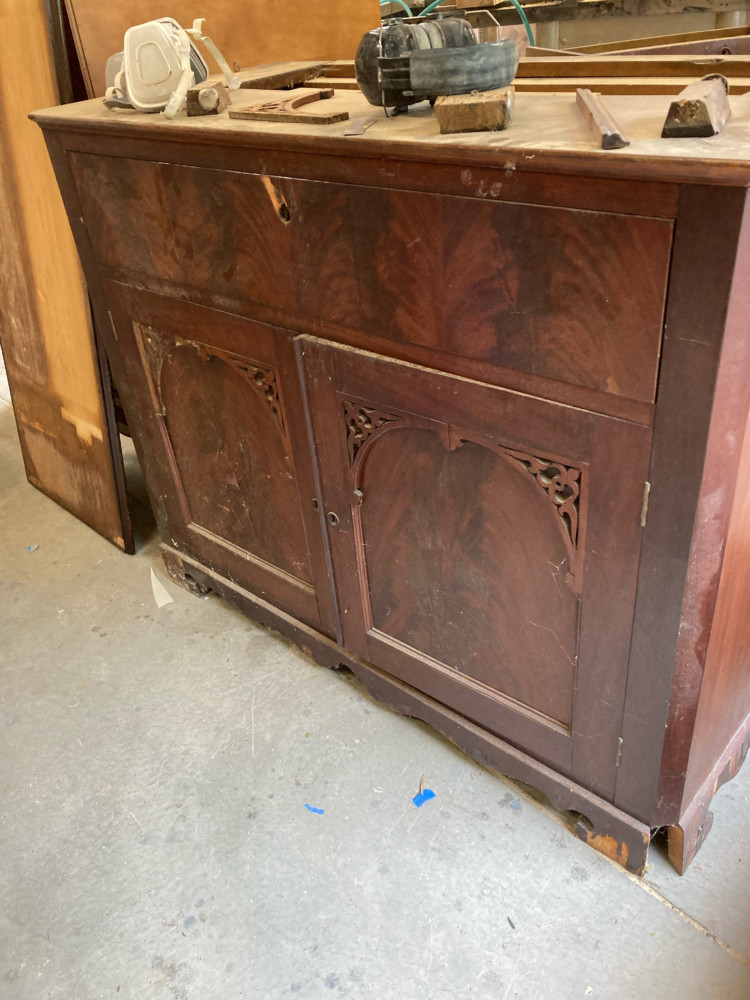
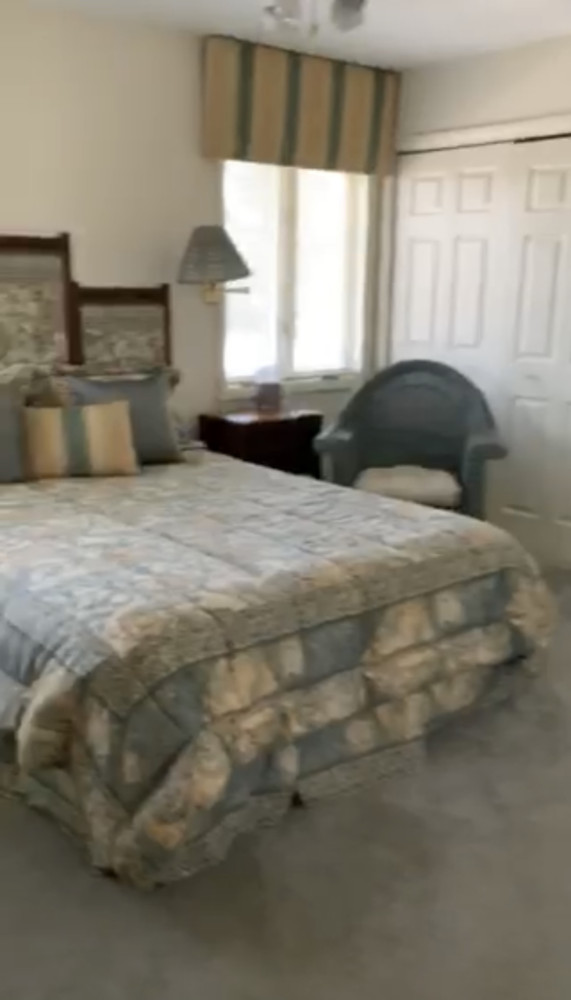
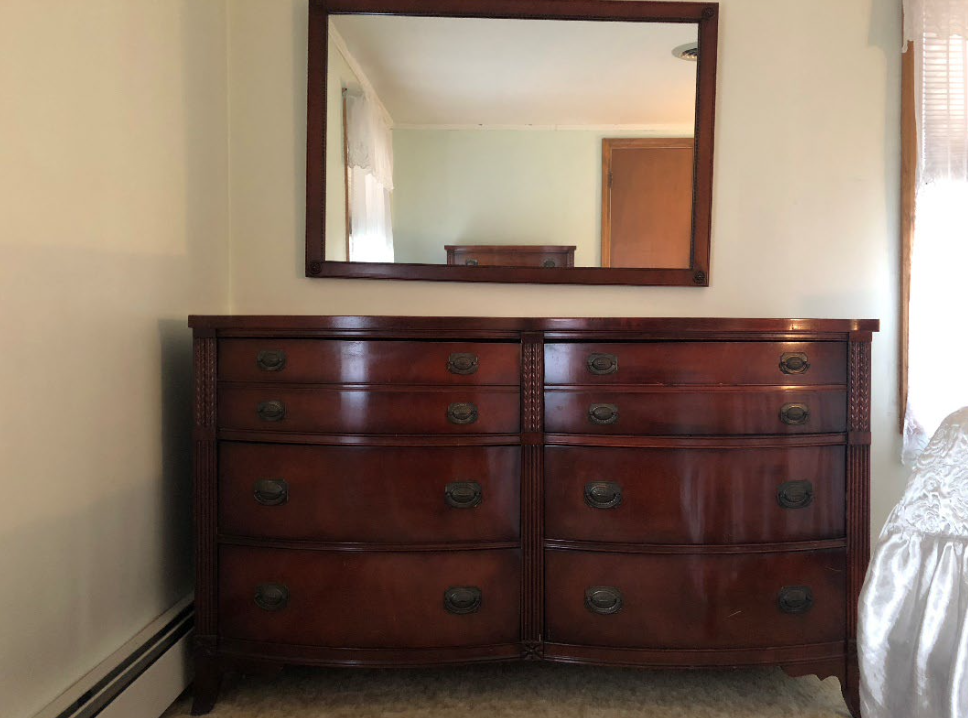
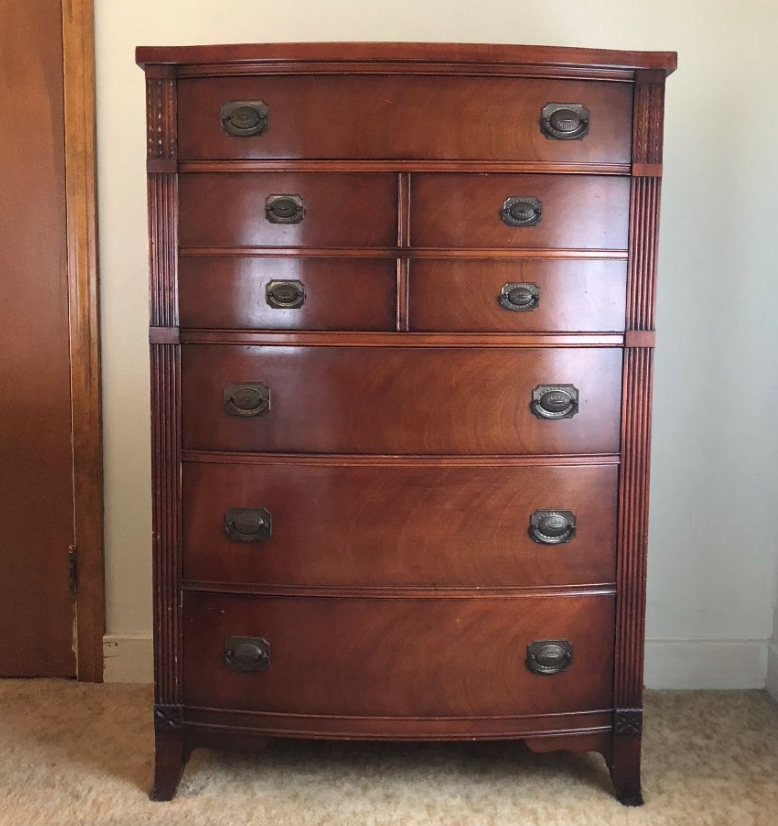
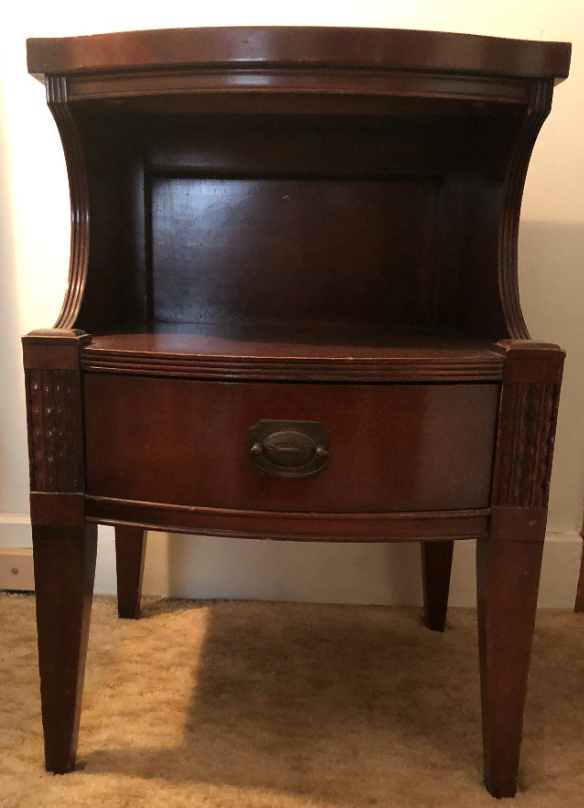
I was keeping an eye out for a piece with the right color and feel to recreate this door finish and came across this beautiful on Facebook marketplace.
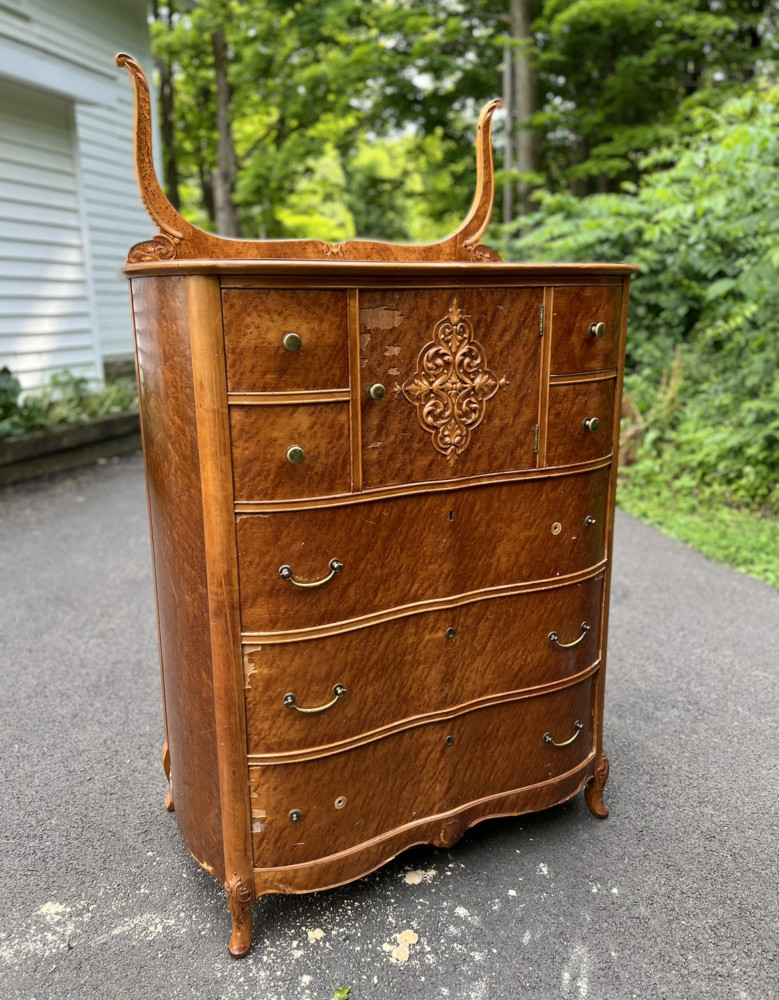
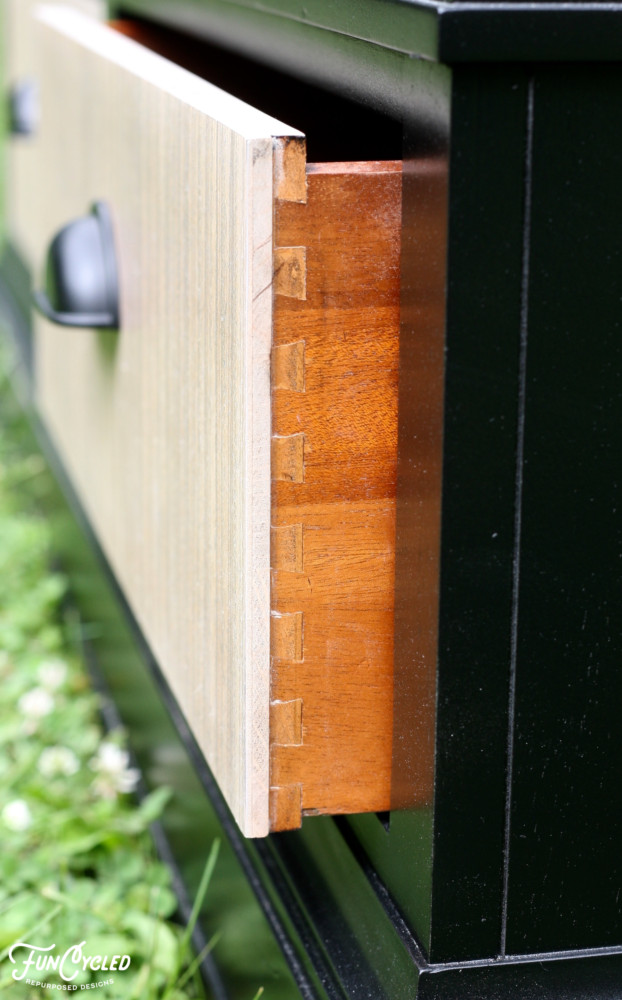
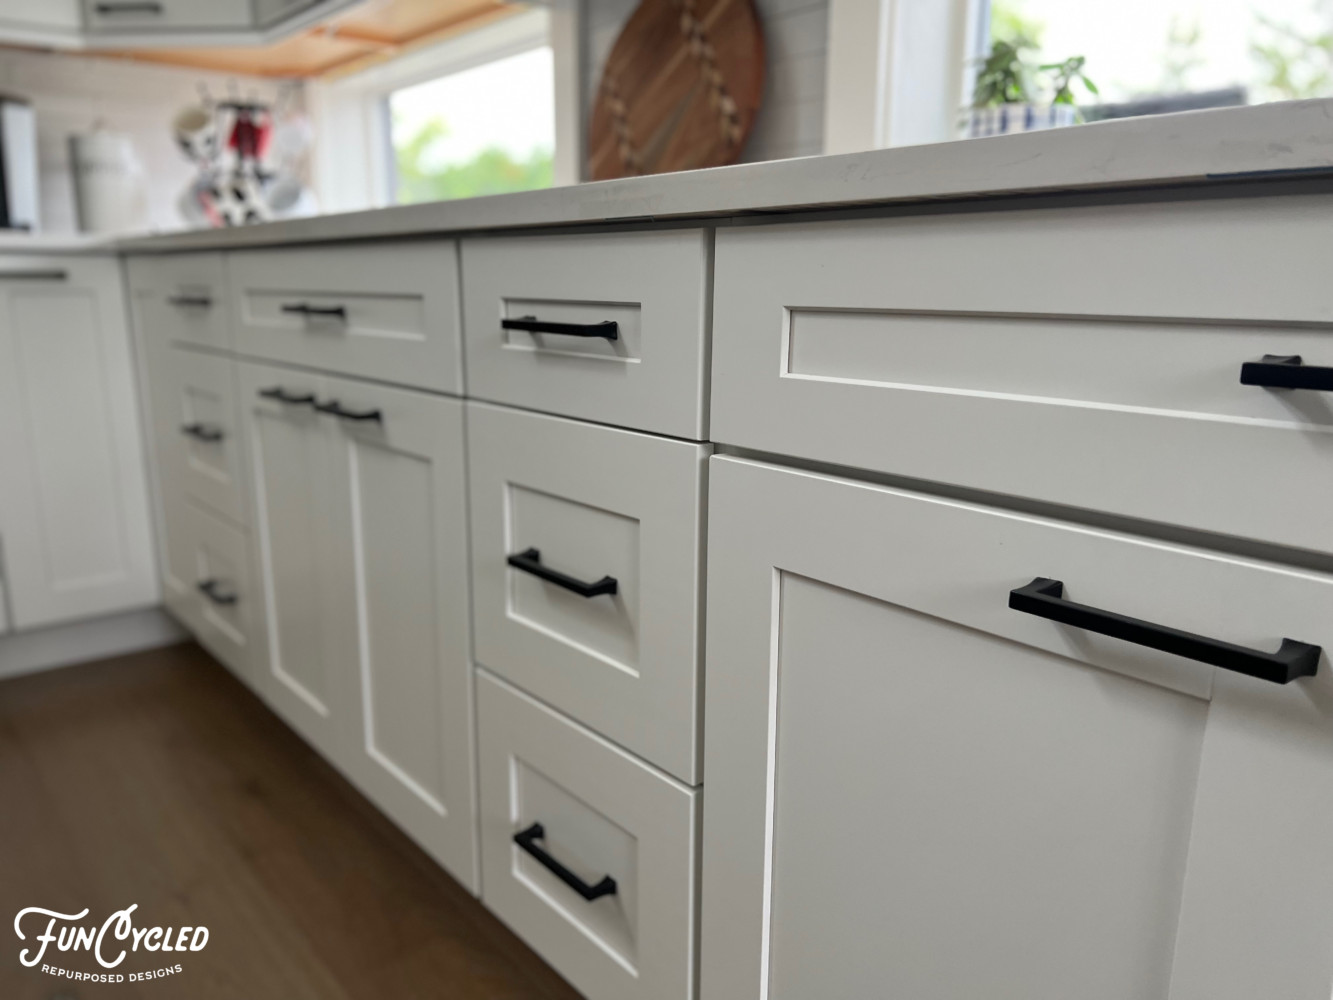
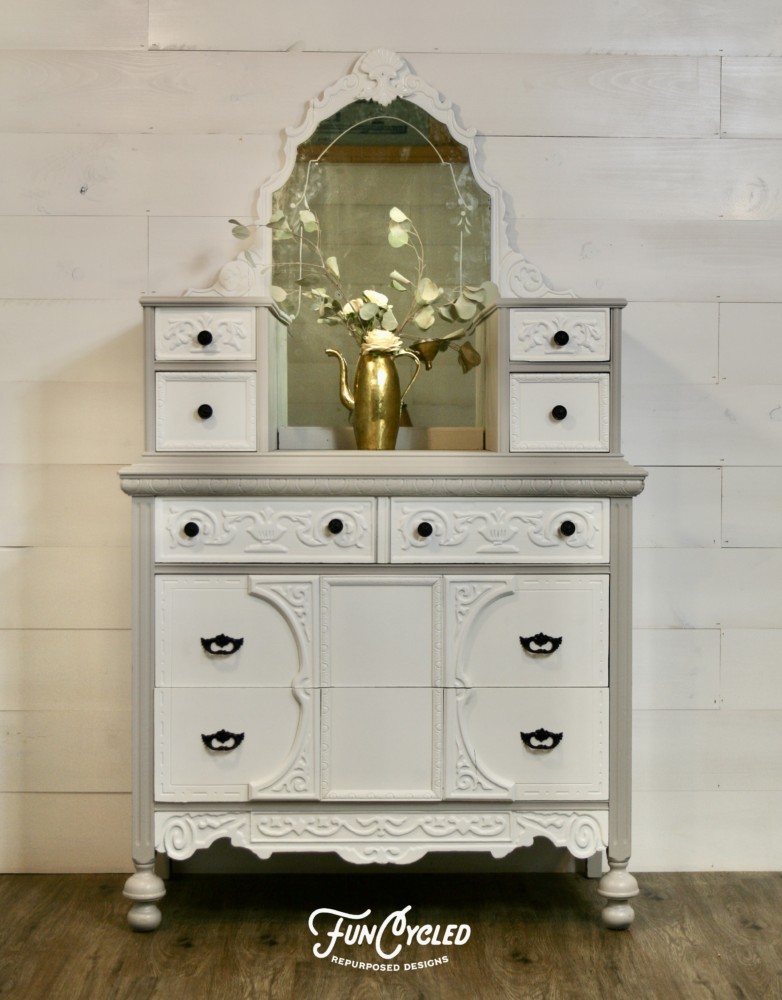
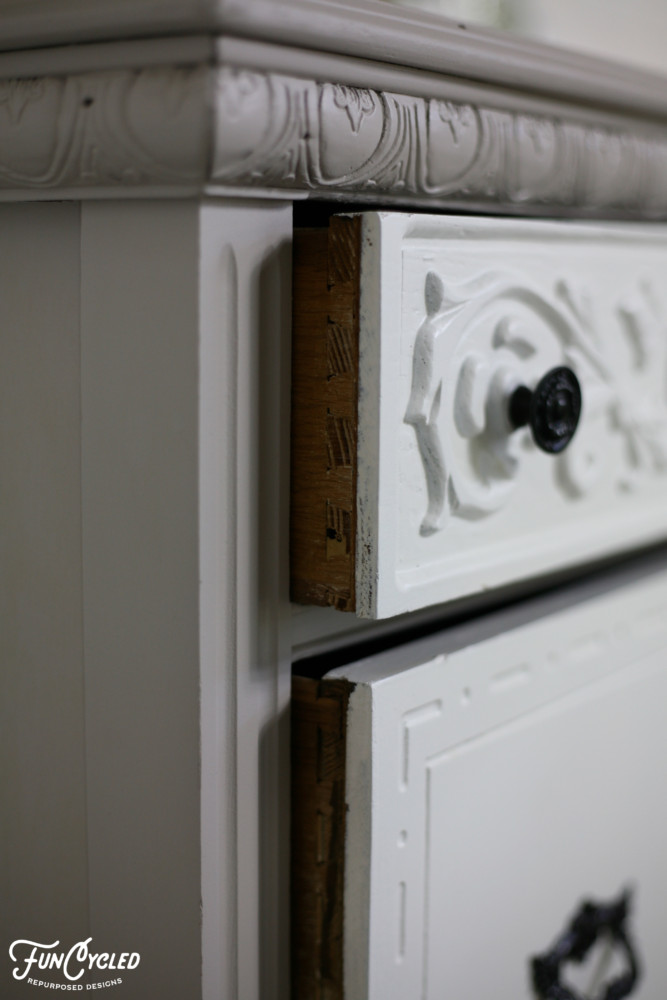
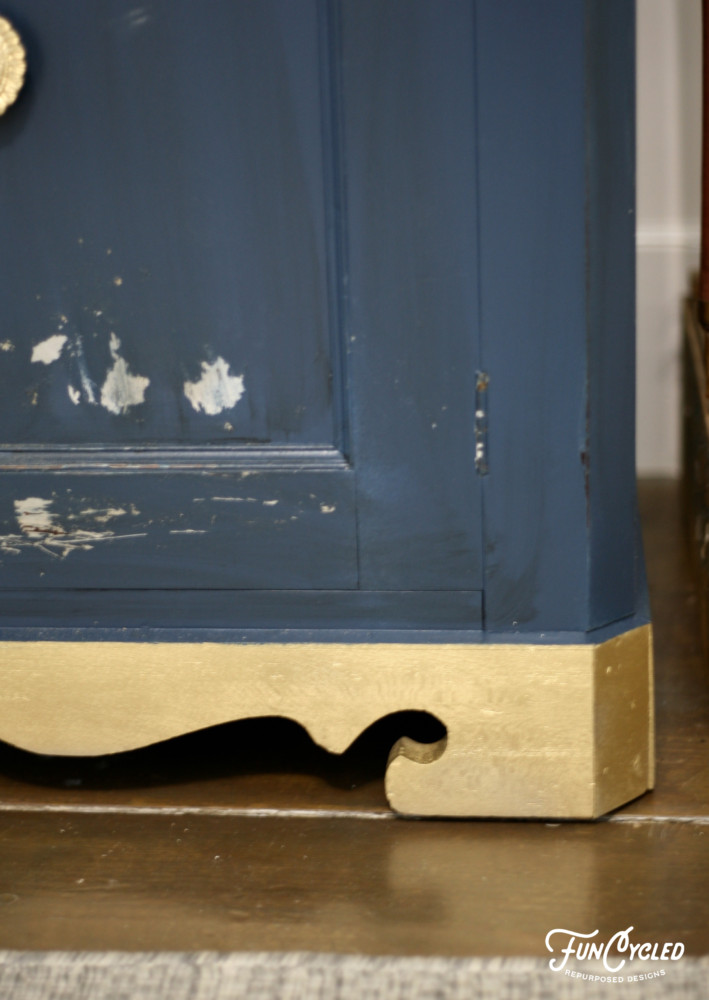
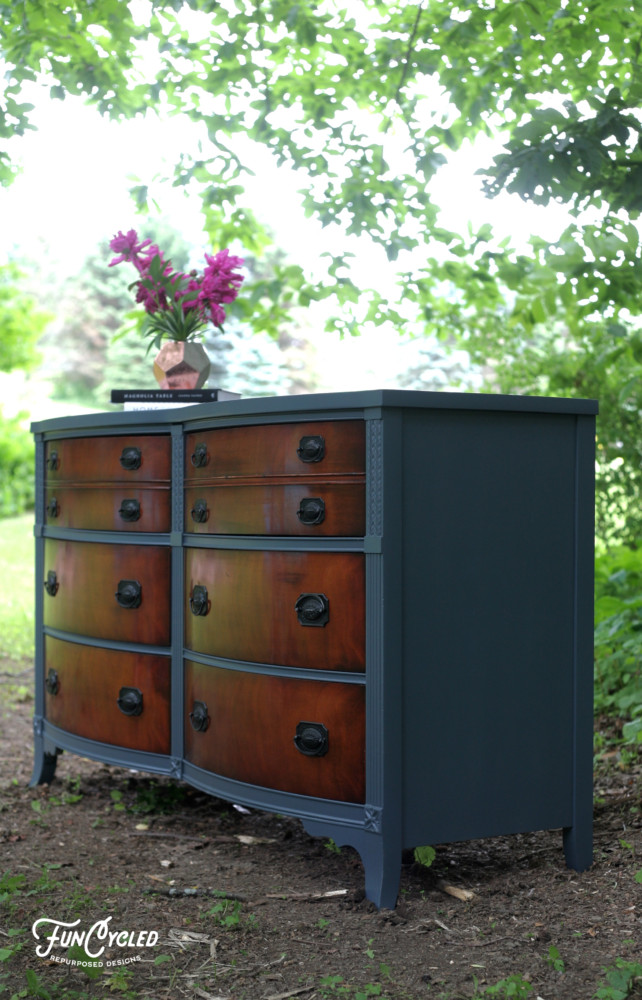
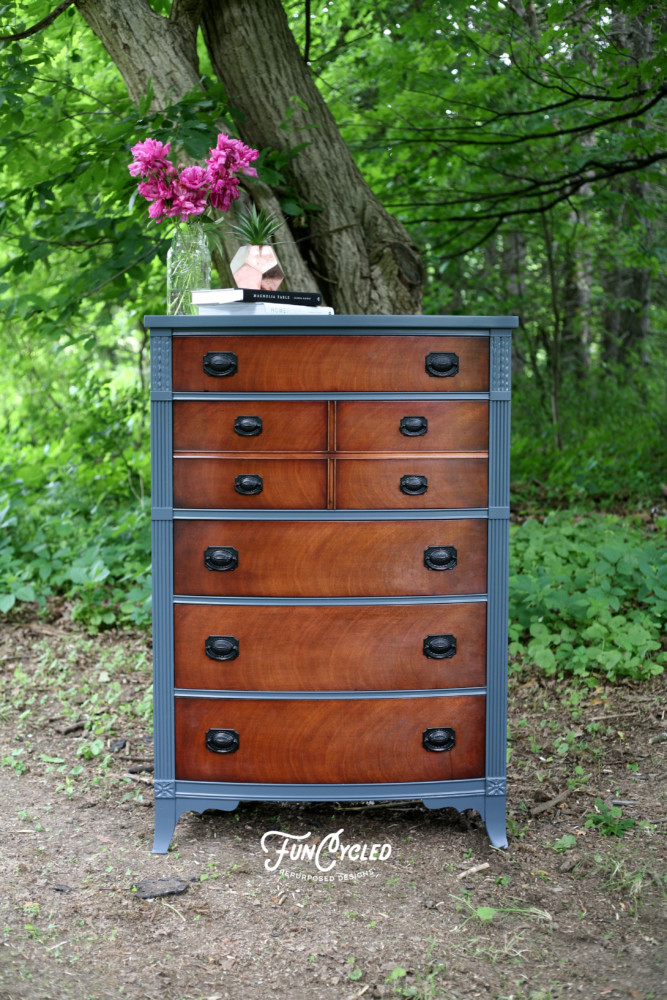
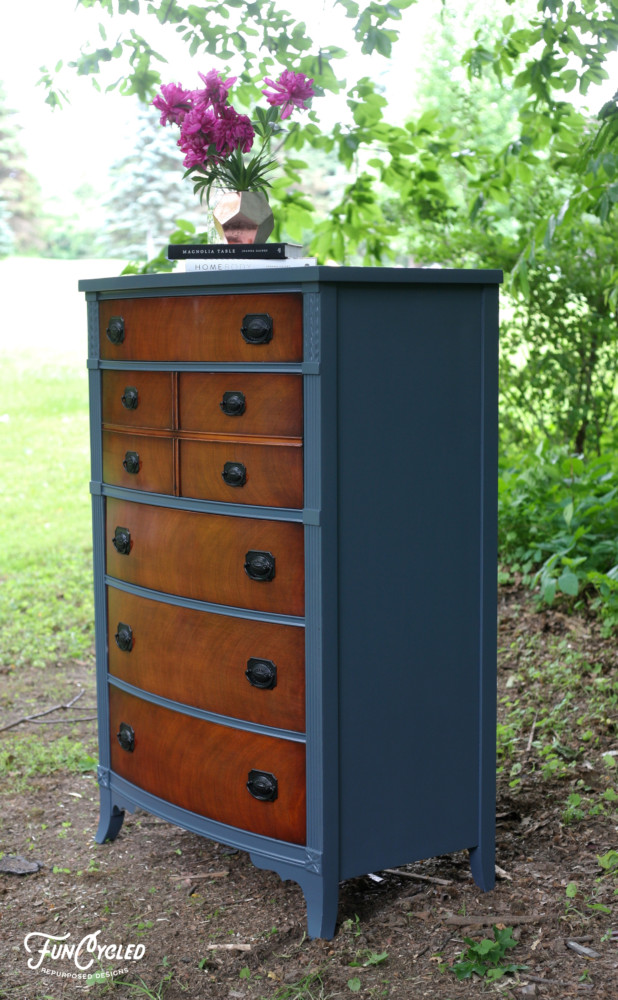
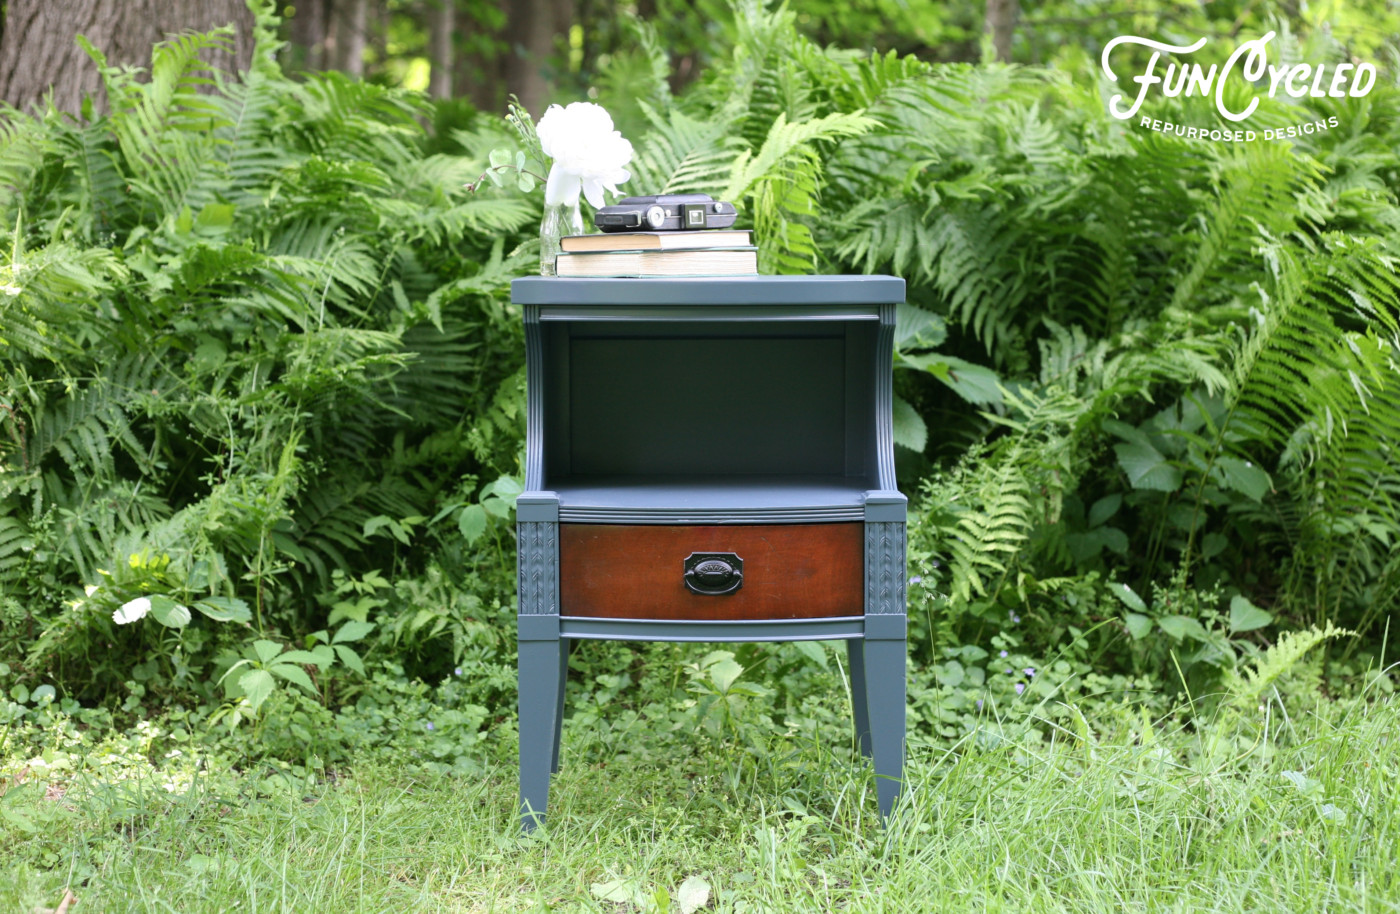
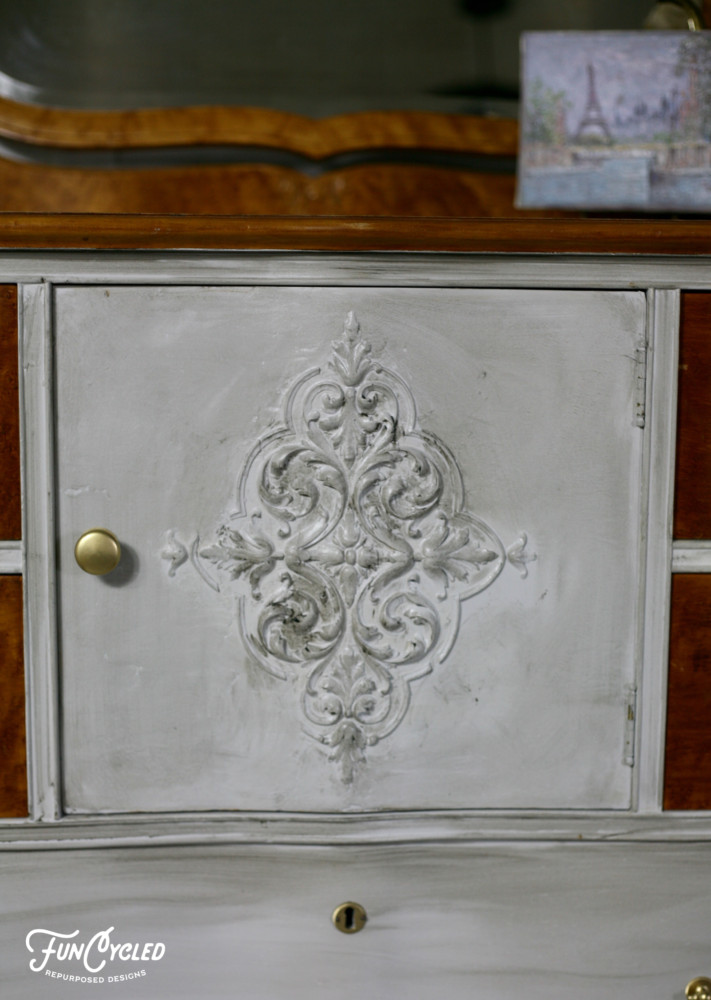
I loved the look of the maple veneer and wanted to keep as much of that showing as possible, but so much of it was damaged. So we repaired the damaged sections and painted over them and then kept the wood in good condition as is. This piece even had the original key that locks all of the drawers.
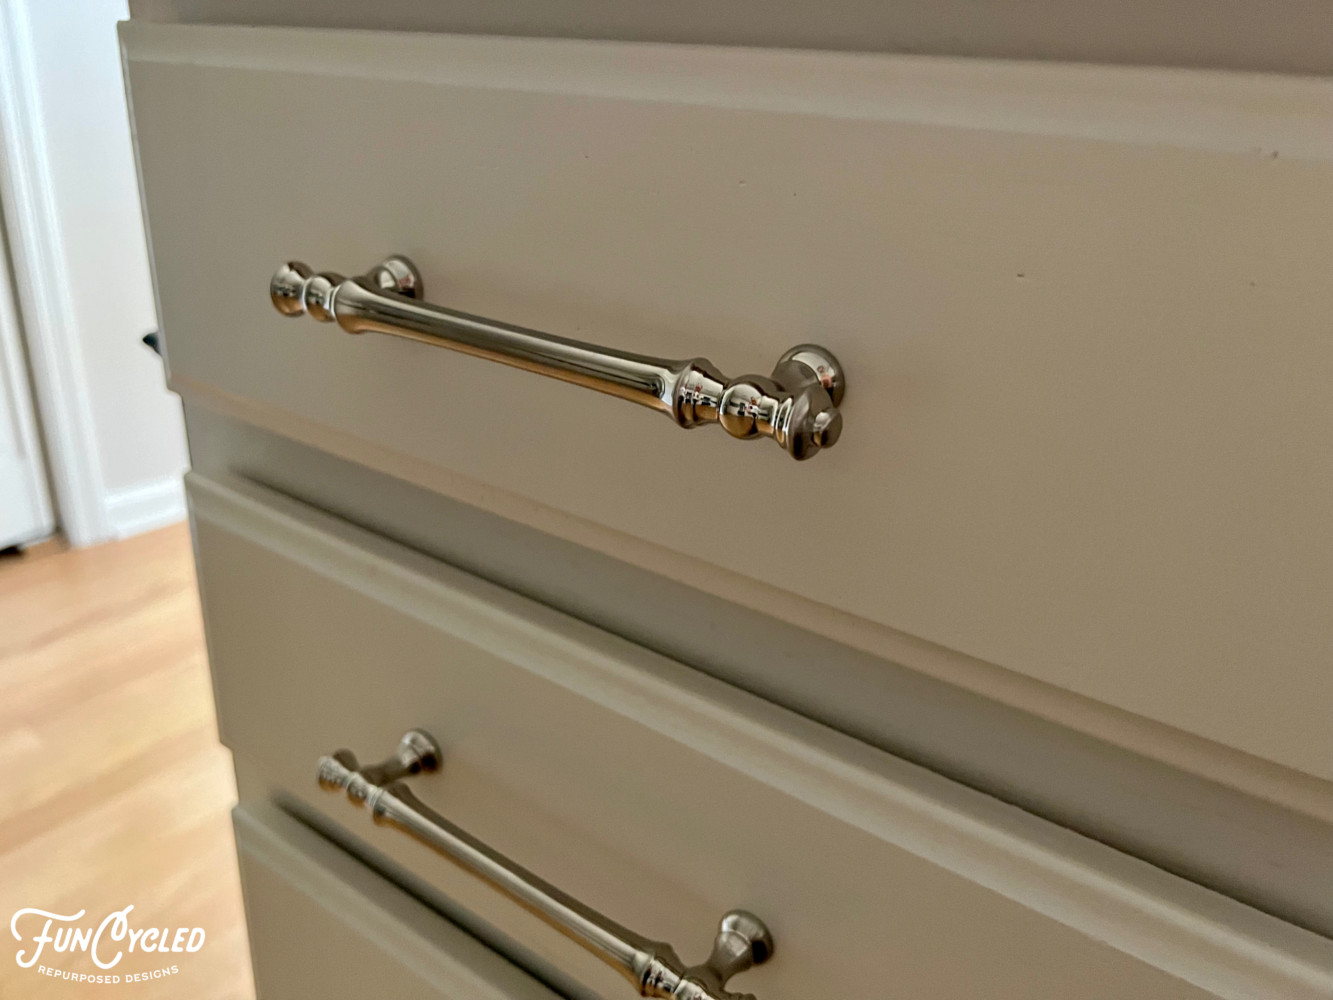
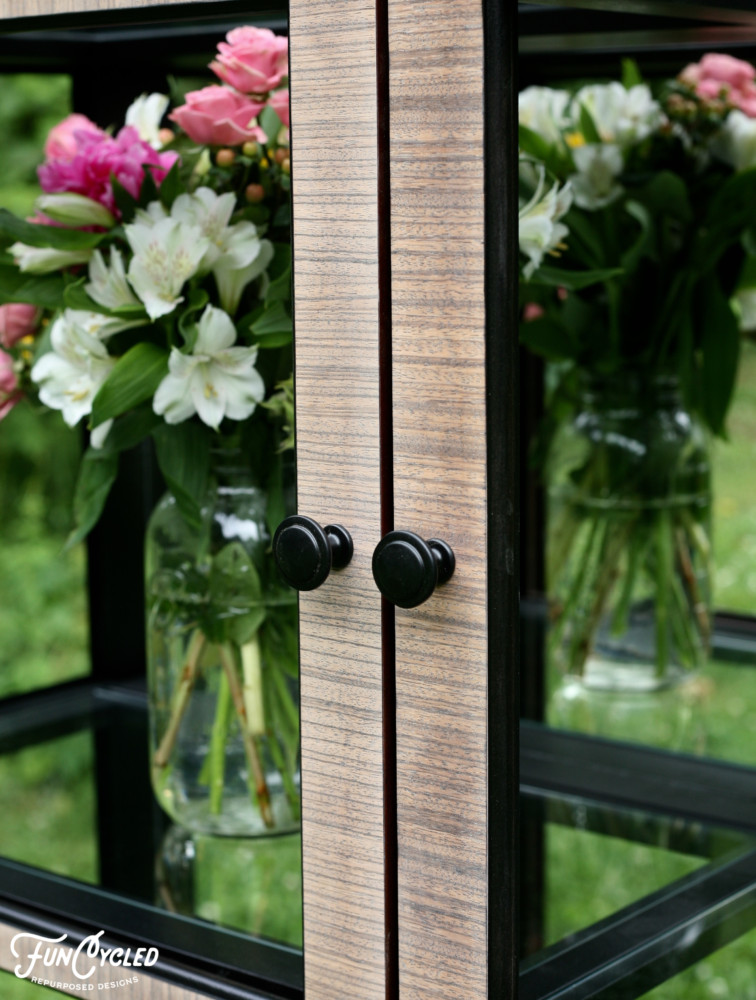
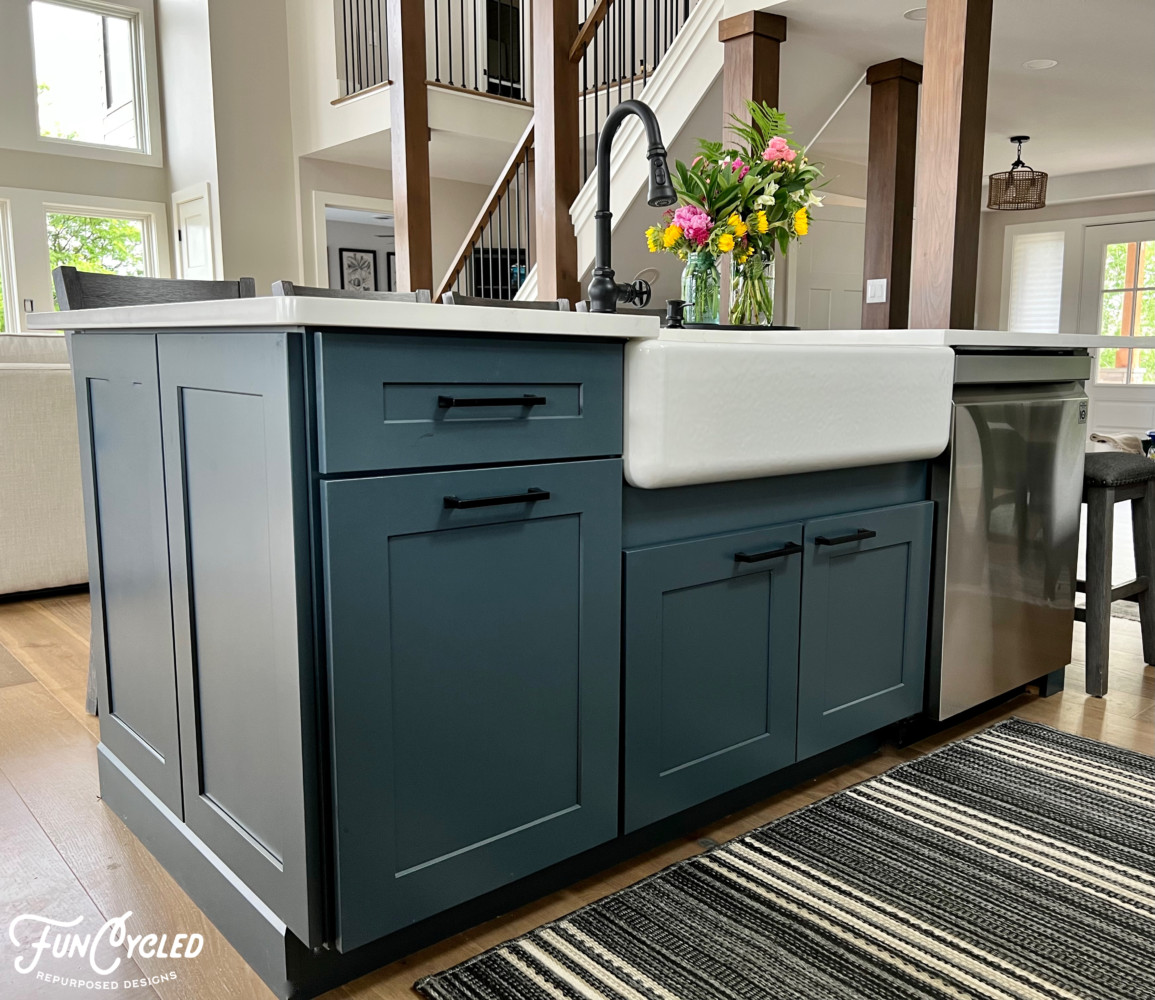
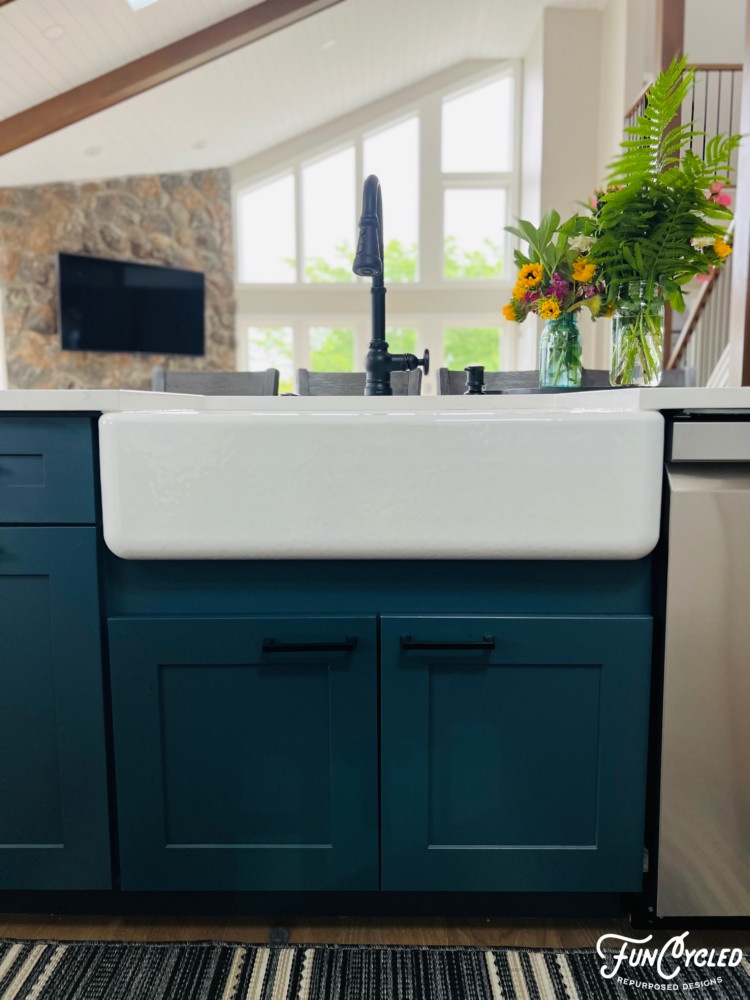
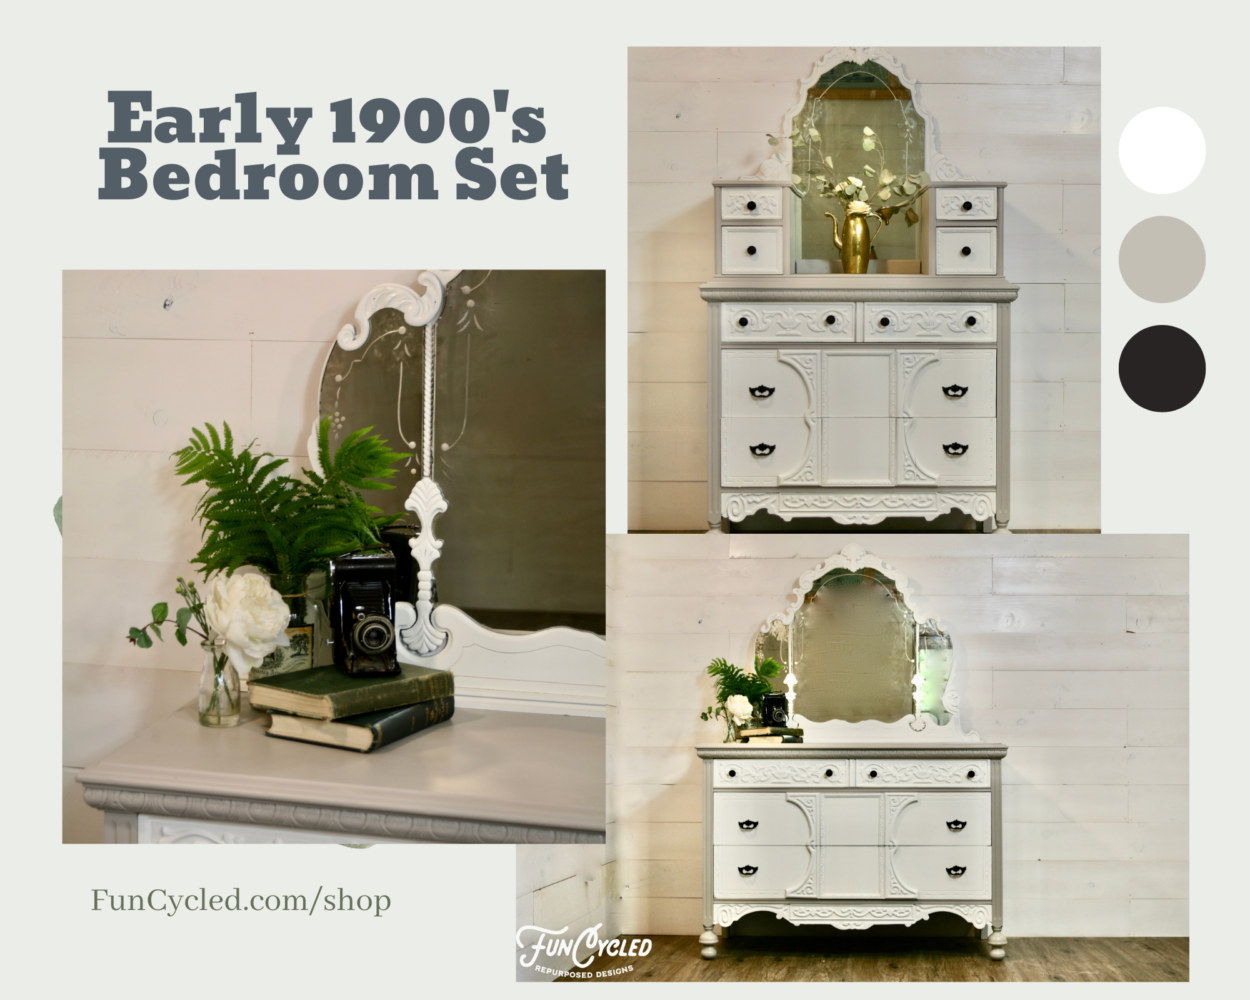
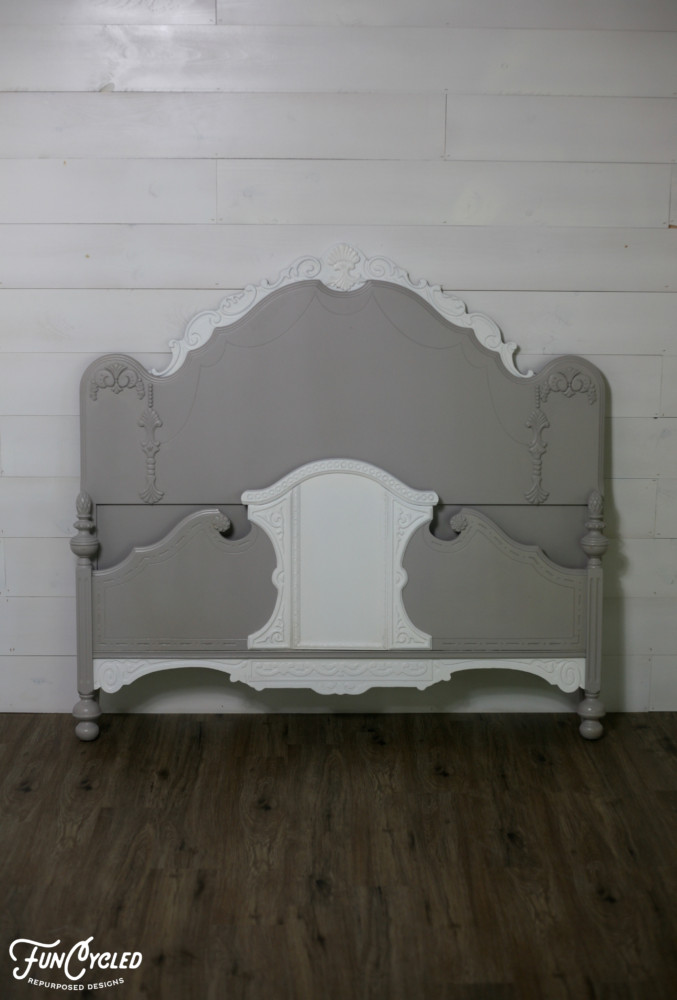
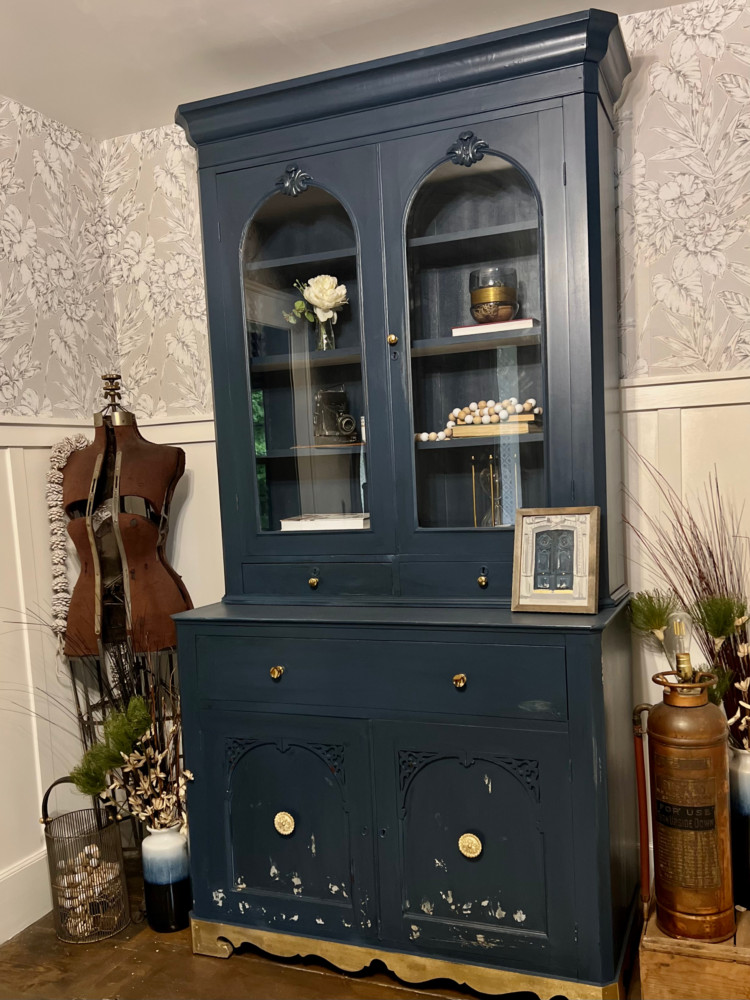
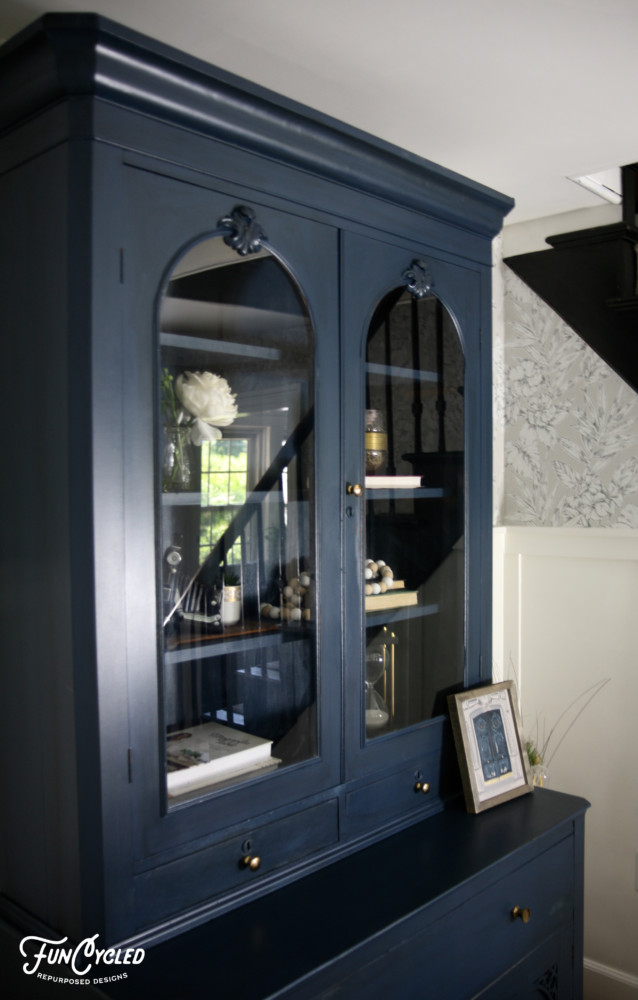
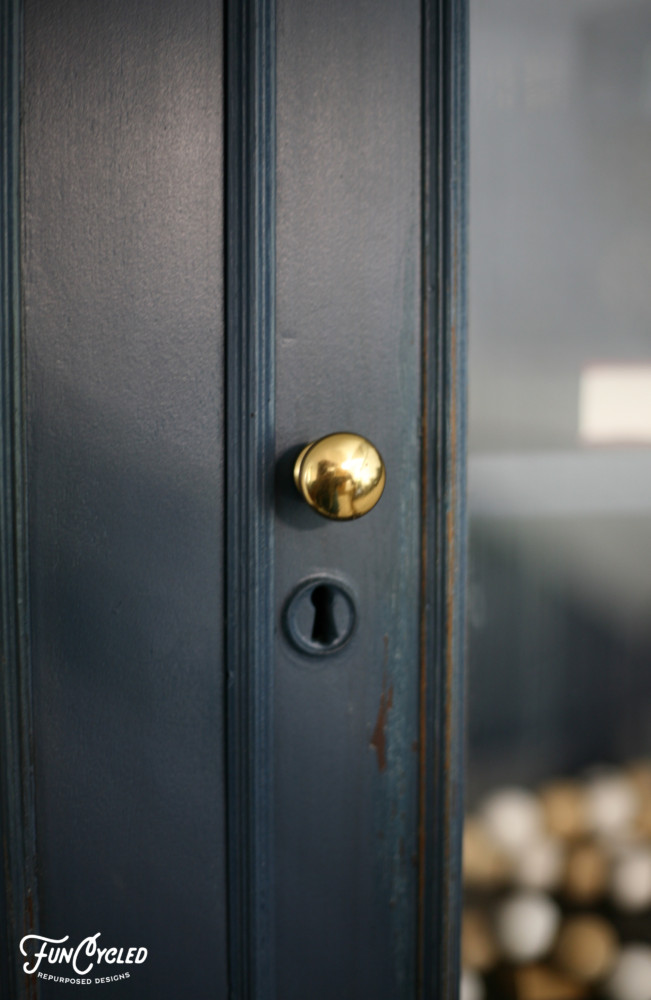
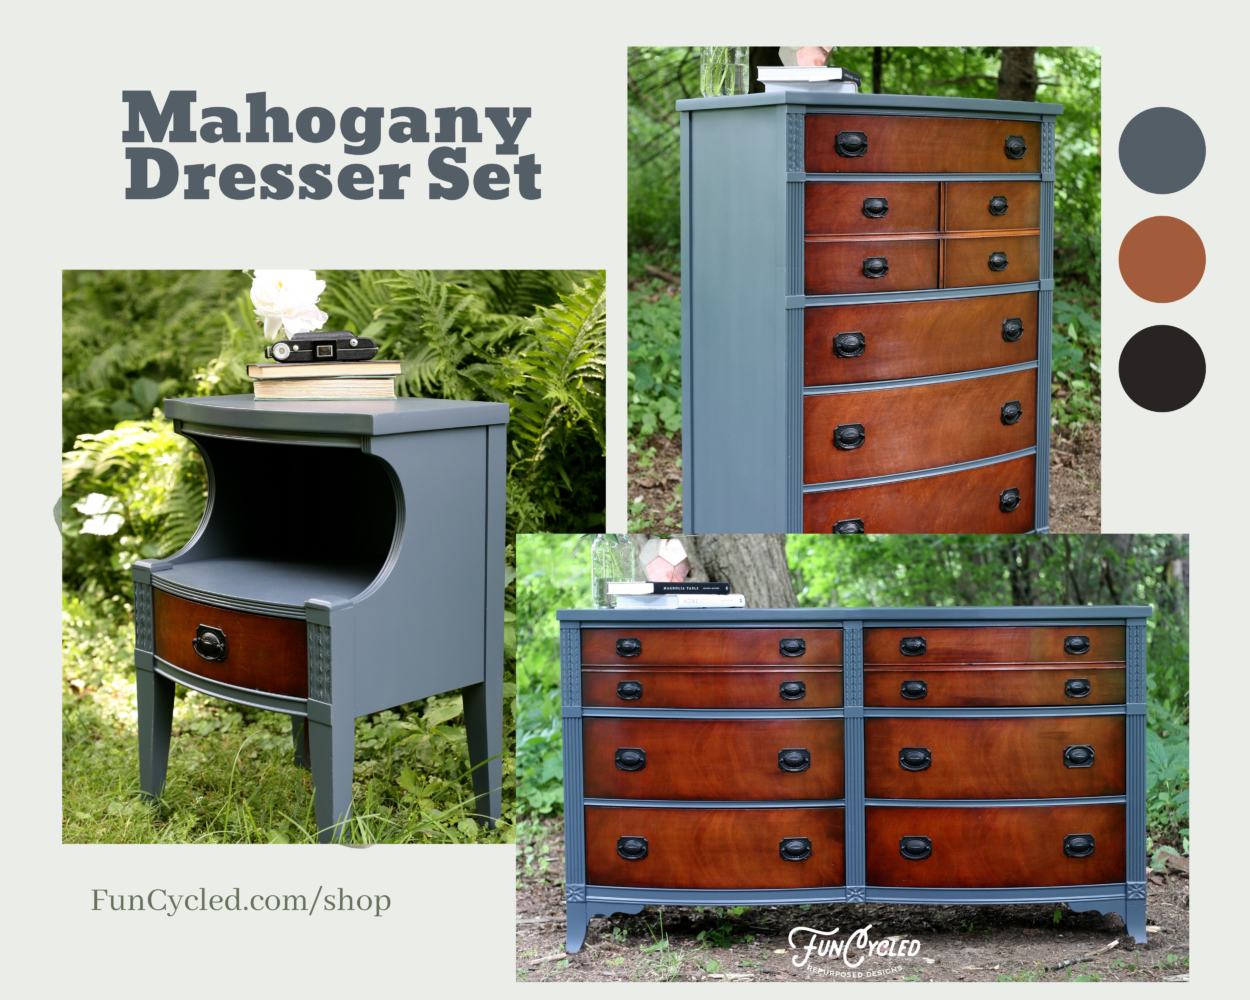
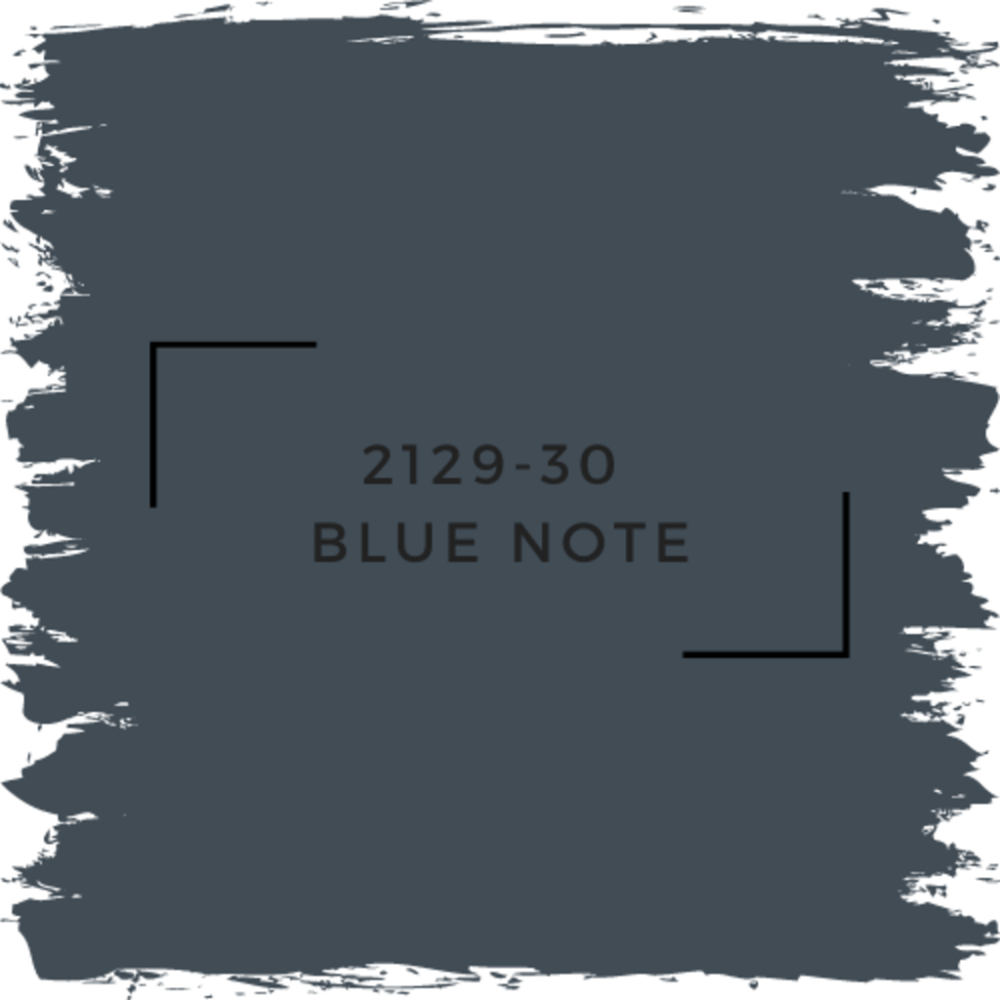
Color: Benjamin Moore Smoke Embers with a dark glazing.
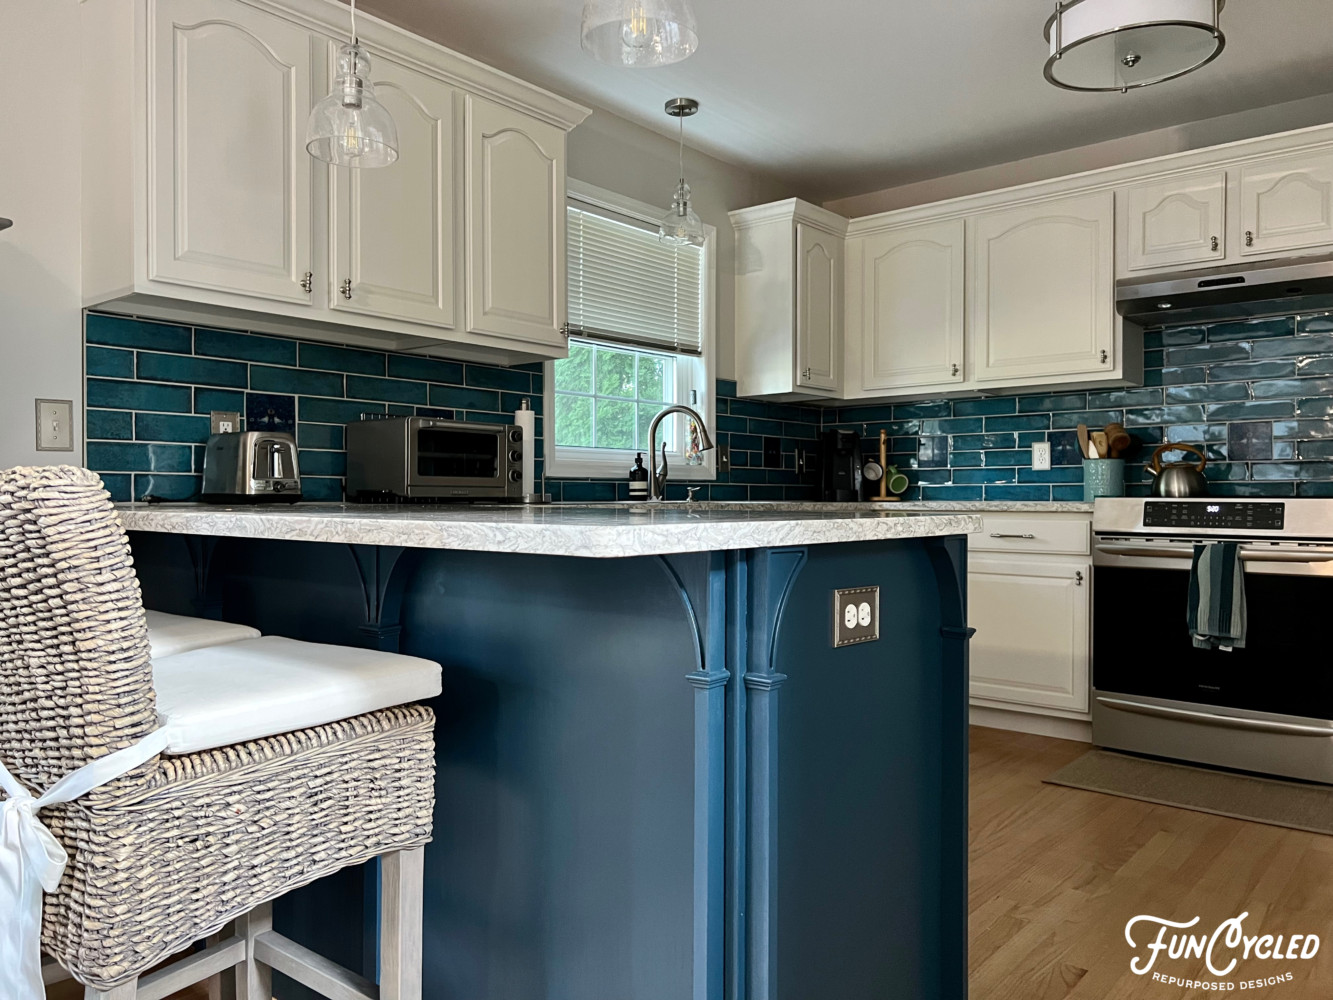
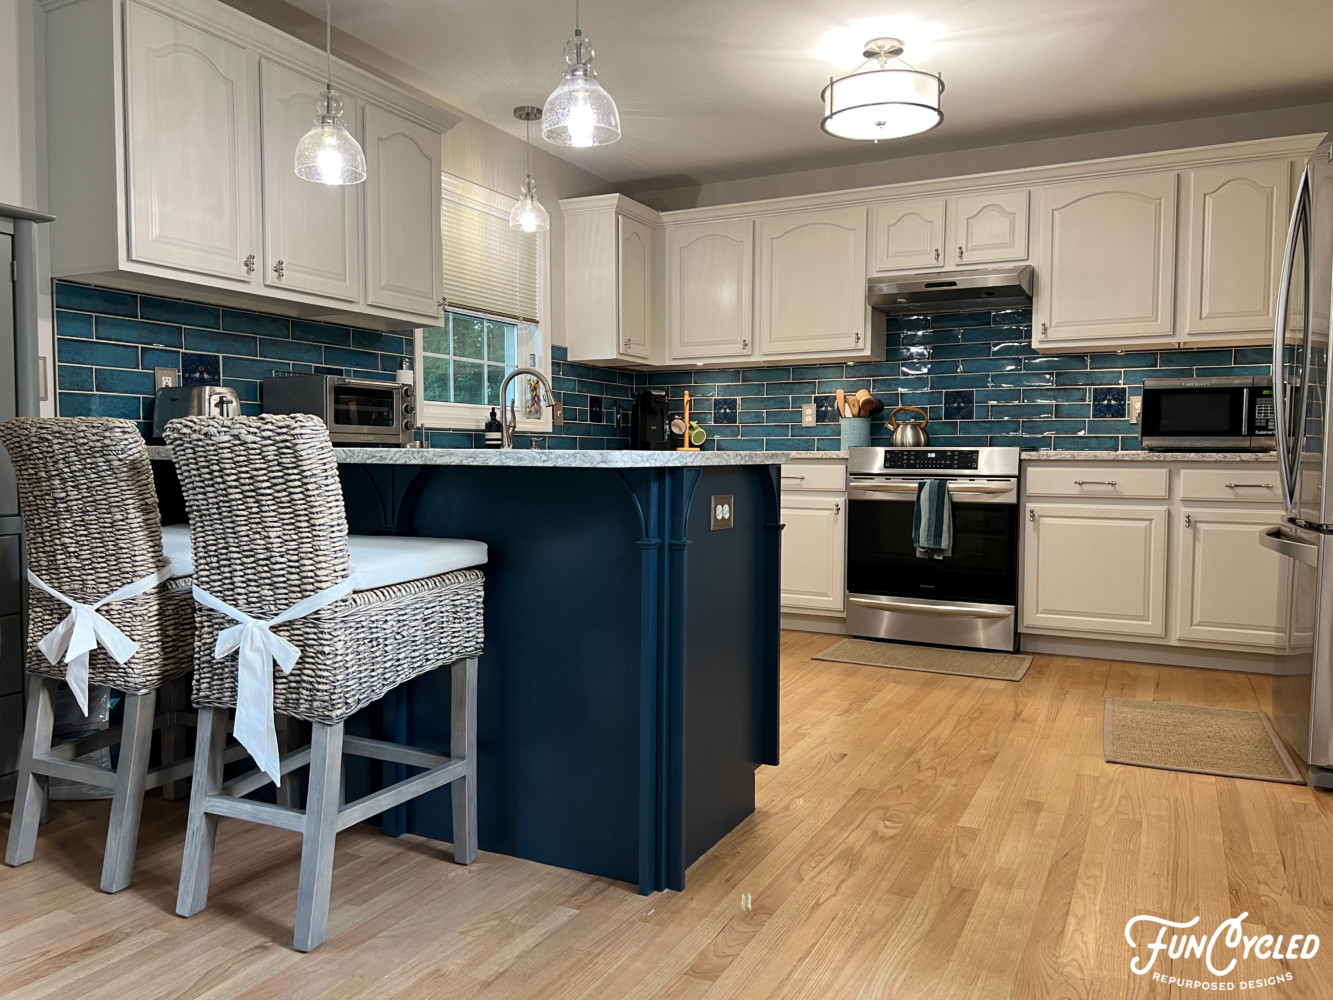
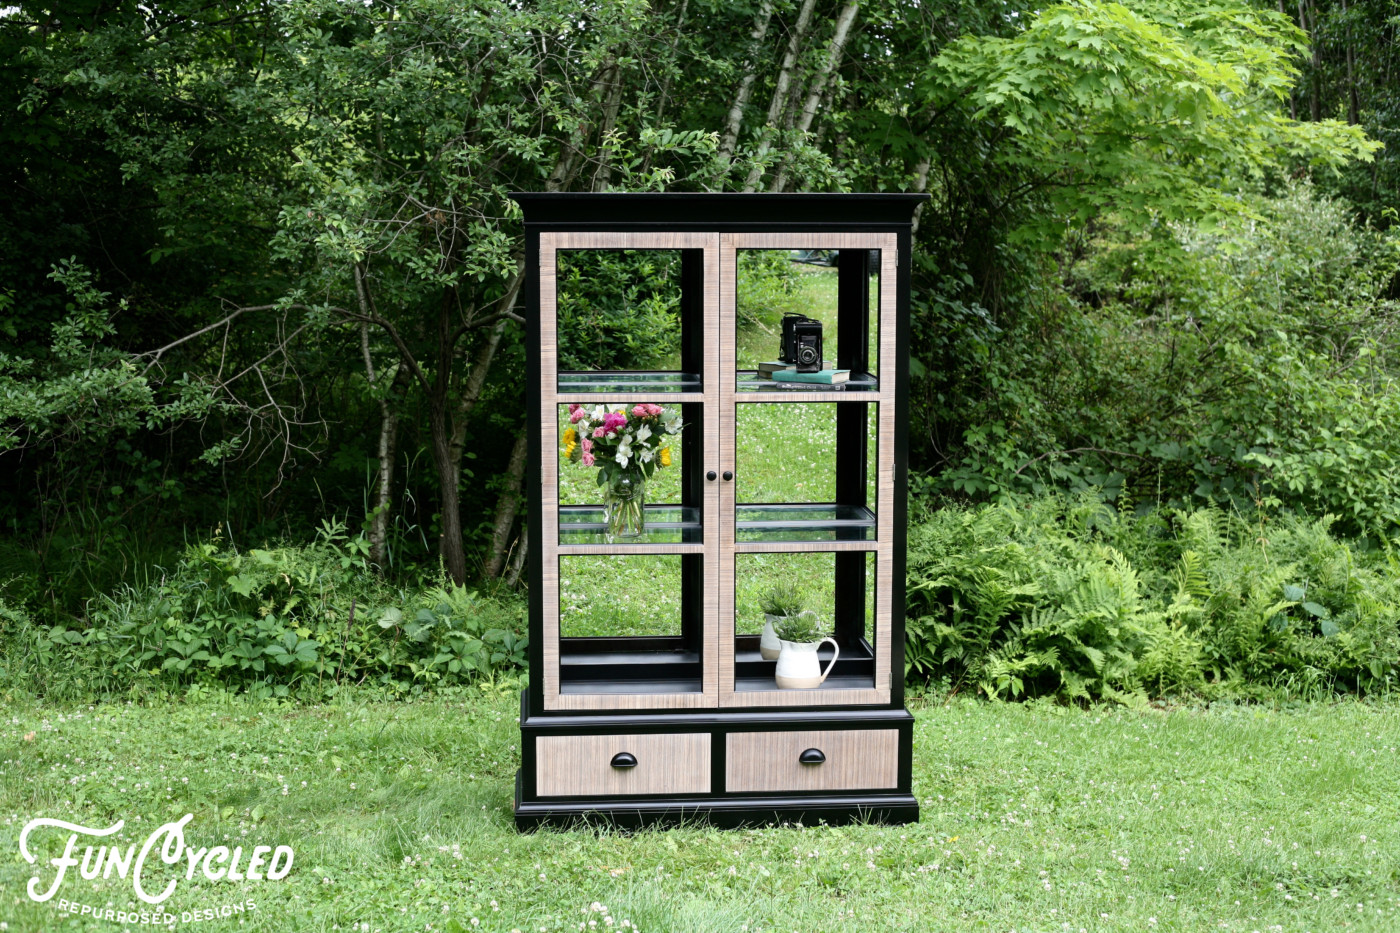
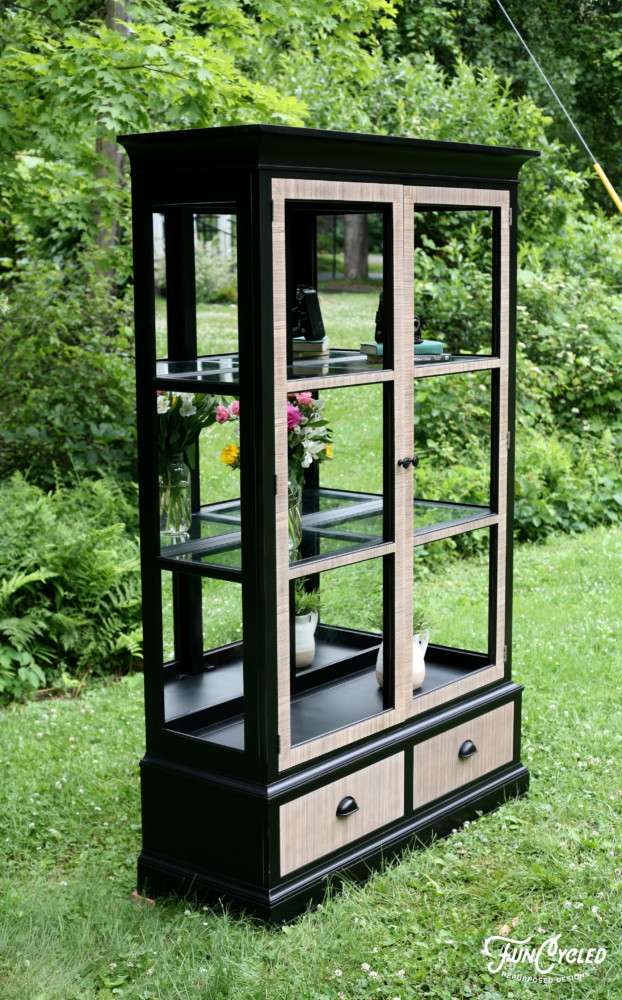
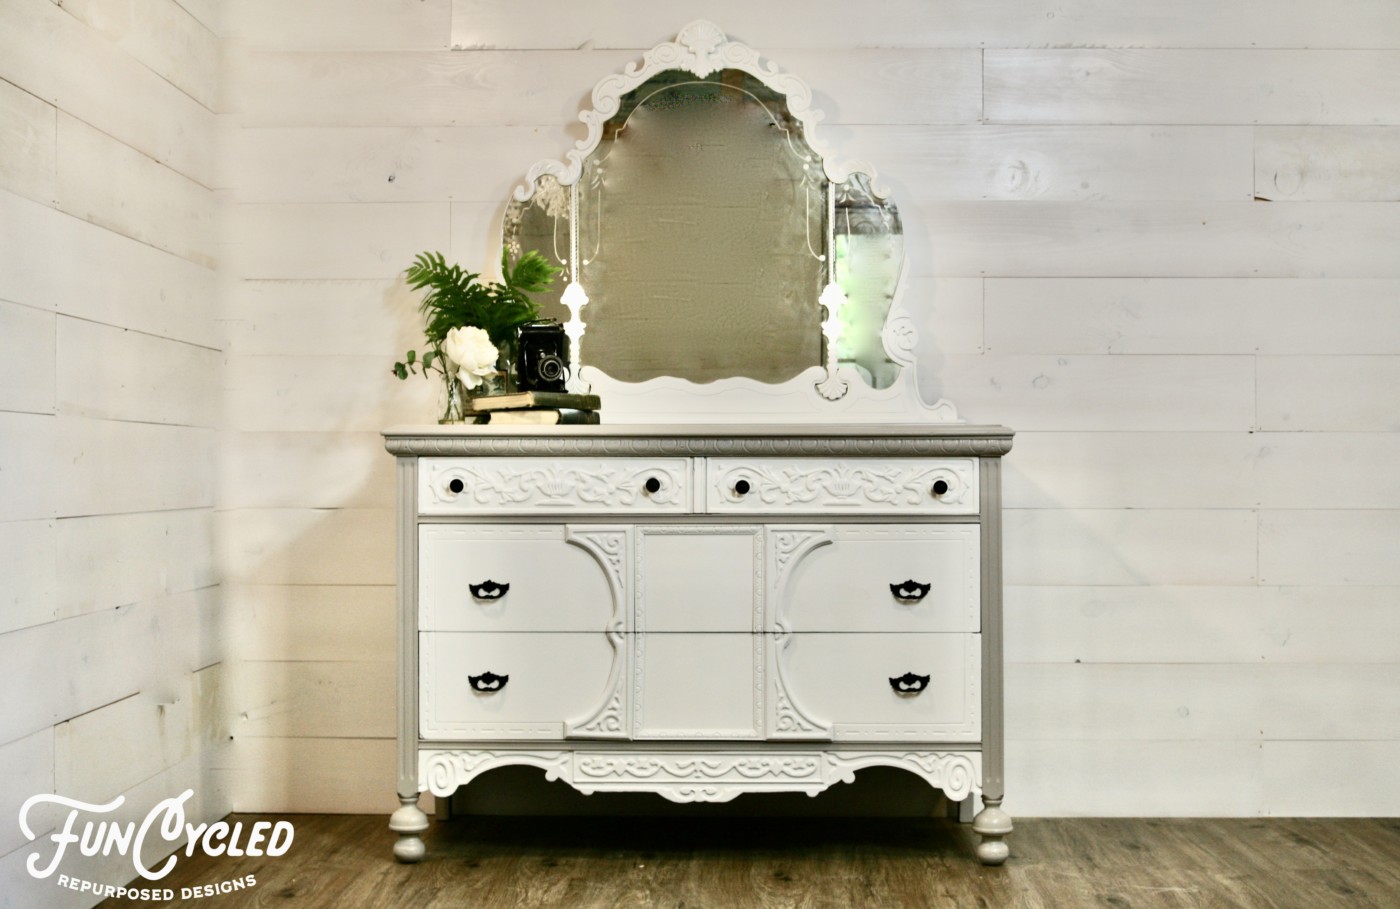
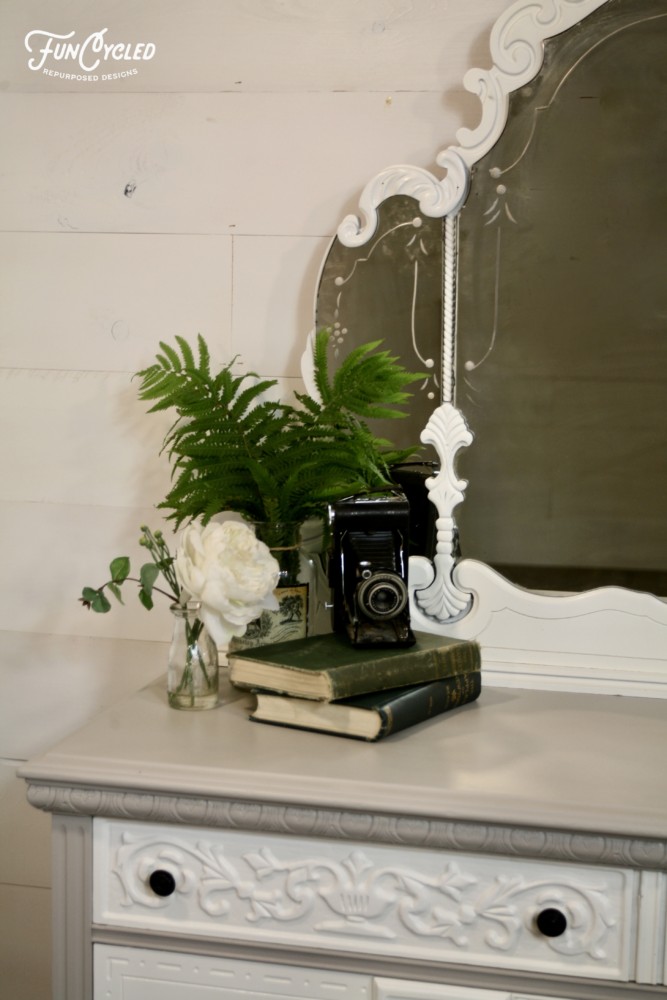
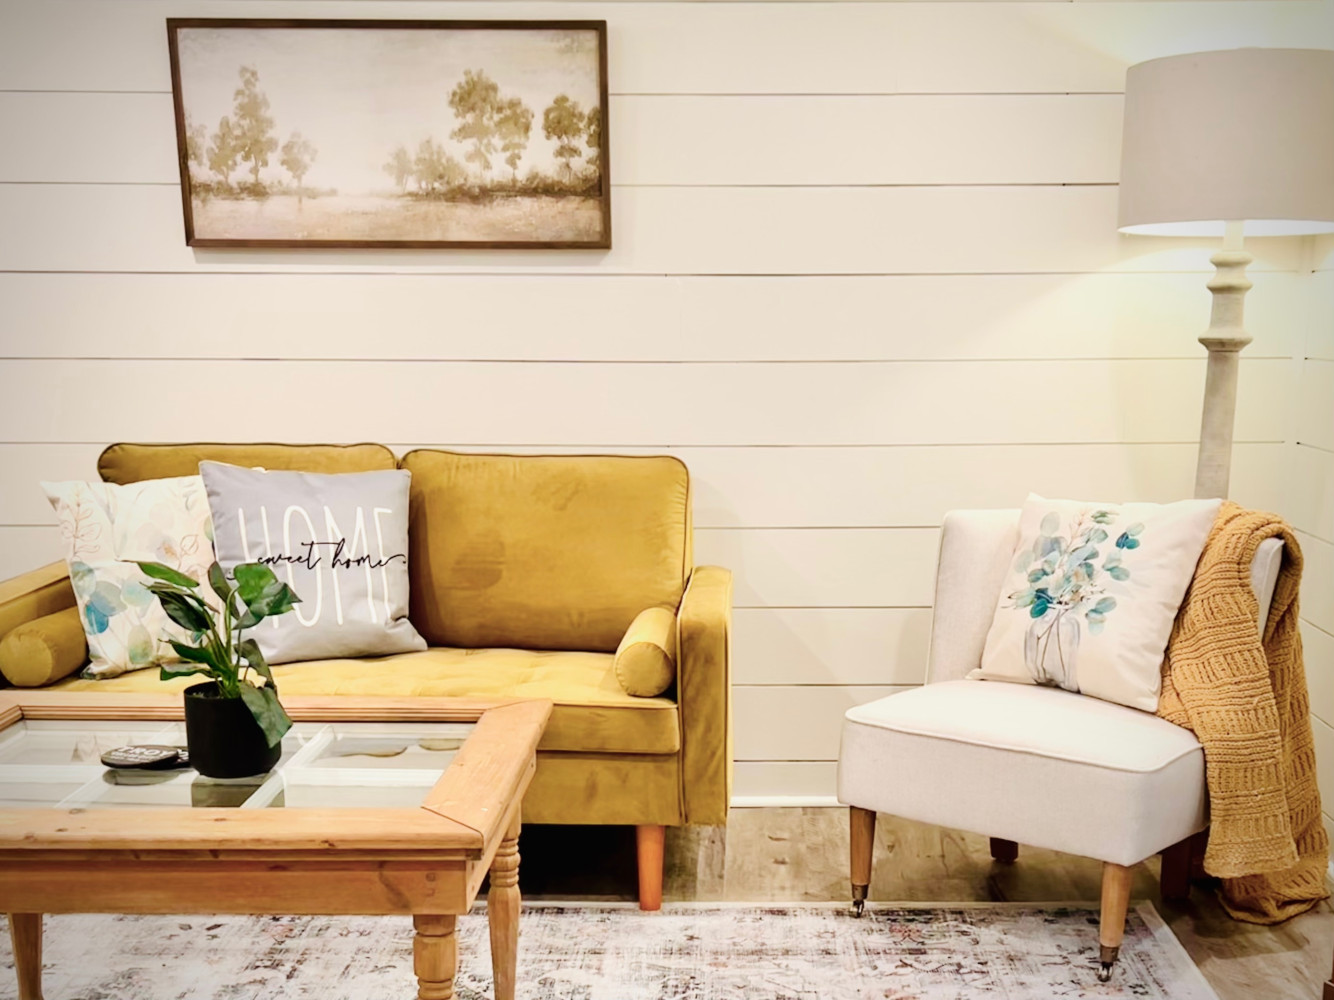
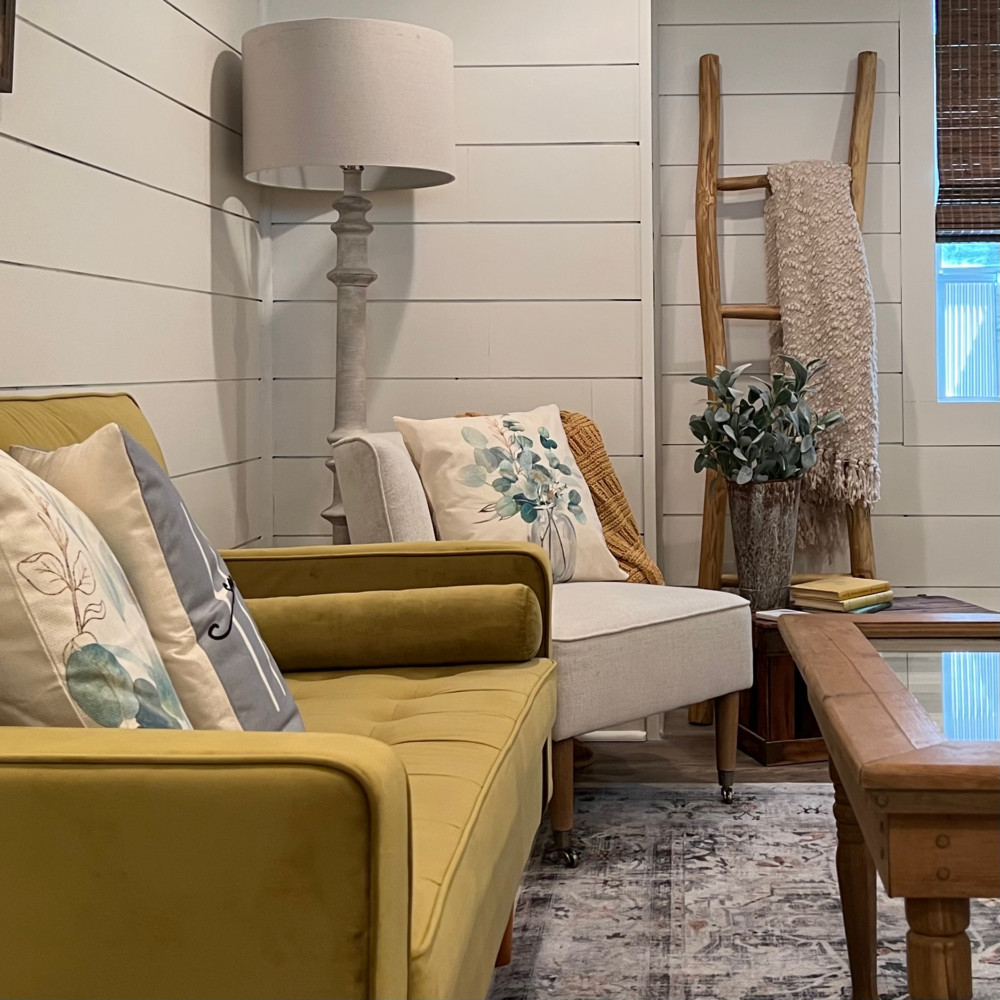
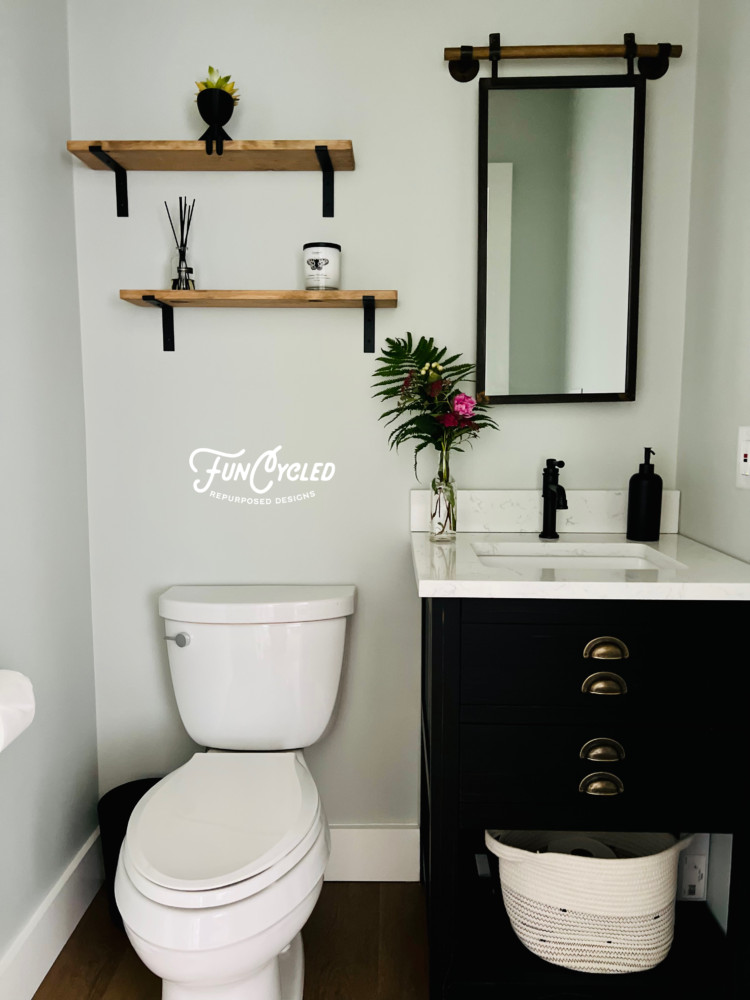
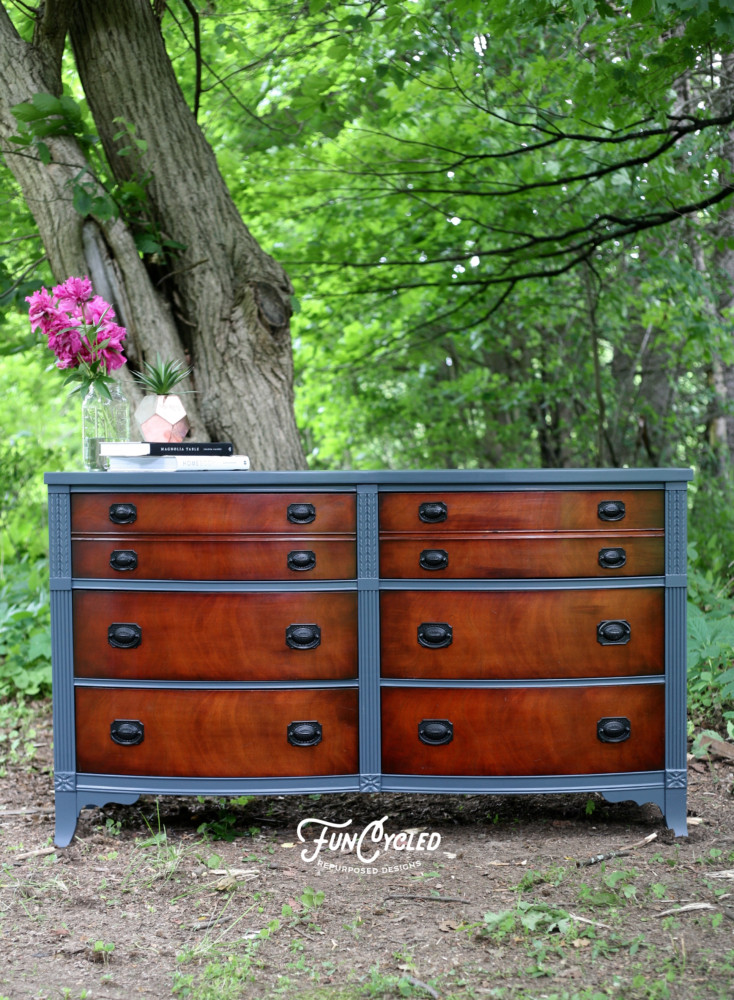
Ready for the after photos?

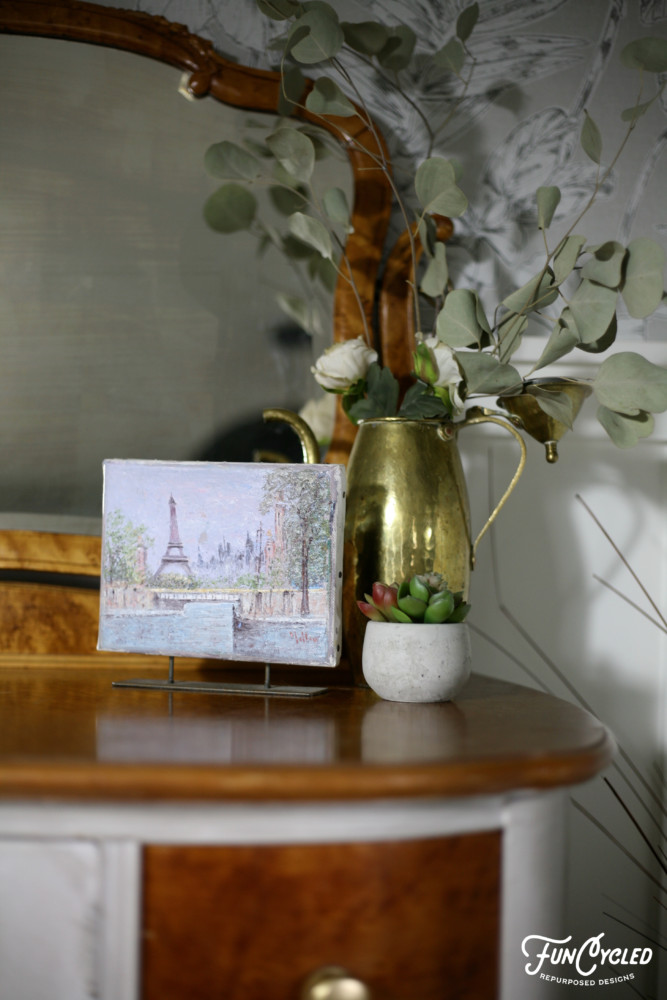

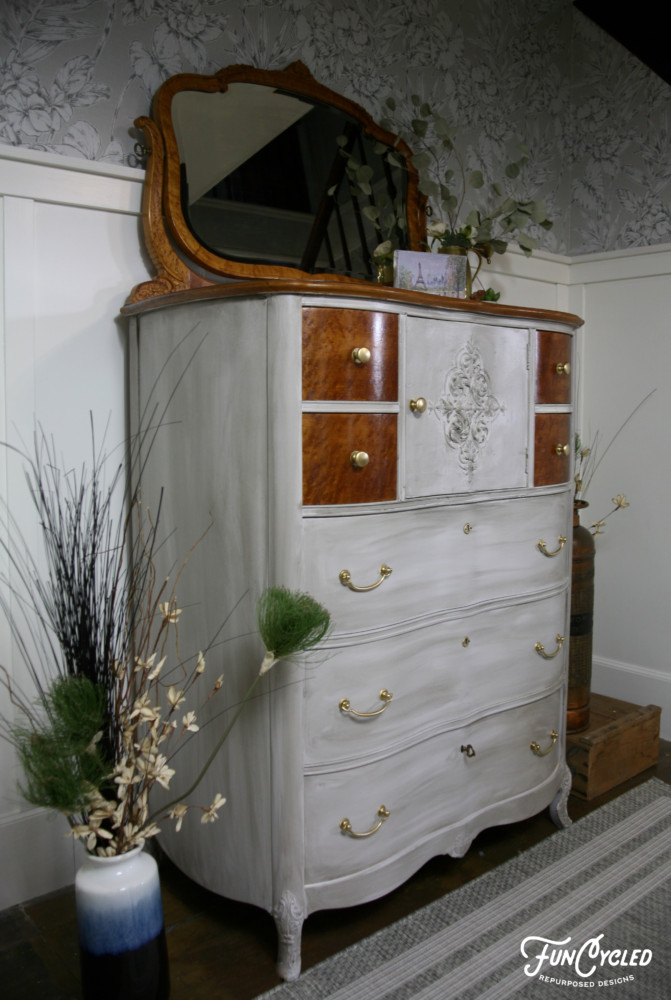
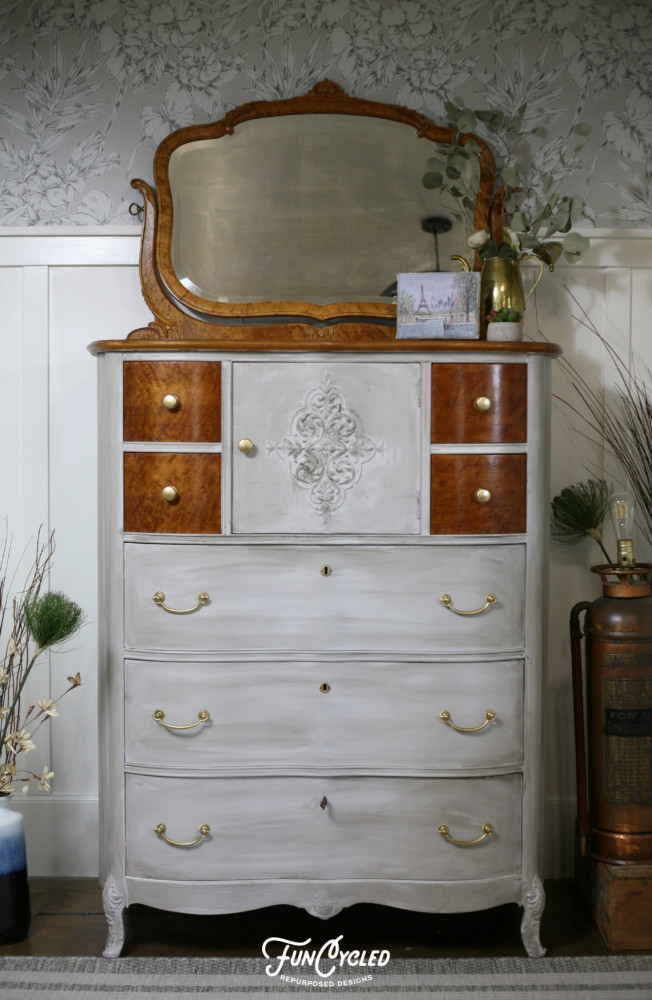
Sooooo the only problem is…. I loved it too much to sell it. This beauty is staying in our home! I hope you enjoyed the transformation! We can redo your furniture piece in the same specialty finish if you’d like us to! Contact Us today!
Thank you all for following along! If you’d like to get this blog in your email once a week, please sign up for our weekly newsletter by adding your email in the little box below my picture.
If you’ve enjoyed this post, please like FunCycled on Facebook, Instagram and Pinterest if you don’t already. Keep up to date on the newest finds, vote on colors and give your input on our creativity. We share fun tutorials, great before and after, and new design inspirations.
We offer interior design, kitchen cabinet painting, and custom built tables, barn doors, and repurposed furniture. Thank you, again, for working with us and for taking the time to spread the word about what we do.
Happy FunCycling Friends,
Sarah ;)