Hi Friends!
How are you? I hope your week is going well and you’ve been able to enjoy some holiday traditions! I’ve been really busy with interior design and loving every minute of it. I even shared our first design commercial online this week. You can check it out here:
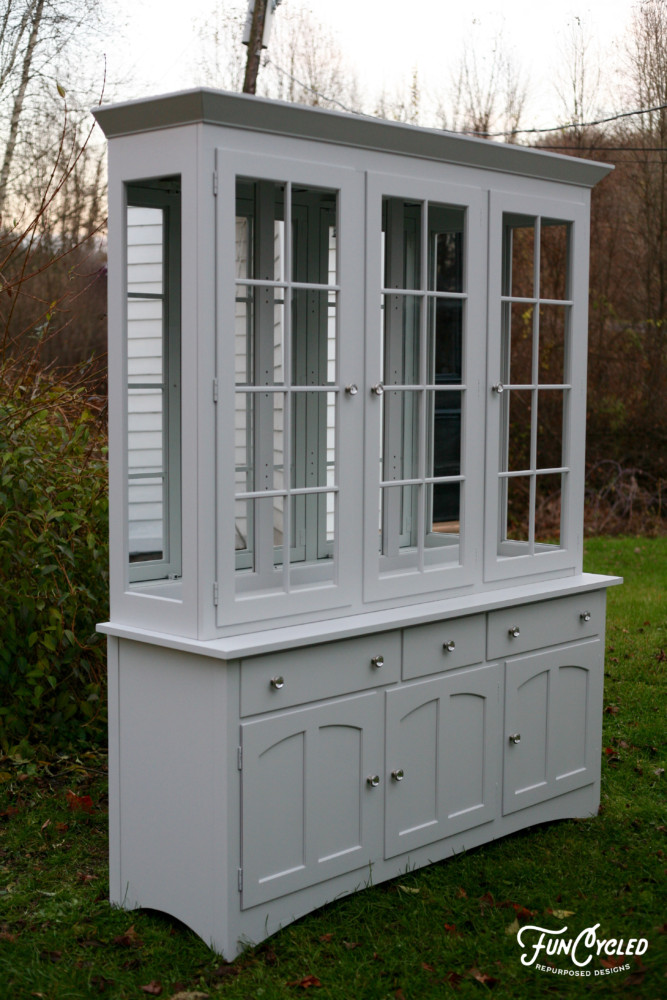
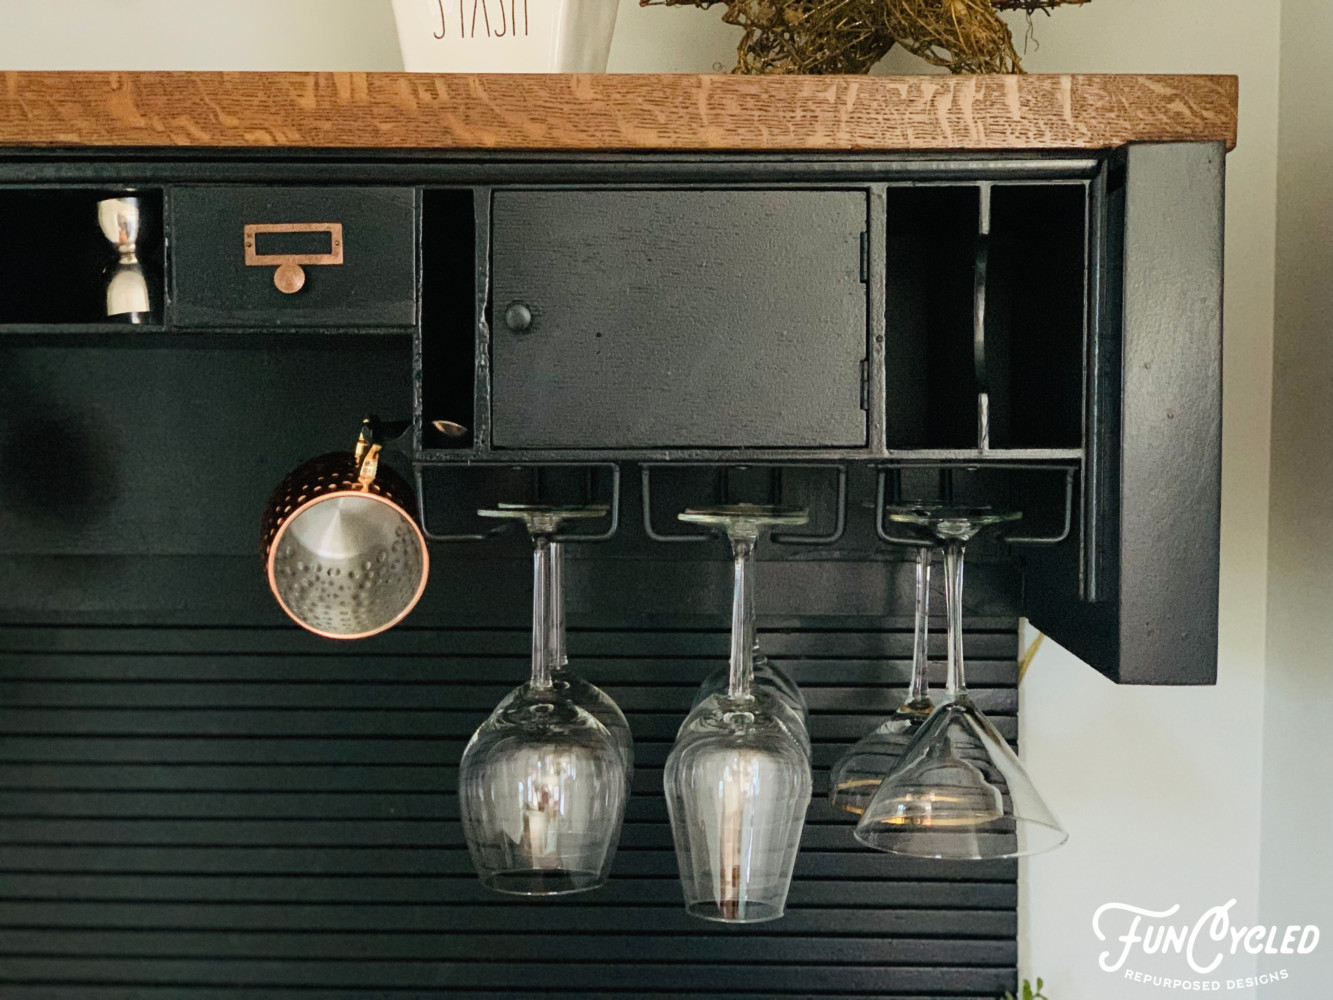
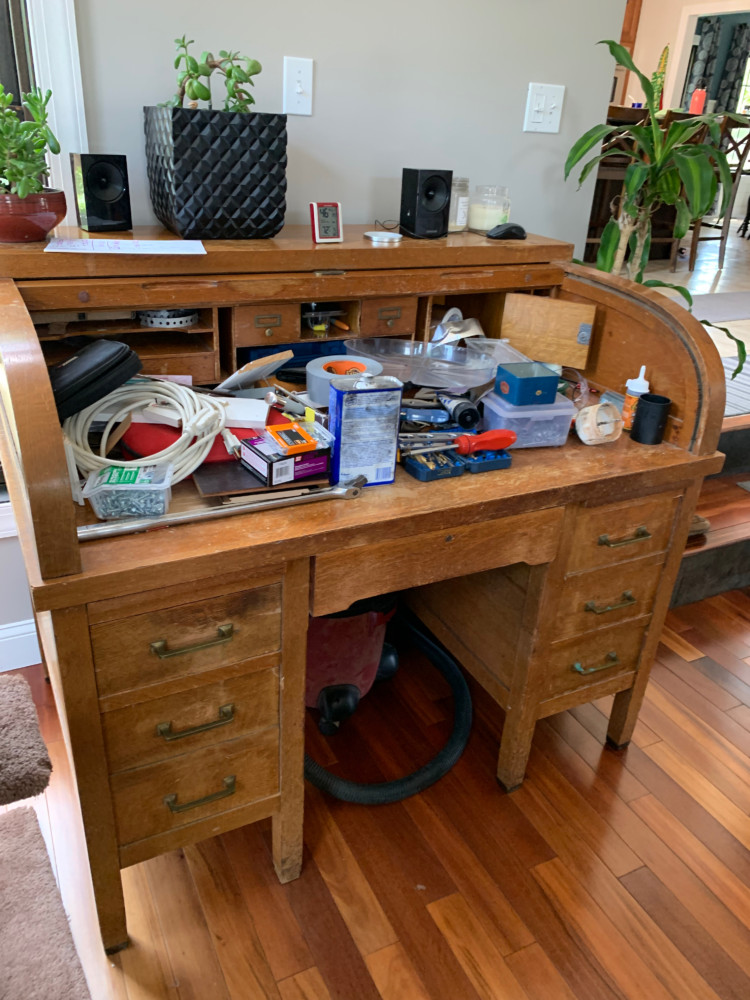
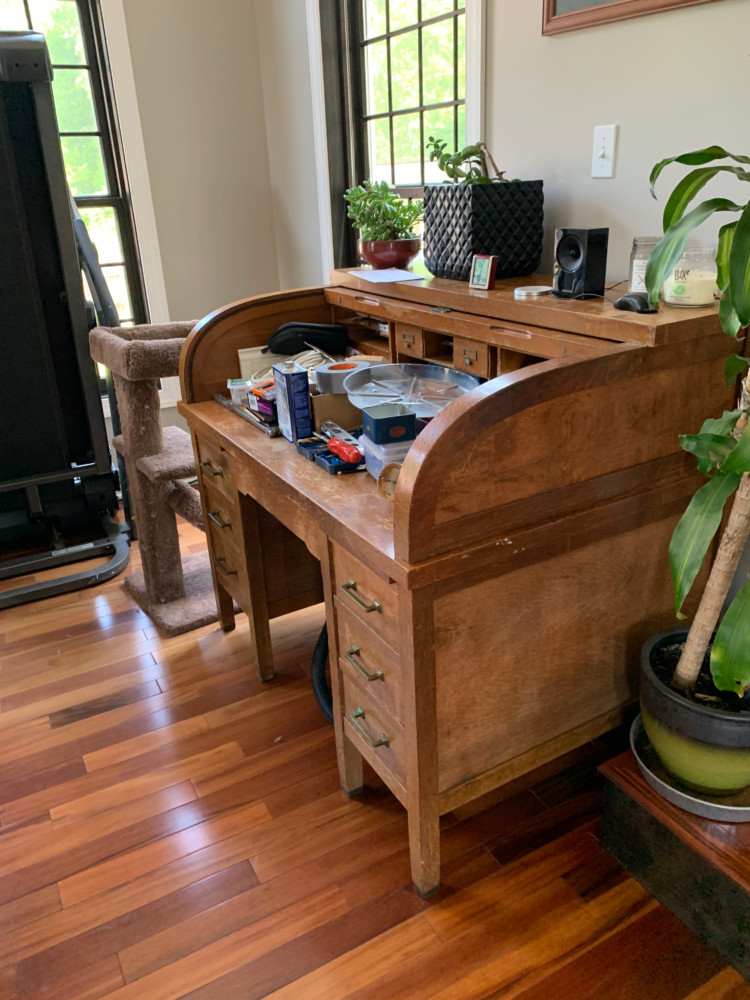
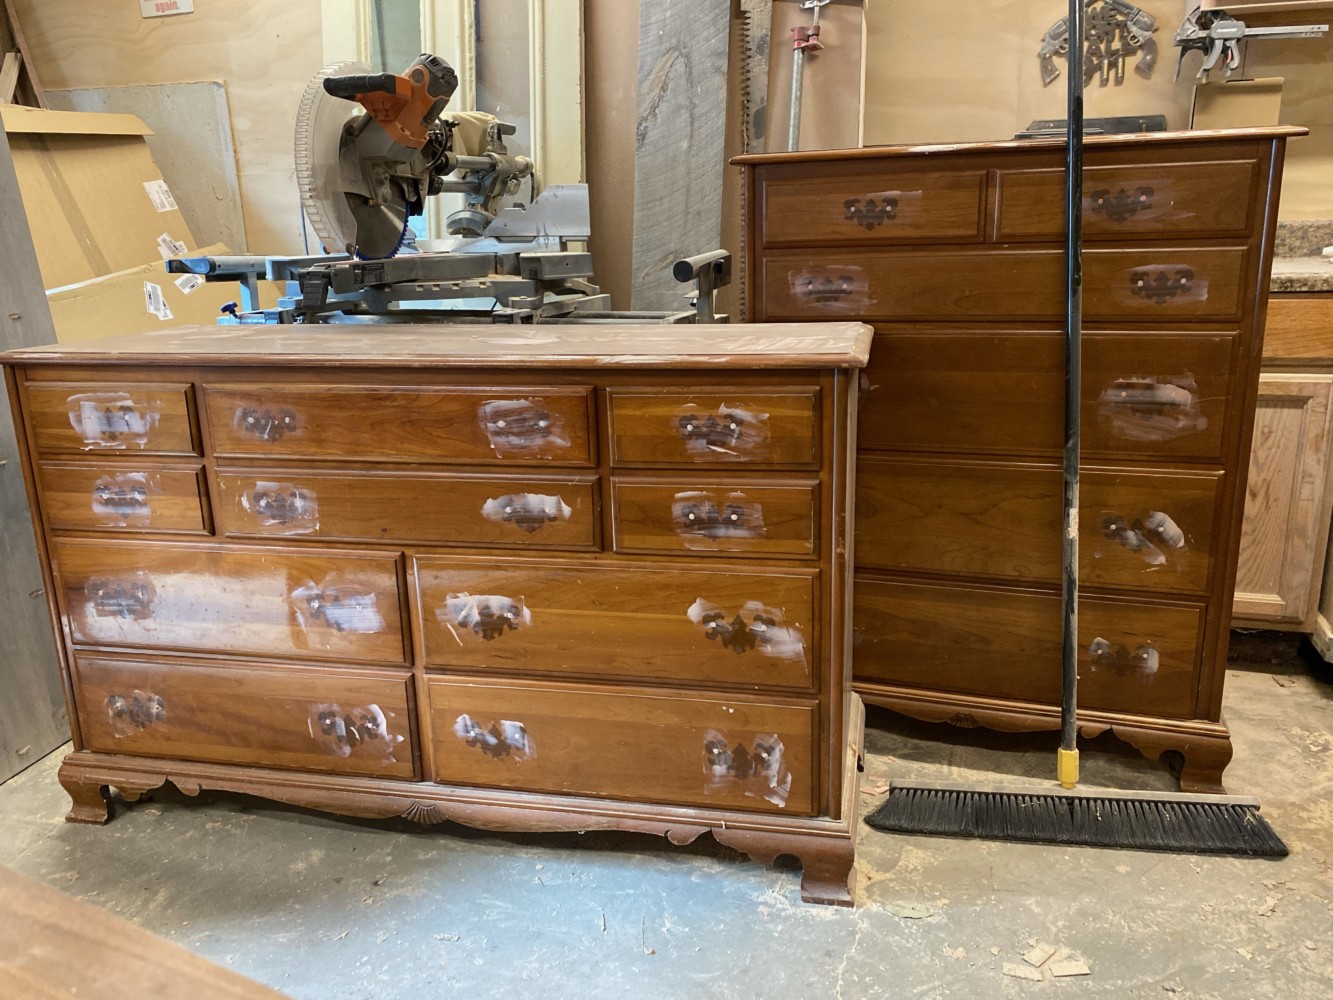
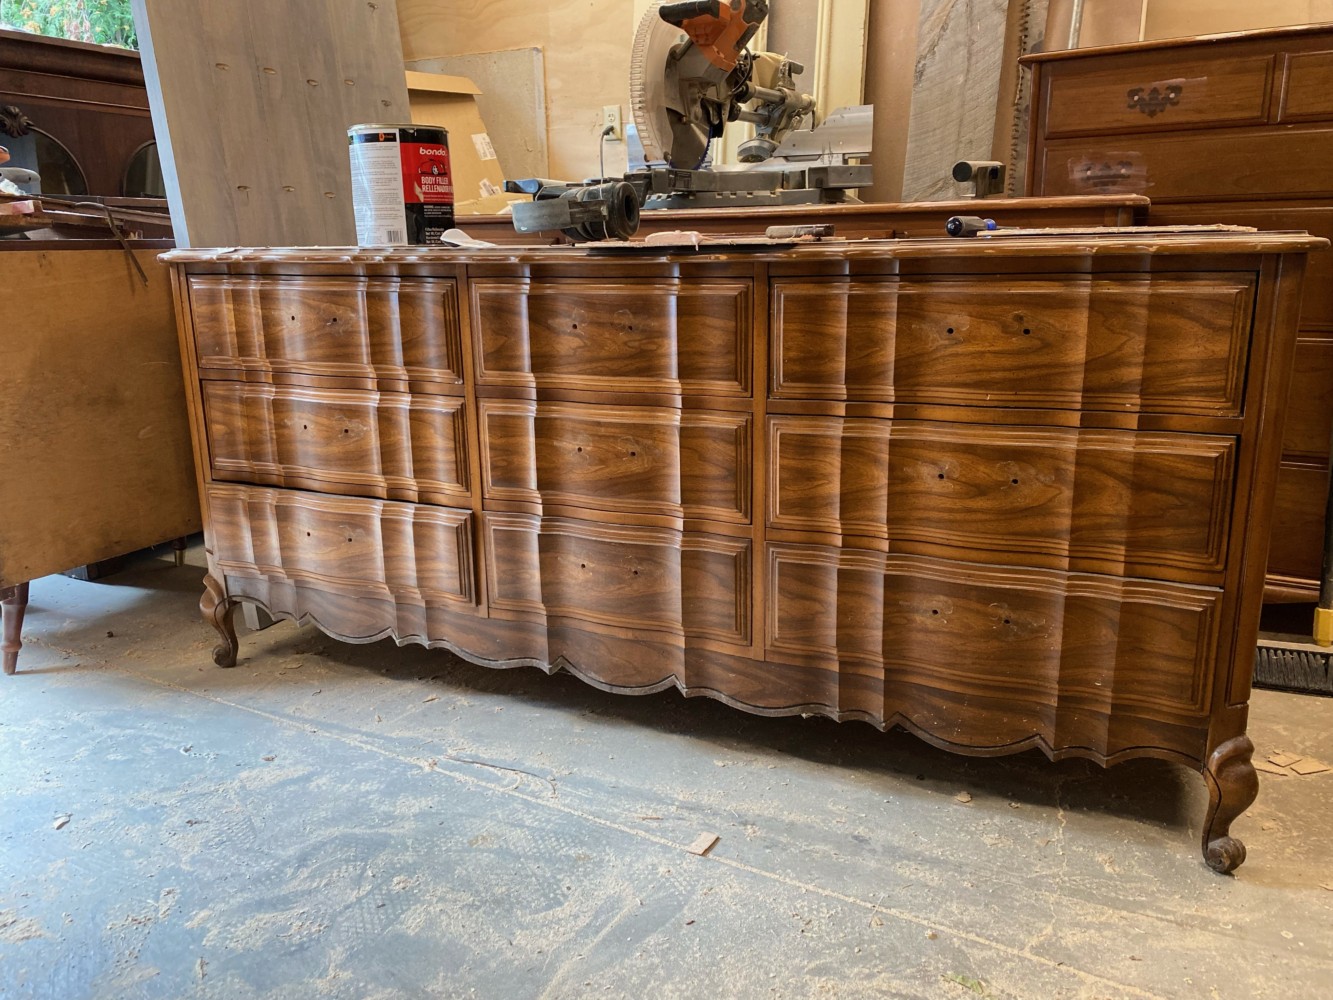
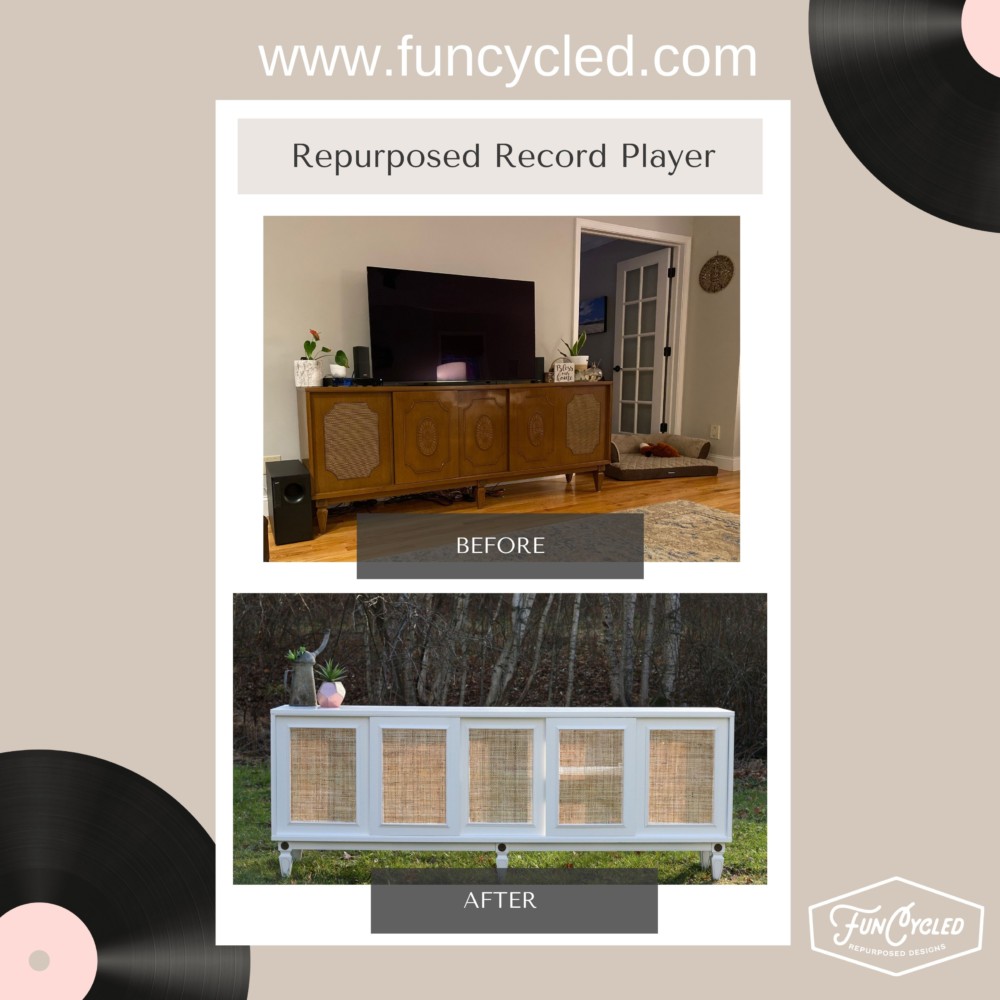
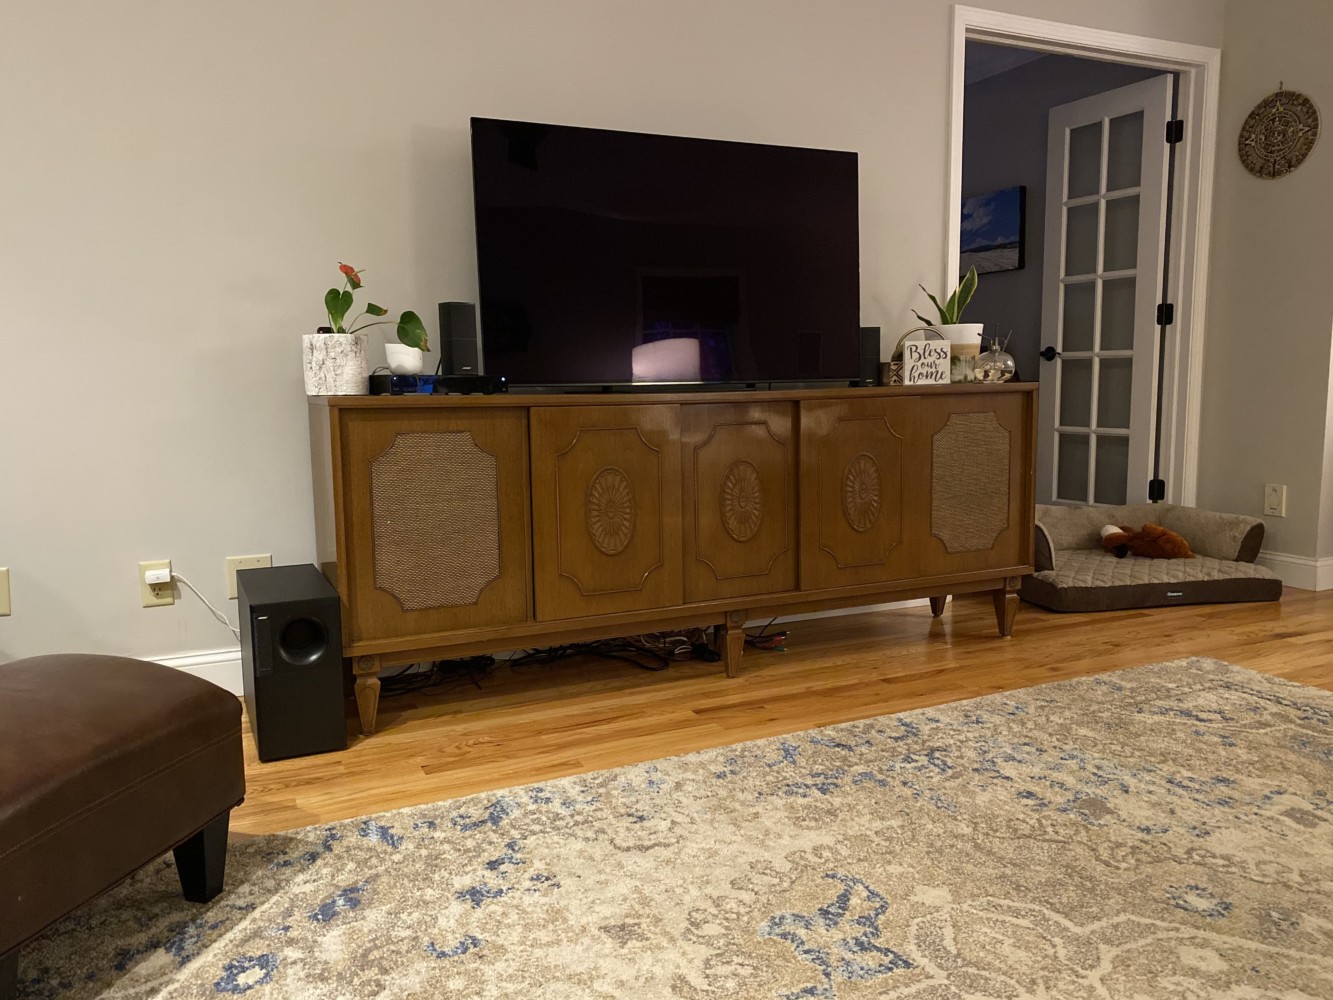
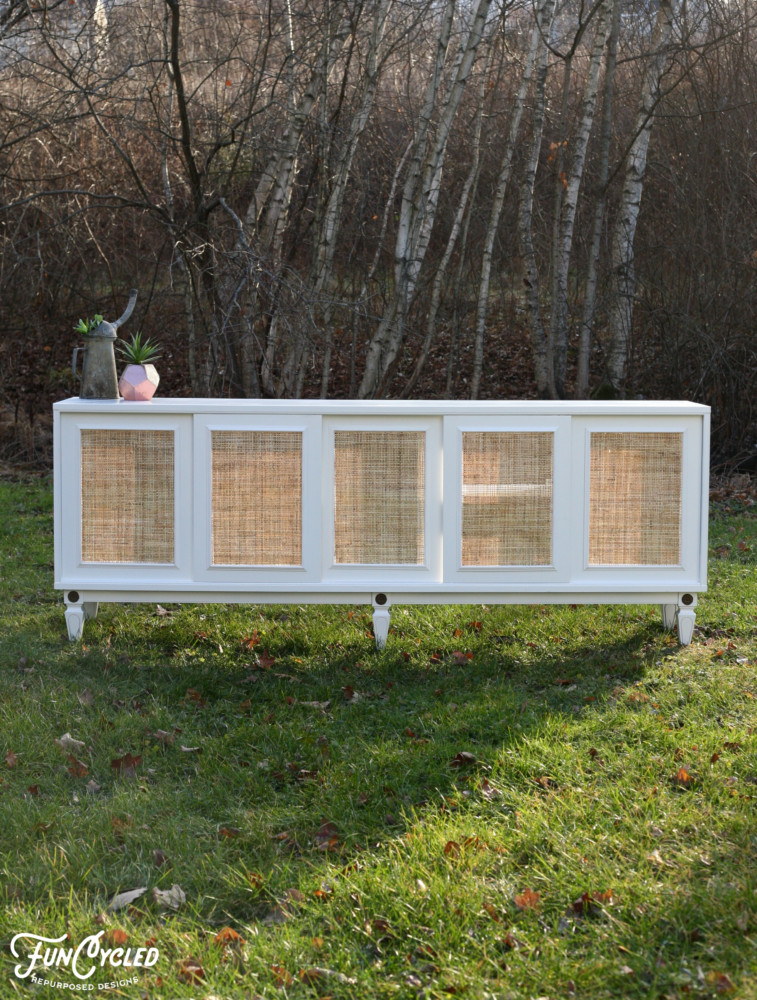
For this week’s makeover, I can’t wait to show you the project we’ve been working on over the last few weeks. You know how record players are hard to figure out good uses for? They usually have a speaker area and then a couple doors that might slide.
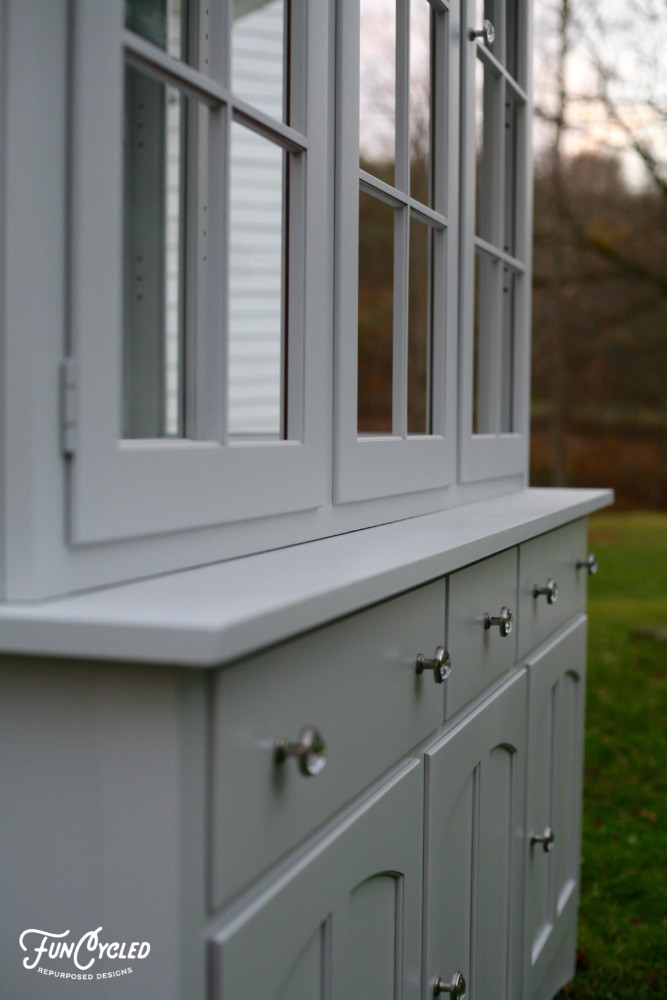
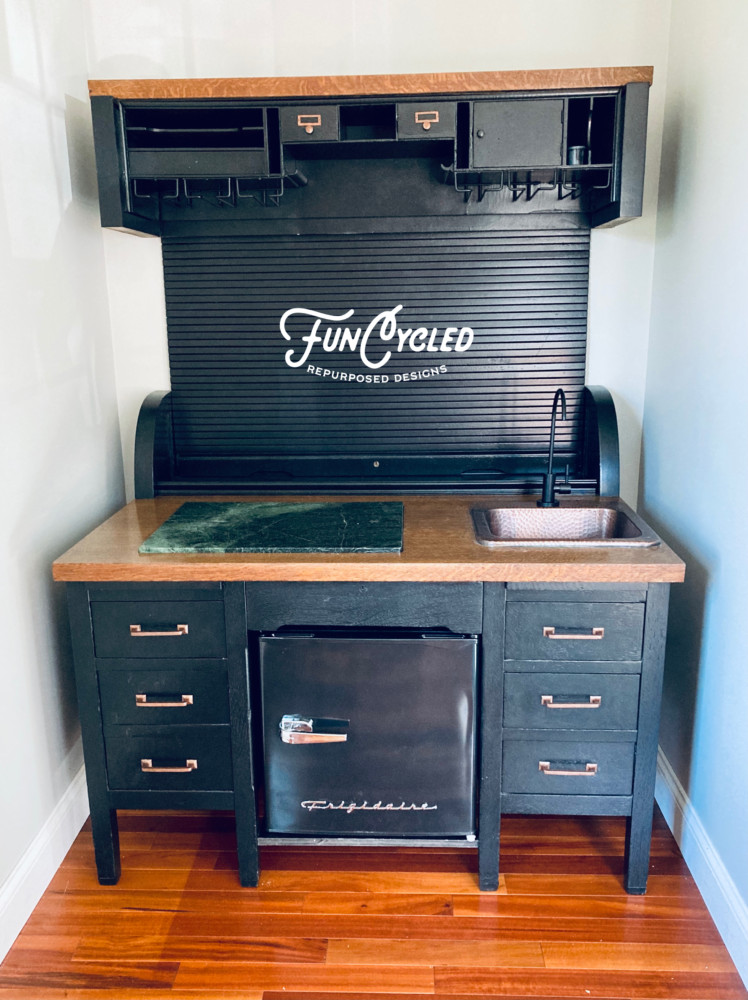
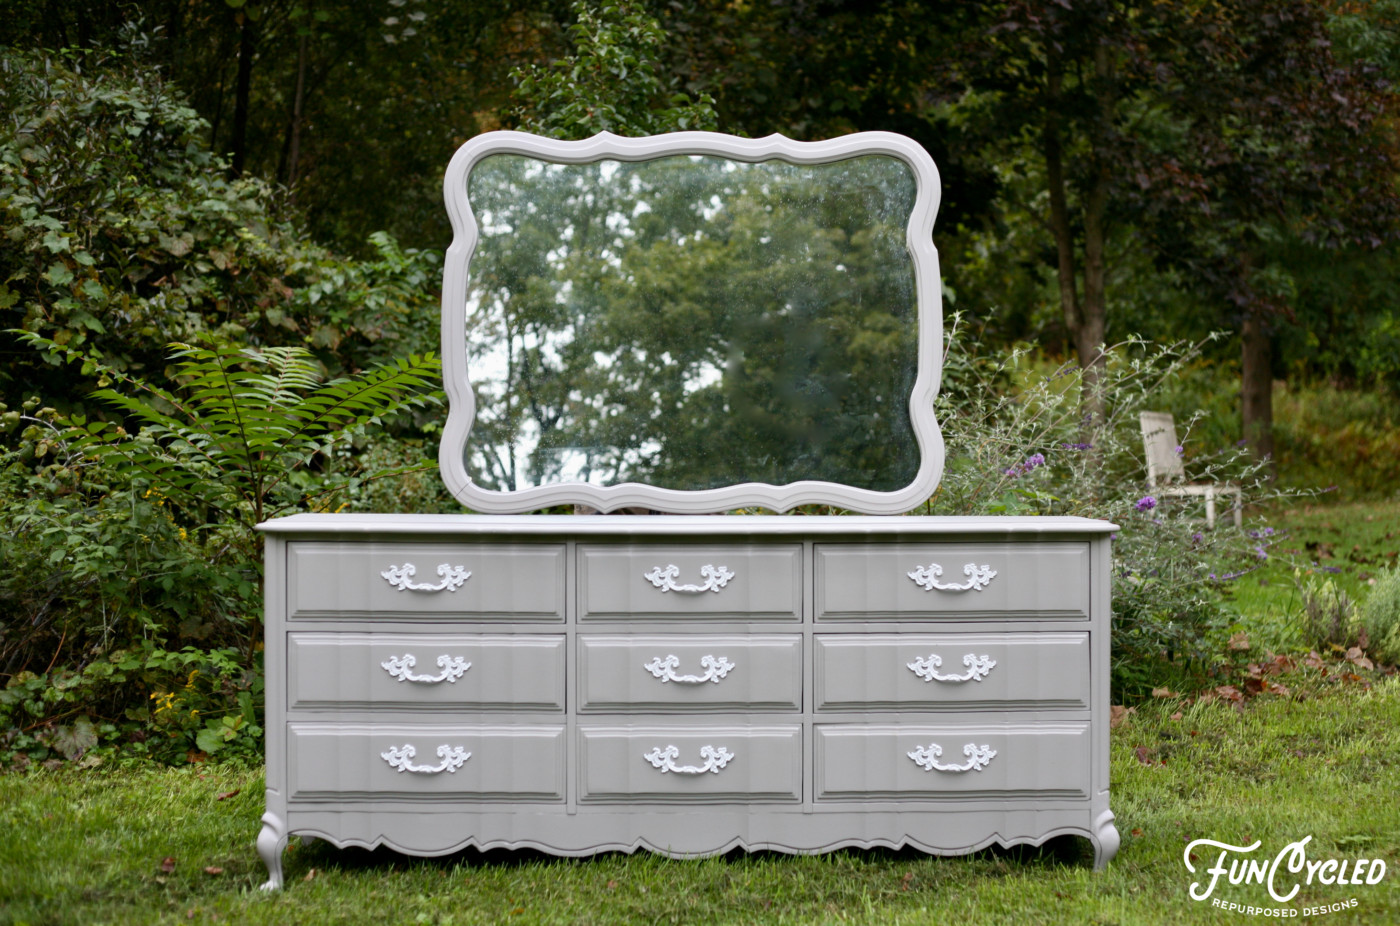
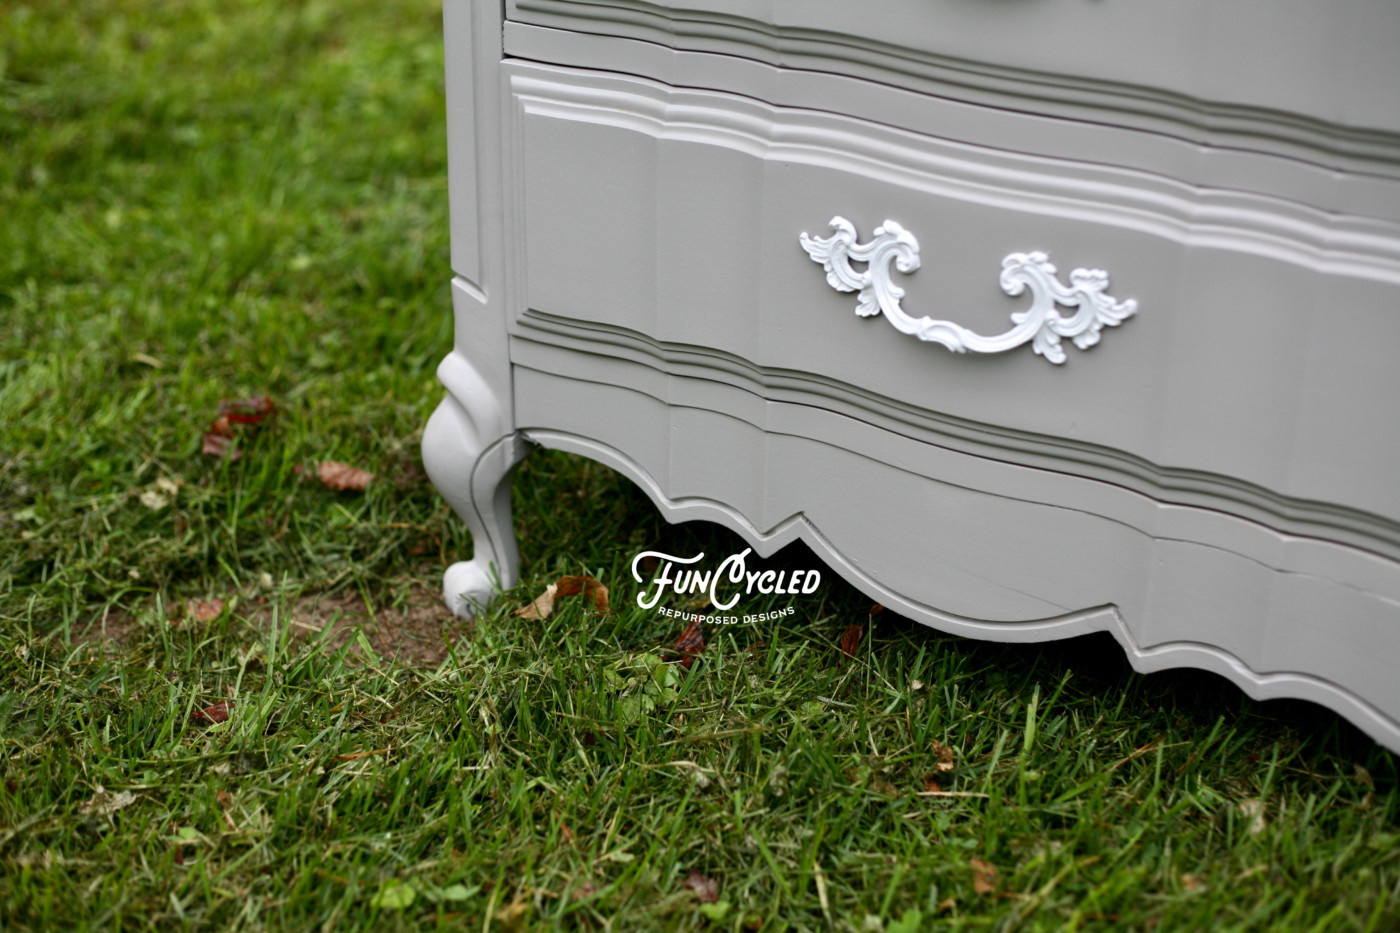
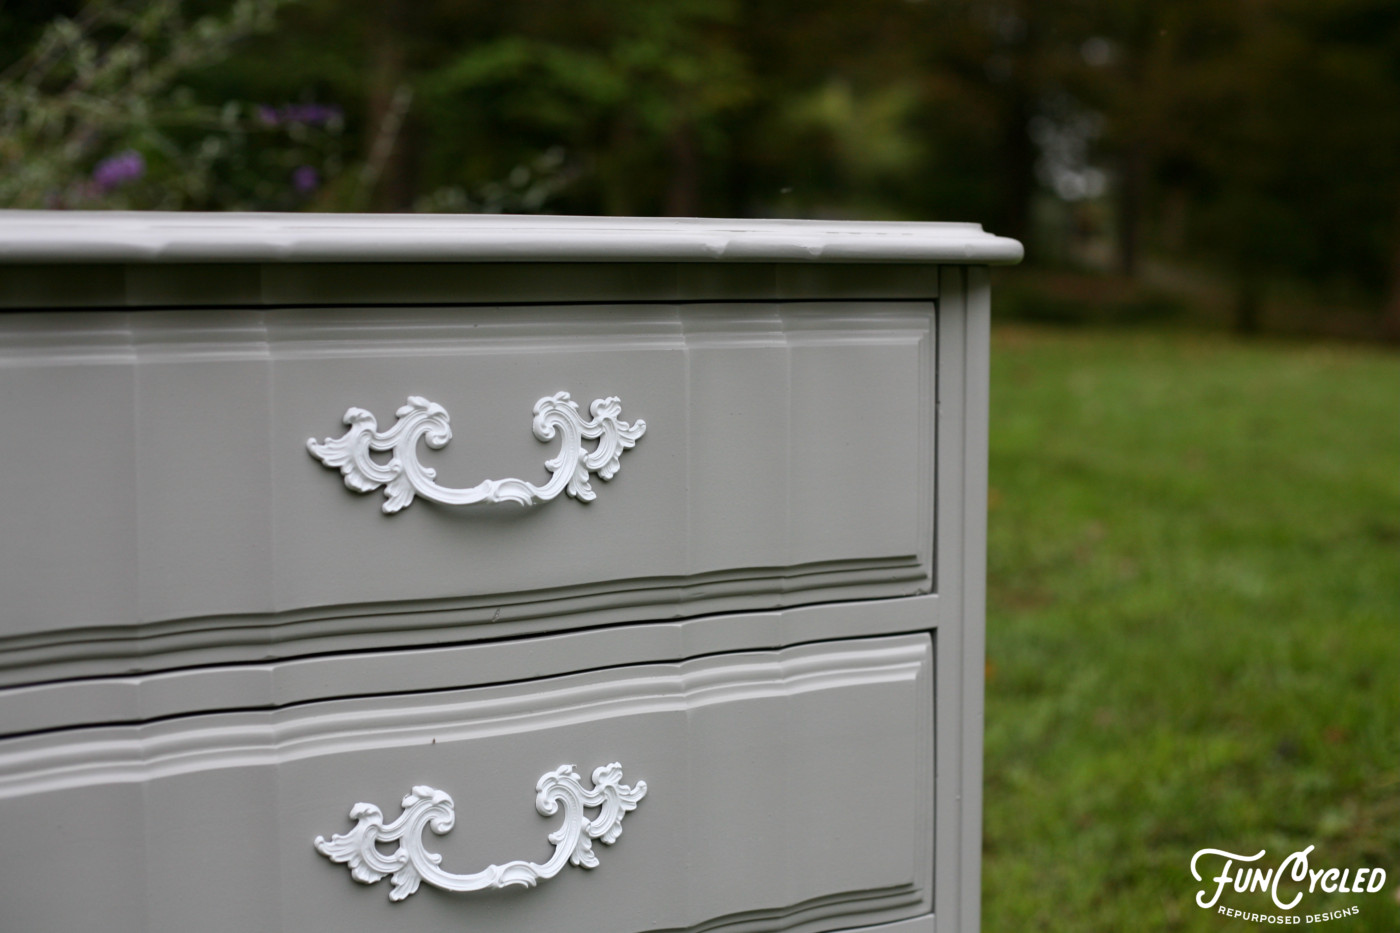
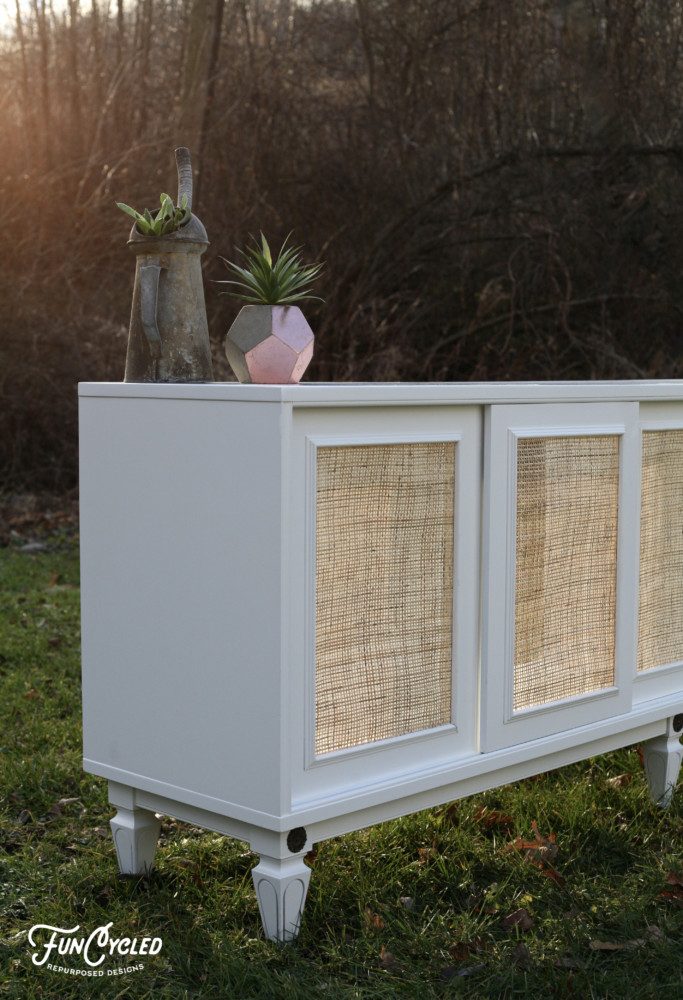
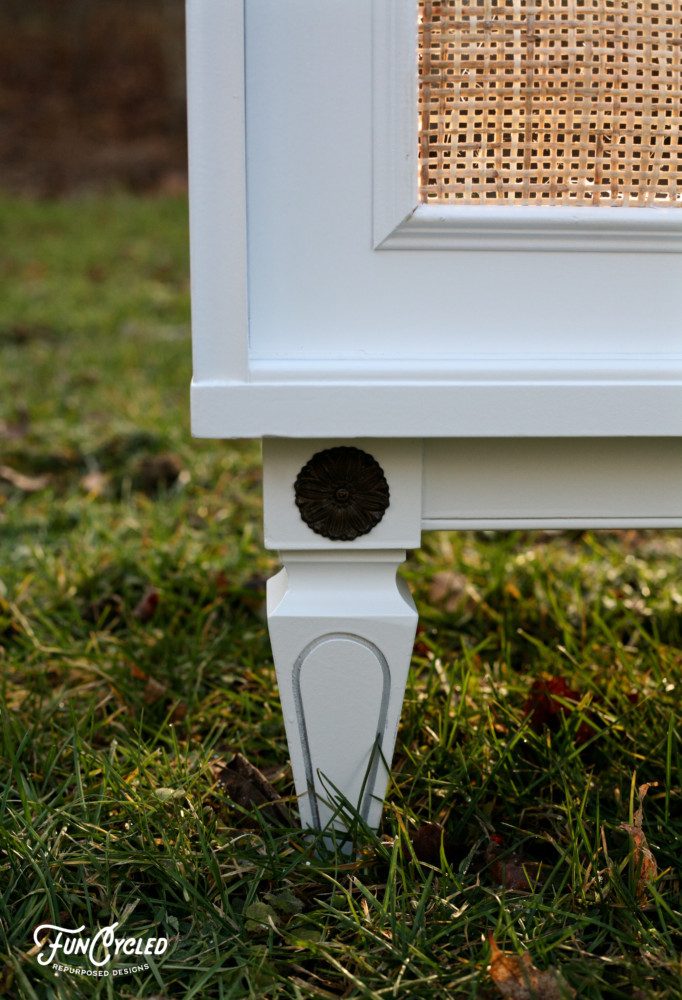
Well, one of our clients, Jennifer, reached out to see if we’d be able to update her old record player so she could use it as an entertainment center but also give it a whole new look. She wanted wicker added to the door fronts, more modern lines, and a bright white color.
When we started the project, it was actually harder than we anticipated. We needed to cut into the doors, but we couldn’t remove the doors from the way they were installed (which isn’t typical). We had to use a saw in place and cut it to shape which may not sound hard, but it really is. We cut out the rectangles and painted the whole piece with BM Simply White. Then we added the wicker to the front of each door and installed a low profile trim to the front to secure the wicker.
We left the back open because Jen wanted it off so she could put speakers in the sections where the doors don’t move.
If you want to see how we paint furniture, check out our How to Paint Furniture post. Ready for the after photos?
Thank you all for following along! If you’d like to get this blog in your email once a week, please sign up for our weekly newsletter by adding your email in the little box below my picture.
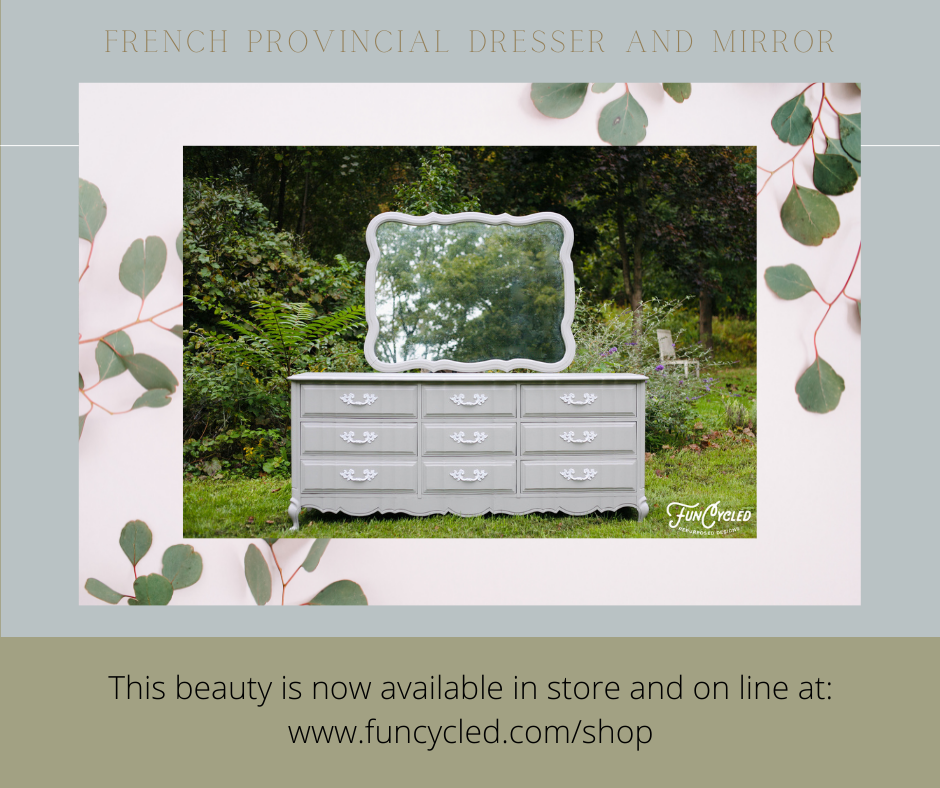
This record player was a custom order so it isn’t available purchase! Head to our Shop Page to check out the other items available though!
If you’ve enjoyed this post, please like FunCycled on Facebook, Instagram and Pinterest if you don’t already. Keep up to date on the newest finds, vote on colors and give your input on our creativity. We share fun tutorials, great before and after, and new design inspirations.
We offer interior design, kitchen cabinet painting, and custom built tables, barn doors, and repurposed furniture. Thank you, again, for working with us and for taking the time to spread the word about what we do.
Happy FunCycling Friends,