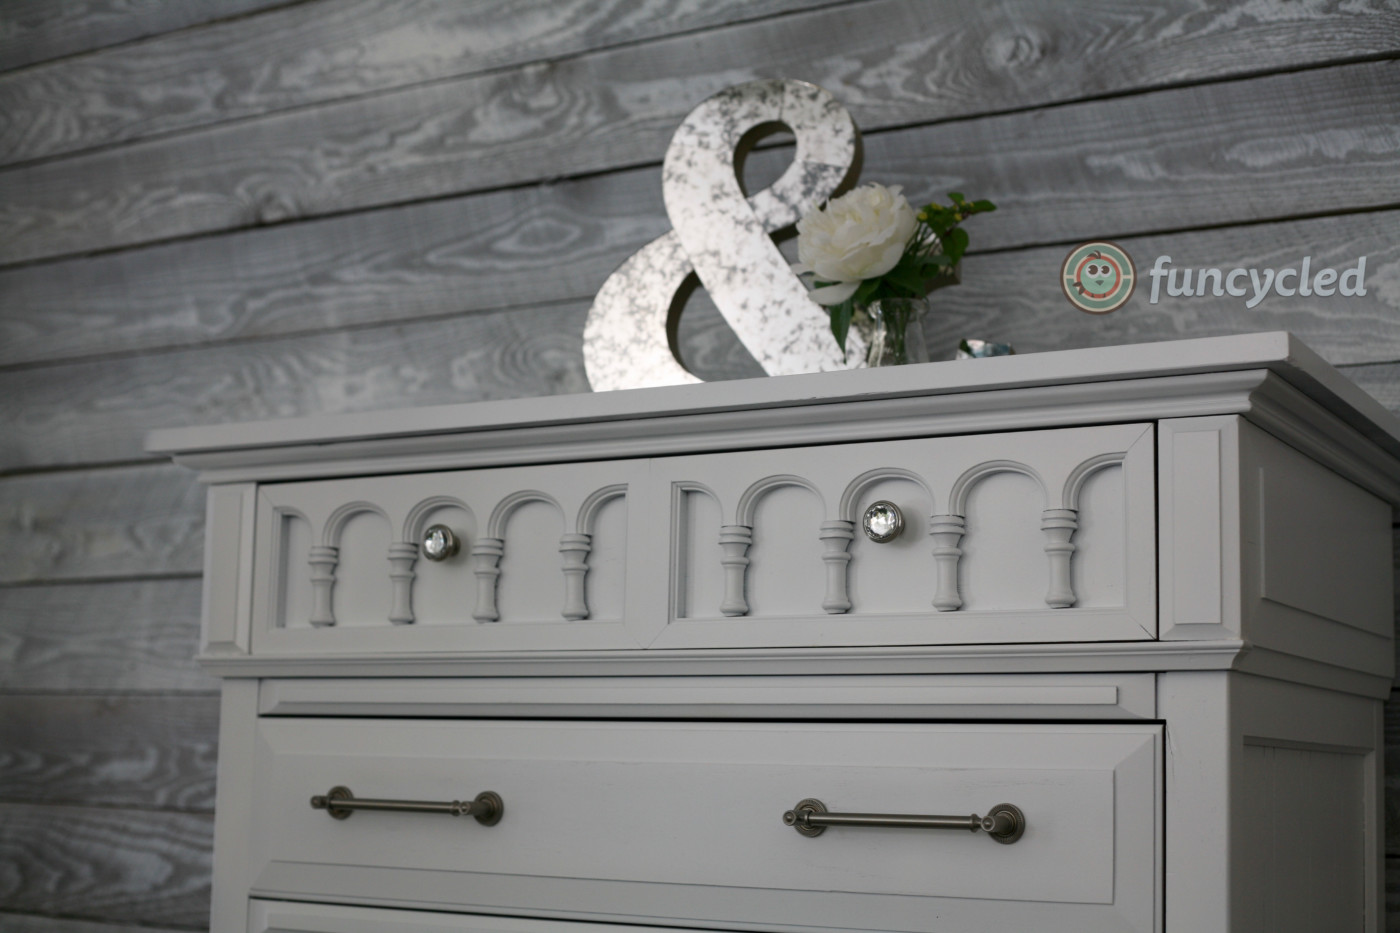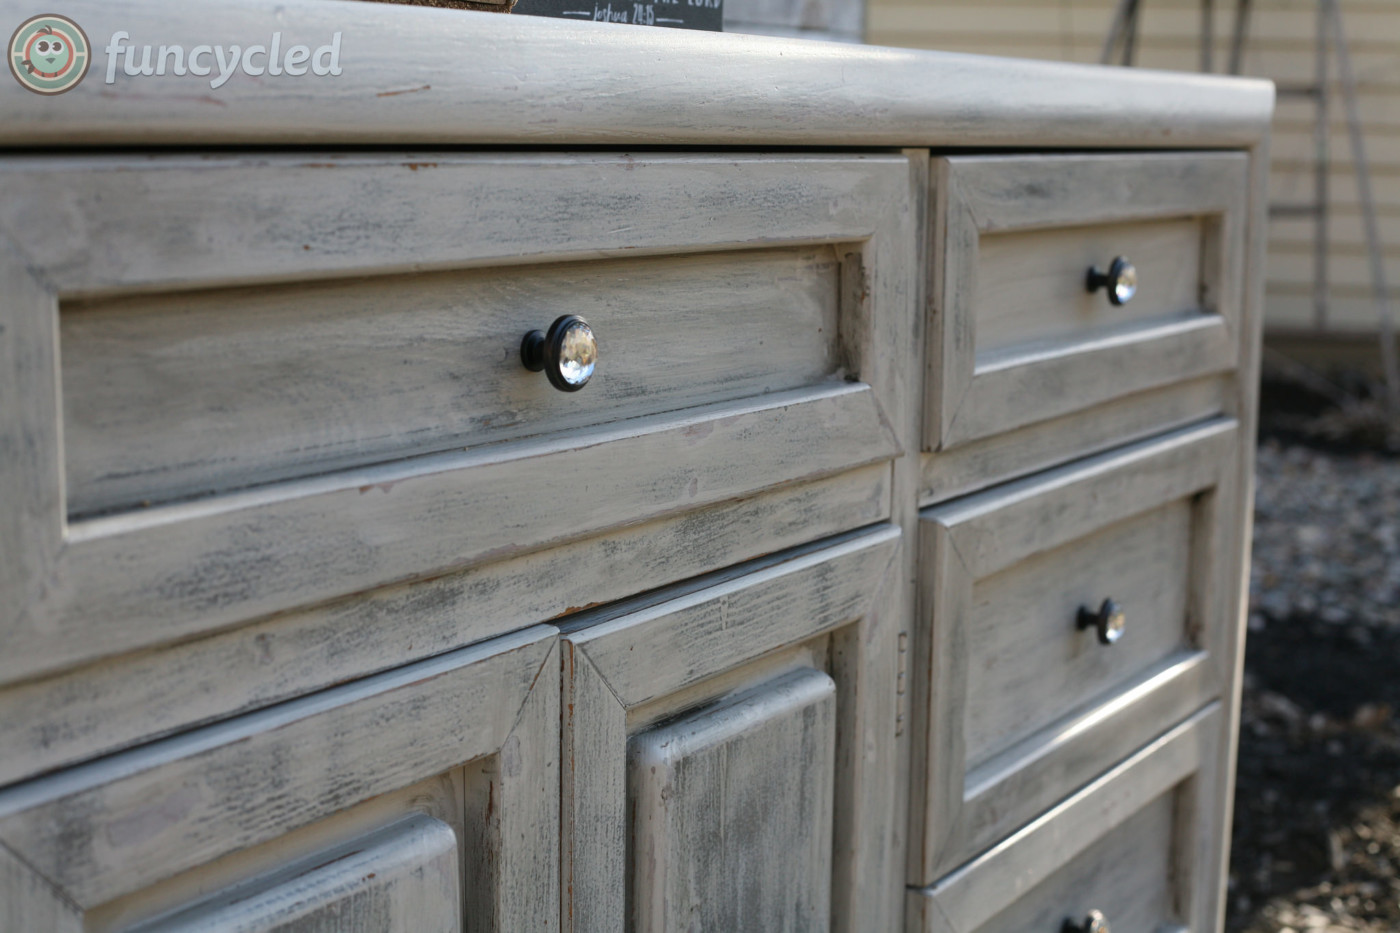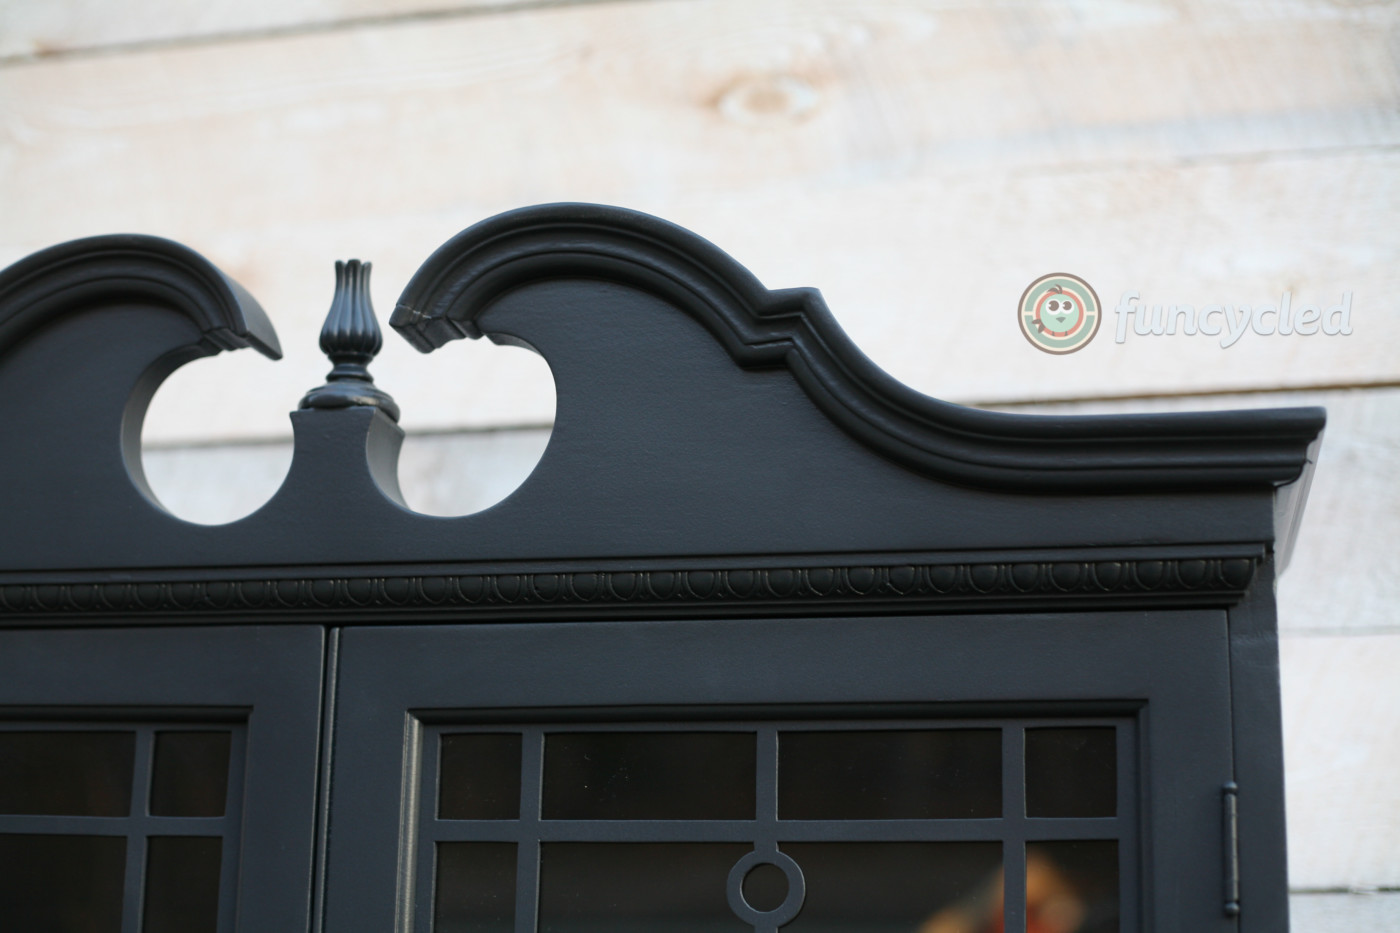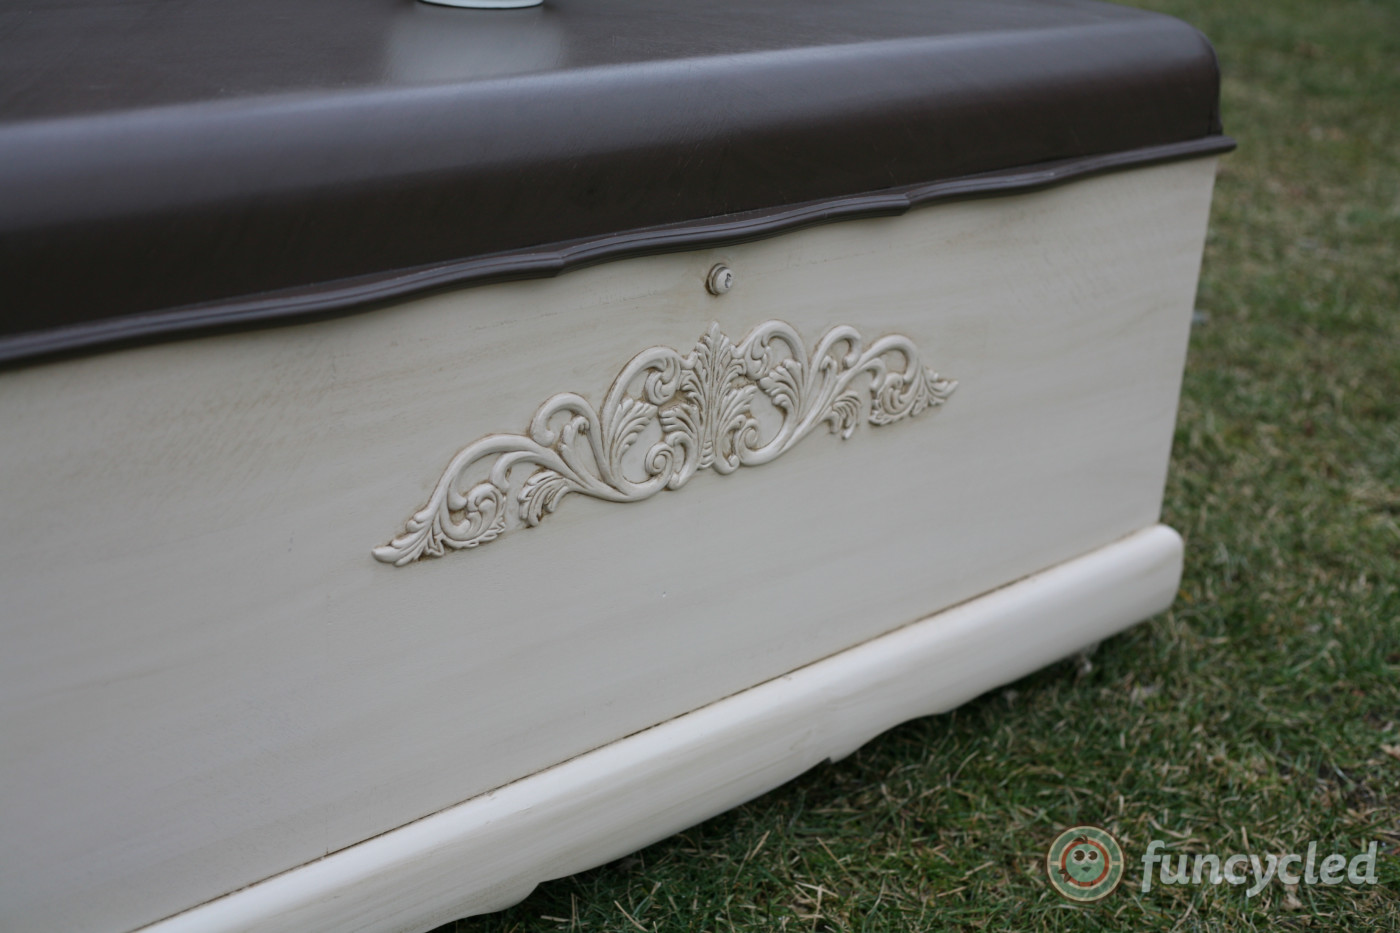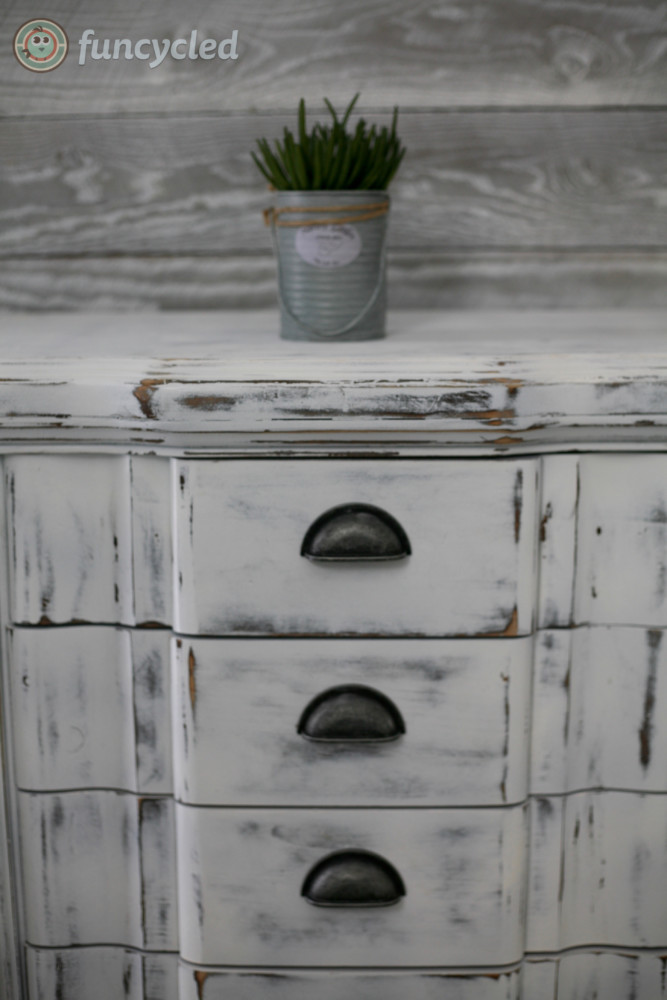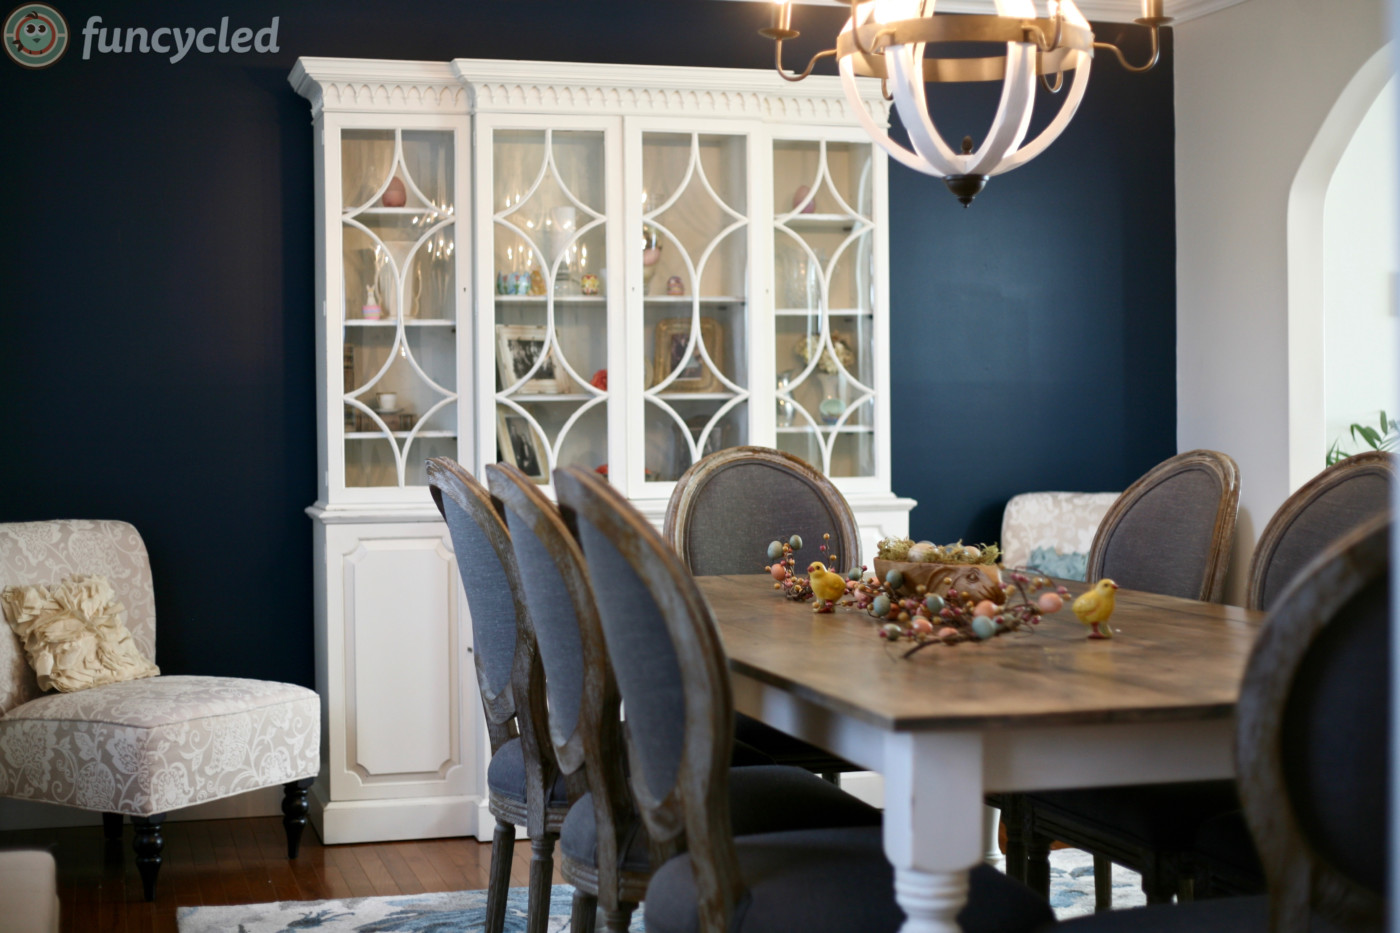
How’s your week going? I can’t wait to share with you this amazing find. I was out shopping for furniture and actually found a Haywood Wakefield matching dresser set!! Ahhh!! I look for makers marks which you usually find in the top left drawer or on the back. That helps me to know if it’s a quality furniture maker. Haywood Wakefield is a top mid century furniture company. All solid wood and amazing quality pieces. I’ve redone them before but only as custom orders. So to find a set that I could design and redo as I’d like was so exciting for me!
Here they are before:
I loved the hardware, but wanted to brighten them up so I painted them all gold. Then we painted the outside of the boxes with Benjamin Moore’s color Simply White. We deepened the color of the wood fronts with a darker stain. If you want to see how we paint furniture, check out our How to Paint Furniture post. We also replaced the hardware with traditional bale pulls.
There is a box at the top right of this page to enter your email address to receive notifications by email when I post something new on this blog. Please sign up today!
Happy FunCycling Friends,
Sarah ;)
If you like what you see, please like FunCycled’s Facebook pageto keep up to date on the newest finds, vote on colors and give your input on our creativity. Last but not least, let us customize a furniture piece for you. We create custom furniture and will deliver for customers in upstate NY and also ship throughout the US. Send us a note with what you would like using our contact page. Or buy something that we’ve already designed from our furniture for sale page.
How are you? I’m out of town spending some time with my friend Marcie. Her son Asher has liver cancer and is in a transplant center getting his new liver so I flew into Atlanta to see if I could be a help to her or at least help pass time in the hospital together.
Here’s a picture of Asher and my kiddos a few months:
Please be in prayer for Asher as the healing process is taking longer than anticipated. Also, pray for his mom, dad, two brothers and sister. It’s a hard few months for the family with his mom being away at a hospital.
This week’s furniture makeover has a special place in my heart because I’m a pianist. I went to a barn sale that I go to every year. All the money that they raise, they give to an orphanage in Mexico so I’m also happy to shop and support that!
This is an antique organ which I believe is from the late 1800’s based on other’s I’ve seen online. When we saw it at the sale, someone else had already moved the keys up. We just had to do some finishing touches, paint it and glaze it. Here it is before:
We painted it with Sherman Williams color Rainwashed, glazed it with Valspar’s Antiquing Glaze, and finished it with a satin clear coat. If you want to see how we paint furniture, check out our How to Paint Furniture post.
There is a box at the top right of this page to enter your email address to receive notifications by email when I post something new on this blog. Please sign up today!
Happy FunCycling Friends,
Sarah ;)
If you like what you see, please like FunCycled’s Facebook pageto keep up to date on the newest finds, vote on colors and give your input on our creativity. Last but not least, let us customize a furniture piece for you. We create custom furniture and will deliver for customers in upstate NY and also ship throughout the US. Send us a note with what you would like using our contact page. Or buy something that we’ve already designed from our furniture for sale page.
Thank you to everyone who’s been keeping me so busy with interior design work!! We started to officially offer interior design in May and have been busy with it ever since. Getting the right design is the result of asking questions, listening, understanding what you want, planning, experience and your budget. How I structure the design and cost is by scaling it to the your needs and resources. I charge per hour while I’m at a client’s house and a reduced per hour rate when I’m at home doing research and making a design plan. Typically the initial consult takes about 1 1/2 hours for a couple of rooms.
I’ve gotten many questions about how the process works so I thought I’d step you through a recent design for a client in Saratoga. Kirsten emailed me to ask about booking a design consult with us. She and her husband had recently bought a home and wanted help with each room in the house. It doesn’t have to be the whole house – I’ve done everything from a gallery wall layout, to redecorating one bedroom, to starting from scratch on an entire home.
Before I go to your home for the consult, I will ask for pictures of the house, find out who lives there and the purpose of the room(s) I will be designing. This give me time to plan some ideas before getting there – saving you time.
In this case, after I reviewed the initial information, I scheduled a visit (the initial consult). I asked Kirsten for her vision of the rooms/her home, identified the furniture or decor pieces available (as is, or to be re-purposed) and what was on the wish list to be purchased. Typically, and as was the case during this consult, my head was already over flowing with ideas so I started to make preliminary suggestions on the layout, possible furniture and decor items, choice of colors, etc. And we had to talk budget and timeline, based on the scope of the project, what could reasonably be accomplished and how best to utilize the money to obtain the desired results. Letting me know how much your budget is one of the first questions I ask!
So I went home and worked room by room on designs, starting with the first room that she needed to have done. Usually a room takes 2-3 hours for me to complete the preliminary design – with wall color, rug, lighting and furniture choices. As I create the space I like to make a Mood Board to show how everything is going to look together. Here’s an example of the mood board that I made for the mid century modern sitting room.
After review of the mood board, and the back and forth discussions with the client, I may also need to go back one more time to measure out each piece and make sure it feels right in the space before hitting the order now button. Also, sometimes clients need to make changes to the designs because the rug doesn’t come in the size they wanted, etc.
At the end we hope our customers have rooms that reflect their style, make them feel relaxed and will be welcoming for family and friends for years to come! If you would like help with your next room or even the whole house, please use our Contact Us form to set up an appointment. I’m here to help come up with a plan that works in your budget, create beautiful designs, and make the process fun, not stressful!
In addition to beautiful rooms, remember we make beautiful furniture. Here are a few of many on our Furniture For Sale page:
There is a box at the top right of this page to enter your email address to receive notifications by email when I post something new on this blog. Please sign up today!
Happy FunCycling Friends,
Sarah ;)
If you like what you see, please like FunCycled’s Facebook pageto keep up to date on the newest finds, vote on colors and give your input on our creativity. Last but not least, let us customize a furniture piece for you. We create custom furniture and will deliver for customers in upstate NY and also ship throughout the US. Send us a note with what you would like using our contact page. Or buy something that we’ve already designed from our furniture for sale page.
I’m sooooooooo excited to share our first ever kitchen makeover with you!! Do you like Fixer Upper? If so, you’ll probably enjoy this kitchen makeover. It started back in June with the Interior Design phase. Ann hired me to be the interior designer for her dining room and entry way. The week we finished the entry way, she stopped by our store and said, “what room would you like to design next?”. I felt weird about telling her a room needed a makeover but she promised not to have hurt feelings! So I jumped at the idea of redoing her kitchen! She has a small kitchen but I knew we could breathe new life into it and make it a fun place to have friends over. Ann had other people give her quotes to redo the kitchen but they wanted to rip walls down and make it a major renovation project. Ann didn’t go for it and loved that I wanted to keep the original shape and size, but give it new life again.
To share the pictures of the kitchen after the remodel wouldn’t be the same without showing the before pictures.
Here we go!
Let’s start with the fridge wall, shall we? I didn’t like the placement of the fridge or that the island was all wood. You’ll see in the next few pictures that there is very little kitchen cabinet space so I wanted to make the island look like the rest of the cabinets and add exposed shelving above it. I sent Ann three different design ideas for the kitchen but my favorite design was one that included all retro style appliances from Big Chill. With such a small room, a retro design could incorporate fun appliances. I was elated to find out that she wanted to go with the retro appliances plan!!! We also added white shiplap to the bottom half of the wall to add even more texture to the space.
I wanted to make the fridge the focal point of the room so I moved it to the middle, then put the island on the left and built exposed shelving to go above it. We also added LED lights under each shelf to brighten up that corner. Let’s move on to the wall with the stove. The stove needed to be replaced, but I felt like this space also needed more storage. Here it is before:
Storage was tricky because behind the butcher block was a heater that couldn’t be covered. We decided to build a cabinet that looked like a counter but with metal on the bottom to let the heat out but still give her work space and built a custom cabinet to also provide more storage.
Scroll back up and take a look at the door to the left of the stove. The rest of Ann’s house has beautiful mahogany doors and I wanted these to match so we stripped off all the paint, sanded them down and stained them to match. I love the timeless look that gives this kitchen. Refinishing the doors was probably Johns least favorite part of this renovation. Now check out the difference!
Let’s take a look at the ceiling now… not so pretty wood that was an orange/brown.
With a light that needed to go for sure!
Here it is now… sooooooo pretty, right?
Moving on to the sink section. The dark color of the cabinets made this space feel small. The doors and drawers were really basic so John added decorative trim to make it seem more modern and high end. Here’s a close up on those:
John also build the counter top from scratch using solid maple. That was probably the hardest part of the remodel. Not the install, but the build itself. It was definitely worth it though!
We went with a GE retro dishwasher because we wanted white. The hardware is all from Restoration Hardware. What would a kitchen makeover be without a farmhouse sink anyway??
The rug added another deign element that made the kitchen fun and fresh. The tile is from Lowes and we went with a dark gray grout. Since the windows look out to her back yard, I wanted to skip on curtains and leave it open and sunshiney.
Ann already had this antique coffee grinder and I definitely wanted to incorporate it into the kitchen design. Isn’t it awesome?!?
The cabinets, trim, and ceiling are painted with Benjamin Moore’s Simply White in Semi Gloss. The walls are painted with Benjamin Moore’s Simply White in Satin. When Ann walked into the house for the first time after the remodel and sent me a text saying, “I can’t stop smiling”… and that says it all friends.
Here are some other pretty pictures that we thought you might like!
We can help design or remodel your home! If you’d like help with either, use our Contact Us form! We would love to create one of a kind deigns for you!
We also have lots of one of a kind furniture for sale right now if you’re in need of that. Here are a few of those pieces:
There is a box at the top right of this page to enter your email address to receive notifications by email when I post something new on this blog. Please sign up today!
Happy FunCycling Friends,
Sarah ;)
If you like what you see, please like FunCycled’s Facebook pageto keep up to date on the newest finds, vote on colors and give your input on our creativity. Last but not least, let us customize a furniture piece for you. We create custom furniture and will deliver for customers in upstate NY and also ship throughout the US. Send us a note with what you would like using our contact page. Or buy something that we’ve already designed from our furniture for sale page.
How was your week? Everyone start school ok? My kiddos started at a new school this year and I was a little nervous for them – hoping they would make new friends easily and like their teachers! Thankfully, they absolutely love it, and I’m thrilled at how easily they integrated into their new school. Oh, and having normal work hours again feels so good, too Here are a few pictures of my babies on the first day of school!
This week’s transformation is on the simpler side, but still so classic and pretty. I bought this dresser set a while ago and have been wanting time to redo it!
We painted it with Benjamin Moore’s color New York State of Mind, glazed it with Valspar’s Antiquing Glaze, and finished it with a satin clear coat. If you want to see how we paint furniture, check out our How to Paint Furniture post. We also replaced the hardware with traditional bale pulls.
There is a box at the top right of this page to enter your email address to receive notifications by email when I post something new on this blog. Please sign up today!
Happy FunCycling Friends,
Sarah ;)
If you like what you see, please like FunCycled’s Facebook pageto keep up to date on the newest finds, vote on colors and give your input on our creativity. Last but not least, let us customize a furniture piece for you. We create custom furniture and will deliver for customers in upstate NY and also ship throughout the US. Send us a note with what you would like using our contact page. Or buy something that we’ve already designed from our furniture for sale page.
How was your holiday weekend? My amazing friends Chrisie, Dione and Bethany came for a girls weekend and we had a blast! It was so nice to get time to laugh, have fun, not work and feel like a 20 year old again! I’m so so thankful for the blessing of their friendship!
Since they are here, I’m keeping this post short and sweet. It’s a transformation of an ornate but ugly buffet that I took the risk of painting in a bold way! Here it is before:
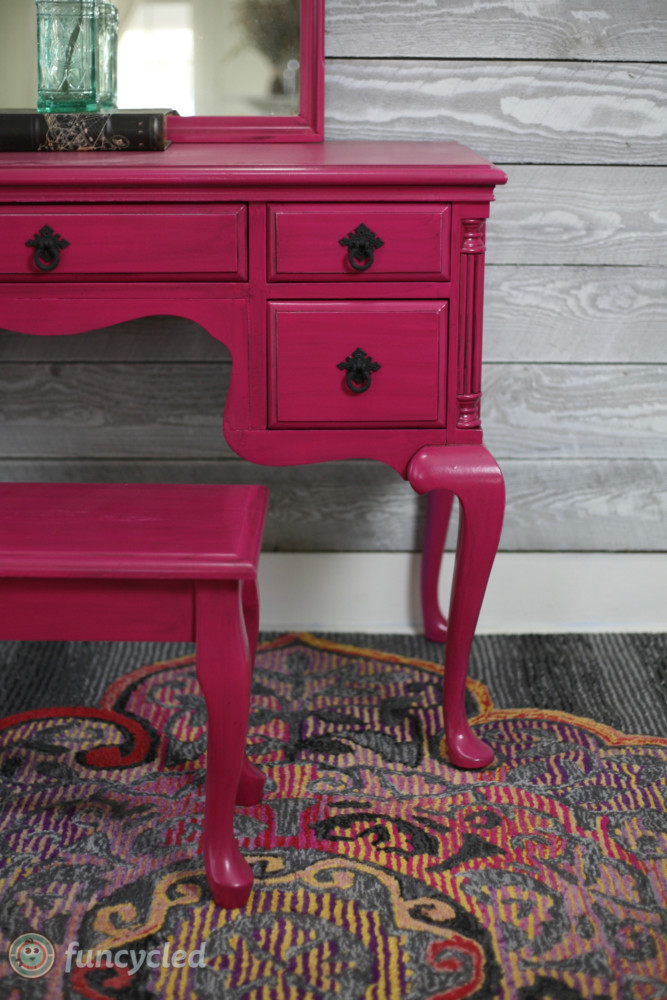
We painted it with Benjamin Moore’s color, glazed it with Valspar’s Antiquing Glaze, and finished it with a semigloss clear coat. If you want to see how we paint furniture, check out our How to Paint Furniture post. We also replaced the hardware for that extra pop with the design.
There is a box at the top right of this page to enter your email address to receive notifications by email when I post something new on this blog. Please sign up today!
Happy FunCycling Friends,
Sarah ;)
If you like what you see, please like FunCycled’s Facebook pageto keep up to date on the newest finds, vote on colors and give your input on our creativity. Last but not least, let us customize a furniture piece for you. We create custom furniture and will deliver for customers in upstate NY and also ship throughout the US. Send us a note with what you would like using our contact page. Or buy something that we’ve already designed from our furniture for sale page.
How’s your week going? We are knee deep in a kitchen remodel project while getting goods restocked at FunCycled and getting the kiddos ready to start school next week. This is the time of year that I feel ready for school. The kids are ready not to be around each other all day and I’m ready to have time to catch up with work. Work has been busy this summer and we’ve had added in a lot of non-work fun, but I’m ready to feel like I’m not running on all cylinders again.
This week’s makeover is actually much harder than it may look. We took this old oak dresser:
We’ve tried to redo an oak dresser with a gradient ombre stained finish, but sometimes oak doesn’t like to take the stain colors as well as pine or a softer wood so it hasn’t come out right when we’ve tried it. But we decided to give it another go!
We painted the outside with a black enamel and heavily distressed it. If you want to see how we paint furniture, check out our How to Paint Furniture post. For the drawer fronts, we sanded down into the oak pretty deeply. We needed the grain to take the stain. Then we stained the drawers in this order with these colors:
1st drawer (top) – all natural (no stain applied just a protective clear coat)
2nd drawer – Minwax 1 coat of Early American
3rd drawer – Minwax 1st coat Early American – 2nd coat Dark Walnut
4th drawer – Minwax 2 coats of Dark Walnut
5th drawer – Minwax 1 coat of Ebony
Sometimes seeing it in a picture is helpful, right? On photo day, I also had a helper to do the pictures. She’s just the cuteness.
There is a box at the top right of this page to enter your email address to receive notifications by email when I post something new on this blog. Please sign up today!
Happy FunCycling Friends,
Sarah ;)
If you like what you see, please like FunCycled’s Facebook pageto keep up to date on the newest finds, vote on colors and give your input on our creativity. Last but not least, let us customize a furniture piece for you. We create custom furniture and will deliver for customers in upstate NY and also ship throughout the US. Send us a note with what you would like using our contact page. Or buy something that we’ve already designed from our furniture for sale page.
How was your week? Last week felt like the busiest week of our summer as far as work goes. John was working on a kitchen cabinet painting project. It rained quite a bit last week and that slows down our job so much. It makes for long days, drips and tricky finishes. Thankfully, I have a hard working husband who worked long days and pushed hard to finish the kitchen in one week! These aren’t the best pictures but here’s a little before and after shot of it for you.
We painted the top cabinets with Benjamin Moore’s Simply White, the bottom with Benjamin Moore’s Gray Mountain. Then we glazed, lightly distressed and did a protective clear coat.
After working long days all week, we decided to go on a day trip to Sturbridge Village after church on Sunday. My parents came along and we had a blast!
So many good things to share, right? Now onto this week’s furniture makeover. We took this mid century dresser, changed the drawers and made it new again.
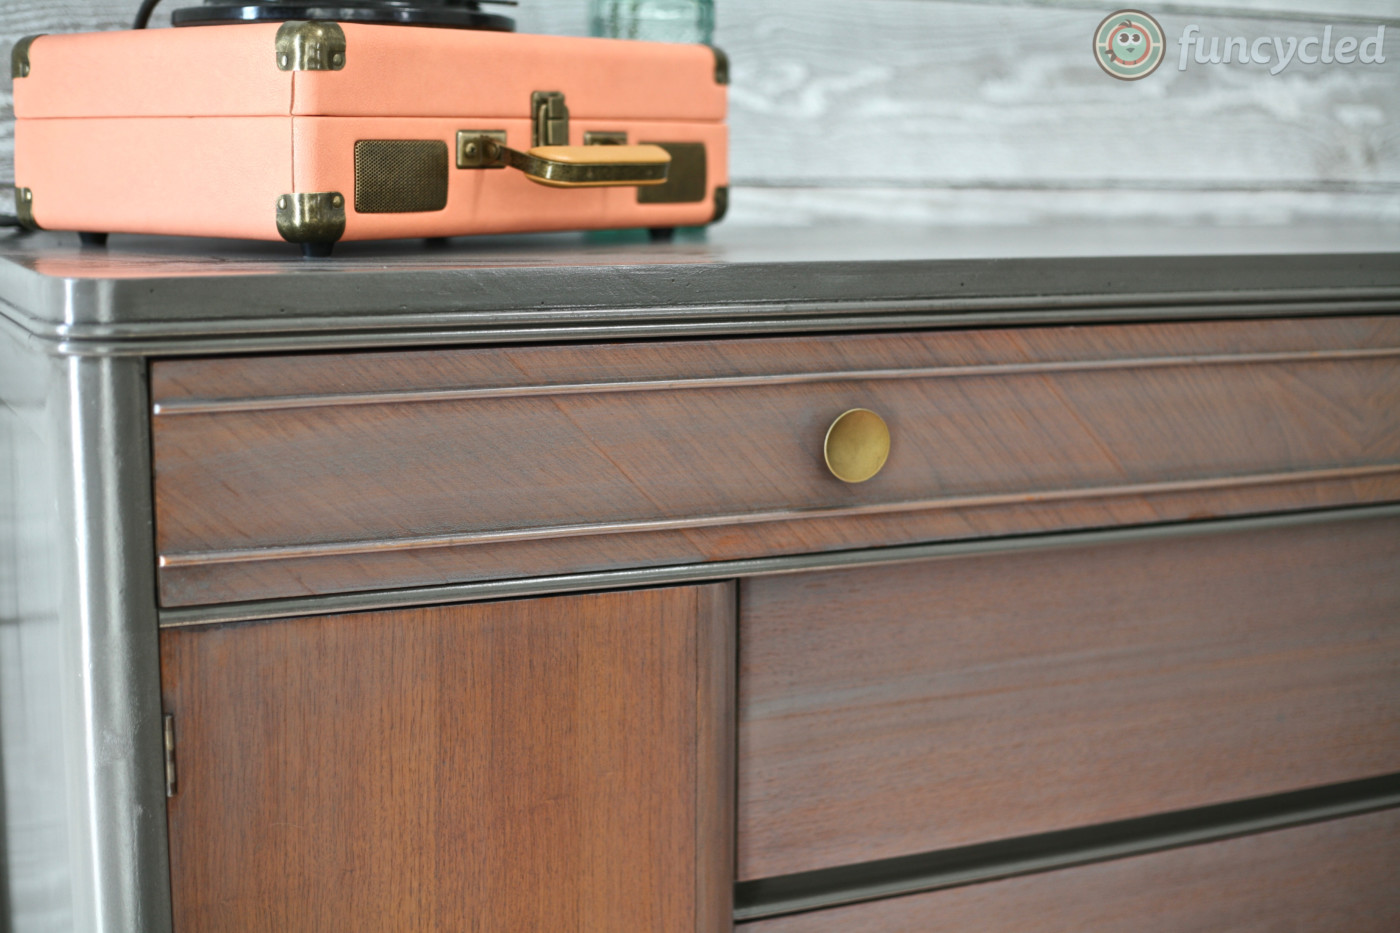
For the outside of this piece, we painted the box with Benjamin Moore’s Simply White. Then we sanded and stained the drawer fronts with multiple stain colors. We used ebony, dark walnut, special walnut, and a gray wash. You could use whatever colors you like though! If you want to see how we paint furniture, check out our How to Paint Furniture post.
We also just added a ton of new pieces to our for sale page! Snatch them up because it’s summer and things don’t stick around here long in the summer! See all the new pieces on our Furniture For Sale page.
There is a box at the top right of this page to enter your email address to receive notifications by email when I post something new on this blog. Please sign up today!
Happy FunCycling Friends,
Sarah ;)
If you like what you see, please like FunCycled’s Facebook pageto keep up to date on the newest finds, vote on colors and give your input on our creativity. Last but not least, let us customize a furniture piece for you. We create custom furniture and will deliver for customers in upstate NY and also ship throughout the US. Send us a note with what you would like using our contact page. Or buy something that we’ve already designed from our furniture for sale page.
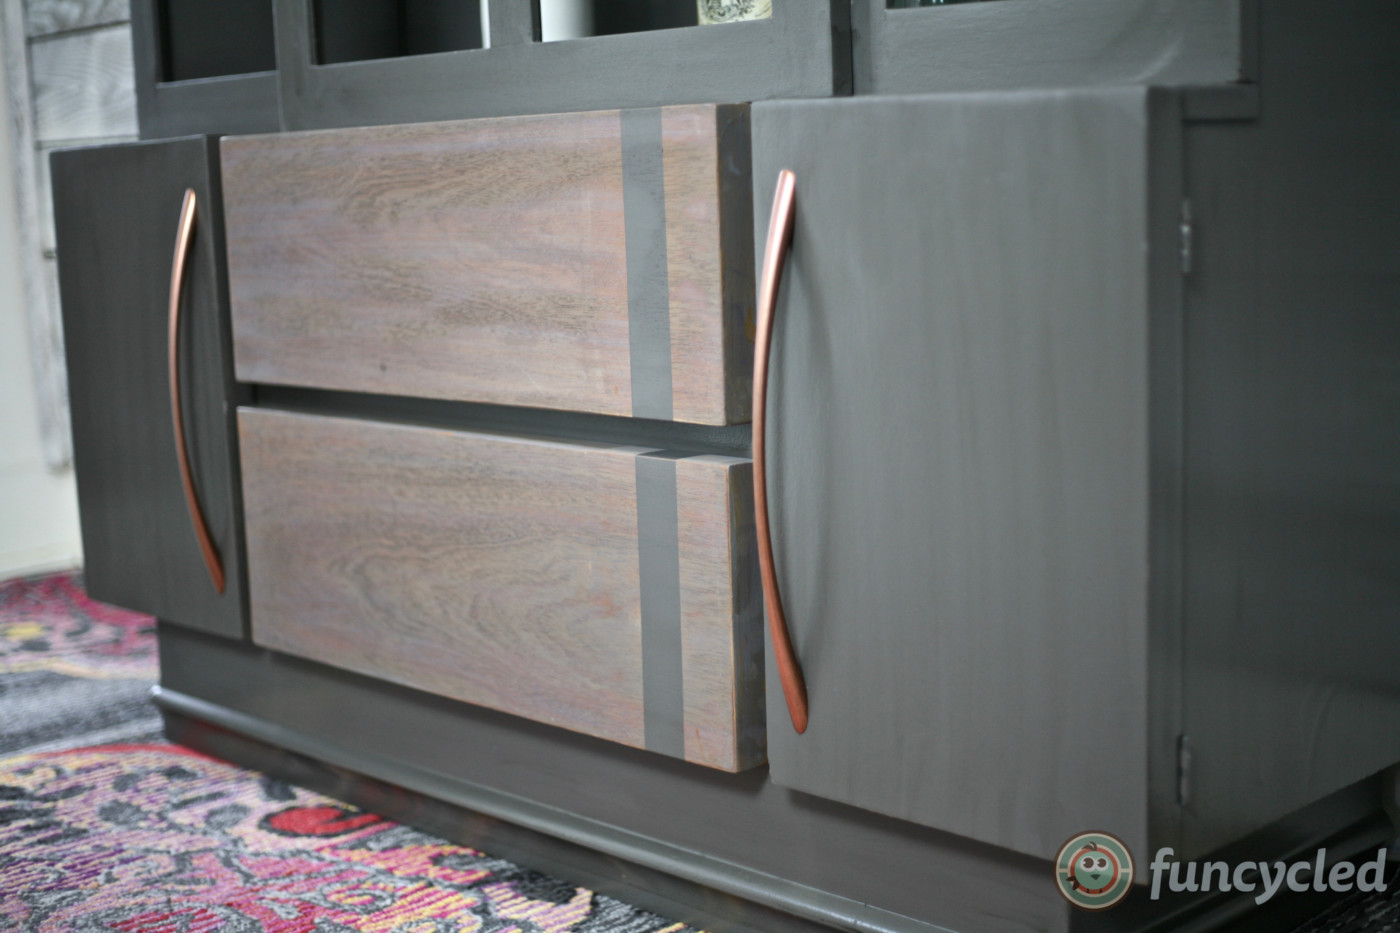
On the build day, we went to Stamford, Connecticut and the show staff brought all of the flea market items that we bought on day 1 to a large garage/warehouse type building. We were assigned a team of 2-3 people (depending on what we were working on sometimes people on our team helped the other team). Here’s what we started with:
This was my favorite day by FAR!The designer in me absolutely loved having the freedom to think up any design and then have a team of experts there to help us make it happen. We had a master carpenter and a welder/builder that helped us most of the day. You’re given a $100 budget to buy things to help complete your project. We used that $100 to buy 2 legs for our coffee table, old legs for our “Stylish Storage” project and an old burlap sack for our “Mixed Texture” project. You have about 12 hours to finish the projects. We arrived at the workshop at 9am and worked straight until 9pm with only a quick break to scarf down lunch and no dinner.
I started working on the ironing board that would become a coffee table which was our “Modern Americana” challenge. I sanded the ironing board and stained it a new color so the mid century legs we purchased could be stained to match. I’ve never welded before and was able to give it a try as we needed to weld a base plate on the old tractor gear for one side of the coffee table. It was so much fun!! I only did a little bit of it, our welder did the rest.
While I was working on the “Modern Americana” project, John started prepping the cable spool that we would be turning into a bar which was our “Mixed Texture” project. We welded a metal plate on the top of the industrial light post to attached the cable spool. John had to figure out how to drill the holes for the neck of the wine bottles to make them all sit at the same angle. He practiced quite a few times on a separate board. Then he brought the cable spool wood back to life by using shellac and sanded down the metal base a bit to make it smoother. I came in to do the finishing touches using the burlap sack and metal detailing.
Our master carpenter did most of the work on the “Stylish Storage” project! We wouldn’t have had time to finish them all if he hadn’t done the majority of the work for that project. He built the base out of the old dining room table legs we had bought. He and John worked on the dividers that would go inside of the desk. I shellacked the wood on the trunk to make it shine again. We cut it close on this project. At the end of the day the latch to hold it closed wasn’t working right and our master carpenter really pushed to make it happen for us. He was so amazing!!
The behind the scenes of filming was interesting on this day. I had a hard time initially speaking my mind! I came with all my design plans but then I had amazing people suggesting changes. I didn’t have the heart to say no. The whole time we were filming each team had their own producer and then there is a producer in the back that is watching everything on TV’s. I called her that “phantom producer”. Lol! At one point, we were filming and the staff suggested a change to our Modern Americana project that I thought would look horrible but I said OK. The “phantom producer” stopped everything and came out to me. She said, “Sarah, you’re thinking things you’re not saying, right?” I told her she was right. Then she goes on to say, “You are much more fun and interesting in real life, you need to speak up and say what you want. These are your designs and if you don’t stand up for them, no one will.” That was the moment that the show became really fun for me. She gave me the freedom to be me and be open about my thoughts. So we rerecorded and I kept to my original plan for the piece! Yay!
It felt a little weird having the team we were competing against working right next to you. The longer I watched them the less I was concerned about whether we would win. I was confident in our designs and the functionality of each piece in a NYC apartment. The producers definitely encouraged us to be playful and pick on our opponents work which John was game for but I just couldn’t do it. I didn’t sound genuine at all. Lol! It was a good balance between us I think though. :)
One thing that is interesting about day 2 is that you only have that day, if your makeovers aren’t done, you have to stop. So it is very fast pace, but the staff was so amazing and helped make it happen. Next week, I’ll share about the final day of being on Flea Market Flip and show you how the transformations turned out!
The next day of filming was the workshop day and my favorite of all the days!
If you like what you see, please like FunCycled’s Facebook pageto keep up to date on the newest finds, vote on colors and give your input on our creativity. There is a box at the top right of this page to enter your email address in to receive notifications by email when I post something new on this blog.
Please sign up today! Last but not least, let us customize a furniture piece for you. We create custom furniture and will deliver for customers in upstate NY and will also ship throughout the US. Send us a note with what you would like using our contact page. Or buy something that we’ve already designed from our furniture for sale page.
How was your week? We have been busier and busier with interior design (which I love by the way)! Two weeks ago we set the upcoming 5 weeks aside for interior design jobs. Starting with designing offices for the Troy Innovation Garage, then to kitchen cabinet painting, and ending with a whole kitchen renovation project. We are mid way through those five weeks! Pushing myself into new fields and designs can feel risky but it’s wonderful all at the same time. Focusing on the bigger projects has also given me time to focus even more on the design of the furniture in our store. I’ve been really giving it my all and I just want to say thanks to all of you who have purchased so many pieces in the last few weeks. I don’t say thank you enough. You are letting me create, supporting your local community and rescuing old treasures. It means more than I can even say!
One of the many new pieces that I wanted to share was this buffet. As soon as I laid eyes on it, I knew exactly how I wanted it redone. When I told my husband I loved it, he said “that one”? Lol! Yes, THAT ONE! I replied with a big smile on my face. Here it was before:
At first glance, I loved the legs and I hated the doors. I knew I could make both so much better. People often ask me what I love to do with furniture, I love to take something fancy or modern and add a little bit rustic texture. That’s just what we did with this piece.
We painted it all with Benjamin Moore’s color Simply White (my favorite white), lightly distressed it and finished it with a semi-gloss clear coat to give it a more modern finish. John built the door fronts using barn board and a Kreg jig. If you want to see how we paint furniture, check out our How to Paint Furniture post.
Ready for the after?
A beautiful part of this buffet’s story; it sold within 1 hour of me posting about it online. That makes me feel soon good! I hope it’s loved forever in its new home.
We also just added a ton of new pieces to our for sale page! Snatch them up because it’s summer and things don’t stick around here long in the summer! See all the new pieces on our Furniture For Sale page.
There is a box at the top right of this page to enter your email address to receive notifications by email when I post something new on this blog. Please sign up today!
Happy FunCycling Friends,
Sarah ;)
If you like what you see, please like FunCycled’s Facebook pageto keep up to date on the newest finds, vote on colors and give your input on our creativity. Last but not least, let us customize a furniture piece for you. We create custom furniture and will deliver for customers in upstate NY and also ship throughout the US. Send us a note with what you would like using our contact page. Or buy something that we’ve already designed from our furniture for sale page.