I like to think of Thanksgiving as more than a holiday. Thanksgiving is the perfect opportunity to create a home where style and purpose meet. Thoughtful design choices can make your gathering feel intentional, calm, and memorable. Here are practical tips to help you blend beautiful décor with meaningful moments.
Start with Purpose Before Decorating
Before pulling out your seasonal decorations, take a moment to walk through your space with fresh eyes. As you do, consider some questions. Where do your guests naturally gather? Where do you feel rushed or disorganized? Taking time to notice these areas can help you plan furniture placement, serving zones, and traffic flow so your home supports connection rather than chaos.
Actionable Tips to Get You Started:
- Map your gathering flow: mark where people enter, mingle, and sit.
- Identify “bottlenecks” where movement slows, like narrow kitchen pathways or tight corners.
- Decide which areas need more seating, surface space, or lighting to keep your Thanksgiving stress-free.
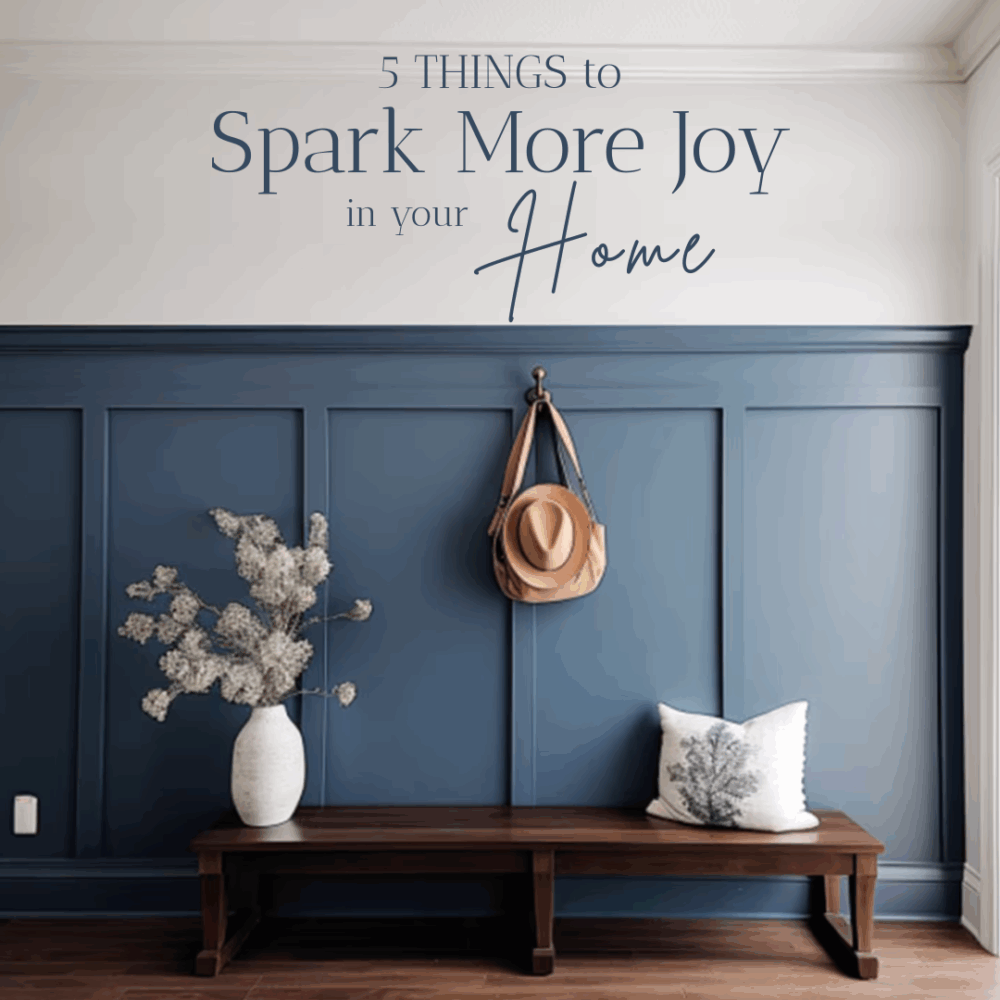
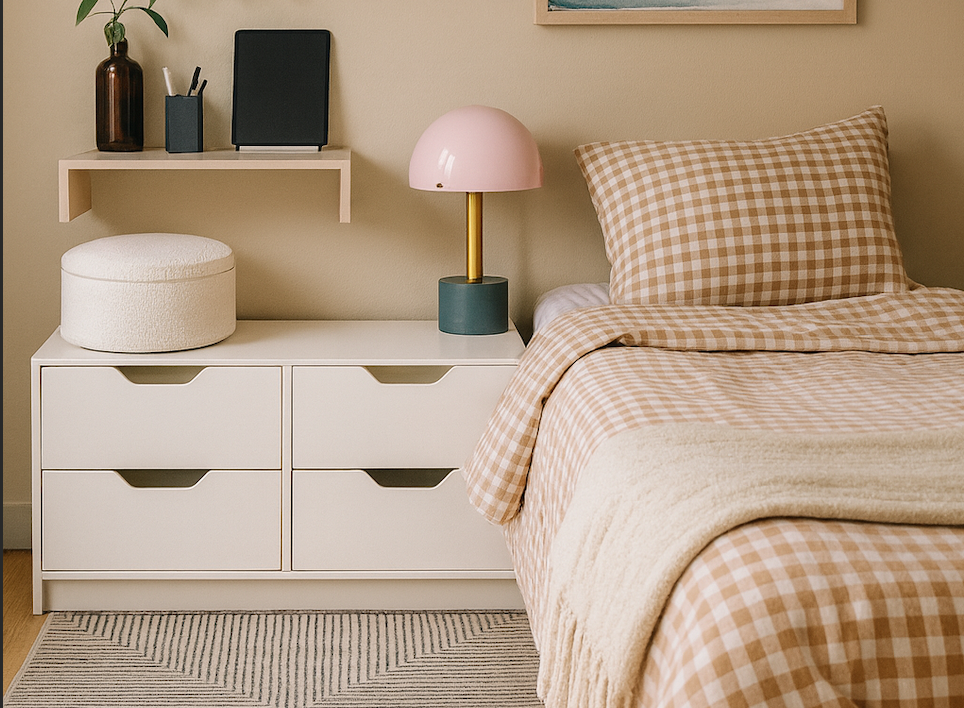
Create a Welcoming Entryway
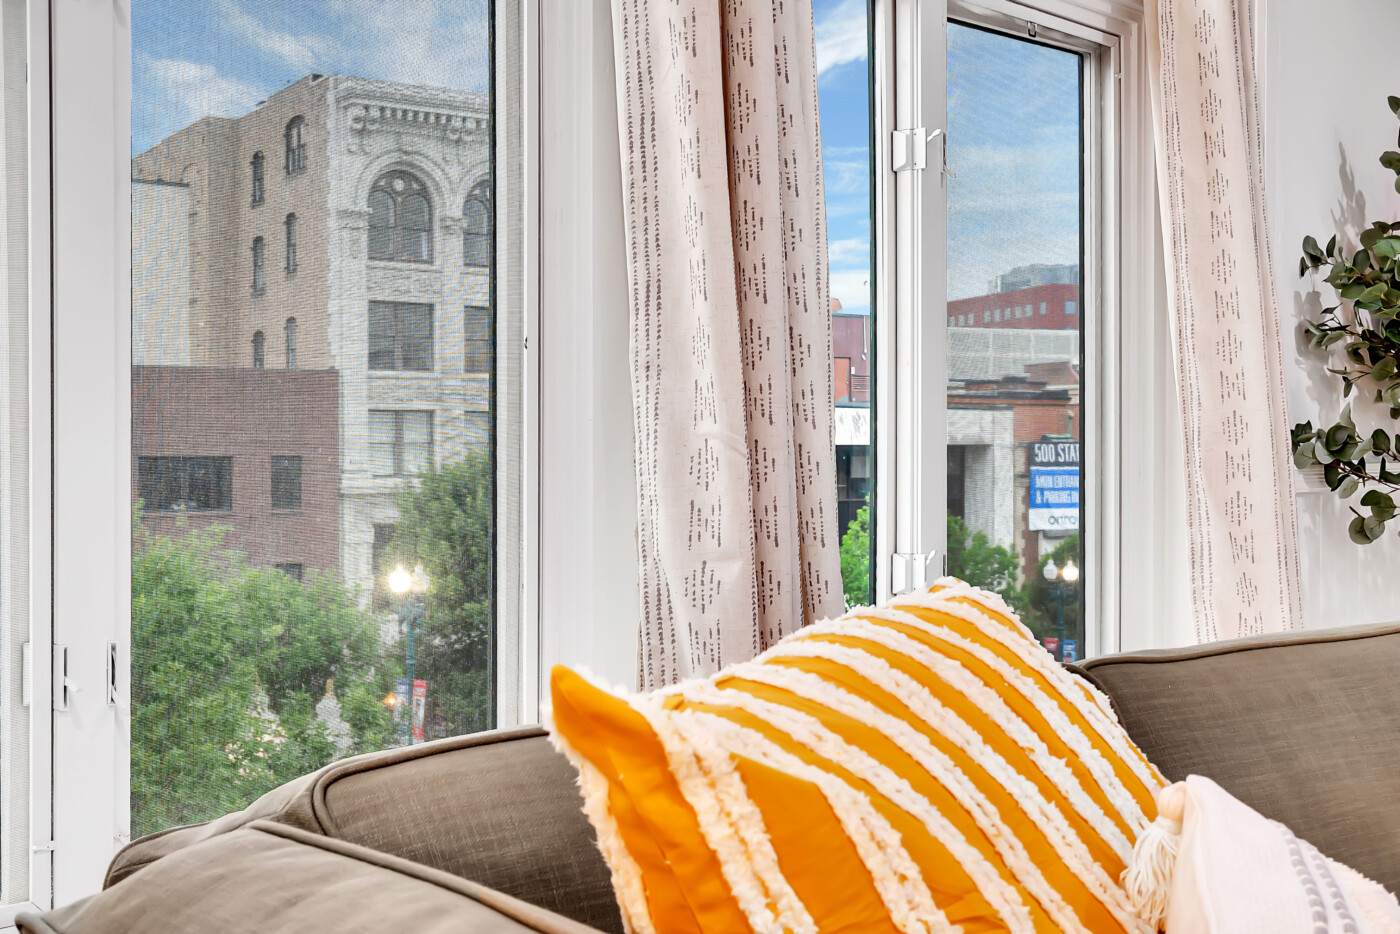
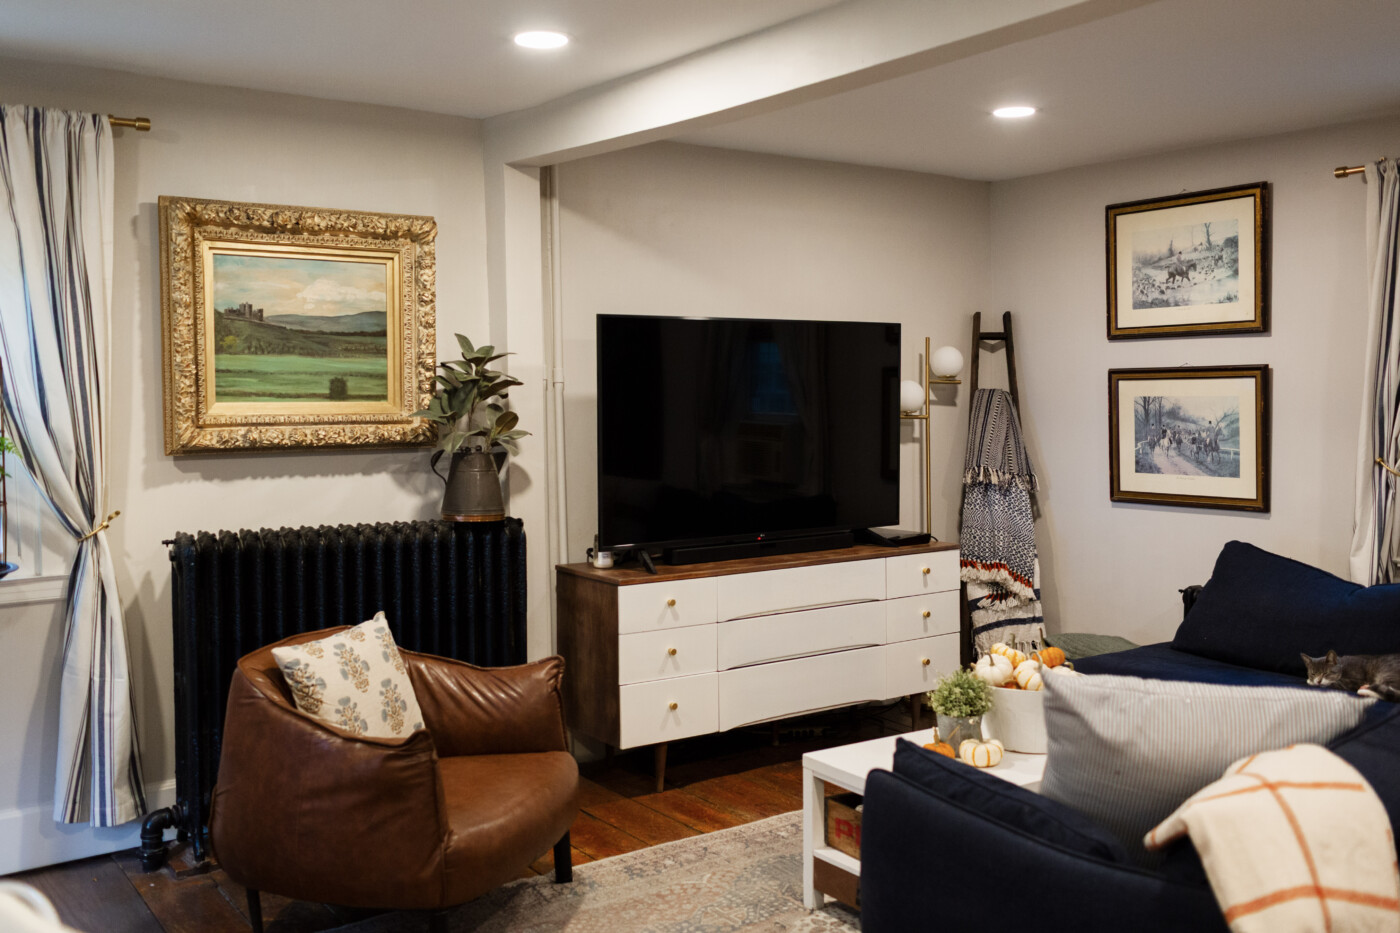
Your entryway sets the tone for your Thanksgiving gathering, and a few intentional touches can make guests feel both welcomed and at ease, right the moment they walk in.
Styling Tips:
- Add some seasonal items or fresh greenery for instant warmth.
- Include touches that tell the story of who you are and help spark conversation.
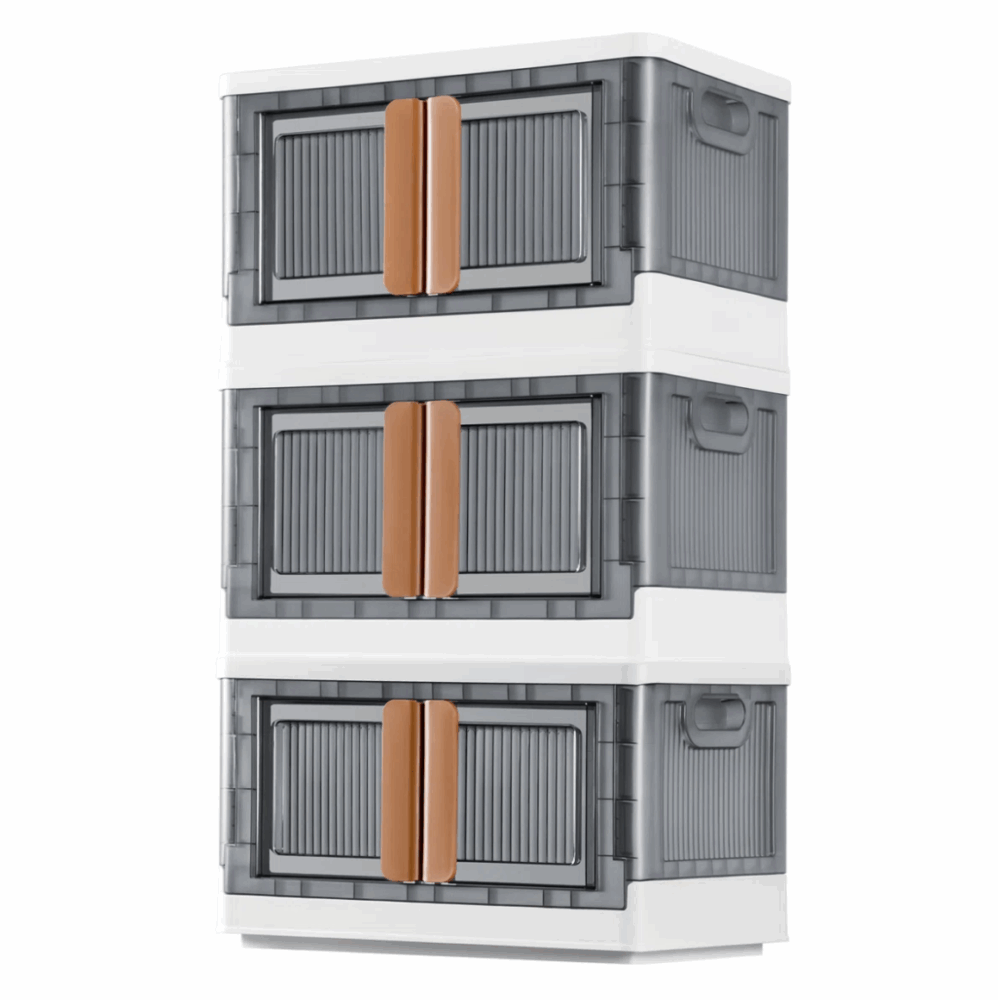
- Consider a bench or basket for shoes and coats to keep clutter contained.
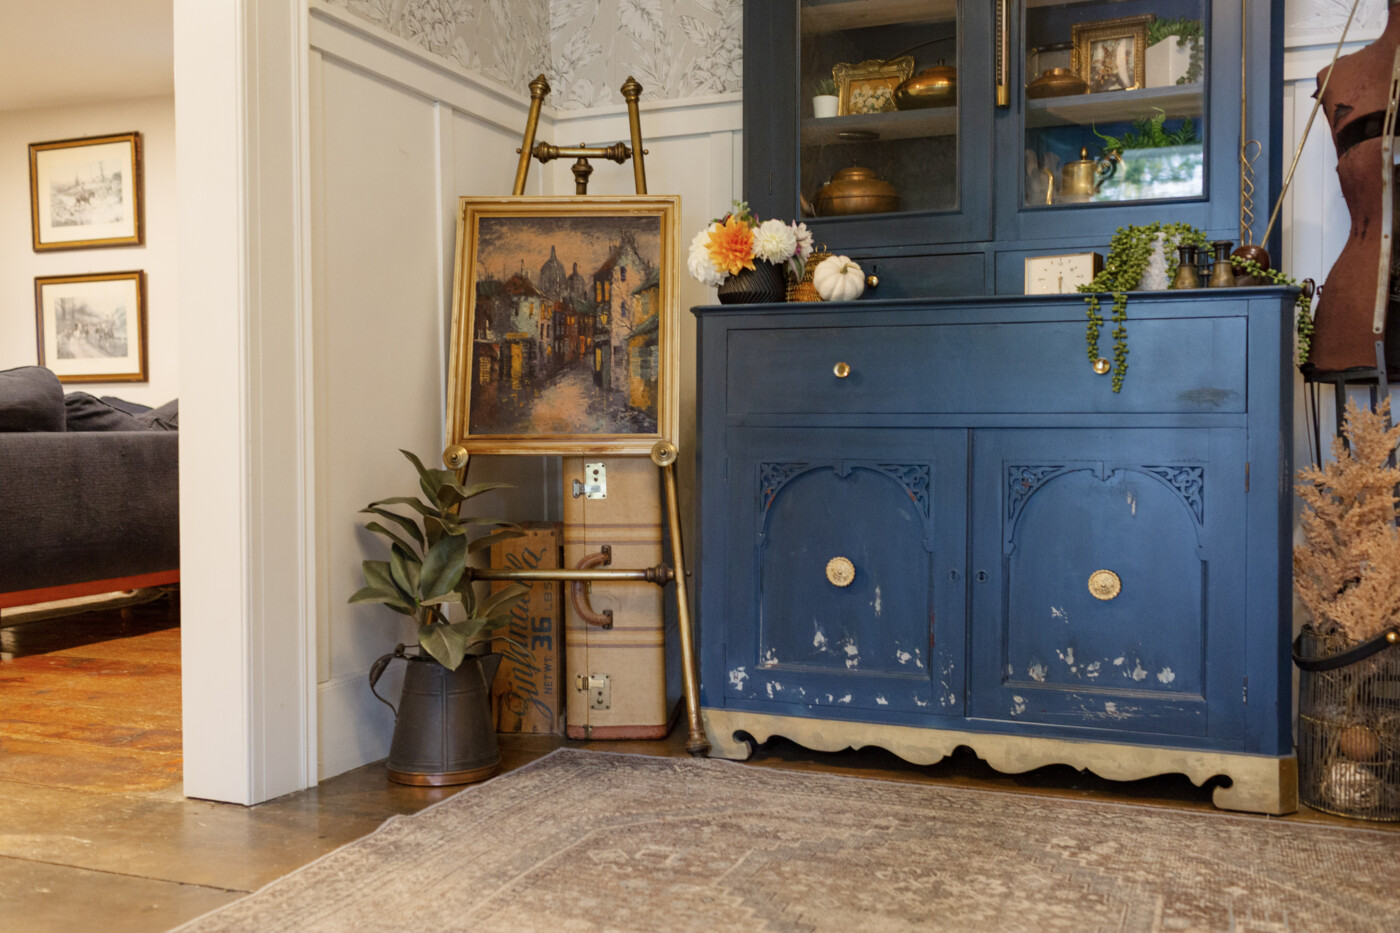
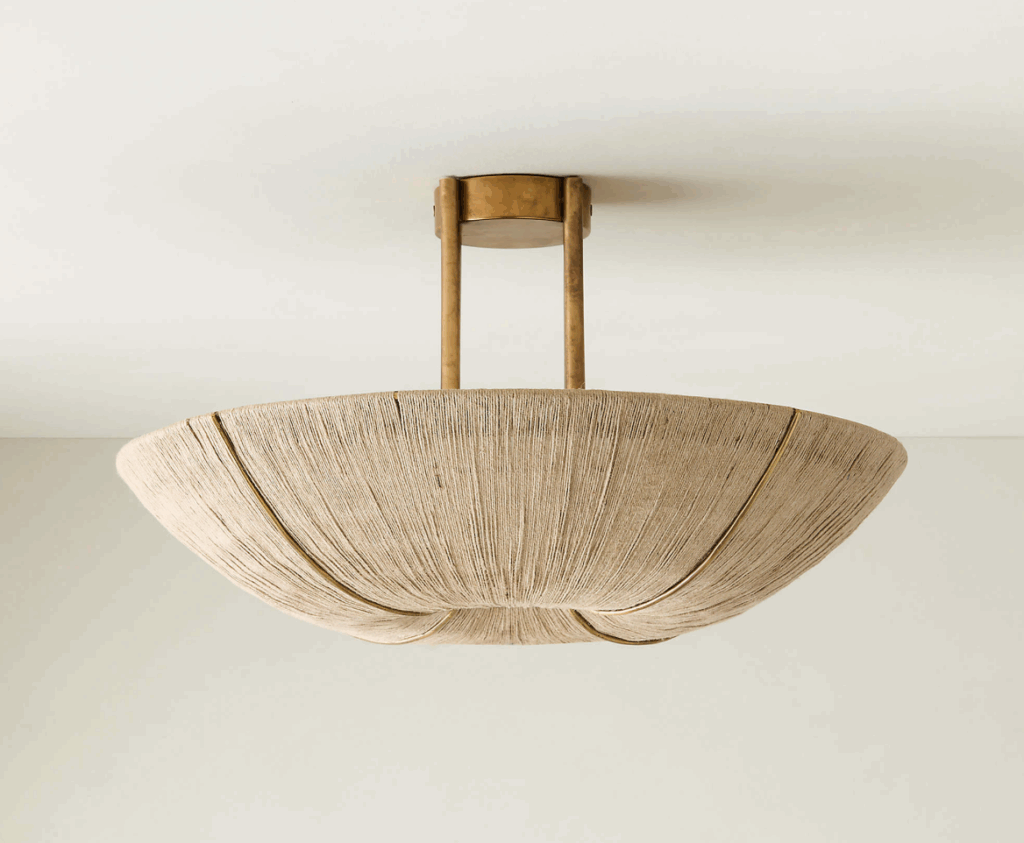
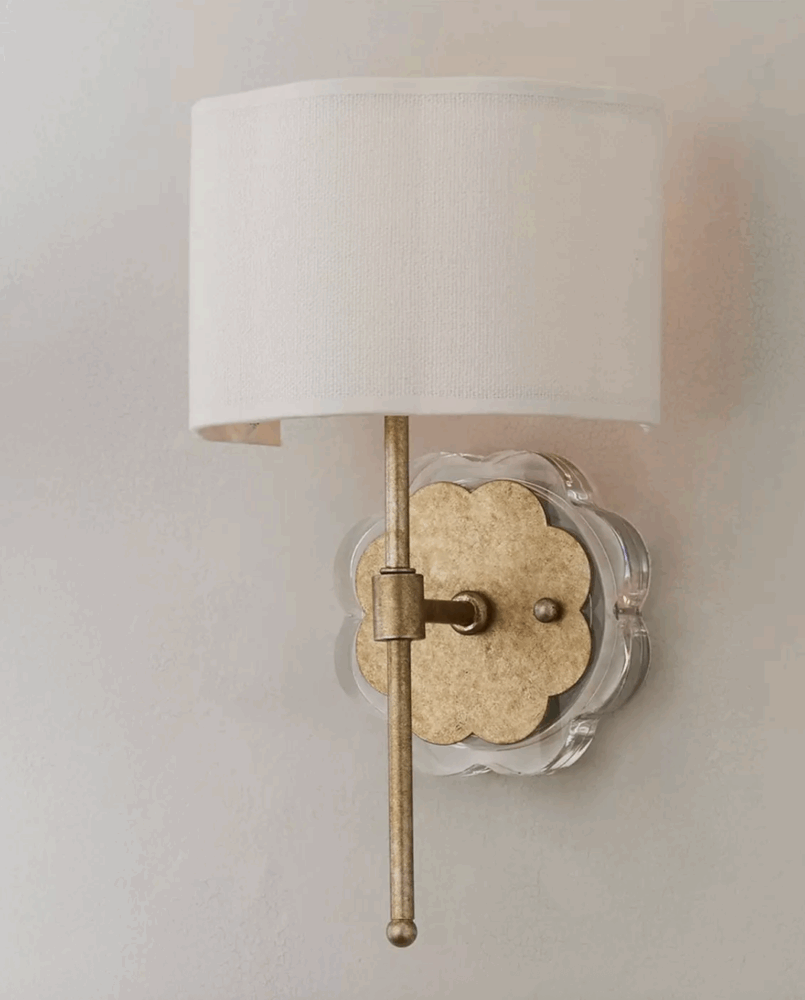
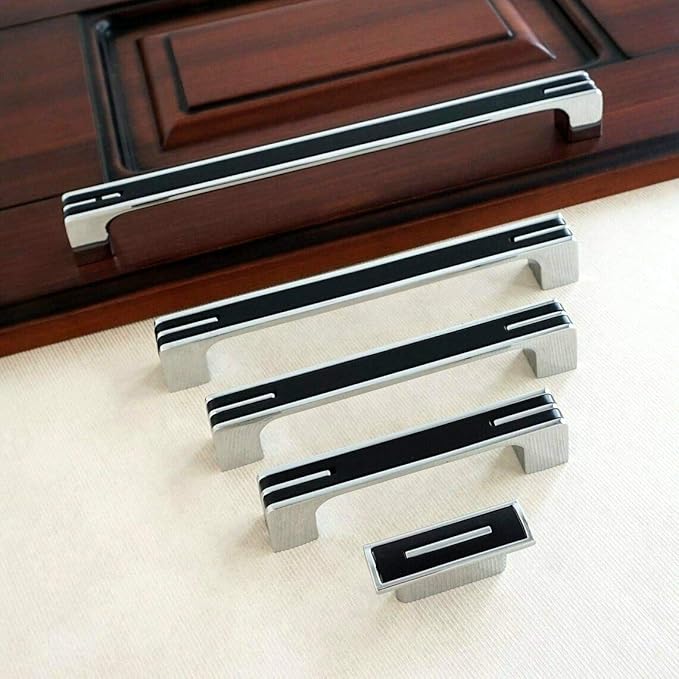
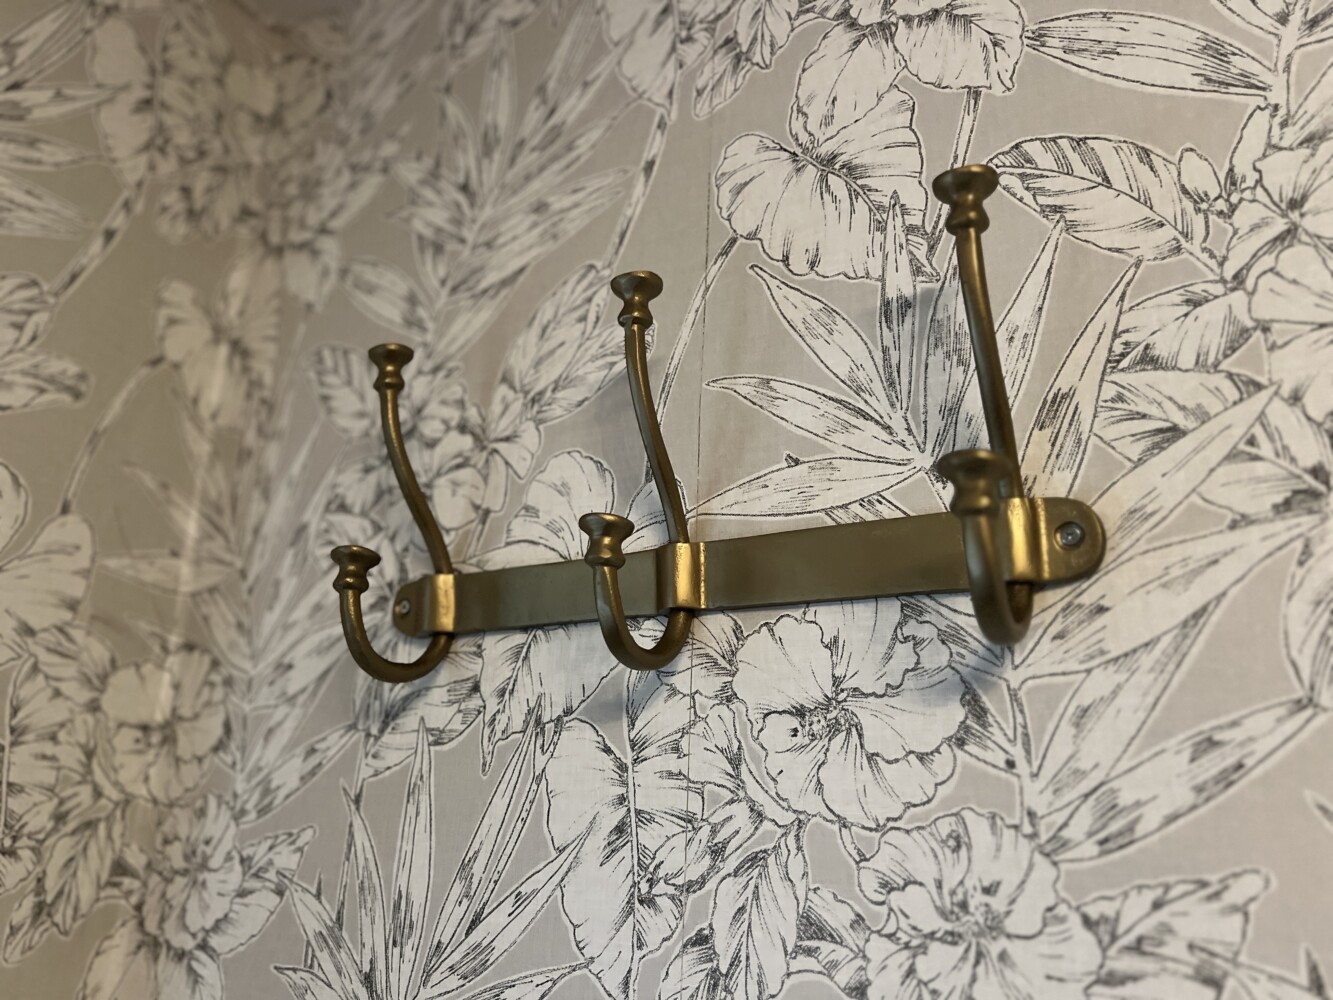
Since my entrance doesn’t include a closet, I have a set of wall hooks ready and available for guests coats, bags, or scarves. Vintage brass adds style while the hefty design keeps things functional.
Purpose Tips:
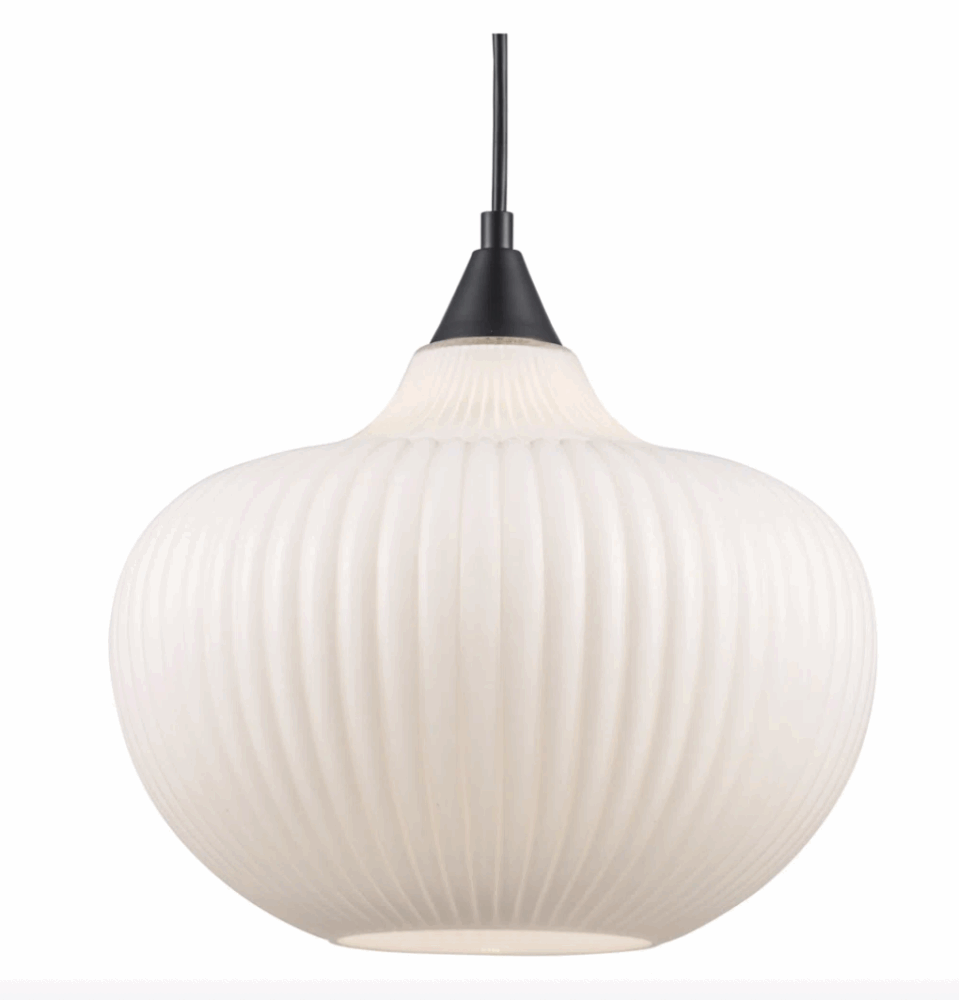
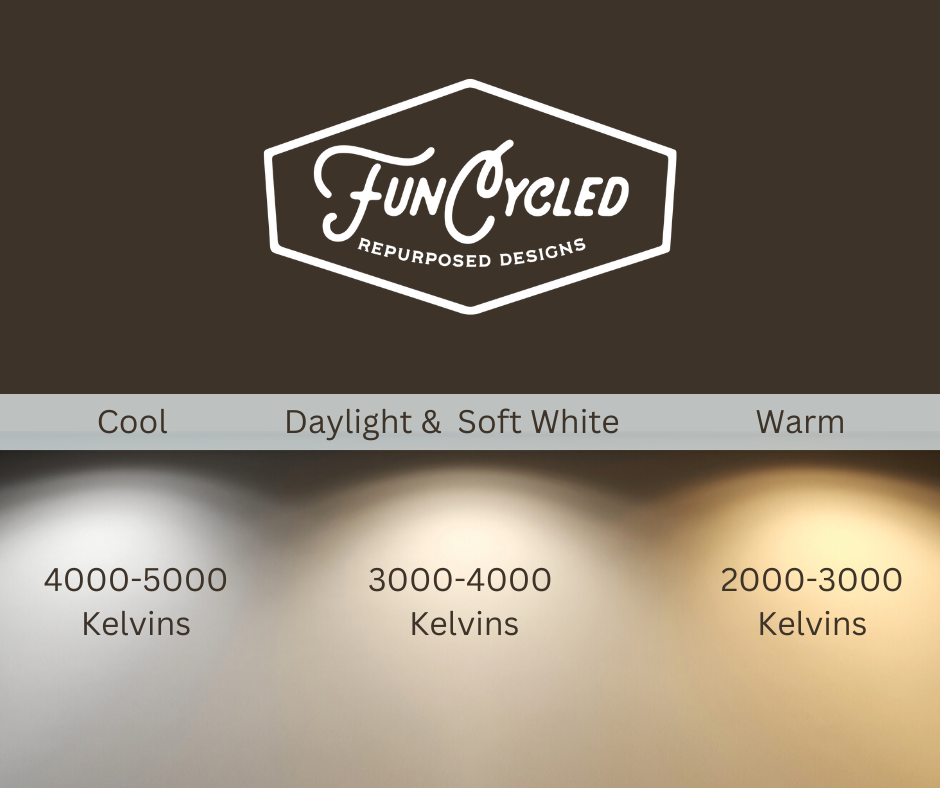
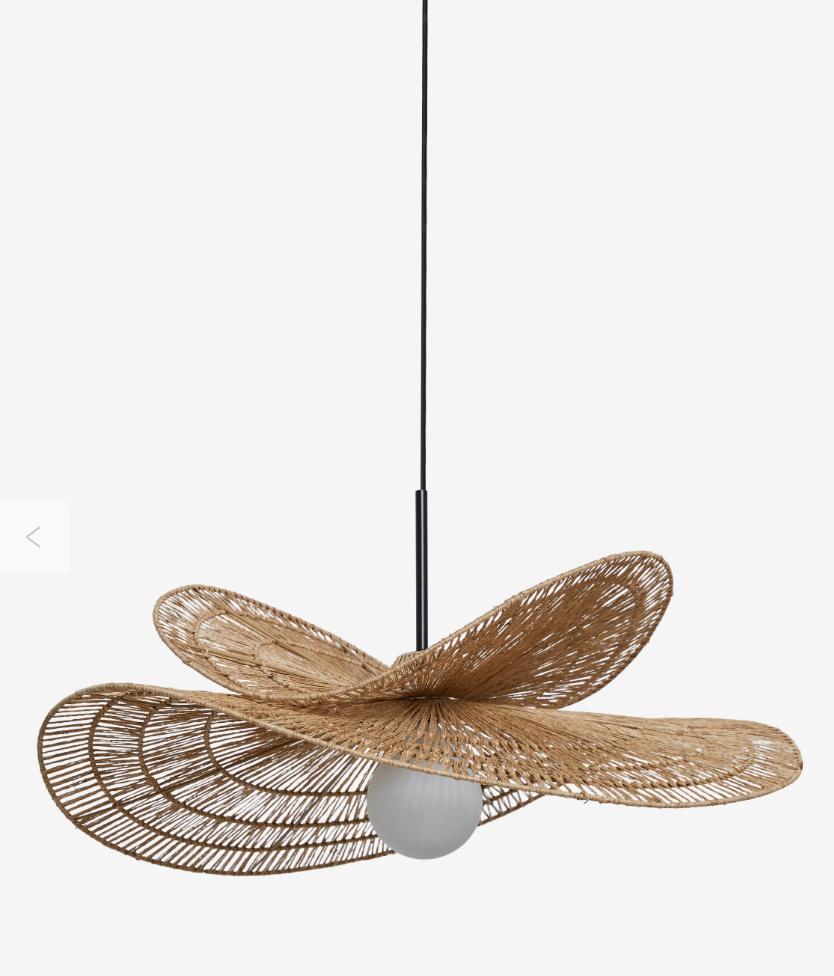
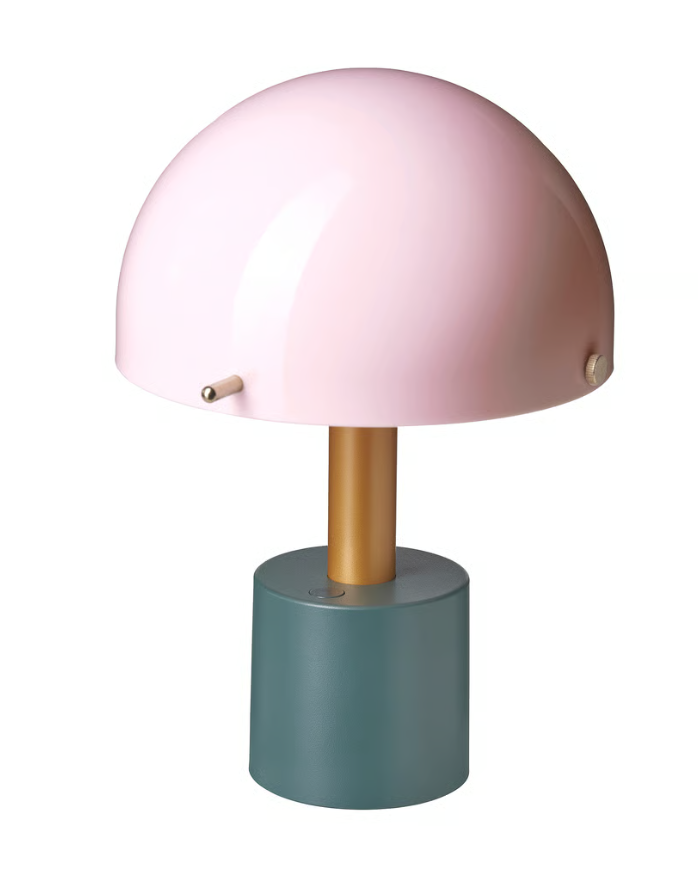
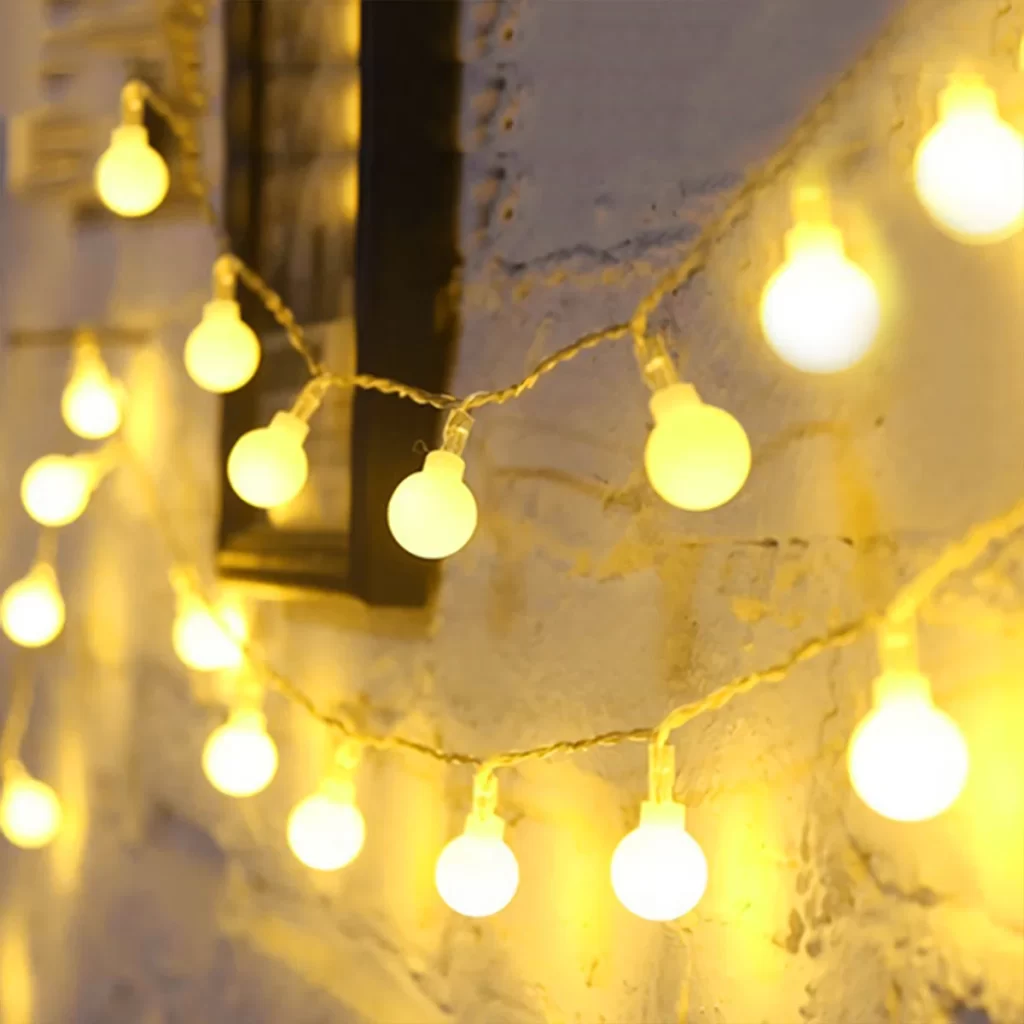
- Arrange lighting so your entry feels bright but cozy.
- Keep pathways clear for smooth traffic flow.
- Introduce a subtle seasonal scent, like cinnamon or pine, to engage multiple senses.

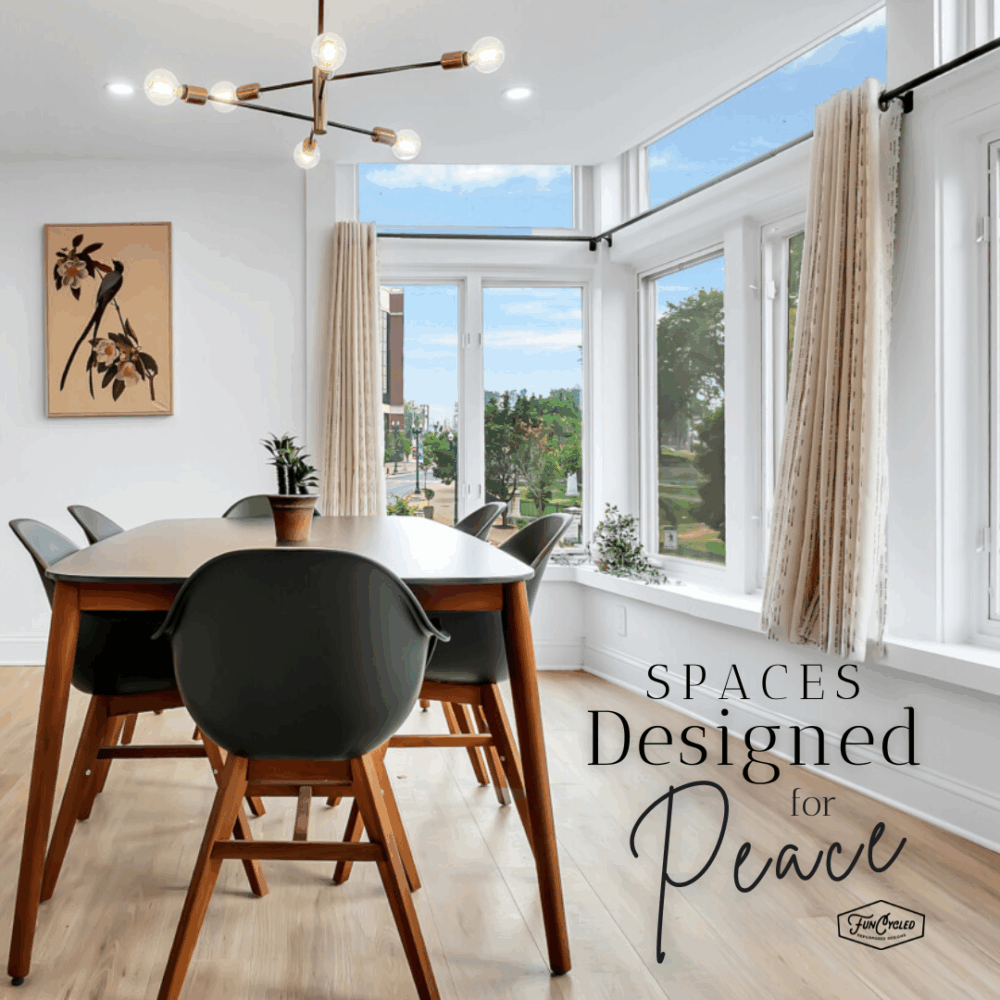
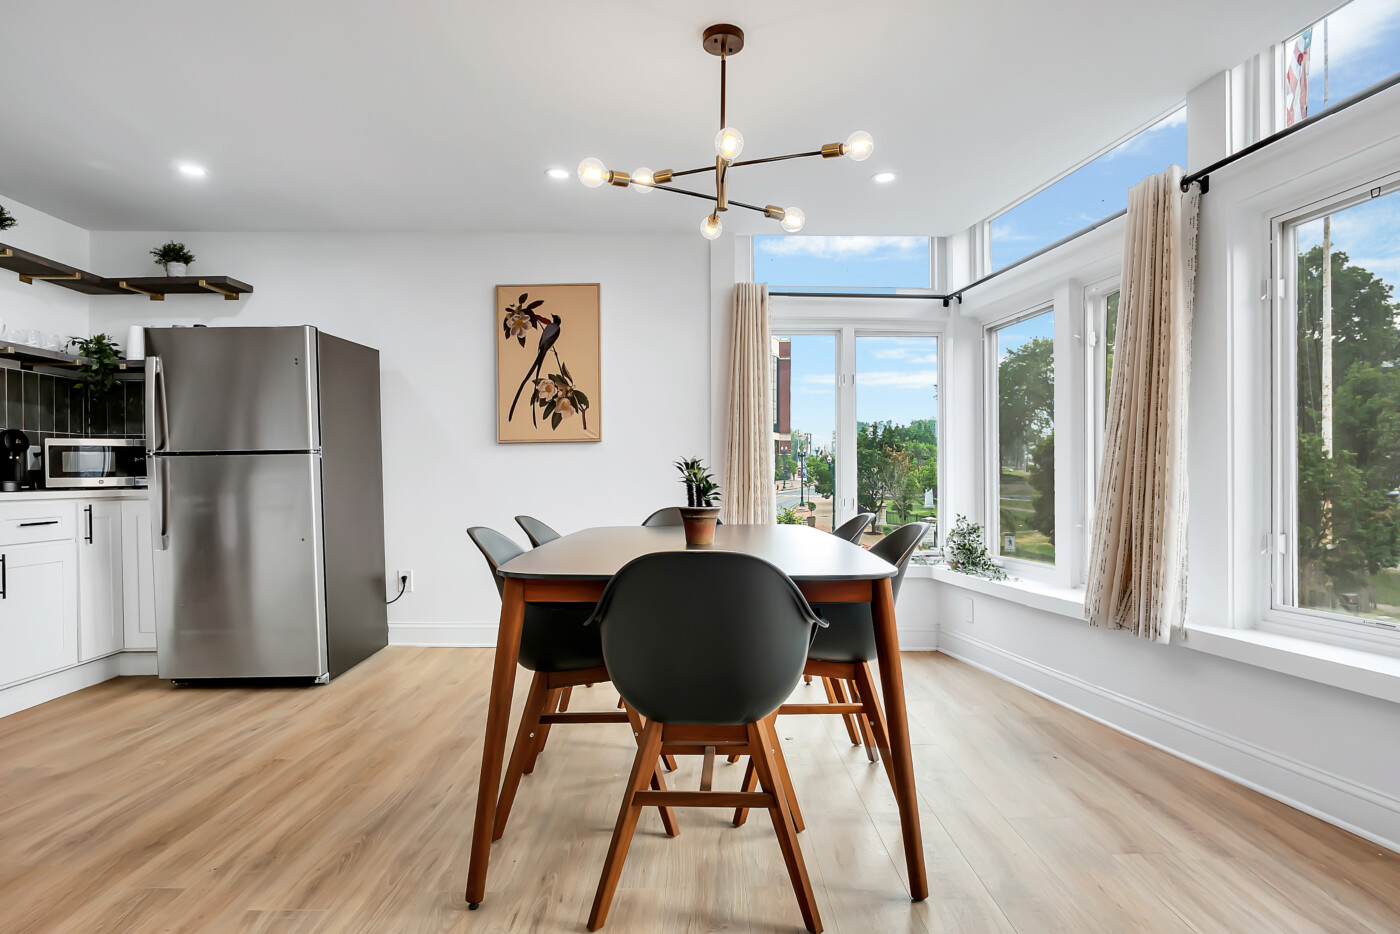
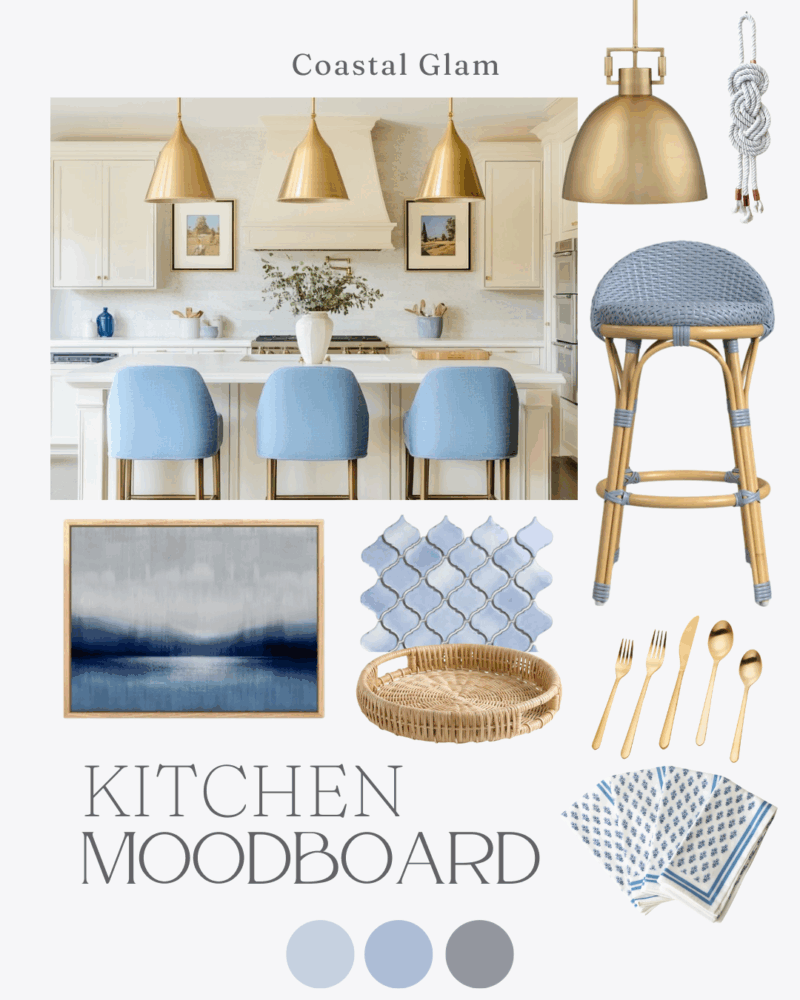
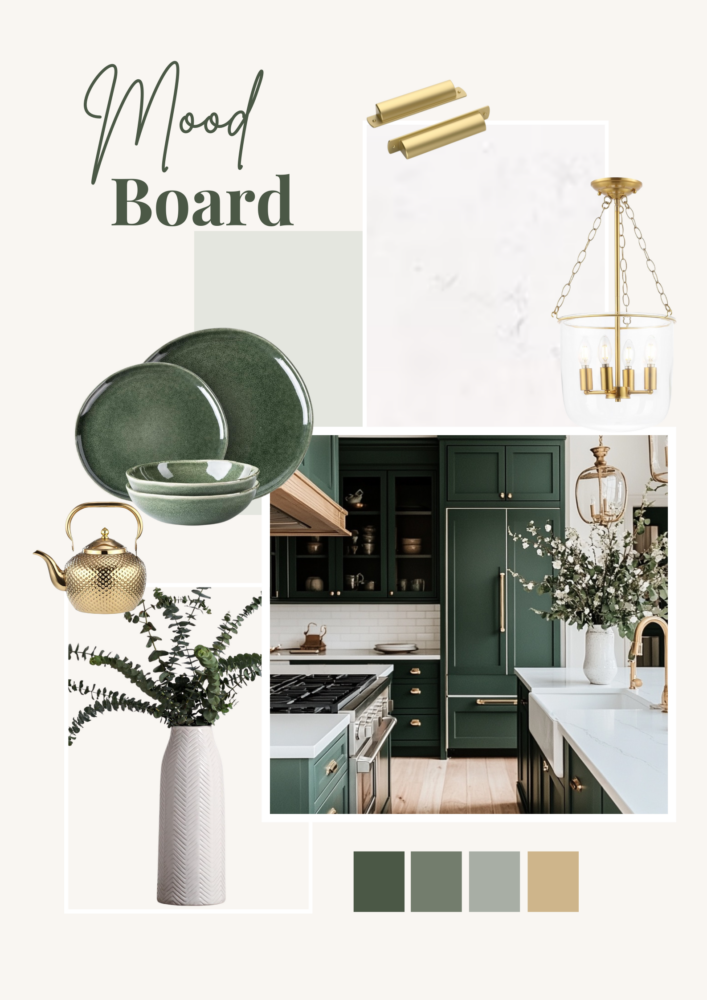
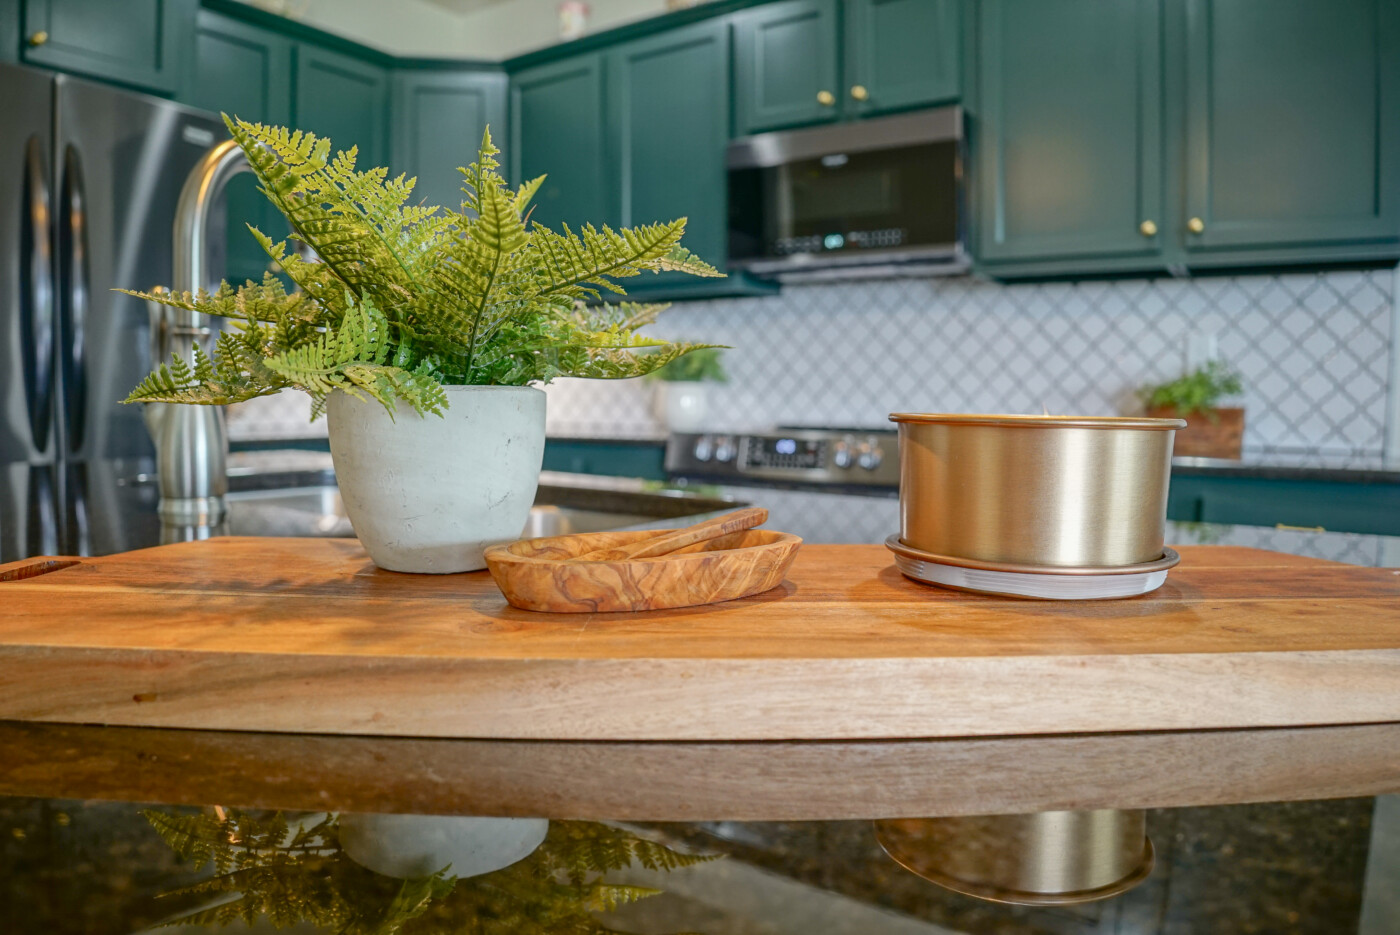
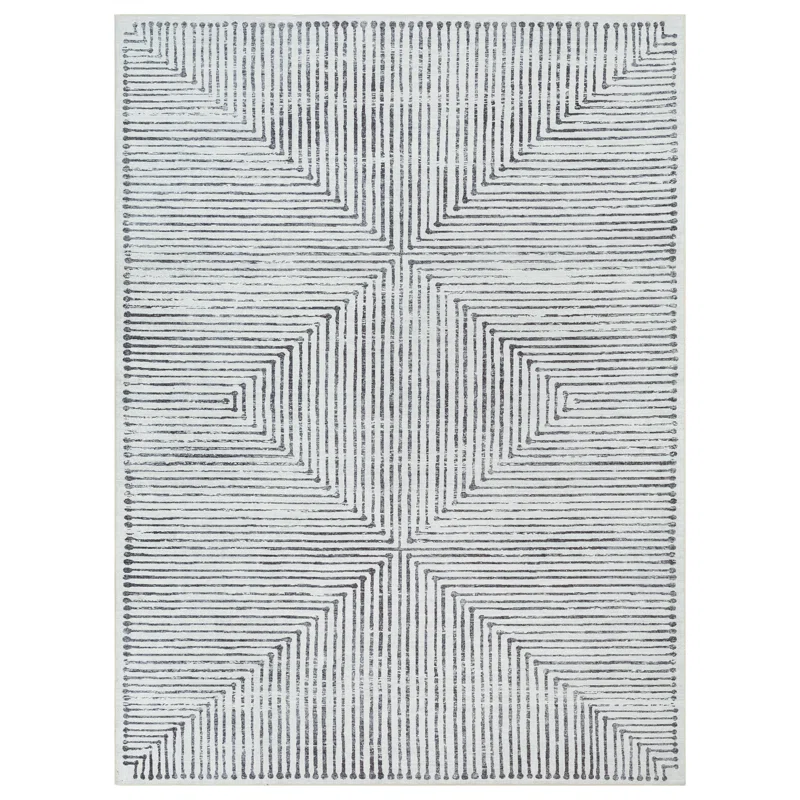
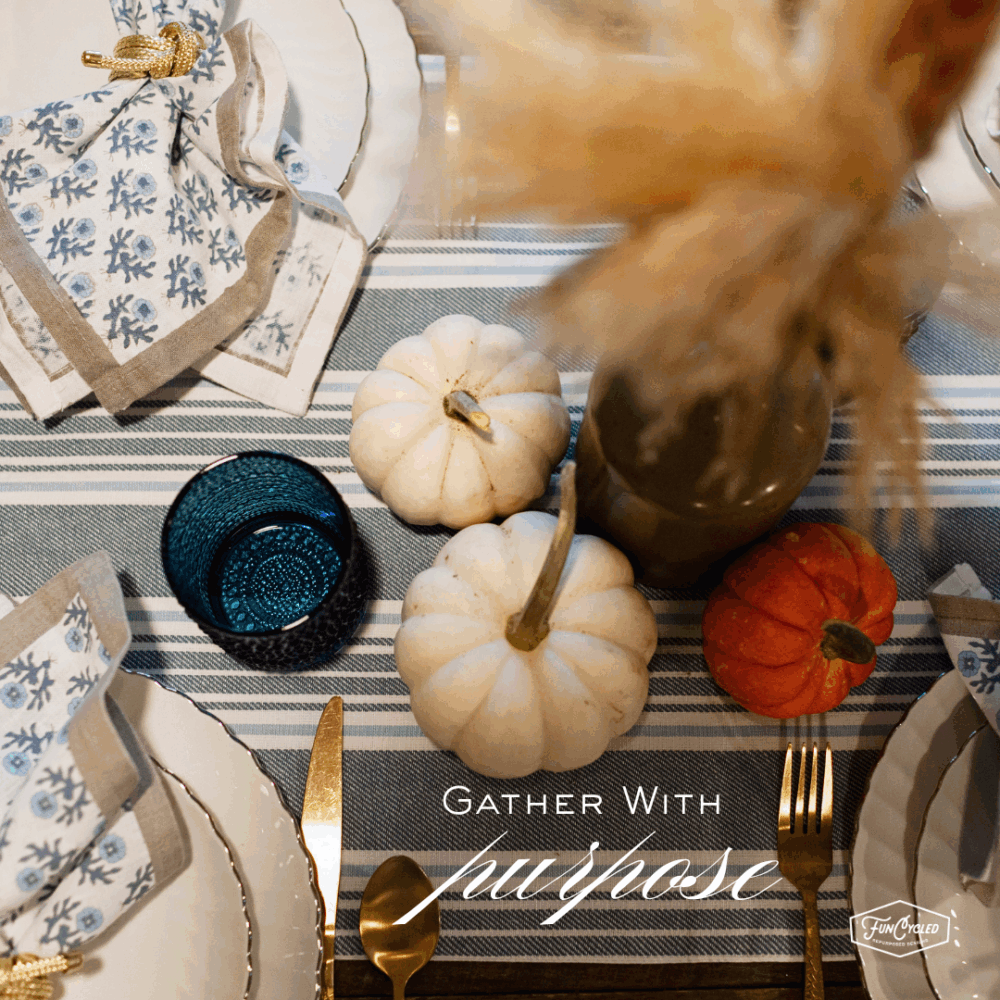
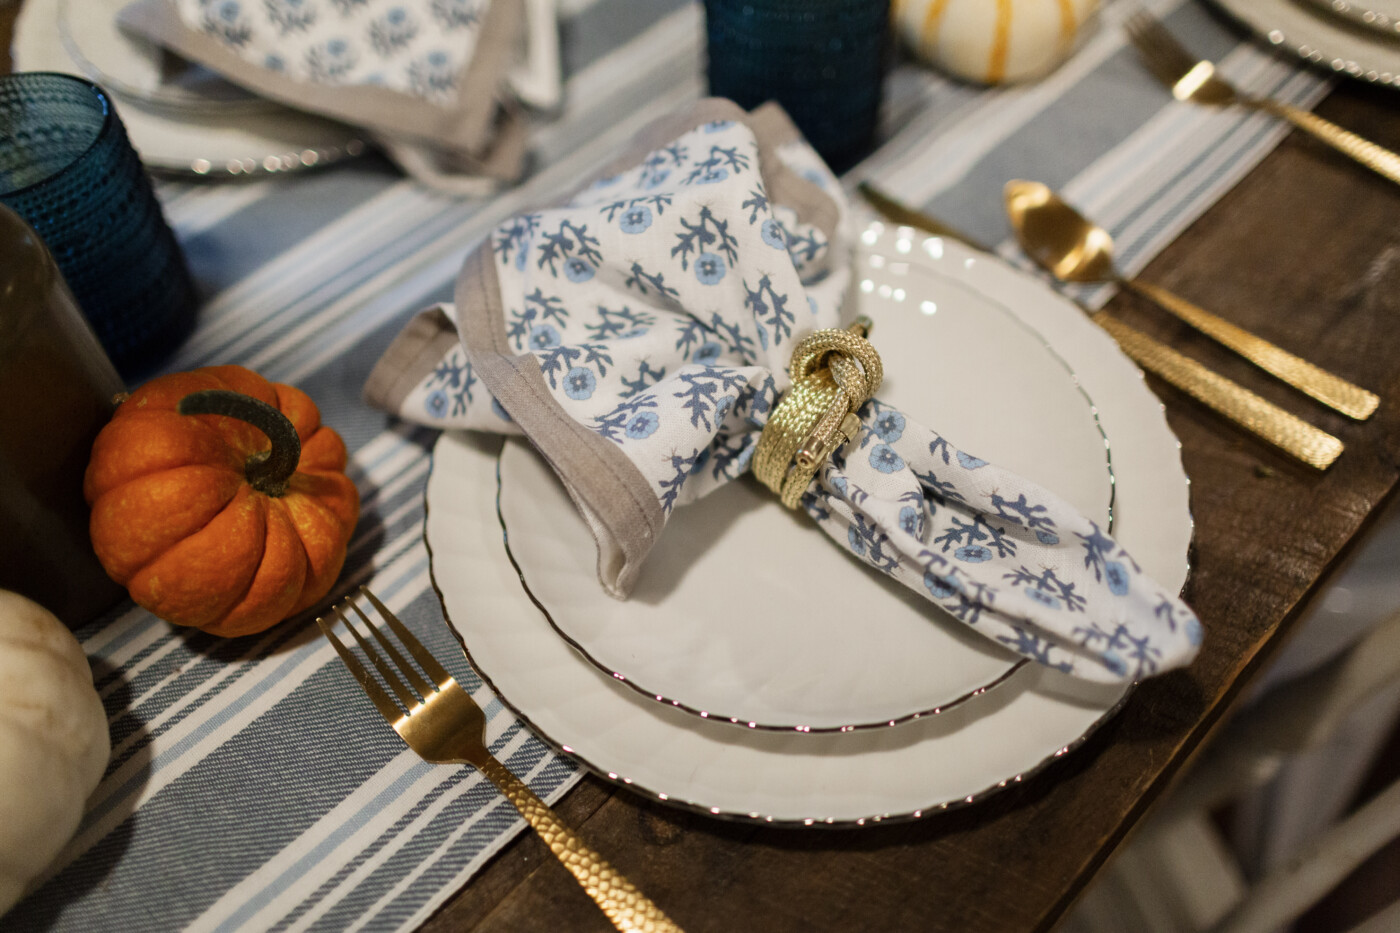
Thanksgiving Decor for Your Table
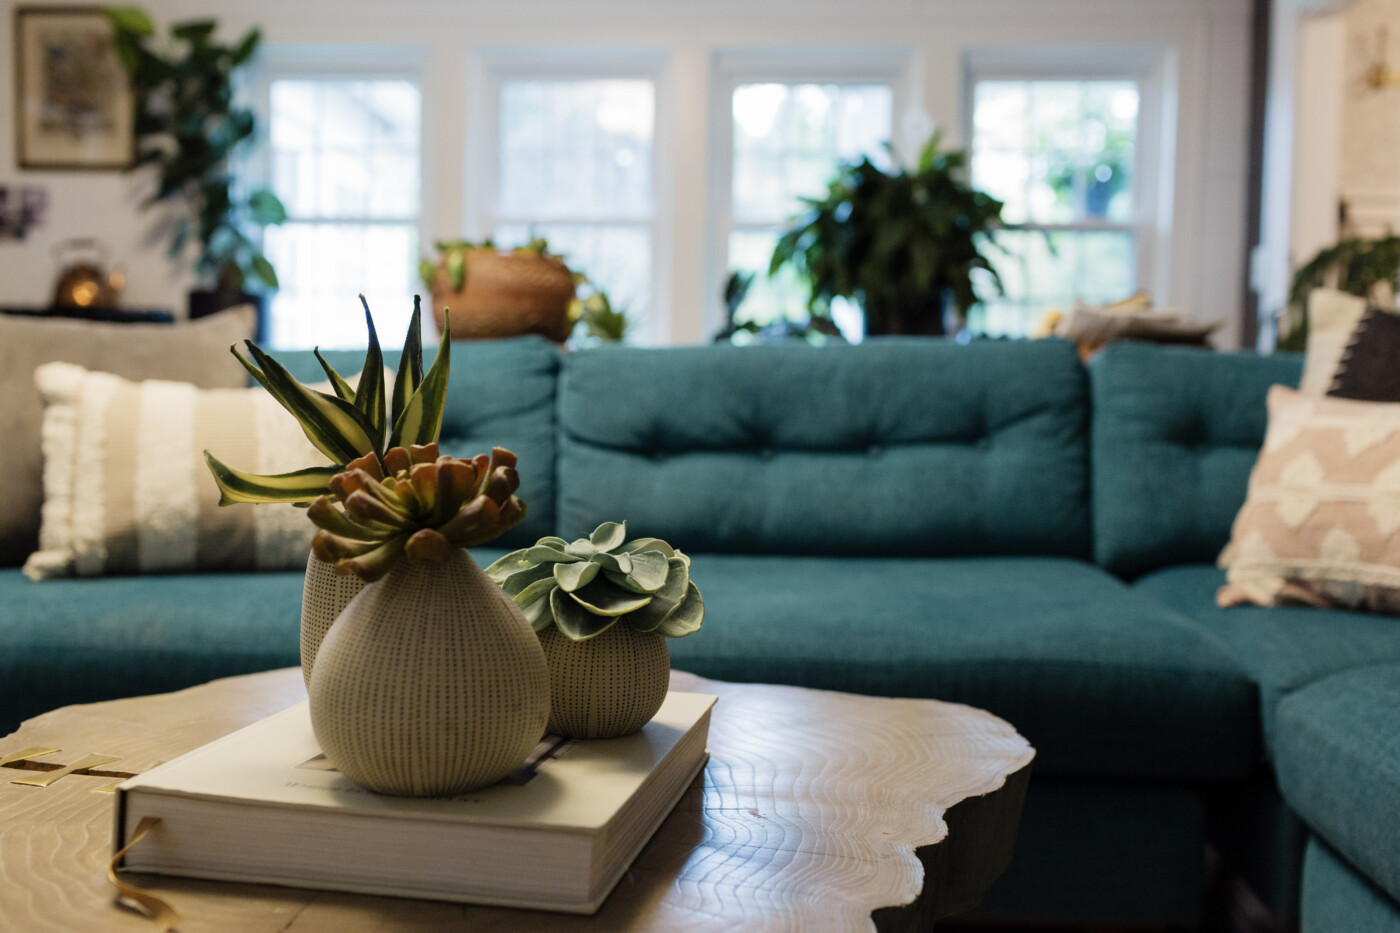
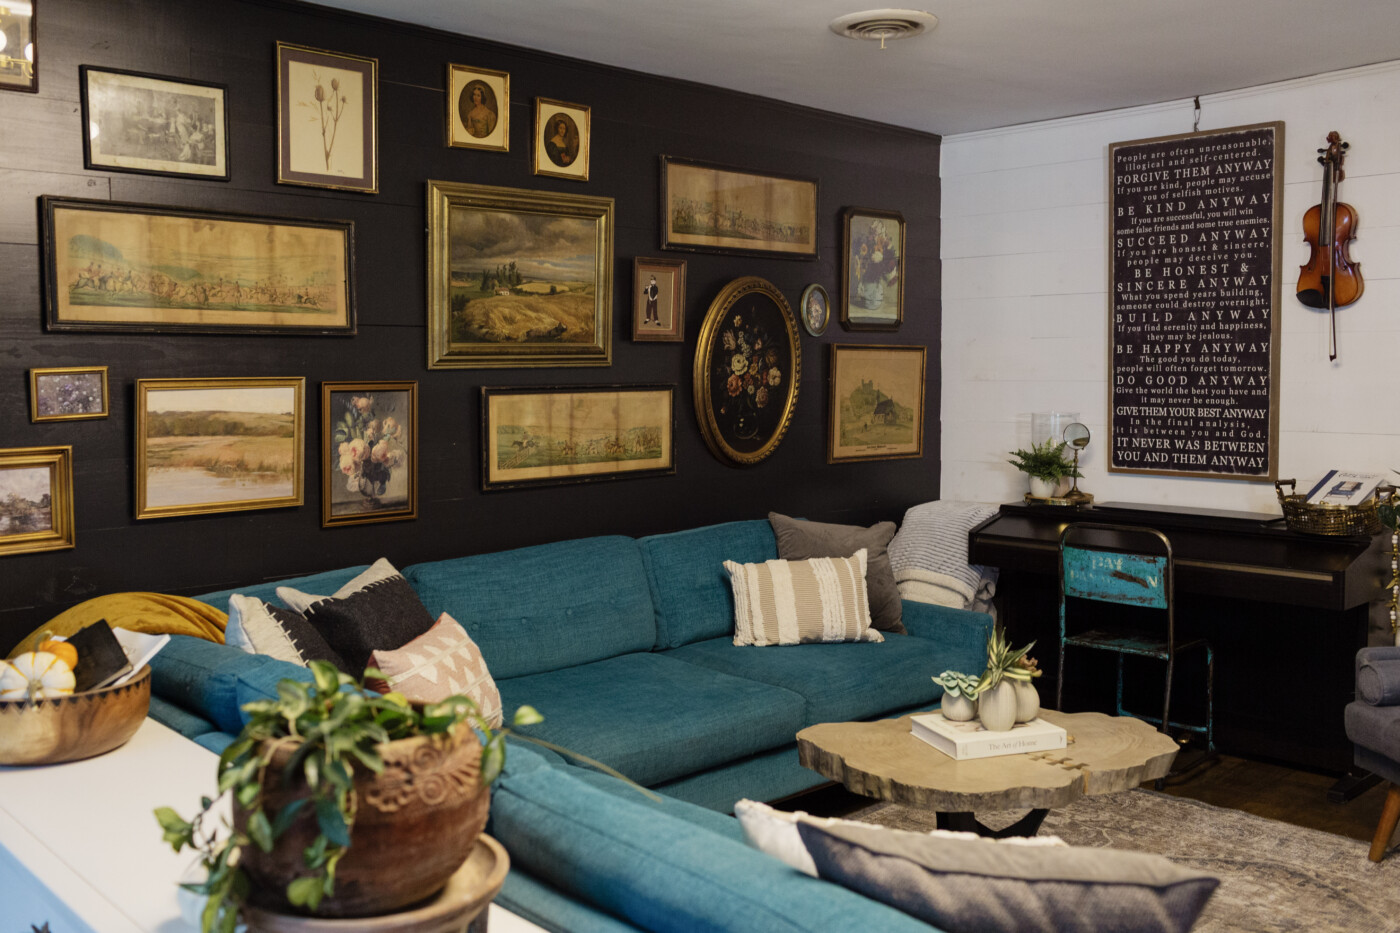
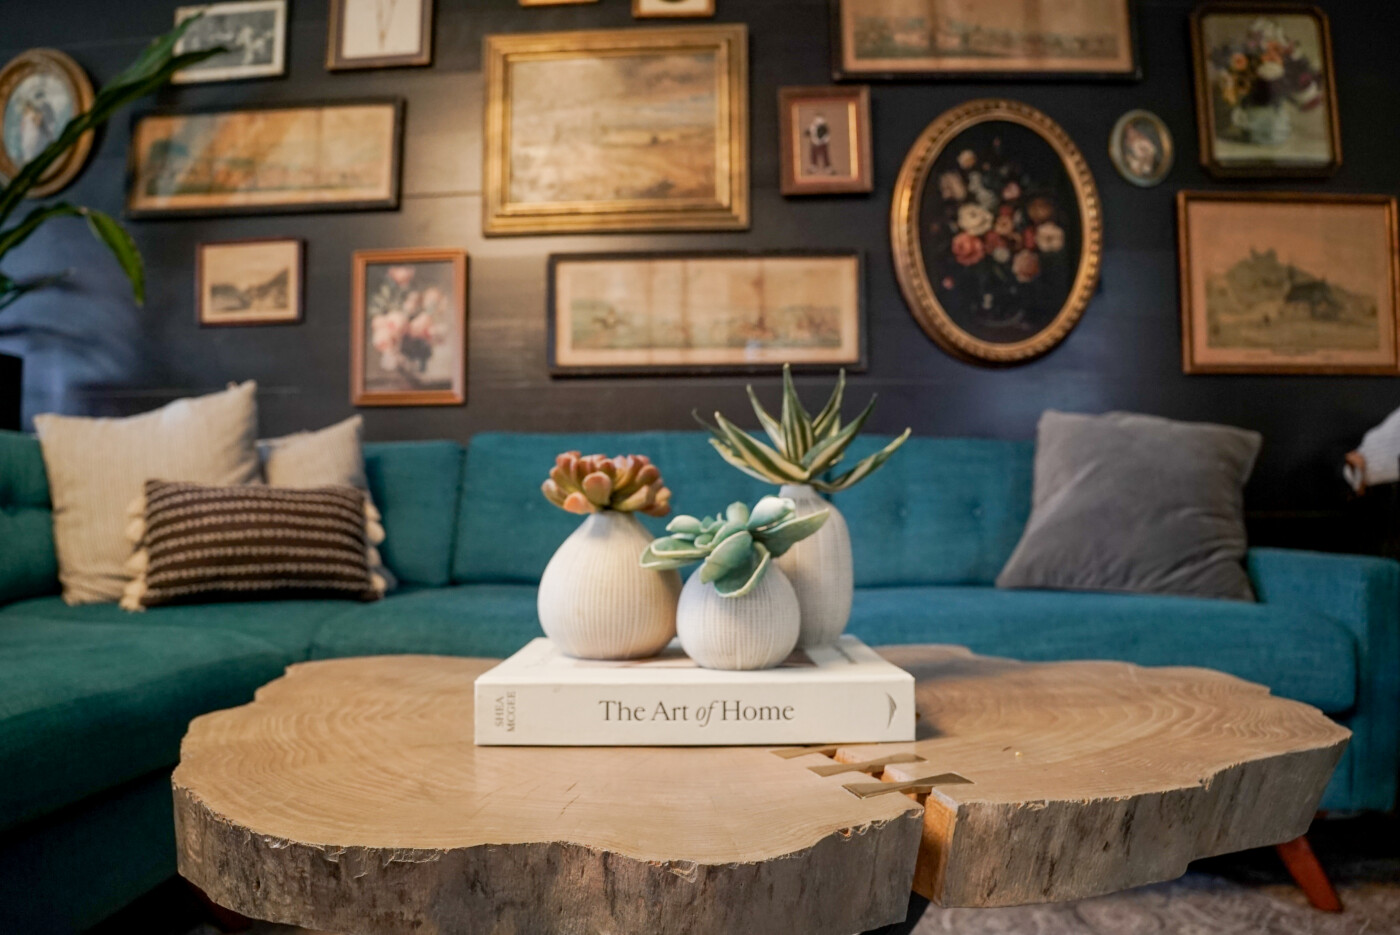
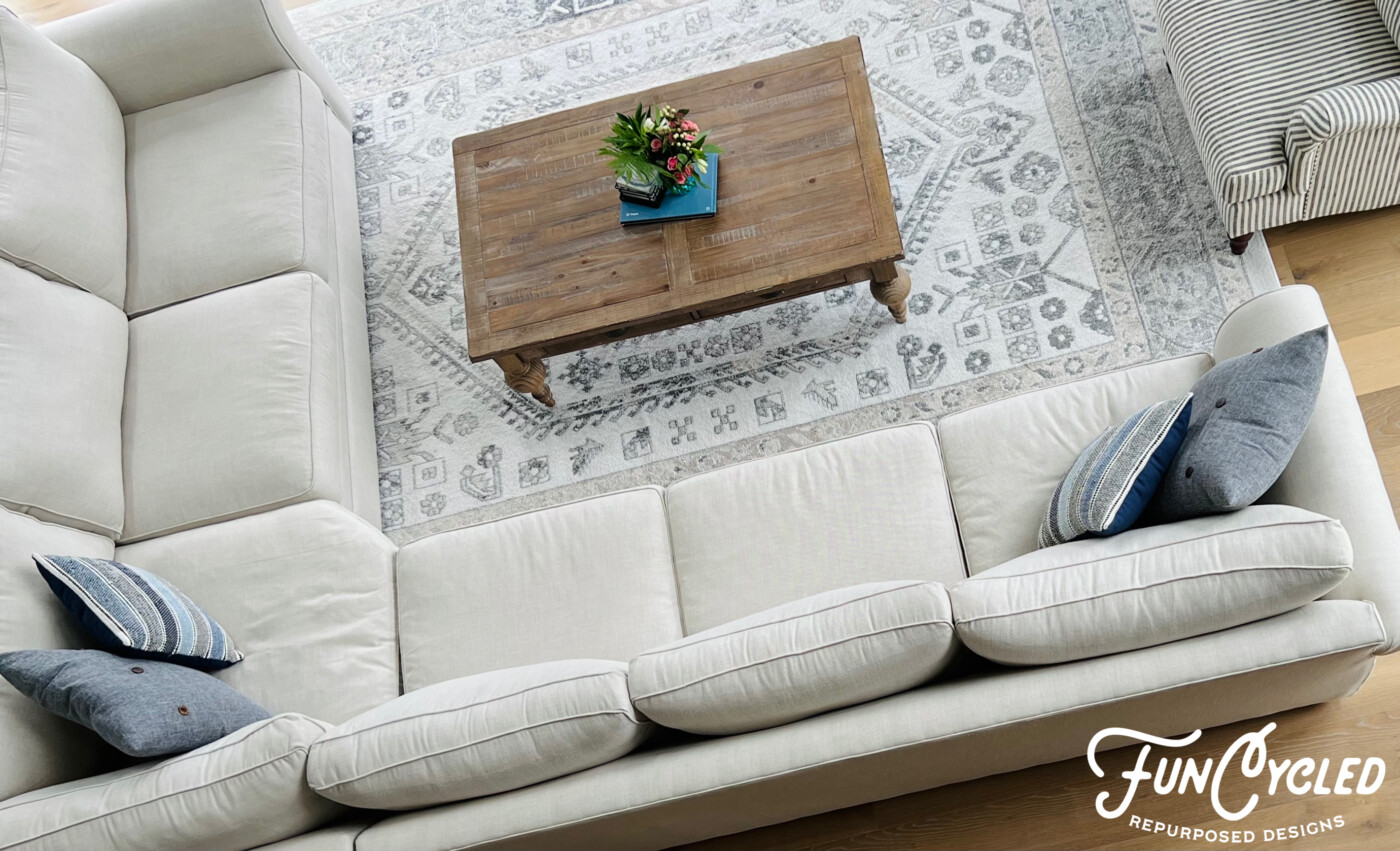
The table is where your design choices meet your gathering’s emotional core. Layering textures, colors, and meaningful details can elevate the experience of the day without feeling overdone.
Styling Tips:
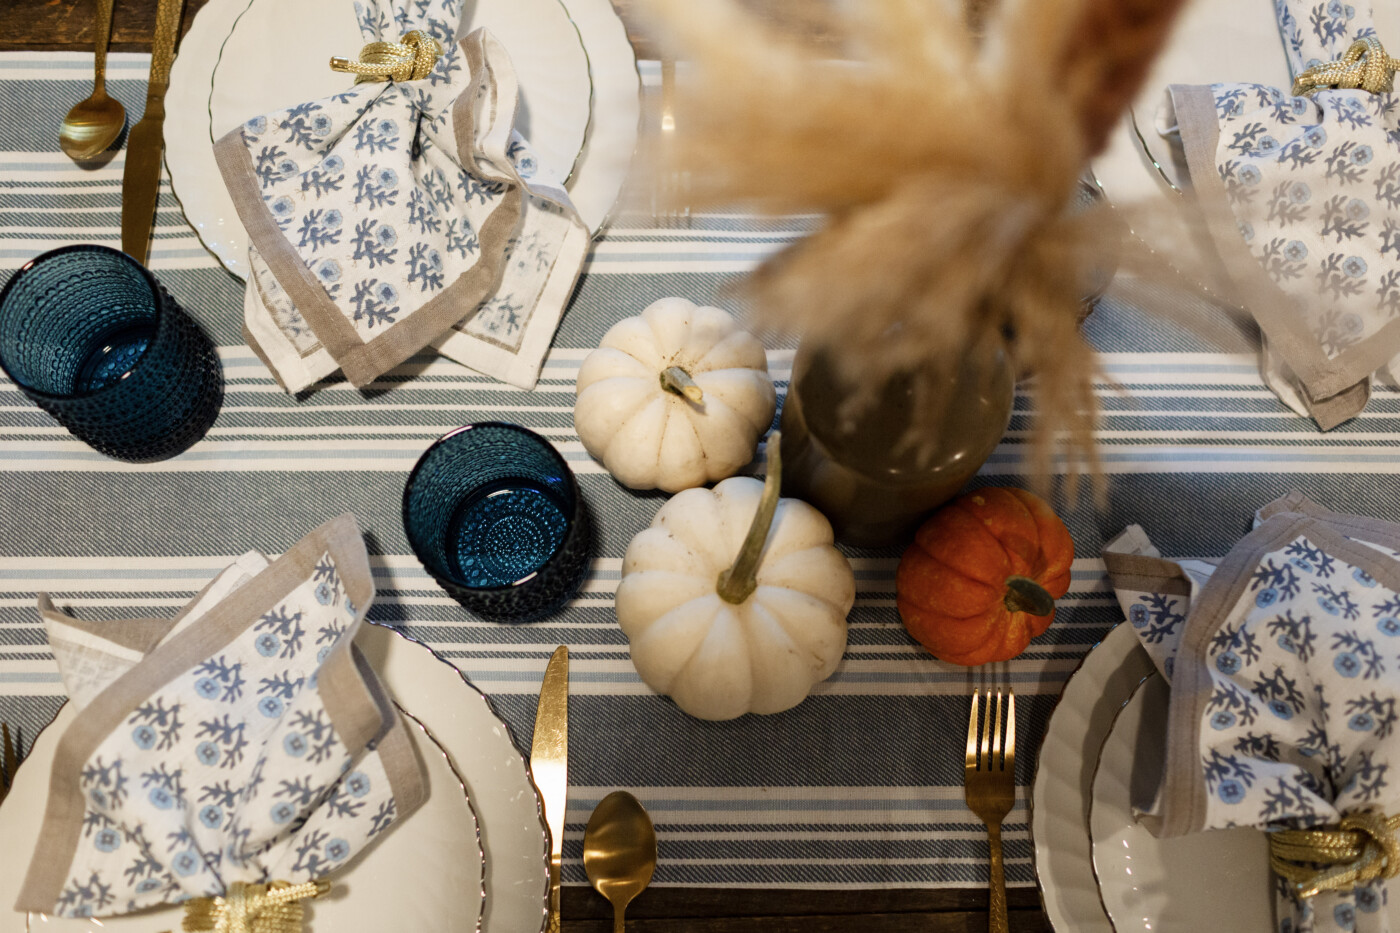
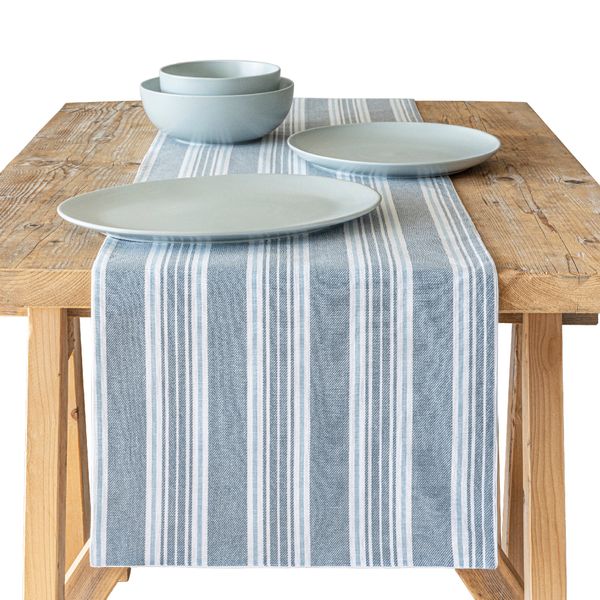
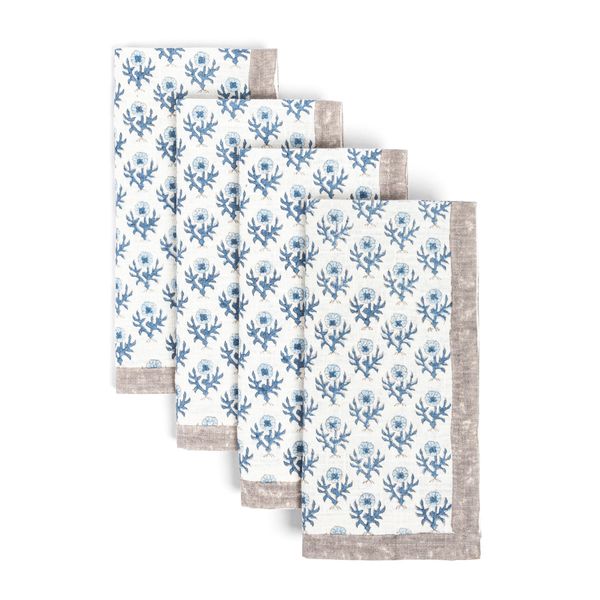
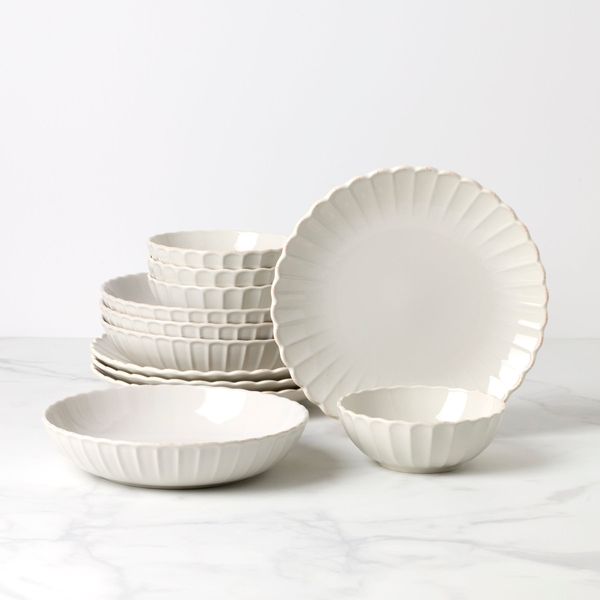
- Use neutral linens as a base, then add pops of seasonal color with napkins, runners, or foliage.
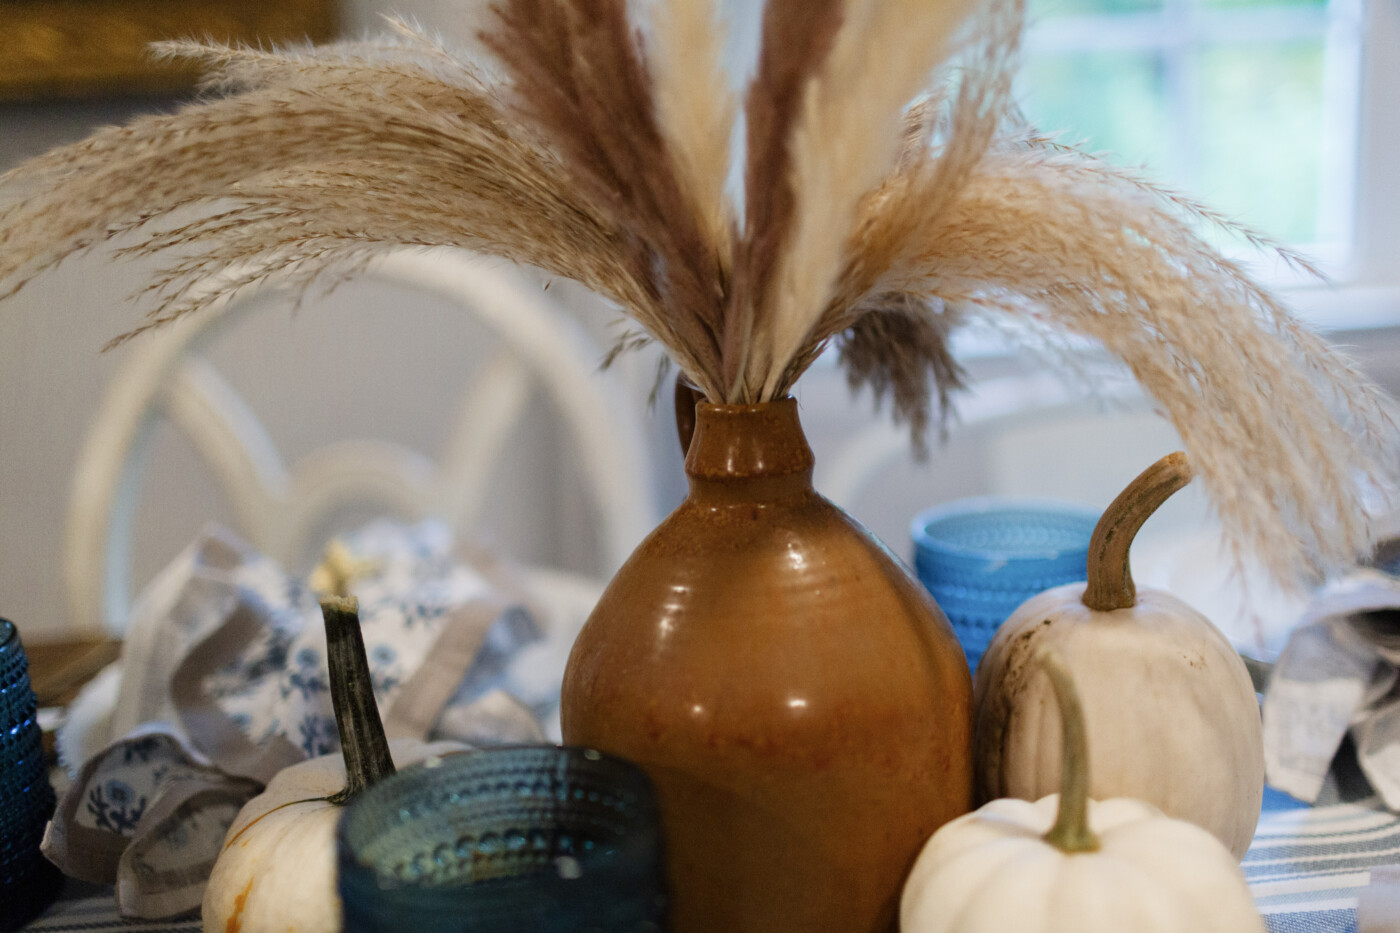
- Incorporate simple centerpieces like candles, small pumpkins, or a low floral arrangement.
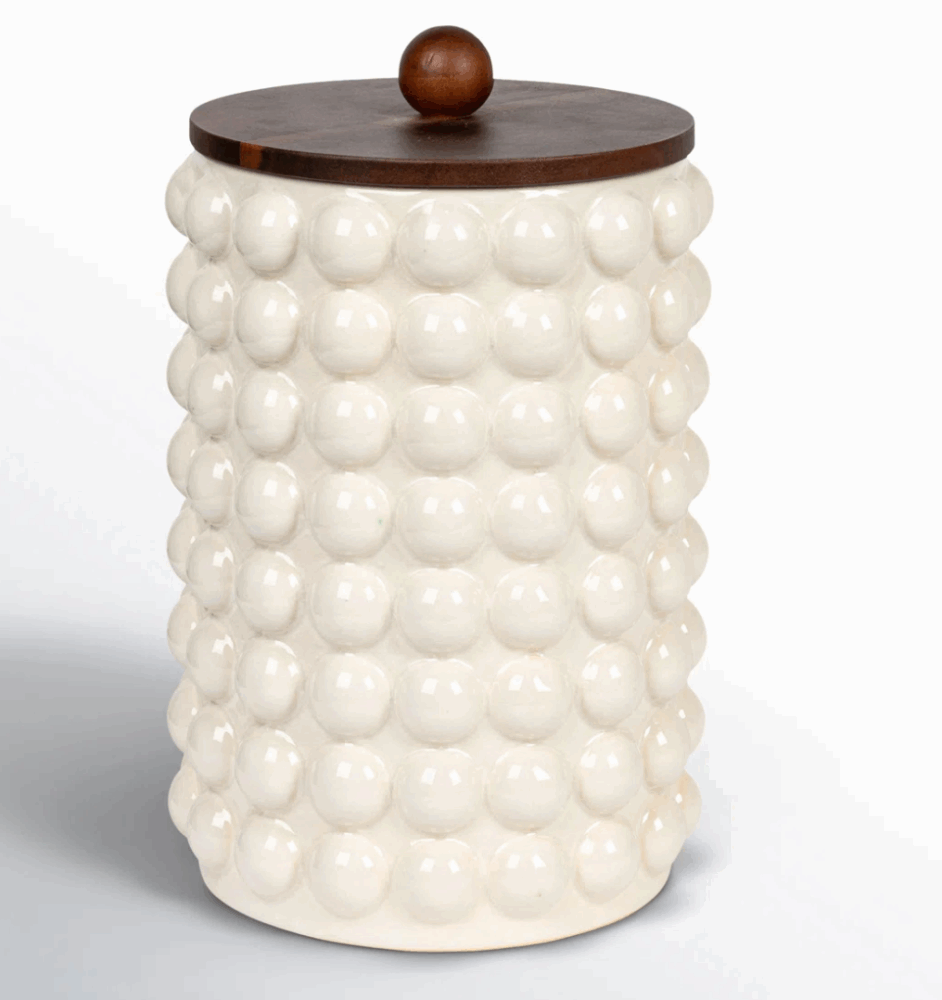
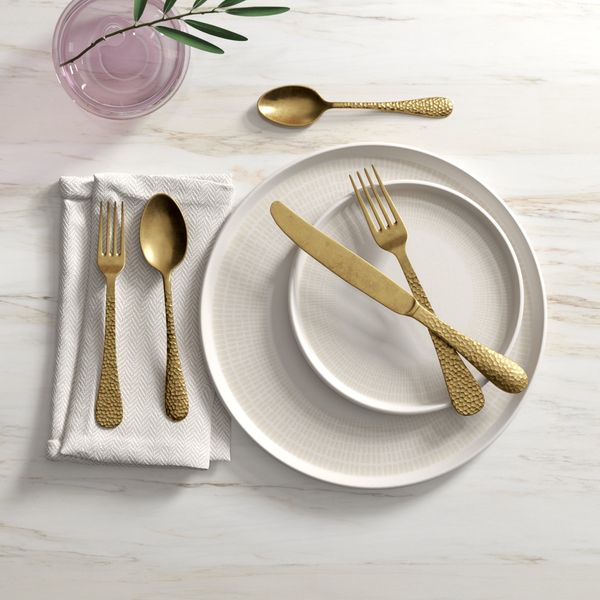
- Try mixing textures: a blend of wood, metal, and soft fabrics will add depth and interest.
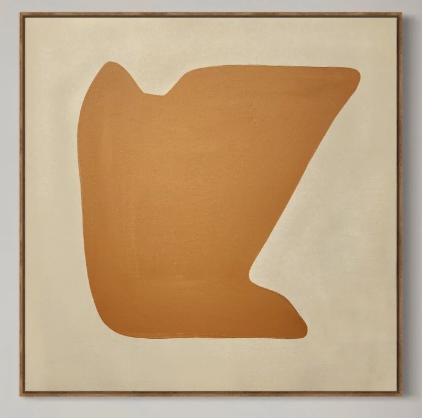
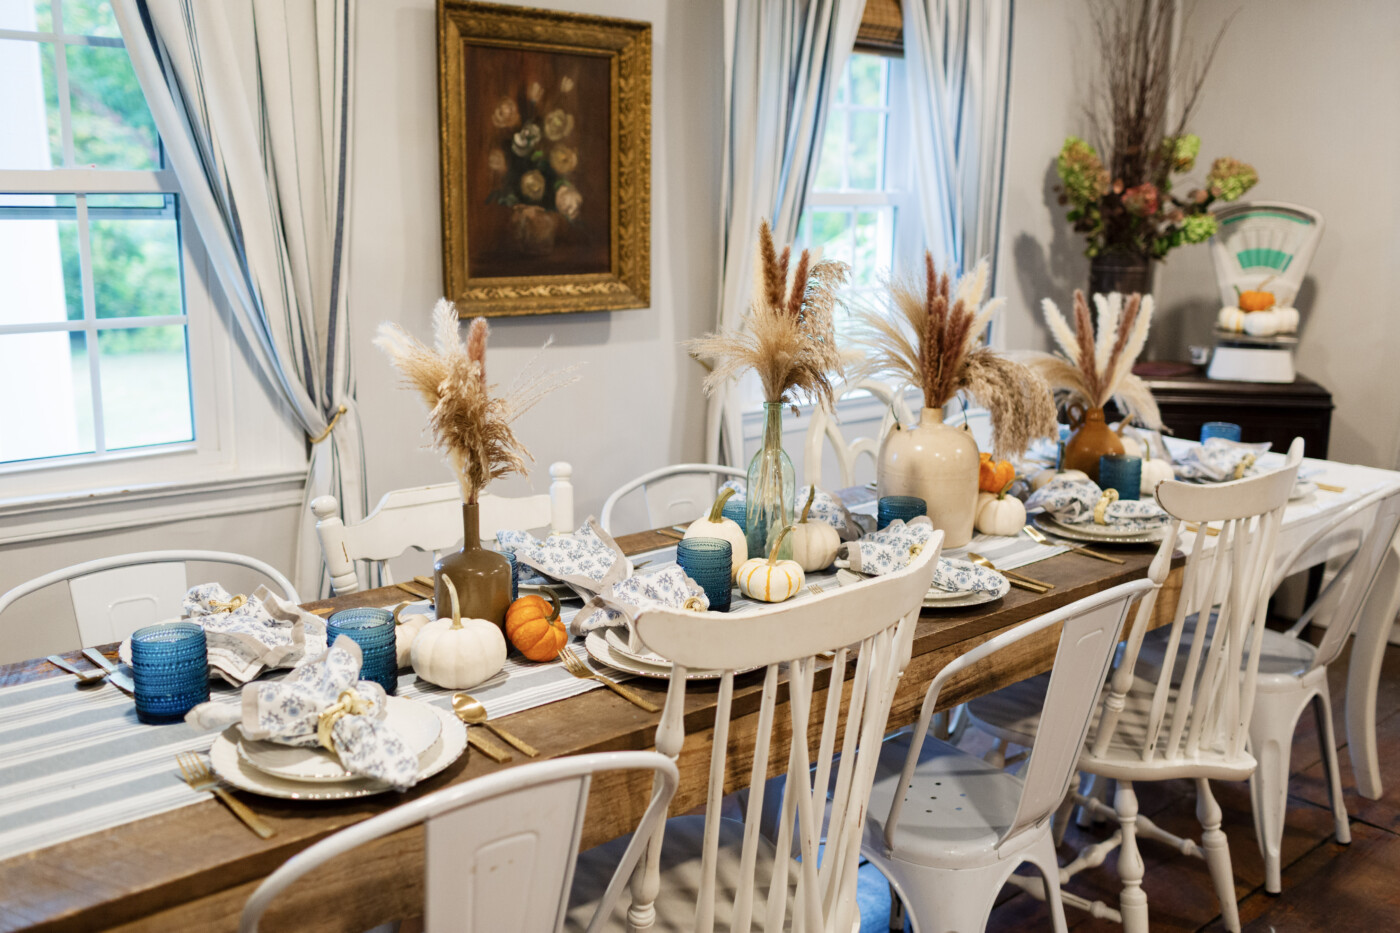
These are the elements I used to get this layered look for my table this year. I have linked everything up, so you can bring these inspirations into your own holiday gathering!


Purpose Tips:
- Include place cards or small gratitude prompts to spark conversation.
- Keep serving areas organized and accessible to reduce stress during the meal.
- Think about sightlines: guests should feel connected, not blocked by heavy or overwhelming arrangements.
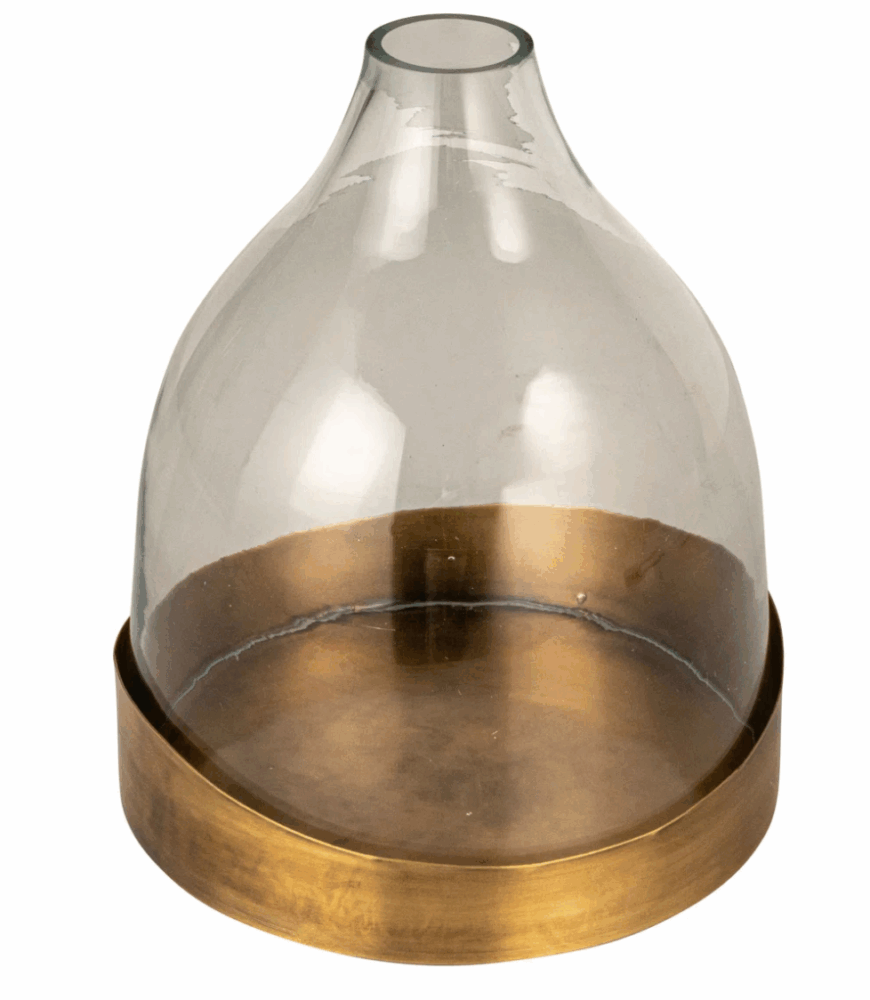
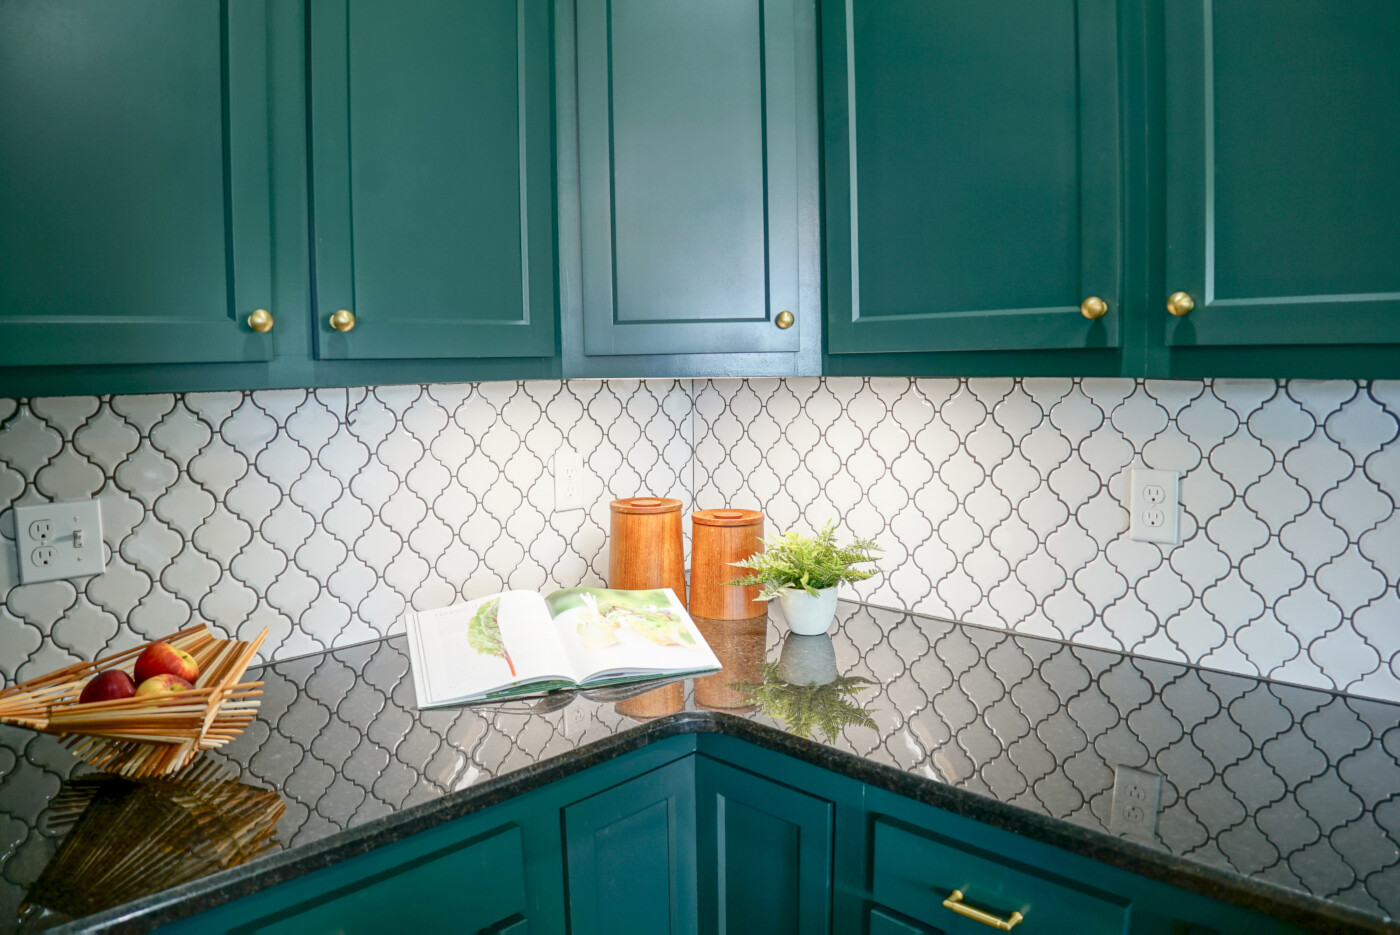
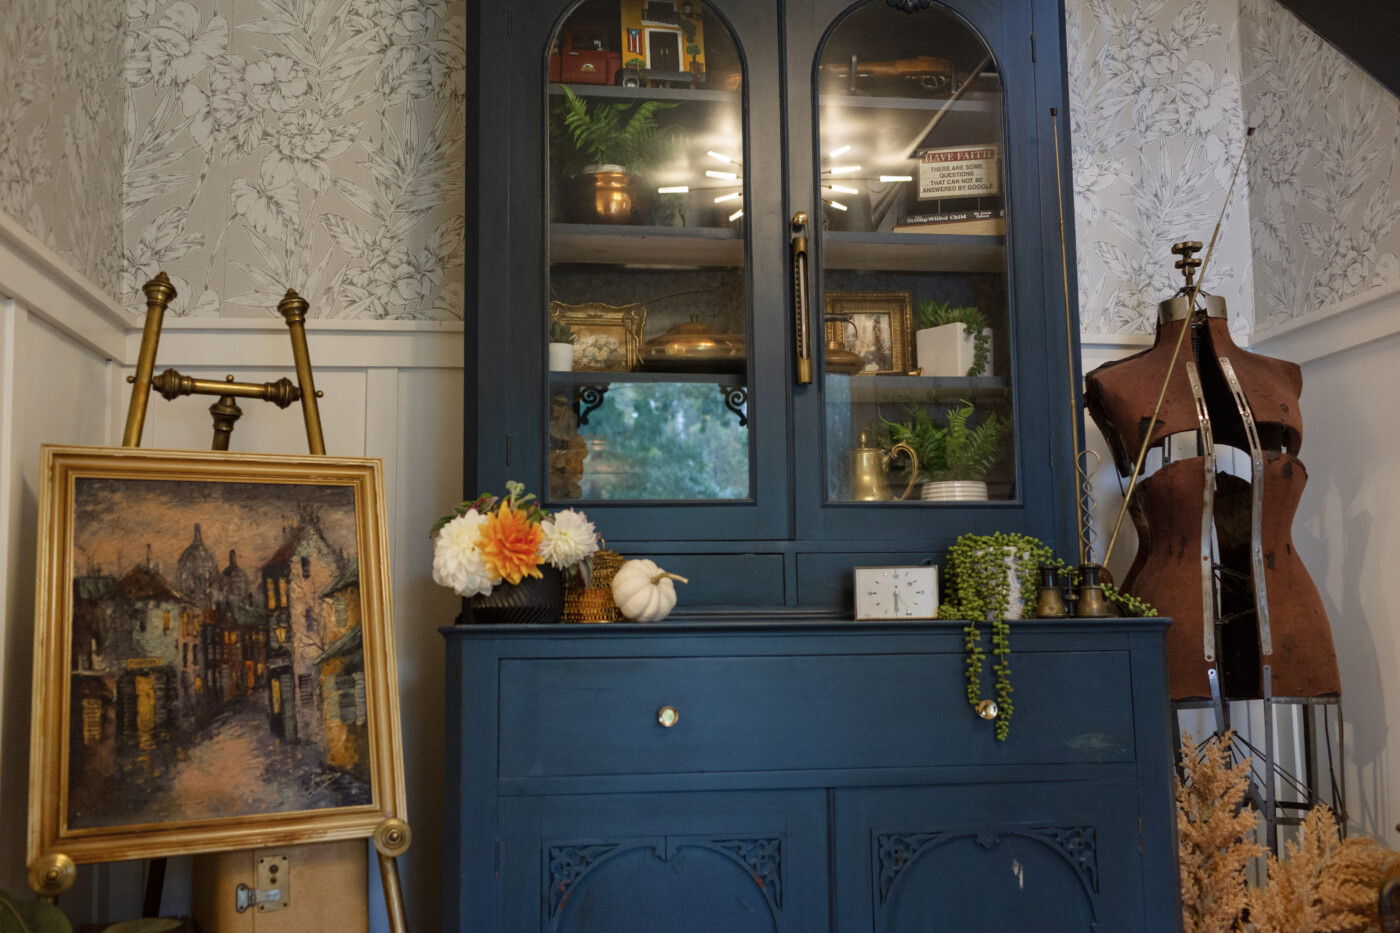
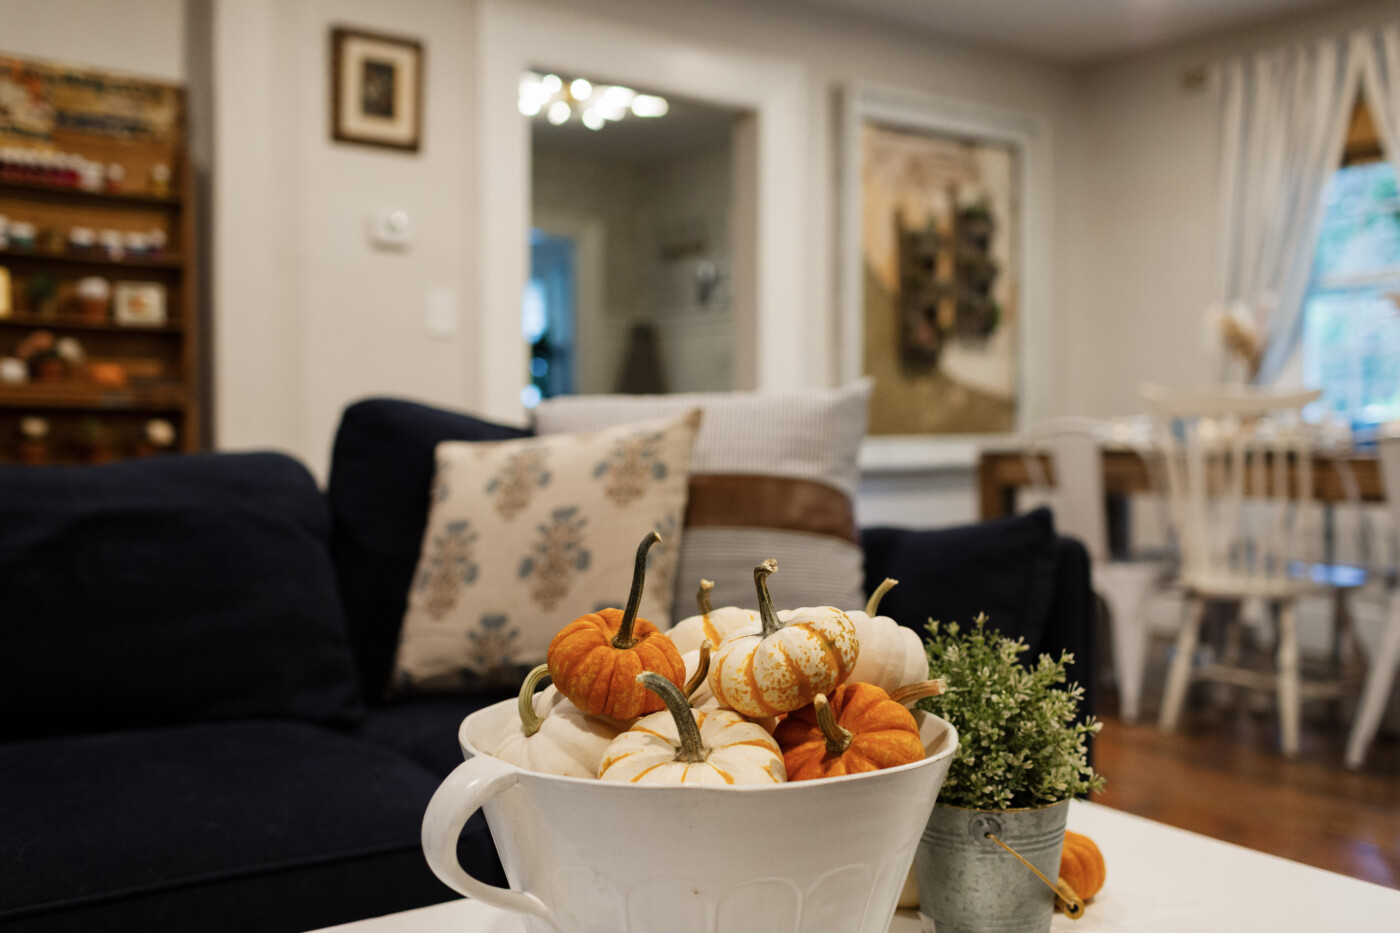
For my table this year, I like to use an eclectic mix of vintage jugs or vases with feathery grasses. Next to some petite pumpkins the table is festive, inviting, and allows room for open conversation.
Think of your table as a blank slate to creating the perfect backdrop for gathering and making meaningful memories.
Pro tip from the Funcycled Design team
Wrap-Up: Bringing Style and Purpose Together
Gathering for Thanksgiving is an invitation to slow down, appreciate your space, and create an experience that honors both your guests and yourself. Styling with purpose and taking a thoughtful approach are key to ensuring the day is a success and are actually components to the whole celebration.
Remember, meaningful design doesn’t have to be complicated. Small and intentional choices, guided by flow and grounded in making connection, are what ensure a gathering to be both beautiful and filled with purpose.
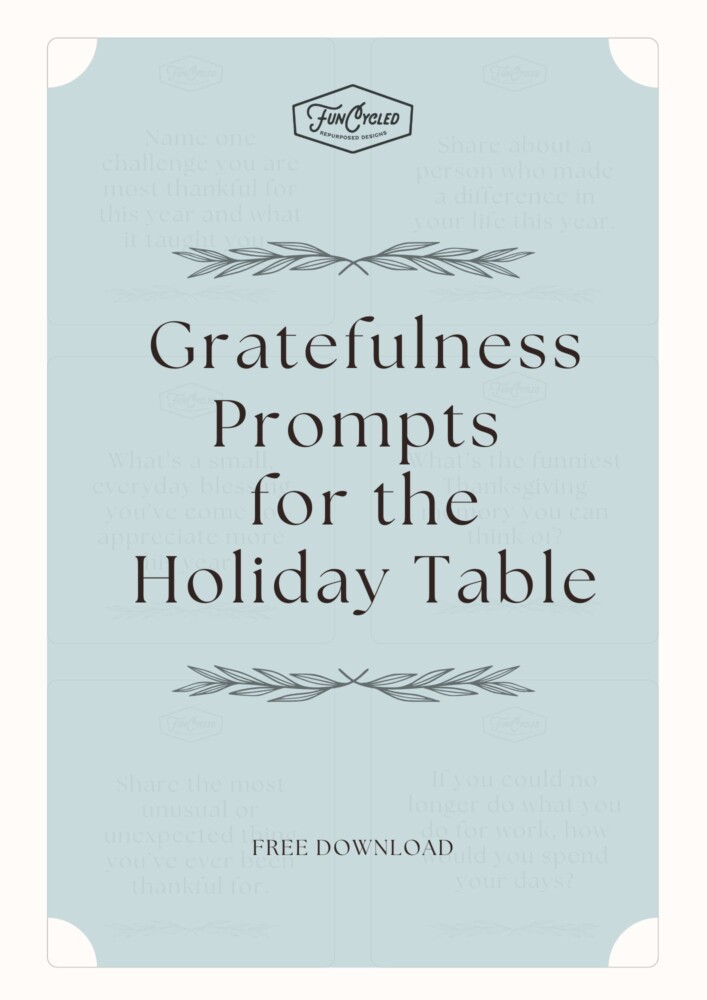
Added Bonus: Gratefulness Prompts for Your Gathering
Thank you all for following along. As a special bonus, you can download these Gratefulness Prompts to add a special element to your Thanksgiving table when you sign up for our newsletter today! Just fill out the form below, and we’ll get those over to you!
If you’ve enjoyed this post, please like FunCycled on Facebook, Instagram and Pinterest if you don’t already. Keep up to date on the newest finds, vote on colors and give your input on our creativity. We share fun tutorials, great before and after, and new design inspirations.
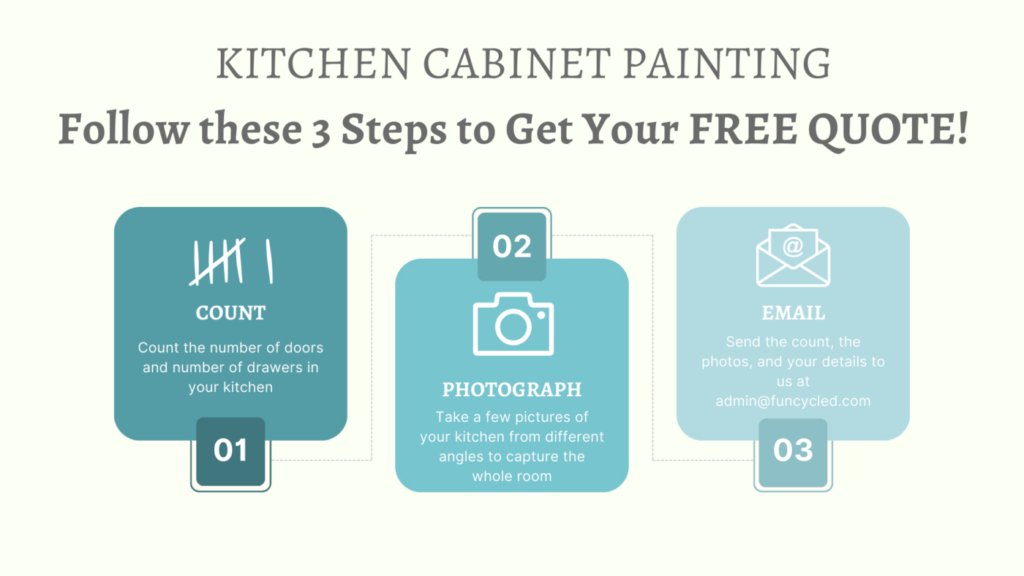
We offer interior design, kitchen cabinet painting, and custom built tables, barn doors, and repurposed furniture. Thank you, again, for working with us and for taking the time to spread the word about what we do.
Happy FunCycling Friends,
Sarah ; )
Exquisite Spaces. Sustainable Designs. Brighter Futures.
Note some of the the links provided are affiliate links which means I earn from any qualifying purchases.