Is it snowing where you are today? Even though it’s mid-March here in upstate New York, we’re enjoying yet ANOTHER snow storm today. It’s days like these that I wonder why I live in NY. Lol! On a much more positive note, getting snow is much less painful now that I don’t have to drive anywhere to work. For those of you who made it into work today, kudos to you. I hope no one is in yet so you’ve been able to take a quick break and enjoy today’s Tuesdays Treasures. :) For those of you who are home with the kiddos, I’m so happy you stopped by even with a chaotic house. Make time for snow angels, ok?? ;)
This week in our house, we checked out a school for the kids next year. It’s so sad to think that they are both old enough for school, but I’m trying to stay positive about change. If you know me at all, you’ll know change is not my best friend. ;) Although I’m almost always thankful for it. Our little Sweetie cried because we had to leave the open house. Lol! I take it they approve!
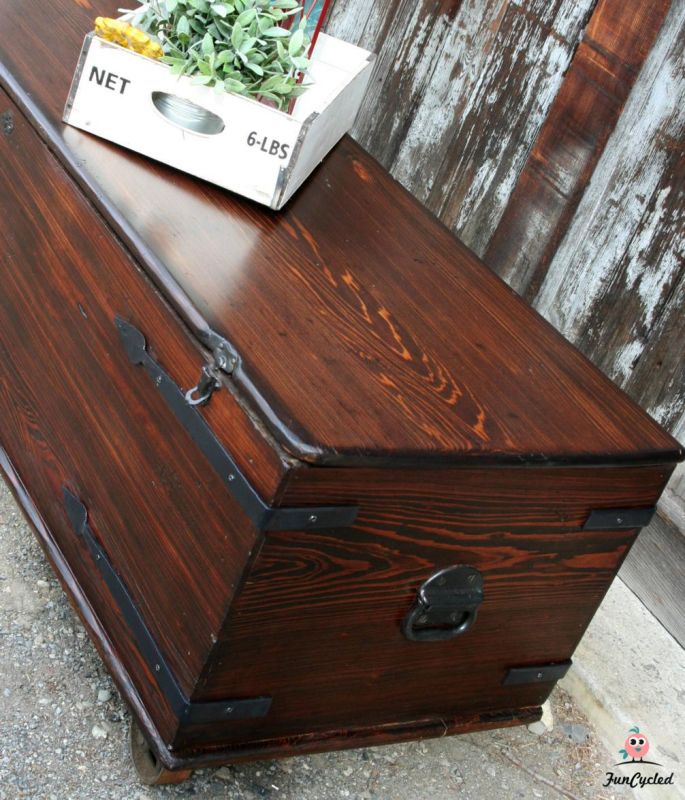
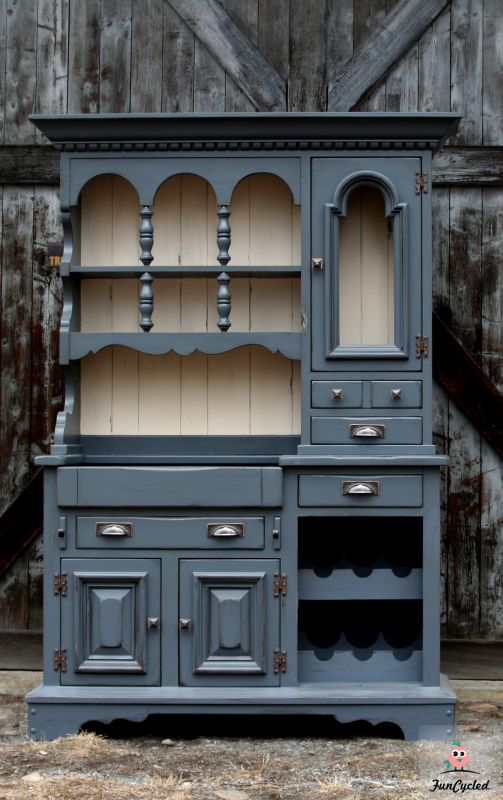
Ok, ok, on to the furniture. I know I’m rambling. Today’s makeover is truly one of a kind. I’ve never seen a hutch like it!
The beastly thing before.

I looked at this hutch for WAY too long in my garage trying to think of how it could be beautiful. I’ve noticed some beautiful grey hutches in everything from designer magazines, to Martha Stewart lines, to Pinterest makeovers and that color seemed just right for this hutch.
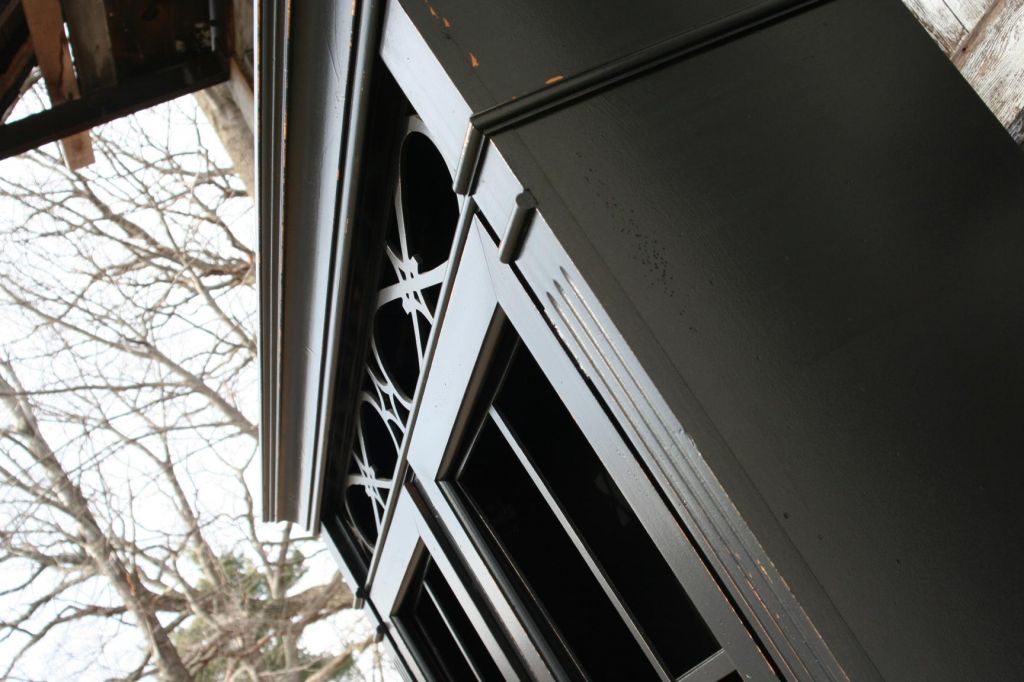
The first thing that had to go was the hideous hardware and those awful brass things in the glass door. When was that ever a good idea and why?? I love the combo of grey and copper and went hunting on Home Depot’s website. I found the new knobs and pulls in a jiffy. On to the bottom right door. It was off, but definitely repairable, however instead of putting it back on, we decided to put in a custom wine rack. On the left side of the bottom half of the hutch, there is a drop down section that reveals a dry bar. That just seems to be a perfect fit for a wine rack (or in my case a sparkling cider rack… lol).
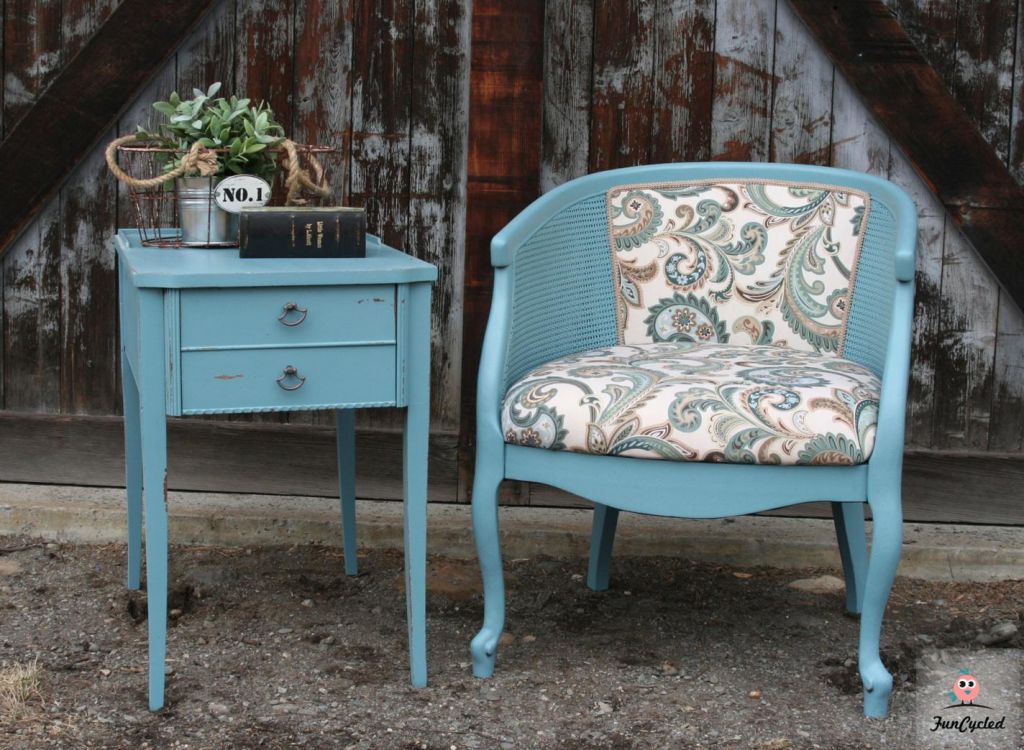
We went with a cream on the back of the hutch to lighten it up a bit. The grey we used is Benjamin Moore’s Anchor Grey 2126-30. After everything was painted, we distressed and sealed it. Are you ready for the after pictures?? I know I am!


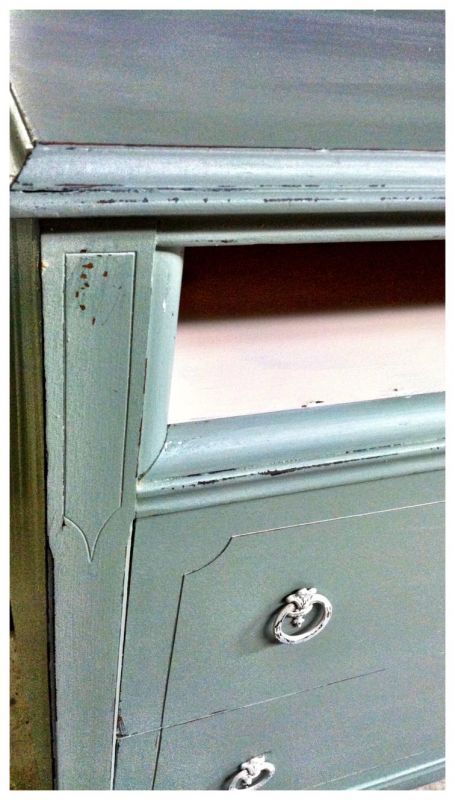
A close up of the distressing…

I hope you like it as much as I do… ;) Thanks for all of your support… this baby went crazy on facebook the other day.
Happy Redesigns Everyone,
Sarah
If you like what you see, please like our face book page to keep up to date on the newest finds, vote on colors and give your input on our creativity.
There is a box at the top right of this page to enter your email address in to receive notifications by email when I post something new on this blog. Please sign up today!
Last but not least, let us customize a furniture piece for you. We create custom furniture for customers in upstate NY and ship throughout the US. Send us a note with what you would like using our contact page. Or buy something that we’ve already designed from our furniture for sale page.
")


")

_1296x968")