Posted on 4 Comments

Antique Night Stand – Sanding and Glazing

This night stand was in rough shape when it was given to us. The nice part about getting a furniture piece for free is that I don’t feel so nervous about messing it up! This is my first attempt at sanding a piece and glazing it without John’s help! :) Here’s the before (I forgot to take a before picture so all I have to offer is the picture they texted (is that a word?) me of it to see if we wanted it.

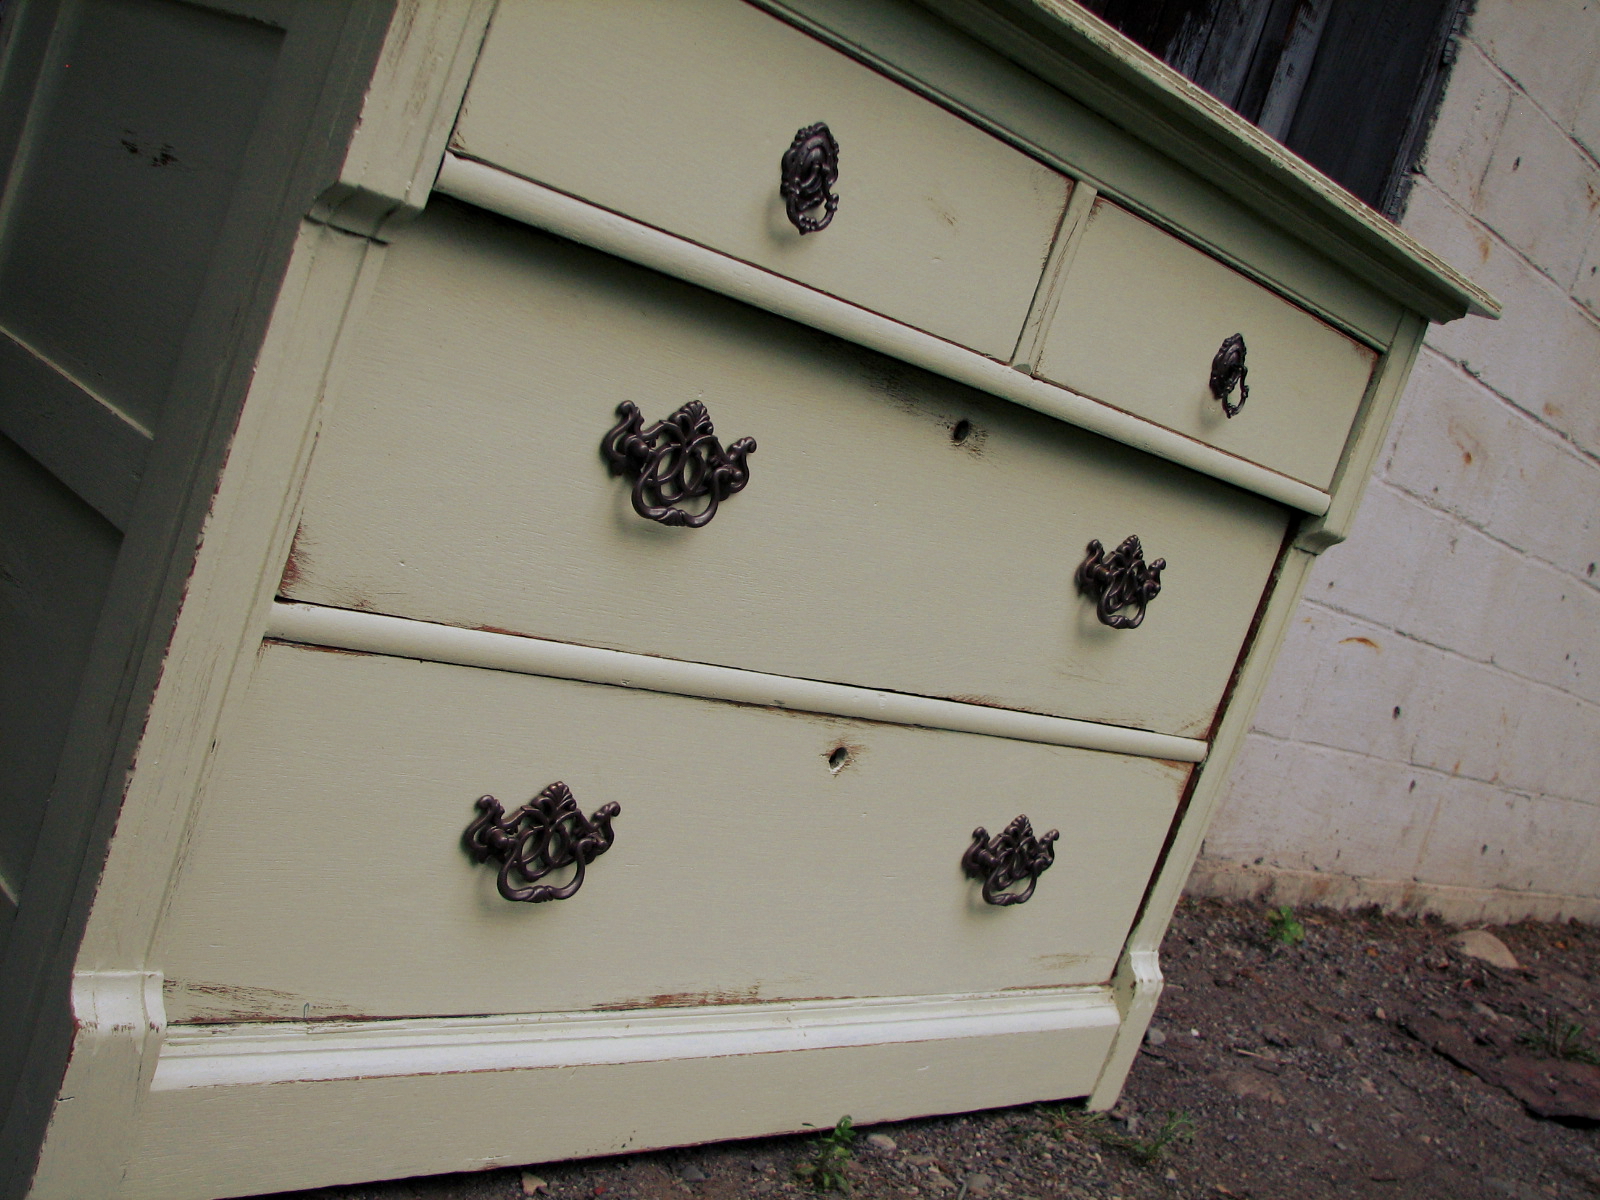
I wanted to try sanding the top and the front of the drawer to see how they came out because they were very distressed and I liked that.

I really liked how it came out so I went ahead a painted the rest using our air sprayer. First, I had to cover the top so I grabbed what I had handy… an Aldi bag. That’s right, sometimes I forget to bring my big IKEA bags and have to spend money on a bag… tisk, tisk.  Anyway, it did the trick and I used painters tape to seal it around the top so the top didn’t get any paint on it.

Pretty already, I know! Ok, so on to the hard part. My first attempt at glazing. I went and bought Martha Stewart’s coffee glaze at Home Depot. I read about it on other sites and loved the look in the end. So, based on everything I read about glazing… less is more! I started with a little bit on the bush, then dabbed it in a cloth to make it even less. Here’s what it looked like when I first brushed it on.

Then, I took a cloth and rubbed it out until it was a look that I liked.

LOVE it! Now I need to keep myself from wanting to glaze everything. It’s a sickness… I’m sure of it!
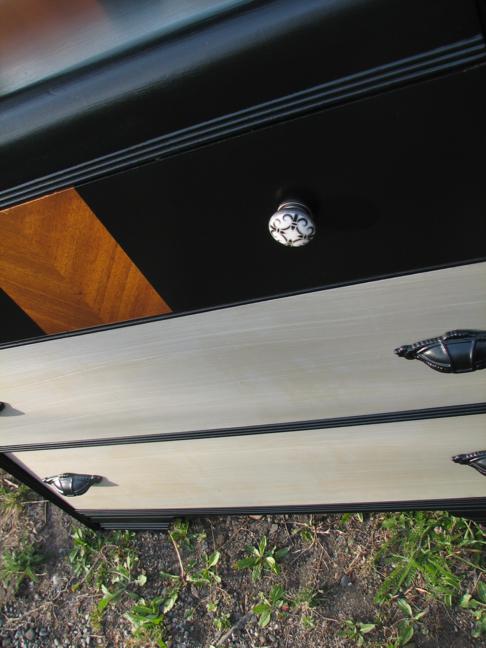
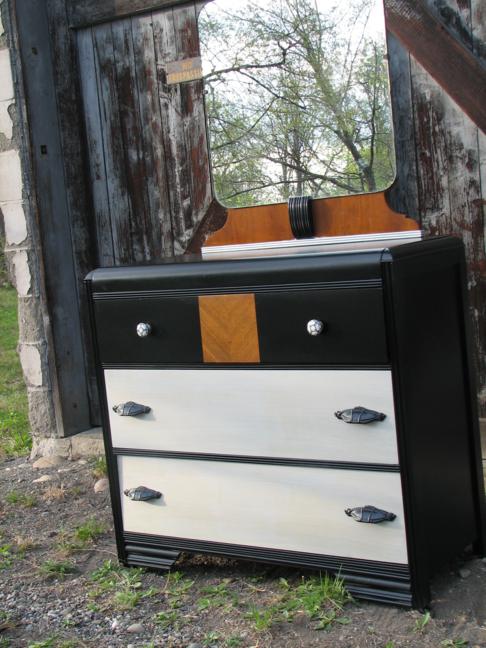
Here’s a couple pictures of the finished product.

I had to also display a couple cool antiques that were given to me this weekend from my Aunt Alice.

-Sarah

Posted on 6 Comments

Half-Moon Hall Table Face Lift

Our good friend, Jo Ann,  (you will probably hear her name mentioned quite a bit) had this little hall table that was her grandmothers. It had a crack on one side and she wanted that fixed, to have us paint it a yellow color (we are all still debating on what color this actually is… lol), and then have us sand the edges to keep the antique look to the piece. Here’s our set by stop how to on refacing it.

Here are the before pictures…

We sprayed it with a first coat of primer. If you look at primers when you get to the store, you should always buy the kind that says no sanding required. It will save you a lot of time. We always use a water based primer and put it in our air painter that is hooked up to our air compressor. If you don’t have an air sprayer, you could buy spray primer and paint.

One little trick that John learned while working on the trim in the different mansions he worked on is that when you are fixing wood you can use Bondo instead of wood filler. He said it hardens much more quickly and keeps hardened better than wood filler. So, first we filled the crack with wood glue and clamped it down so that it would stay level (sorry I forgot to take a picture of that). Once it was dry, he put Bondo on the crack to level it with the rest of the wood.

This is the tricky part, you have to sand it by hand until the Bondo has the same shape as the wood’s edge. This took him quite a while and he used a regular piece of multi purpose sand paper.

Time to get our color on!

We painted it two times with Behr interior satin paint. Color TBD… lol!

After that was dry, John hand sanded most of the edges to expose the original wood and give it that antique look Jo Ann was looking for.

Then we sprayed with with a layer of Polyacrylic. This is is different from Polyurethane and it won’t leave a yellow tint in time (not to mention it doesn’t smell as bad).

Here’s the finished product! What do you think?? What color would you say it is?

Posted on

Buffet Bliss

This buffet was given to us from a dear friend, Janet. It was her great grandmother’s. We still have the matching table set, but the buffet ended up not fitting in our new dining room. Our friend Jo Ann had a spot in her dining room that was just asking for it. :) This was a pretty easy makeover. We simply used a rough paint brush and regular latex paint. (Behr Oops paint of course!)

Here’s what it looked like to start with:

I took the doors off and hand painted them.

Painted the bottom and sides a matching yellow.

Reattached everything…

Decided it needed a little more yellow and we’re done!


Posted on 5 Comments

Antique Rocking Chair Make Over

My Aunt Alice gave us this rocking chair. I loved the style instantly, but it needed some work. Here’s step by step instructions on how we fixed it up.

The wood underneath the back of the chair had split so John cut a new piece, drilled new holes to screw back into the existing seat and reattach it.

Next, we took our paint air sprayer and sprayed the rocking chair twice with primer. This rocking chair has some rough spots from the paint, but we didn’t sand those out because we wanted to keep the “antique look”. We just primed over the paint without sanding. If you want a smooth surface, sand it first.

We waited a day for the primer to dry and then sprayed it with latex grey paint. We always look at the oops paint at Home Depot, Lowes or Sears and pick up whatever we think might look good. This was a $5 can that we liked and it only used about 1/3 of the small can.

Up Next, I added a crackled effect using brick red over the grey. It’s simple, you use Elmer’s Glue. Water it down a bit, paint it on the piece, wait a couple minutes until the glue is tacky, and then paint the next color. At first I didn’t think I was going to like it, but once it dried I fell in love!
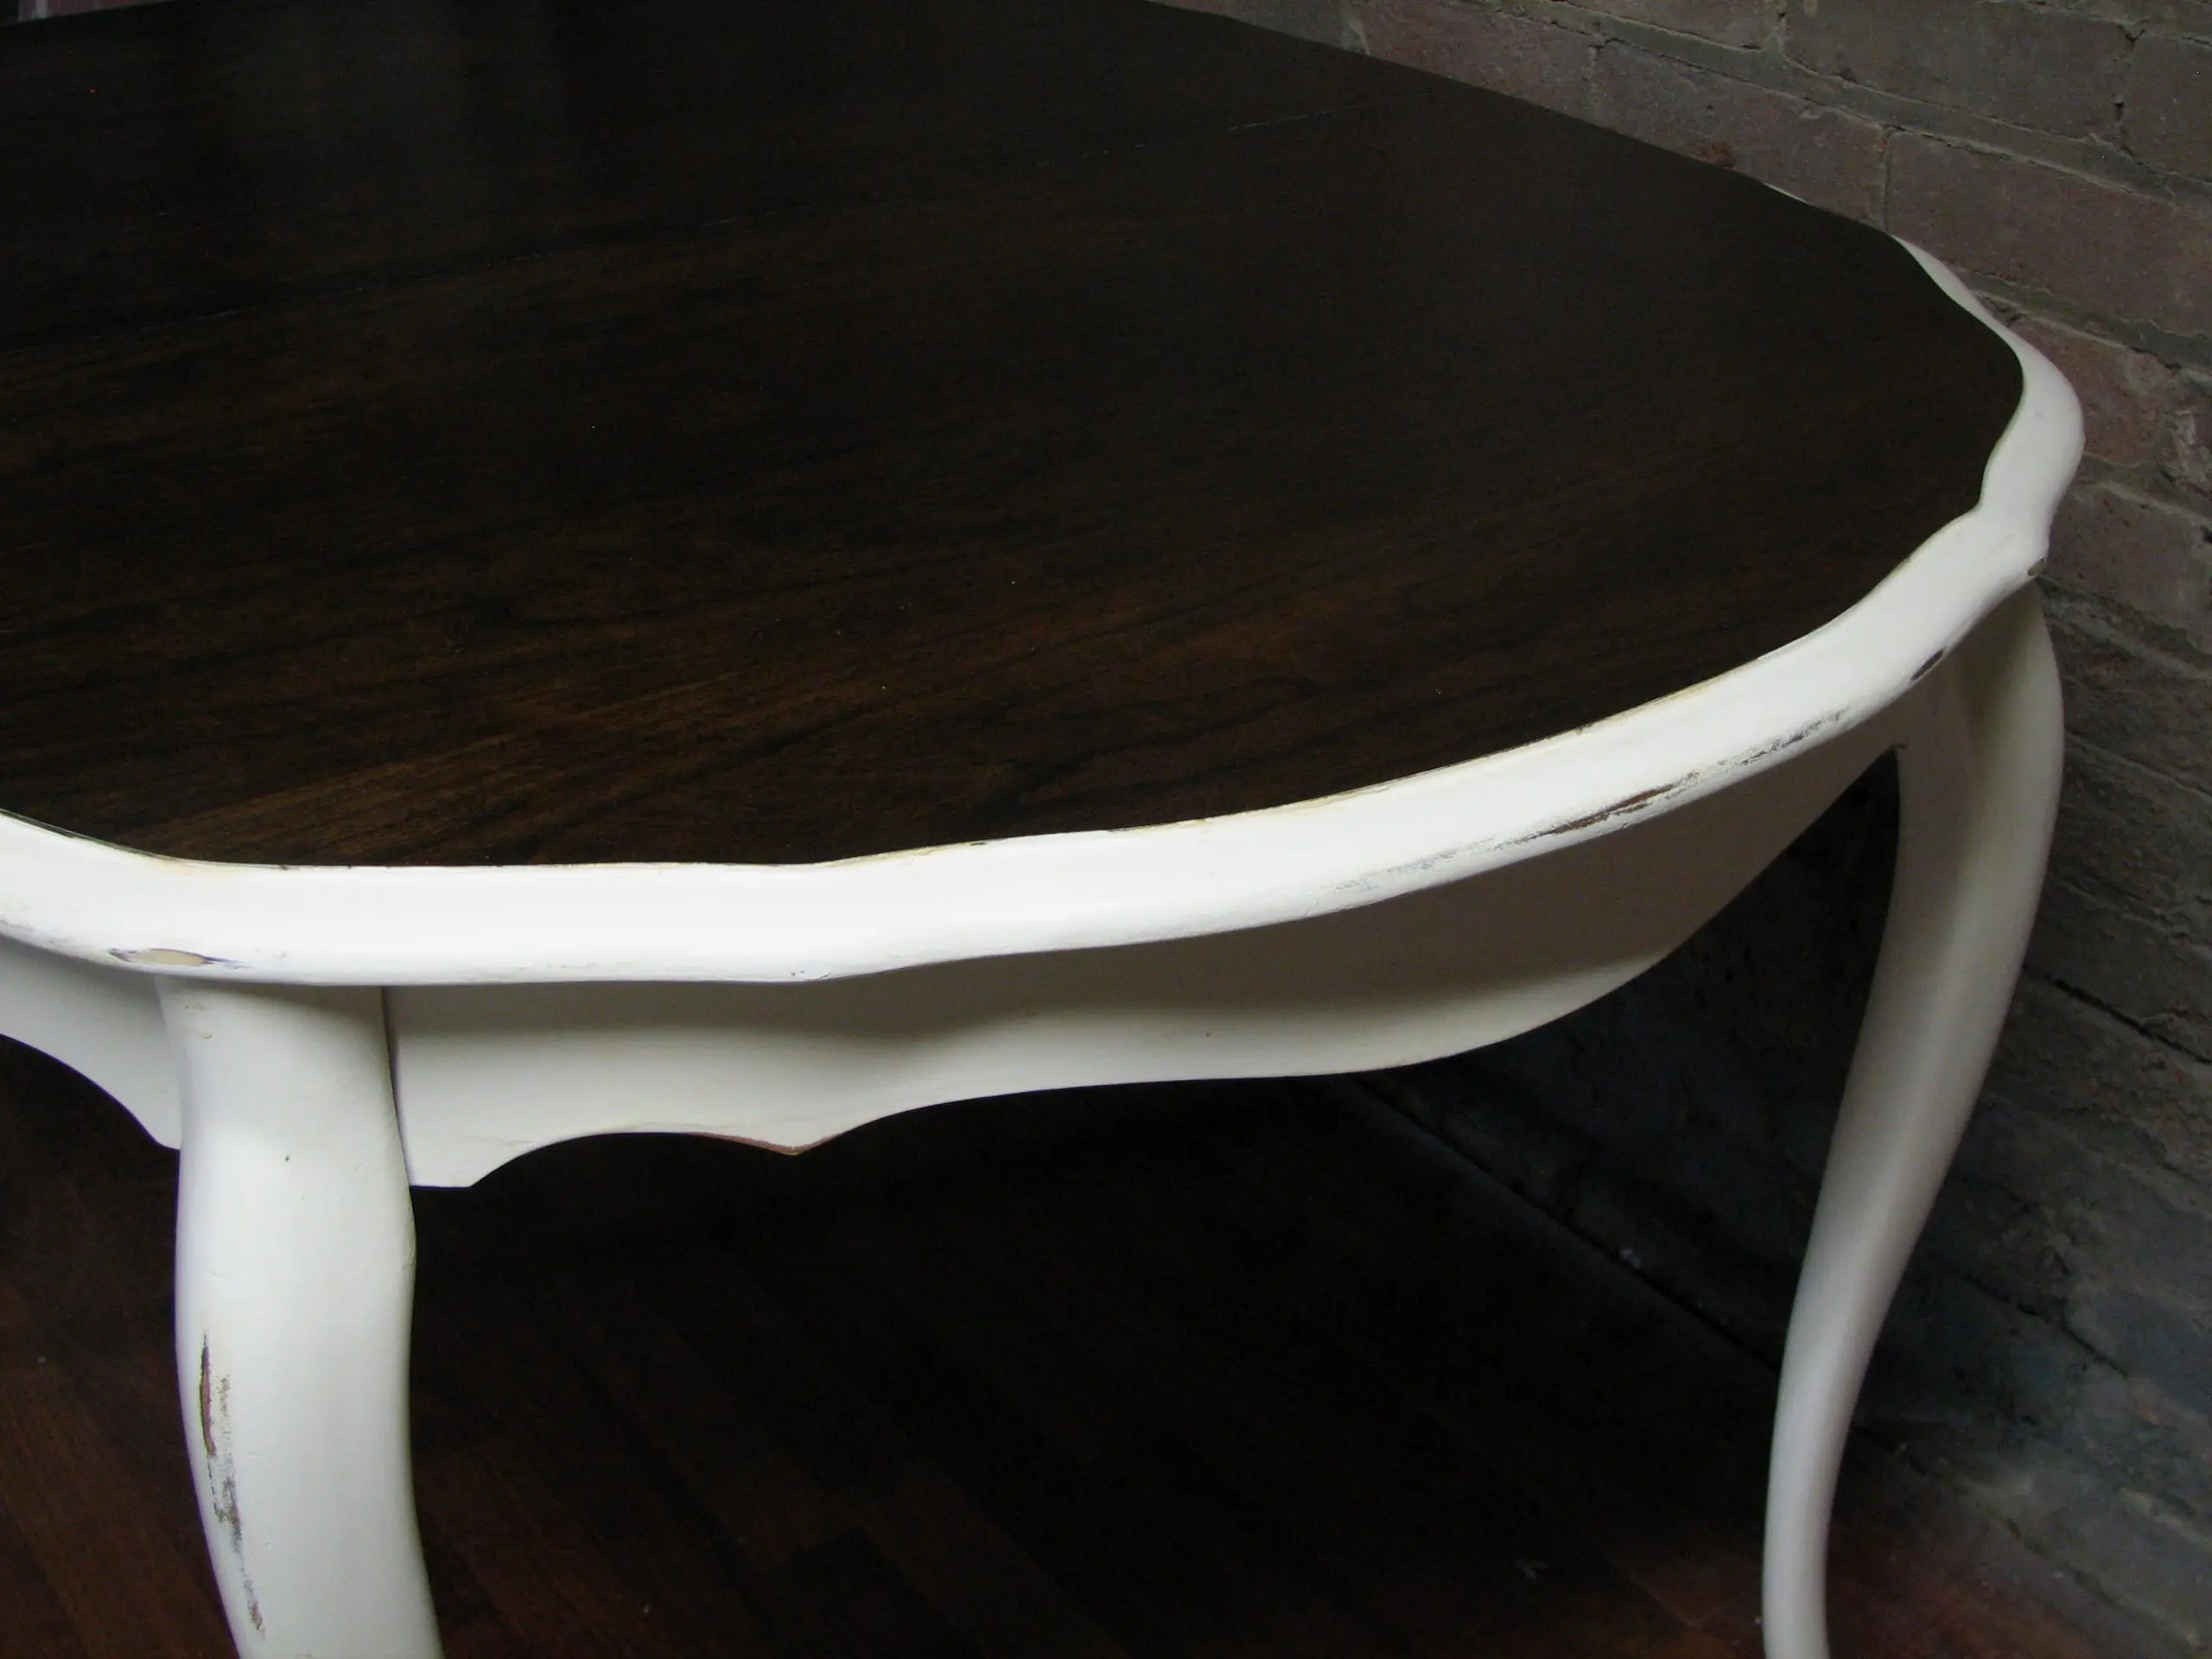
Here’s the finished product!!

Posted on 1 Comment

Hello world!

Welcome to FunCycled! This is all about our families adventures, trying to find new ways to upcycle and recycle furniture or other products into stylish works of art or helpful hints to save you time. We love modern designs, we love God’s creation and want to do the best we can to preserve it how ever we can through recycling, and we love sharing those ideas with YOU! We hope you have as much fun reading as we do designing!

Sarah & John