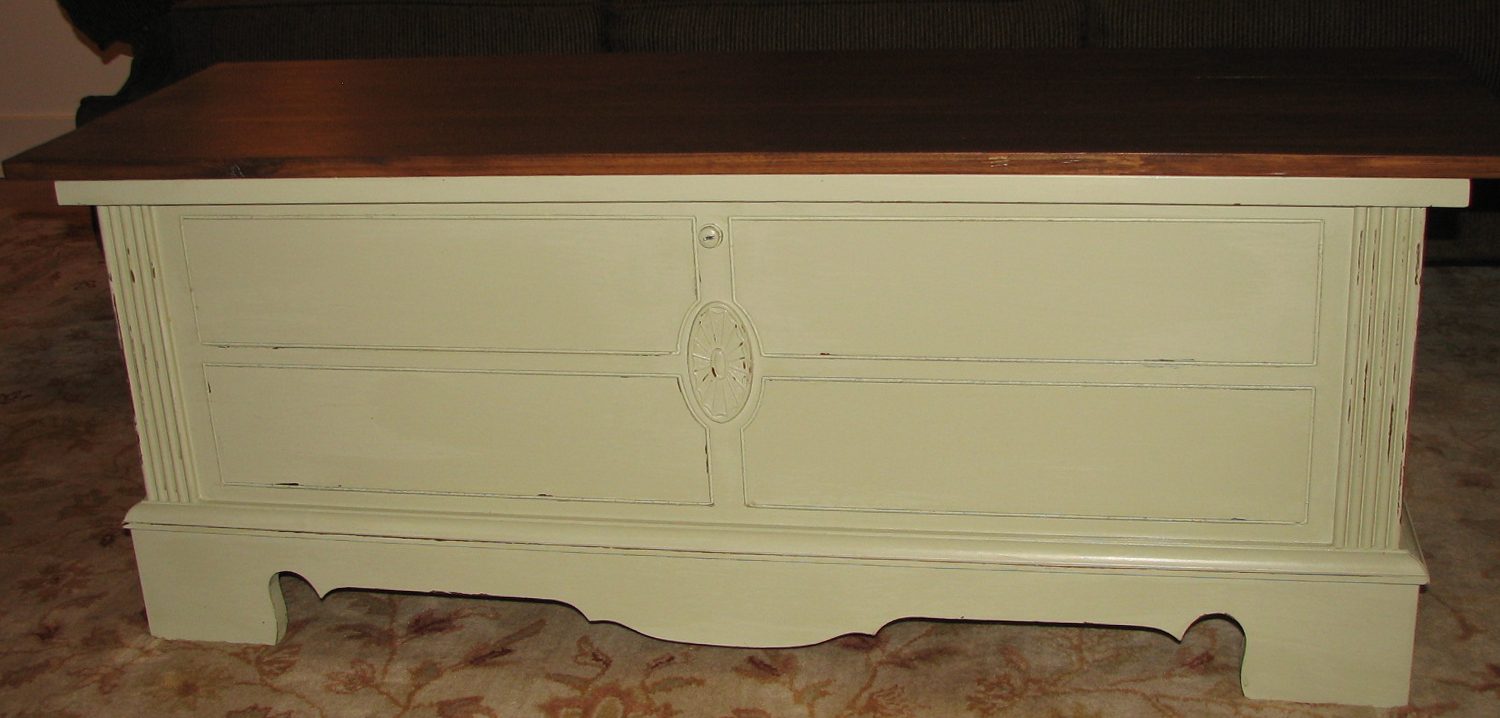
Hope you all had a great weekend! This week’s redesign was a lot of fun! It was one of those project where everything went RIGHT for once. :) Gotta love those! My friend Jo Ann and I went shopping at our Habitat for Humanity local shop in hopes to find a trunk to make into a coffee table.
Jo Ann has been obsessed with this idea since she saw a trunk that she liked at Pottery Barn. Fortunately it was on a couple of months back order so I convinced her that we could find something to make over and for a cheaper price. Nothing had been right – Jo Anne is a “I am not sure, what do you think, will it work ….?” type of person (she told me to write that). Idea after idea had been shot down, but today we were in luck! We came across this Lane Cedar chest and it was the perfect size… but not the perfect look for her house. It wasn’t a cheap find, but I in this case we thought the quality was worth the price. ($150 to be exact) So she grabbed it, and here’s what we started with.

I don’t have many pictures of the process because I was in the middle of a million project during this time. Forgive me friends! :) First things first… that hideous top. We simply had to do something about it. Do we recover it, do we replace it?? Well, we went with replacing it with a wood top. Home Depot has solid wood boards already fit together for around $15. It was awesome in this case because it fit EXACTLY the way we wanted. We didn’t have to cut it down at all. Just deep enough and a little wider than the base which was perfect. It was easy to remove the cushion top, just unscrew 8 screws and it popped right off.

John sanded the new pine top down and had an allergic reaction to the pine. Did I say nothing went wrong with this project? Opps, I forgot about that part. His hand almost doubled in size for about a day. Note to self – remind John to wear gloves next time he sands pine boards. Or be nice and just do it for him… nah, just remind him to wear gloves.

We painted this one a little differently. I primed it like normal, but then I used Benjamin Moore Aura Satin paint and painted it with a Purdy brush. I was so impressed by how well it covered. The first coat was almost enough, but I did a second coat to be safe. She’s almost done… one more coat of paint and stain.

Here she is nestled nicely into Jo Ann’s living room. (Sorry the pictures aren’t that great, it was night time and the lighting was a bit rough)
How do you like it??
Happy Redesigns,
Sarah
PS- If you like what we’re doing, please like us on Facebook at: www.facebook.com/funcycled or share this on Pinterest! Also, you can now get each of our new projects emailed to you when you enter your email address in the box at the top right side of this page.


I love it and I saved $275 by not buying the Pottery Barn chest, and it is the perfect size when you have a smaller living room. Also, the storage for throws, or whatever is nice to have !Thank you Sarah and John.
Thank you, Jo! Glad it worked well in your living room.
This looks even better in person:) Love the design!
Thanks, Jessica! :) You’re such an encouragement. I have to get a picture of yours next. I forgot to take one before it went home with you. :)
What a change! This table looks great!
Thank you, Nicole! :)
Can you please tell me what you did to the back of the chest. I have this exact same chest and want to use it as a coffee table as well. Did you just paint over the back. Mine is just a solid piece of wood and isn’t finished in the back. You are seriously the only website that I was able to find something on. Thanks!!!
I would like to know how you finished/or how to finish the back of chest.. As Candice above stated, back of my chest is not finished. Thank you.