Posted on

Replace your Microwave with a Hood Vent + Revere Pewter Kitchen Cabinets

Hi Friends!

How are you? If your kids are in school or you are a teacher, I hope you were able to enjoy last week off. We went south to get some much needed sunshine and friend time, but I’ll save that story for another post! :)

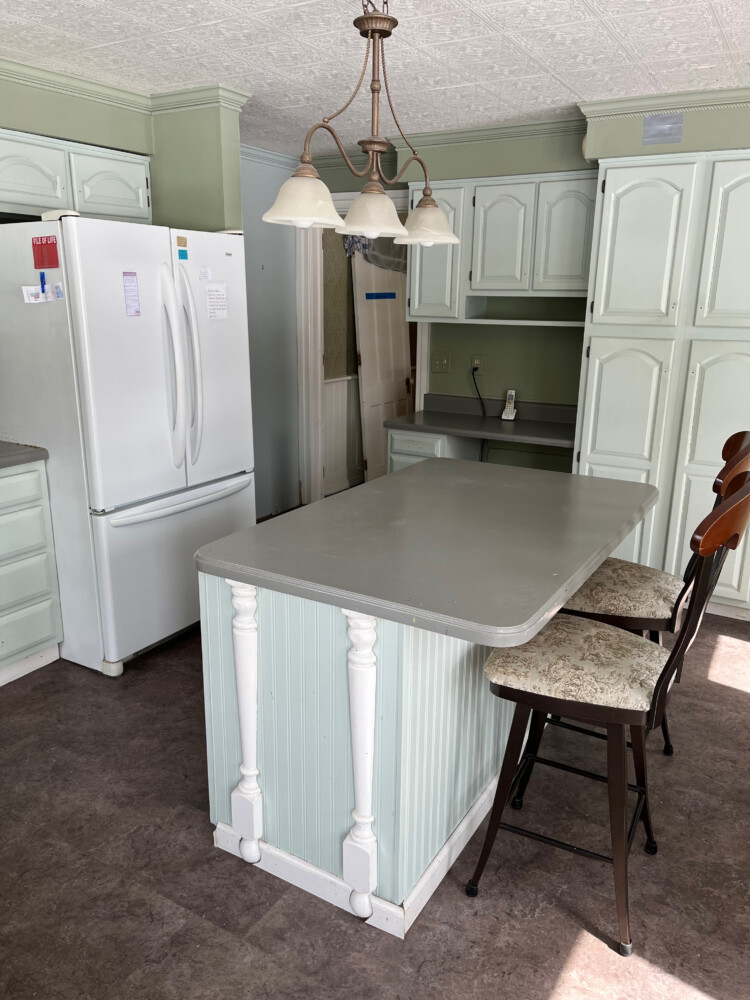
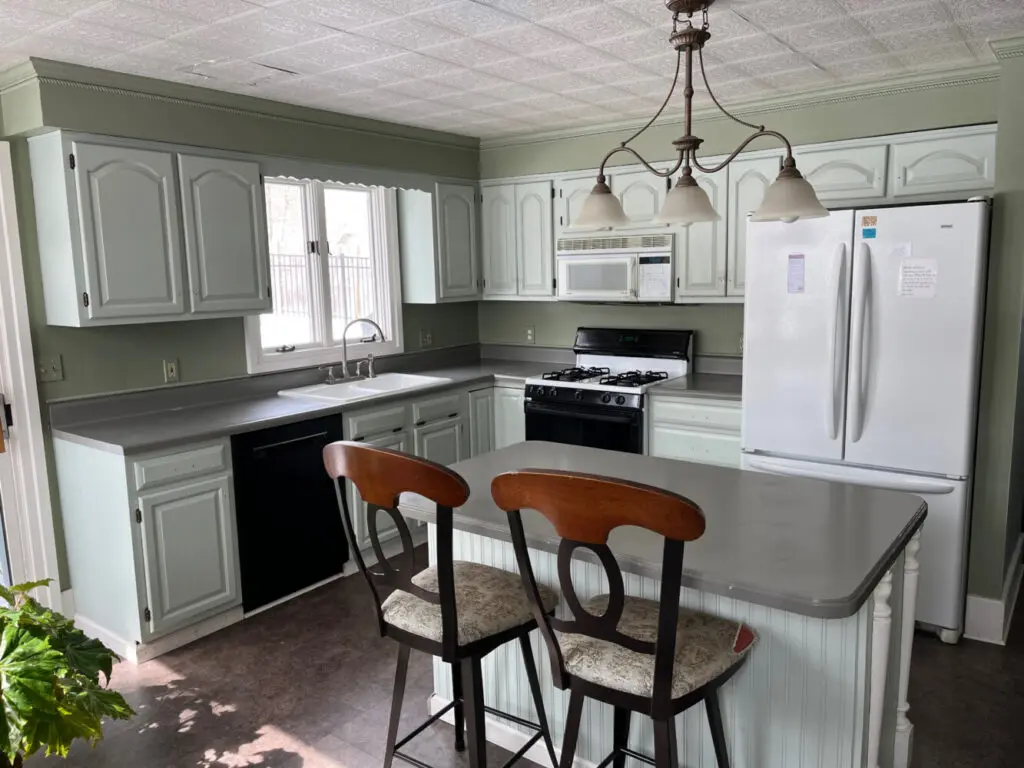
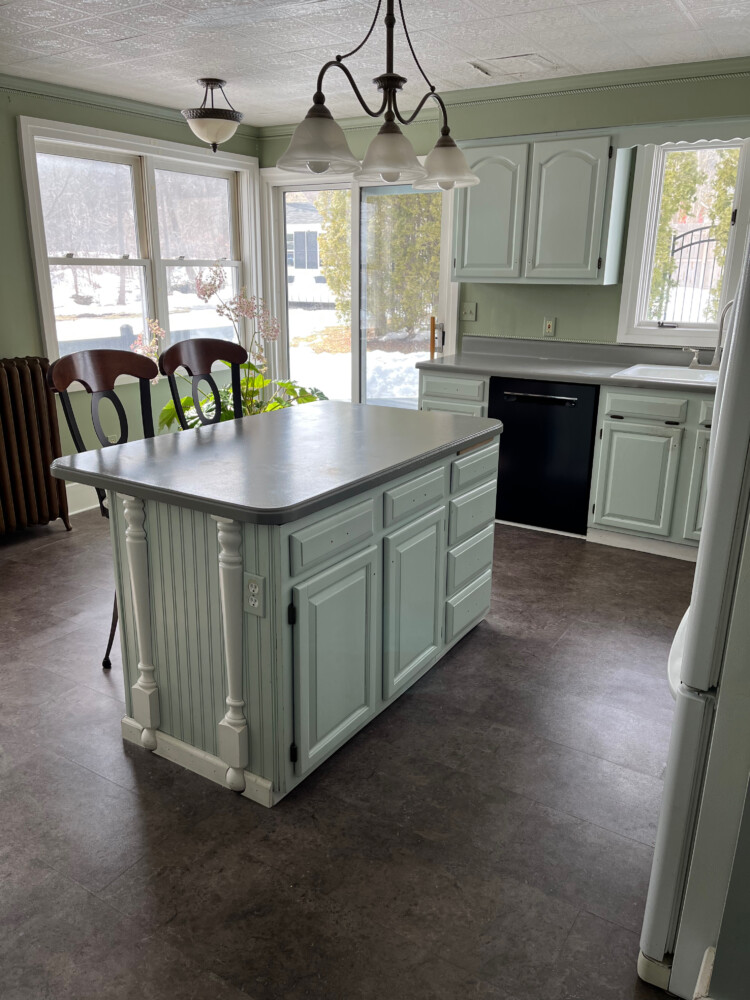
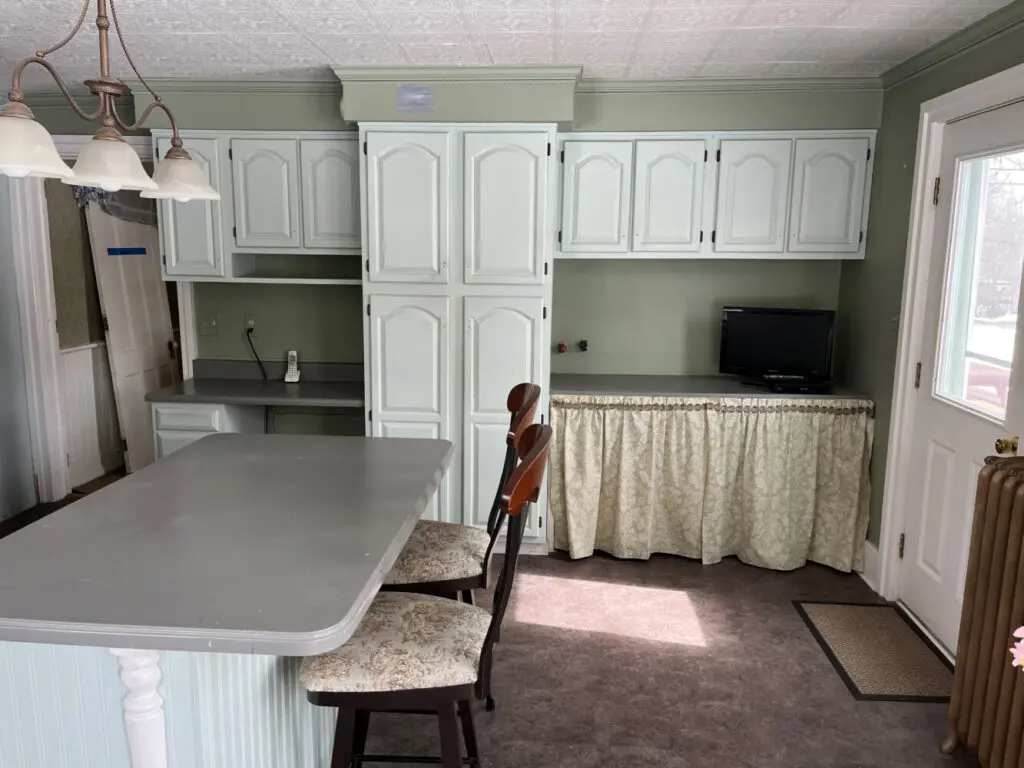
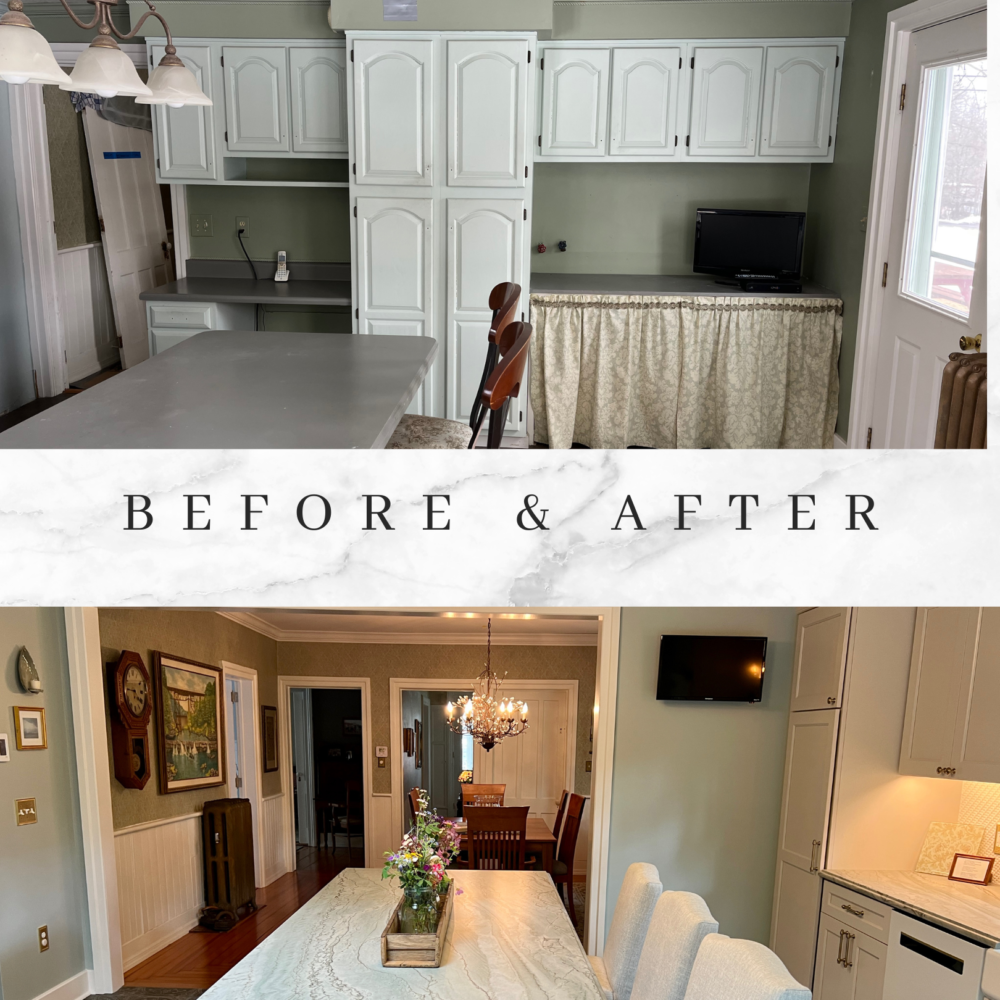
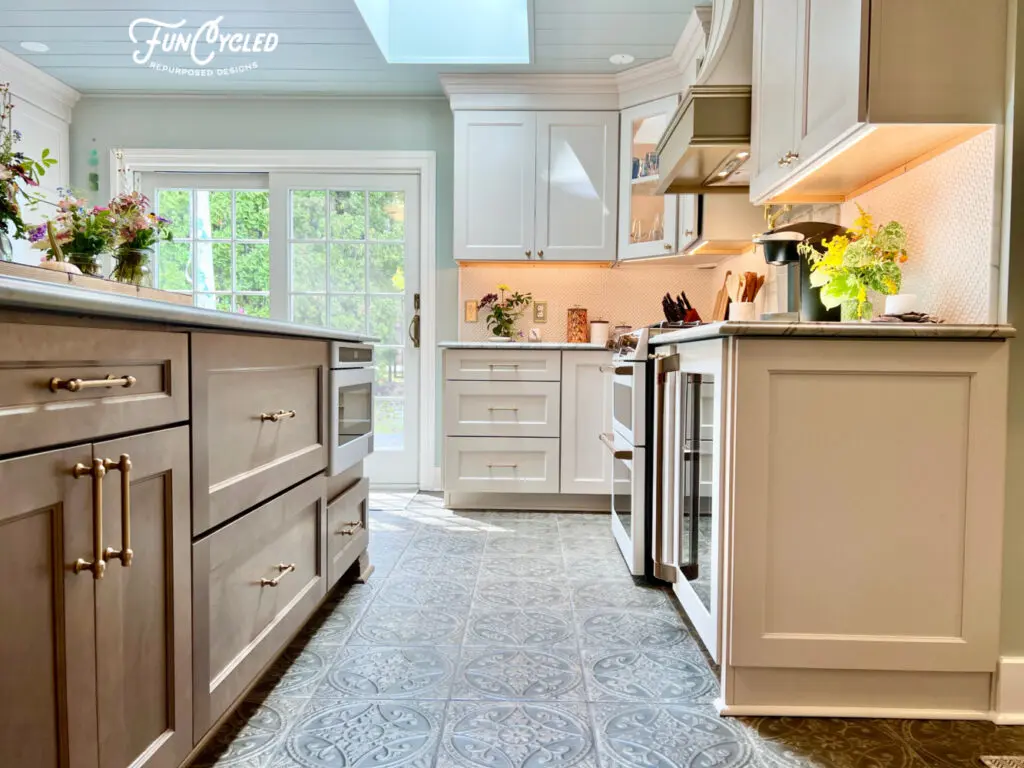
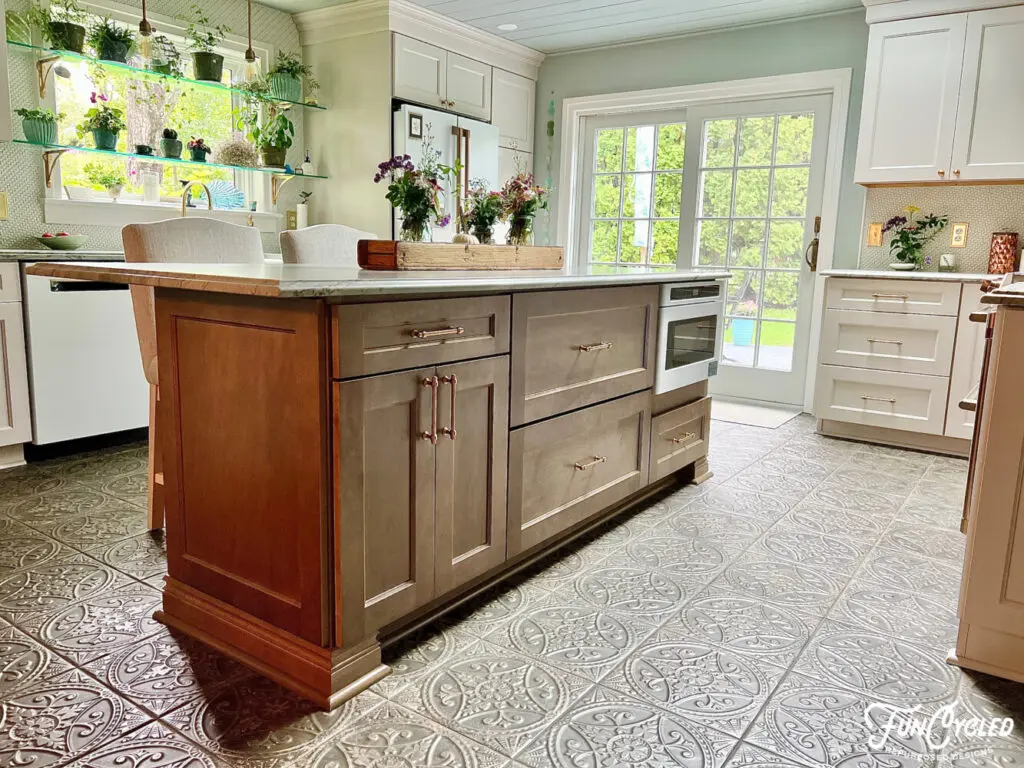
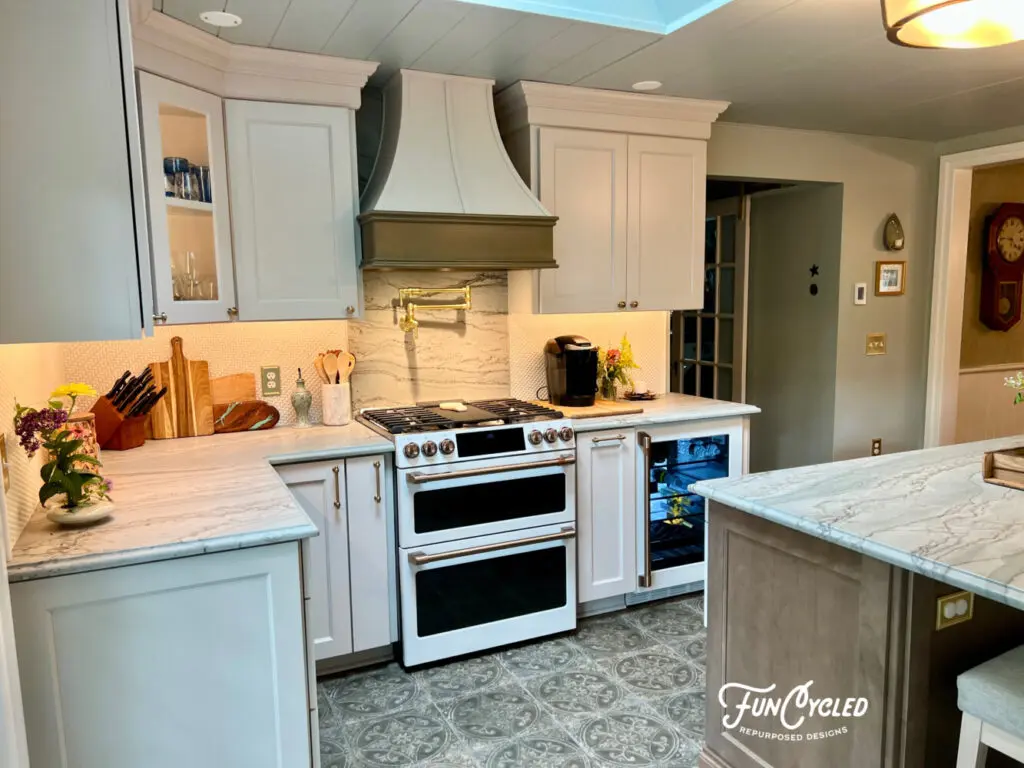
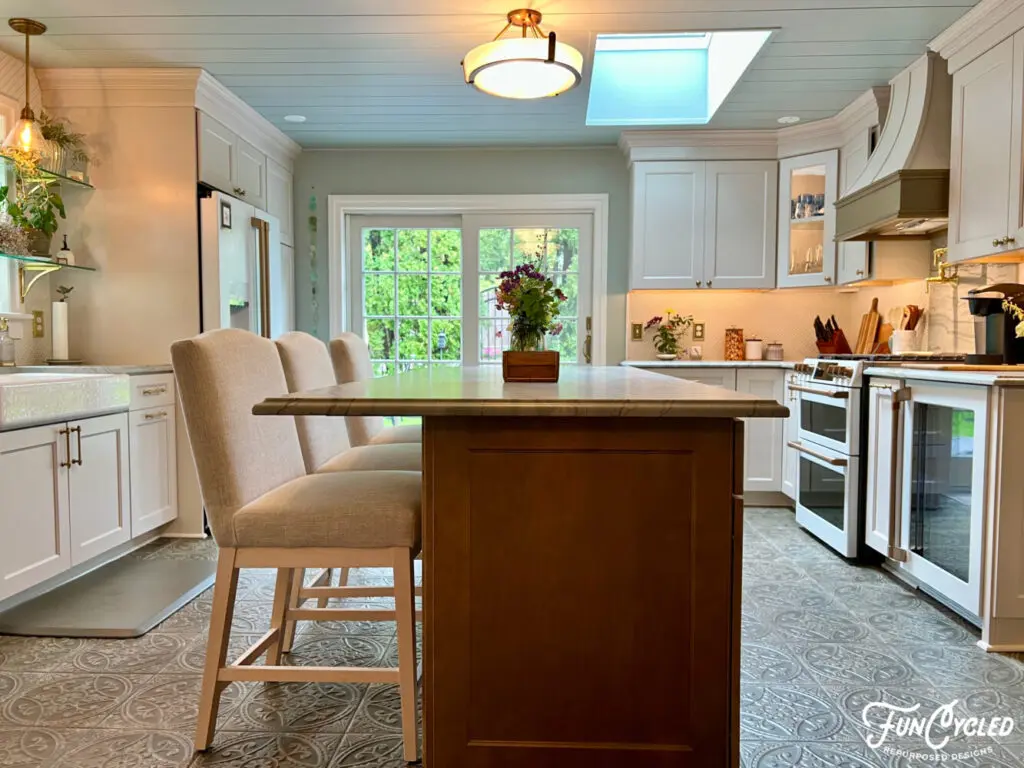
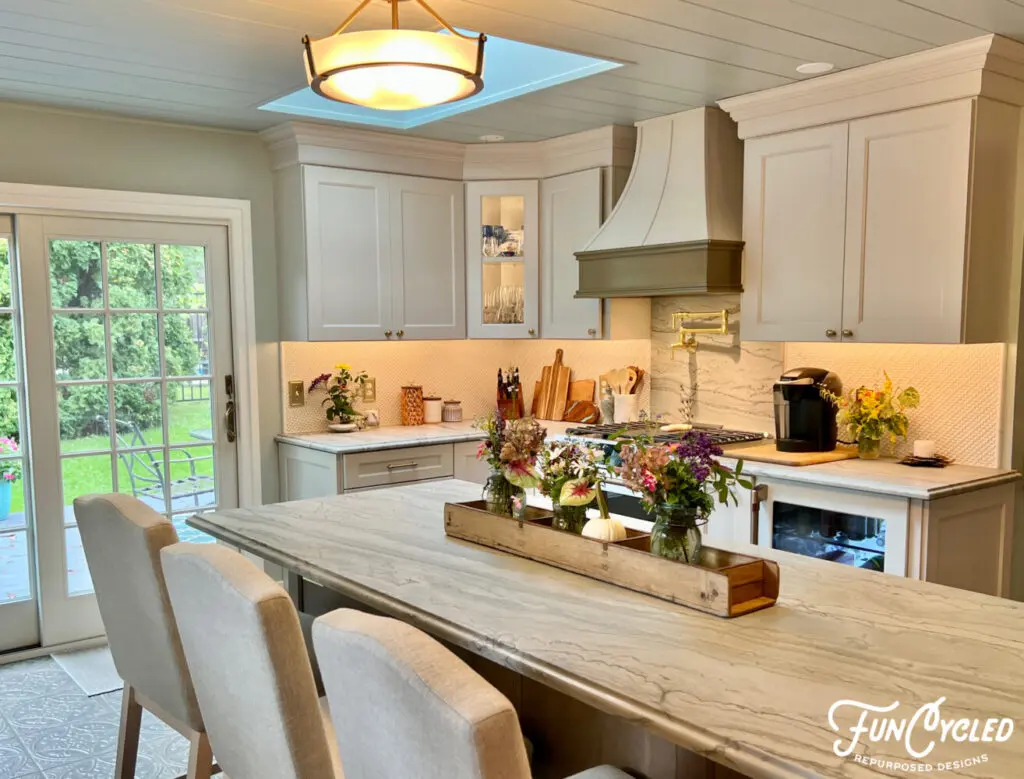
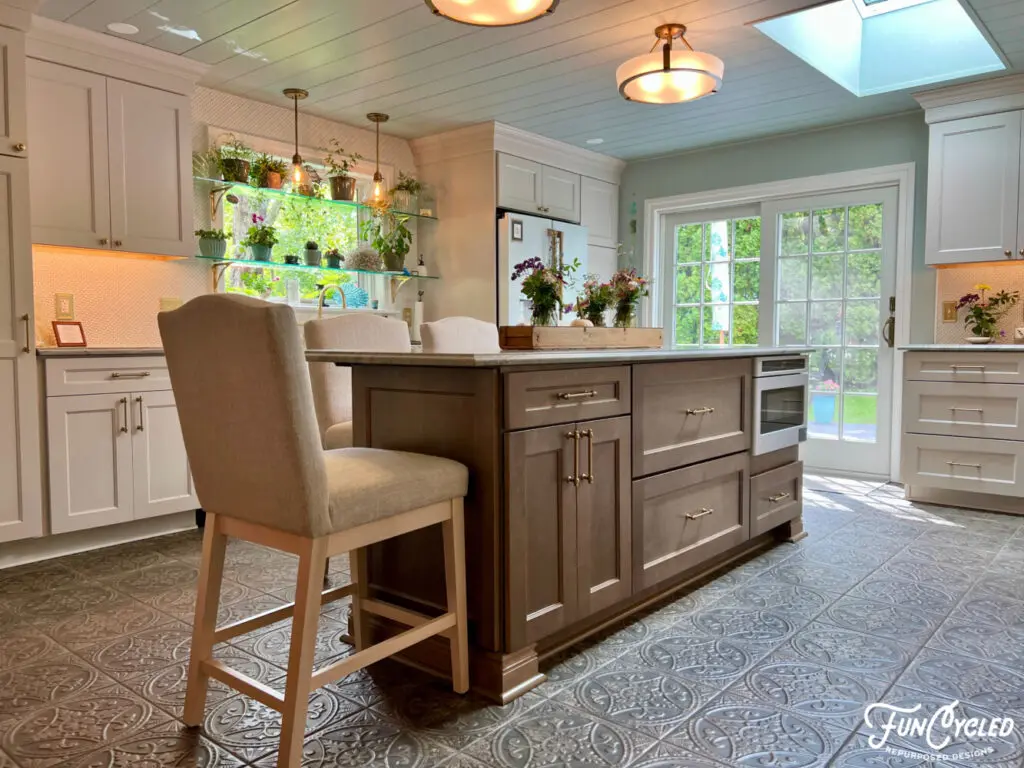
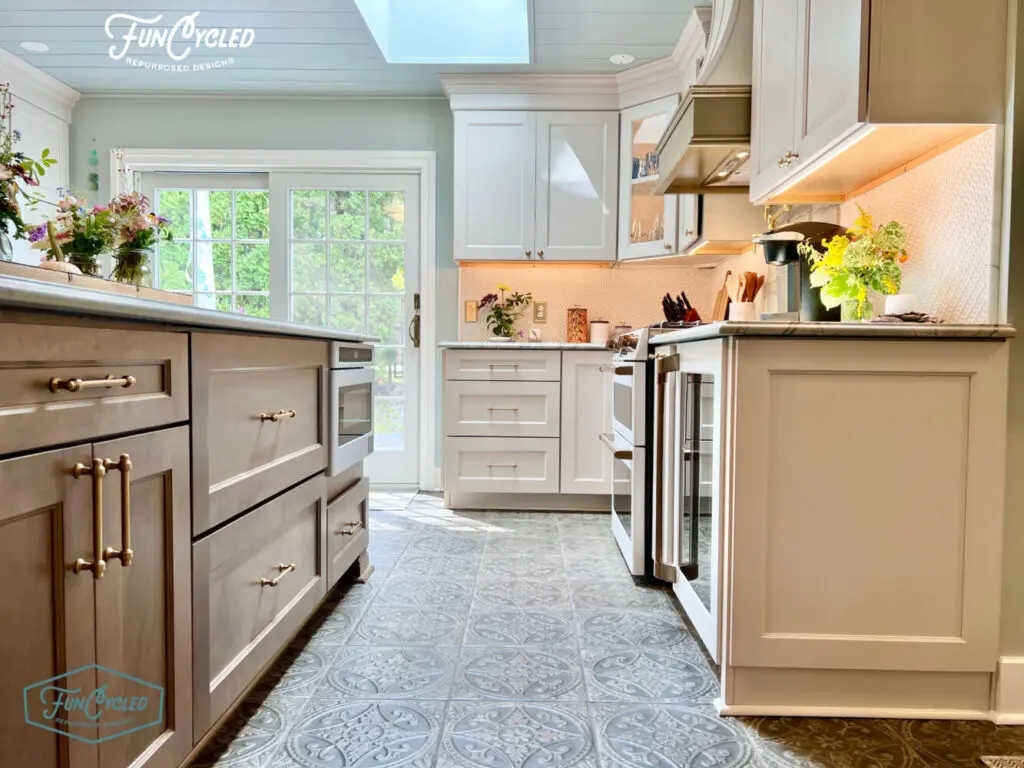
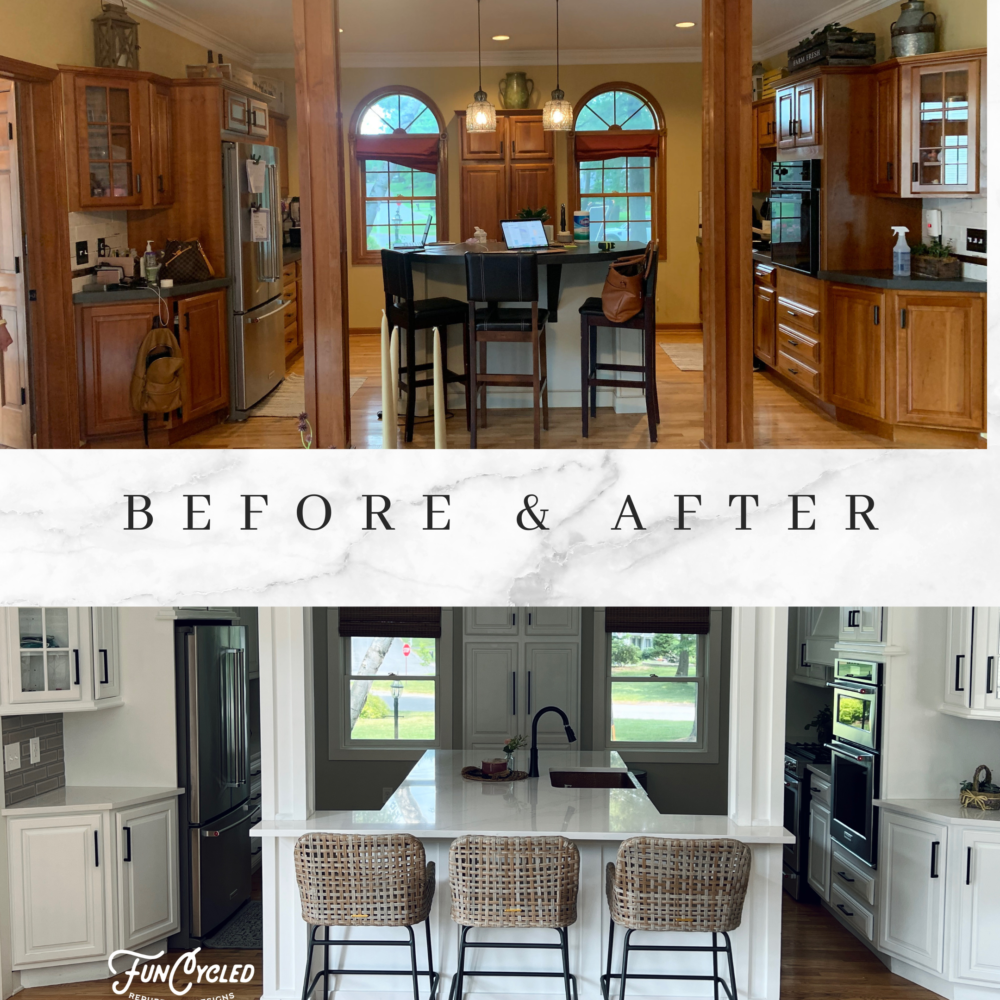
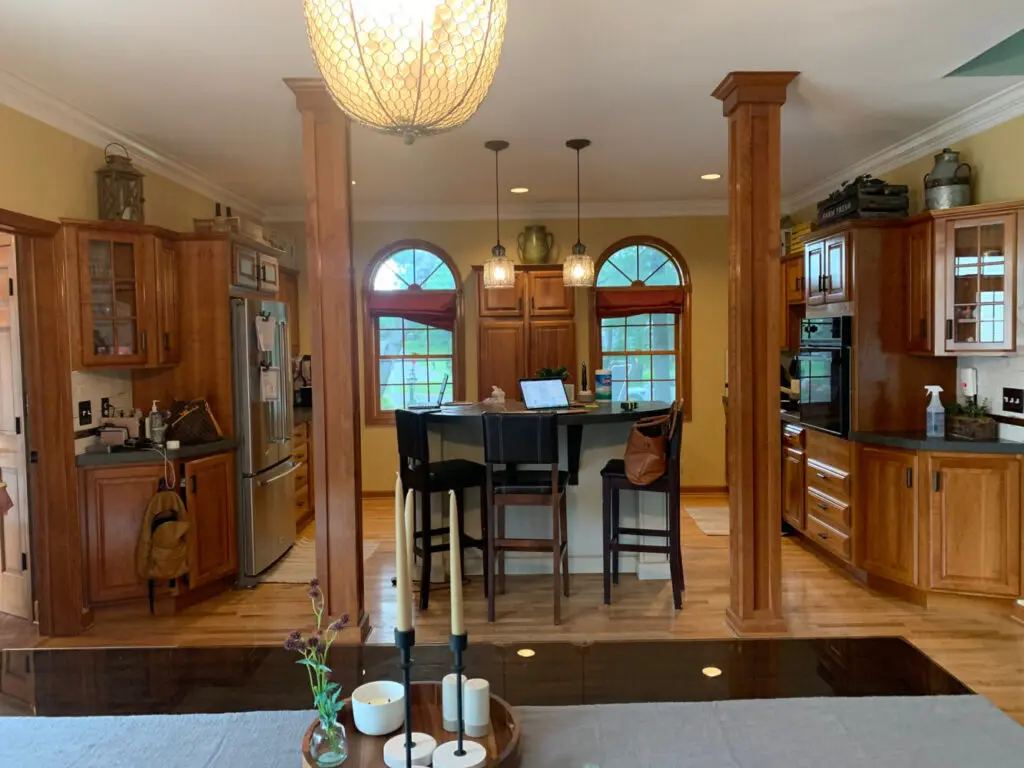
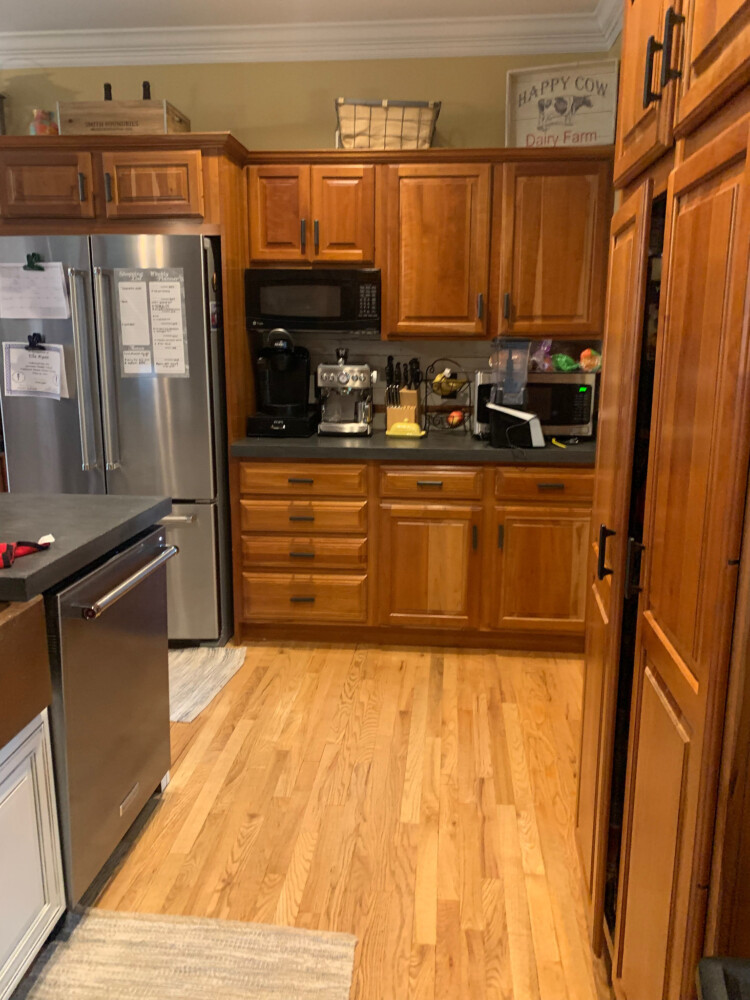
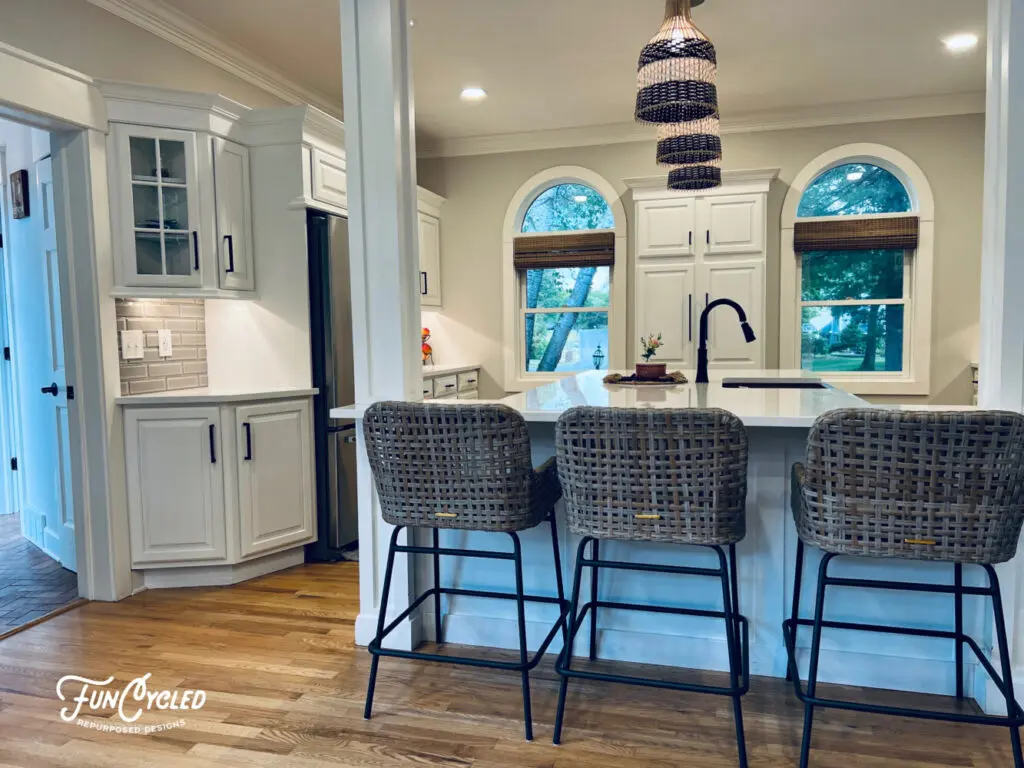
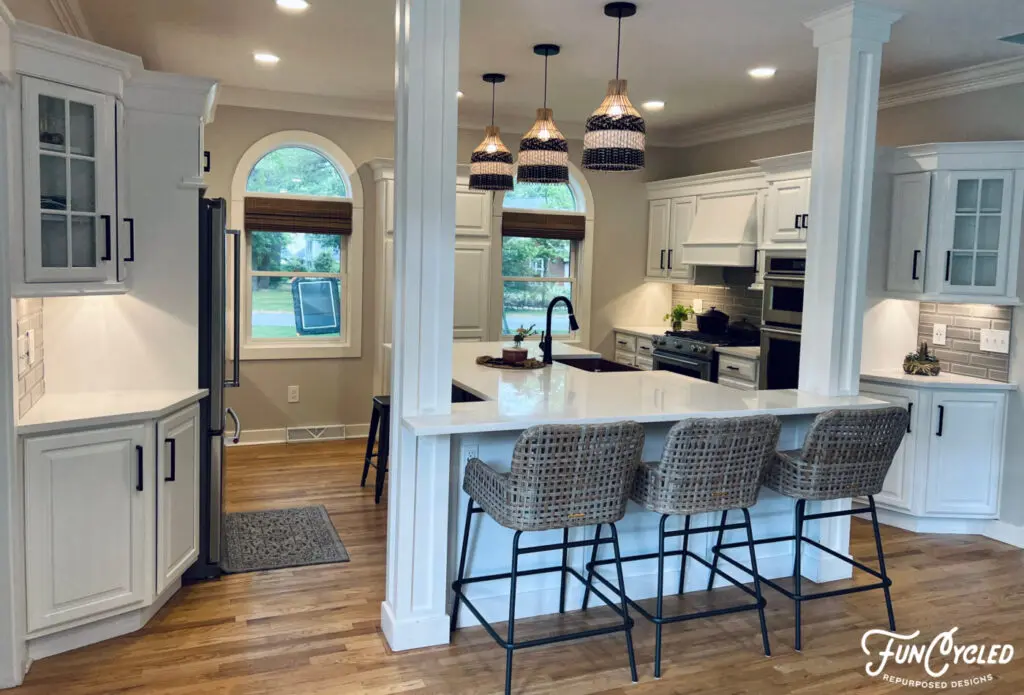
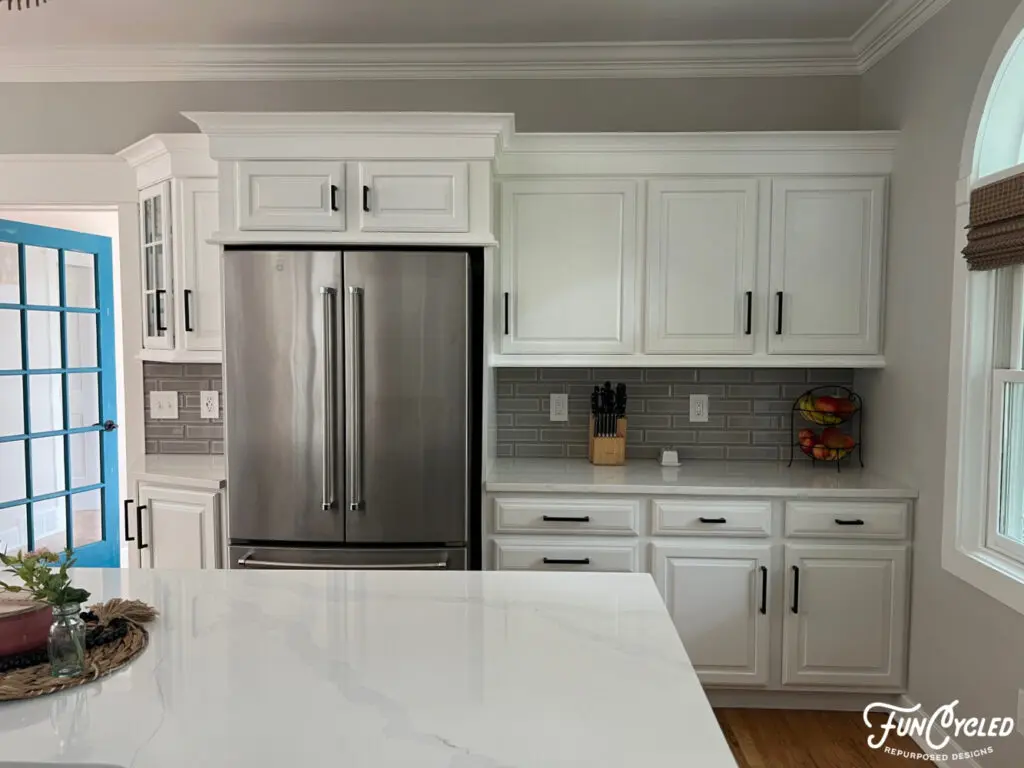
For this week’s makeover, I wanted to share a kitchen that we recently redid for Maureen. She had us redo her furniture in the past and decided it was times to redo the kitchen cabinets. She loved the style of the cabinets (and so did I), but wanted to brighten up the room by lightening the cabinet color.

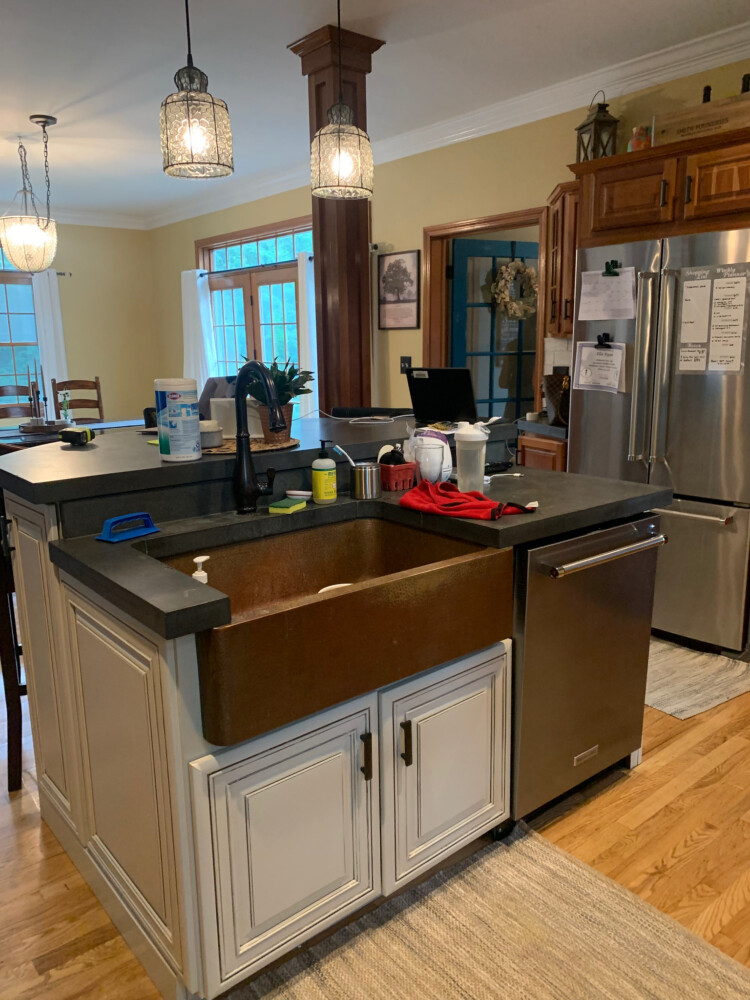
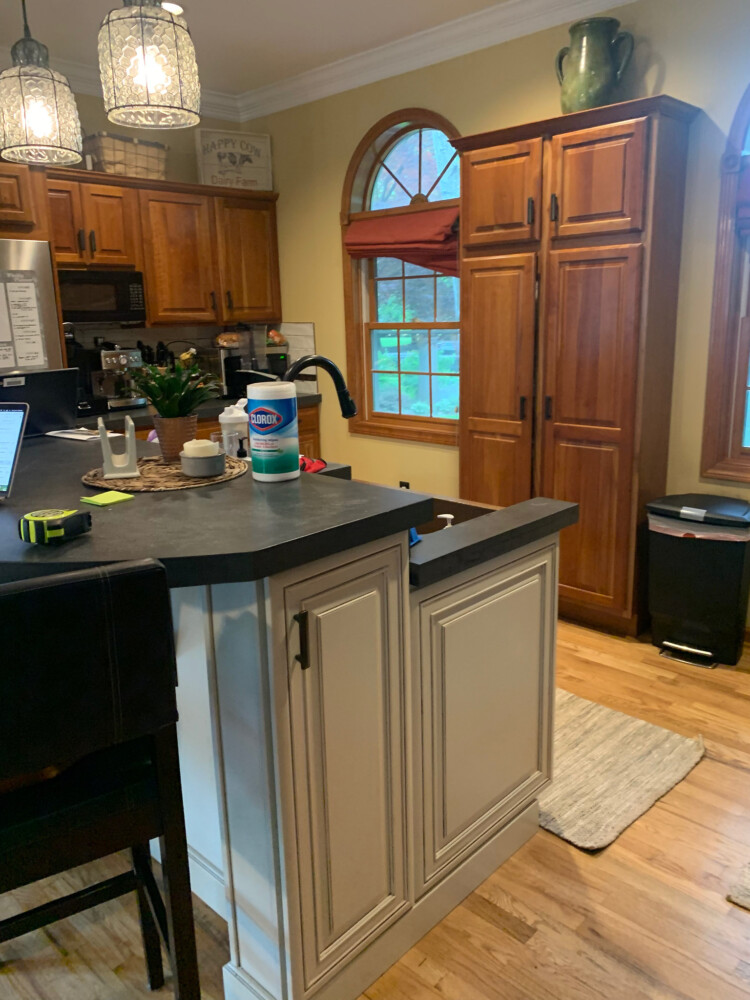
Here’s the kitchen before:

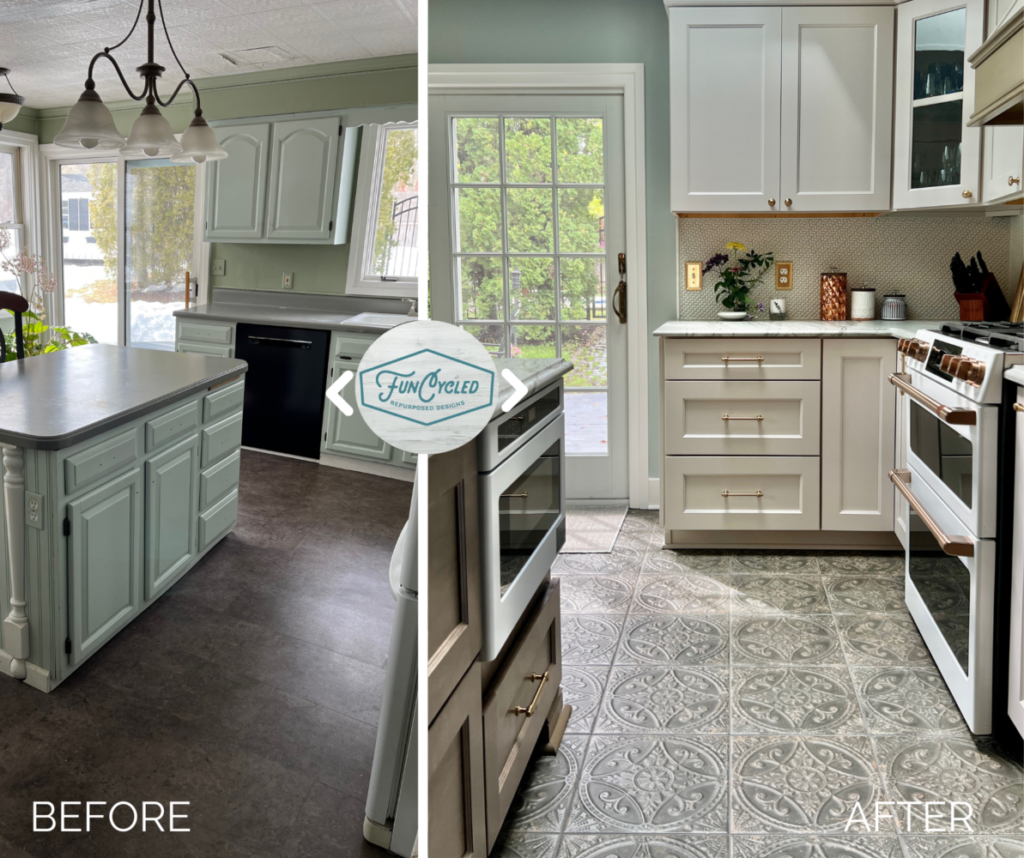
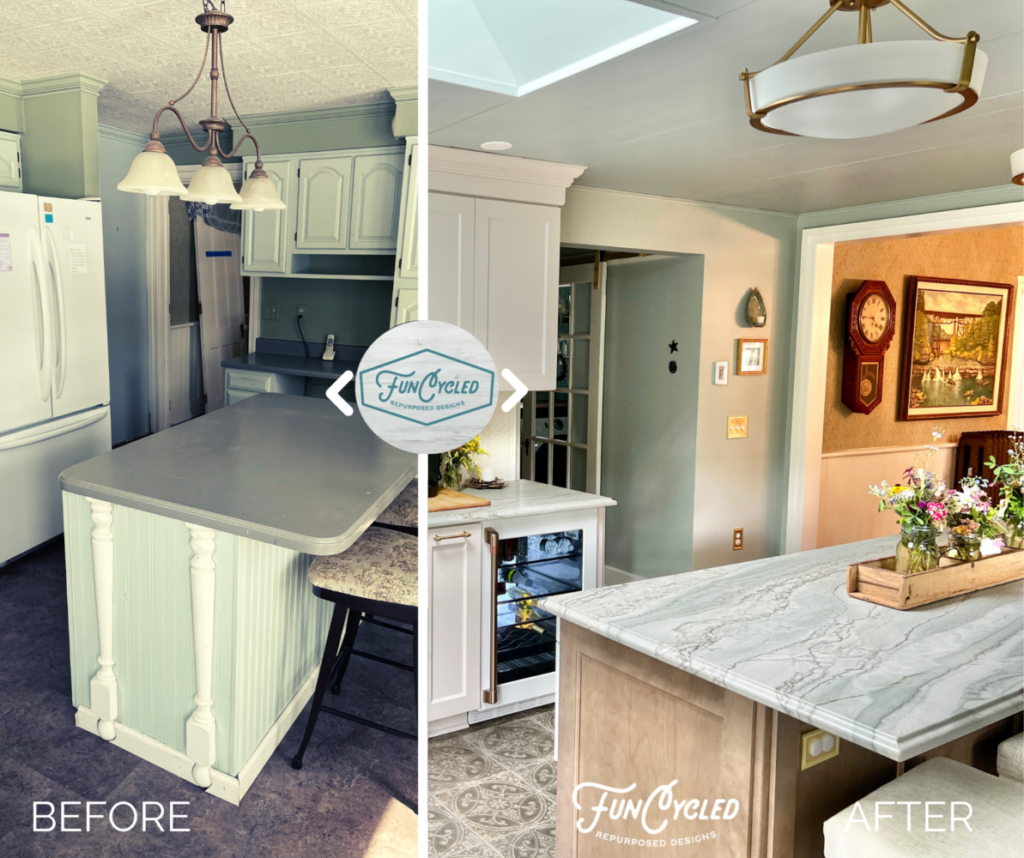
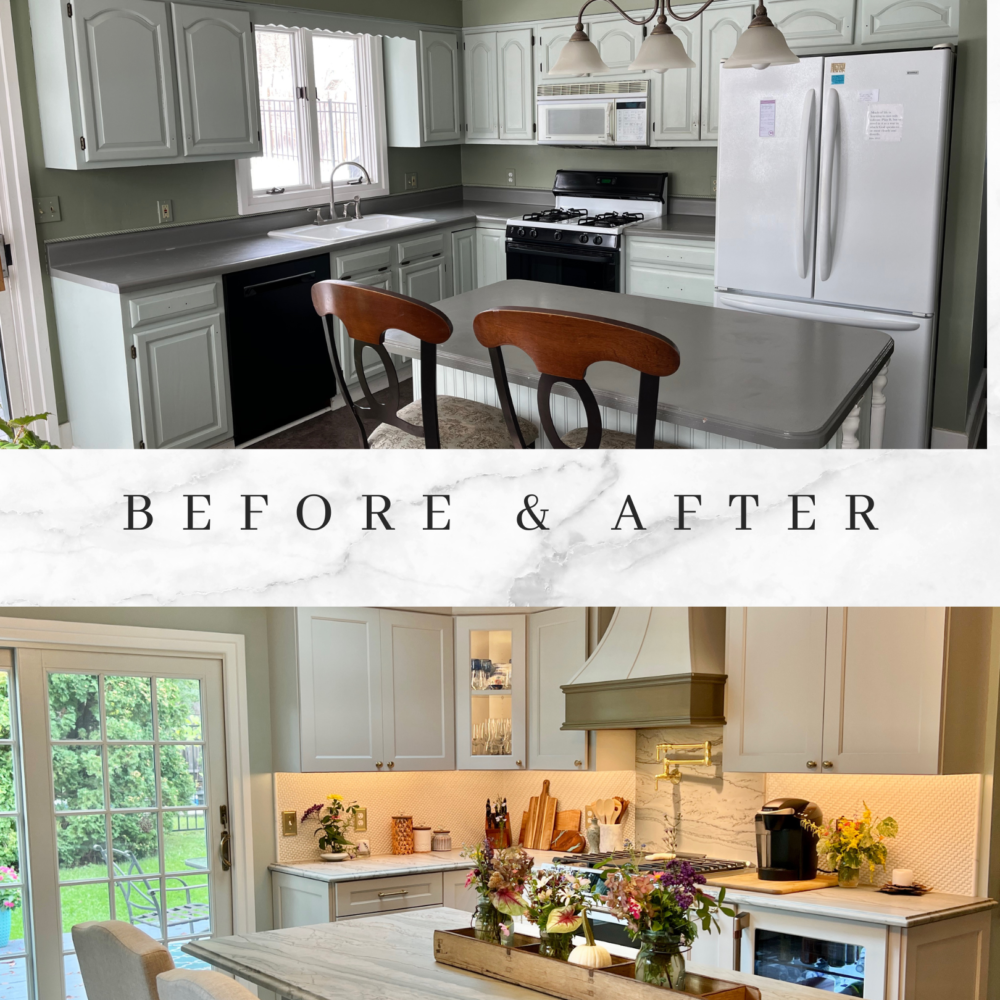
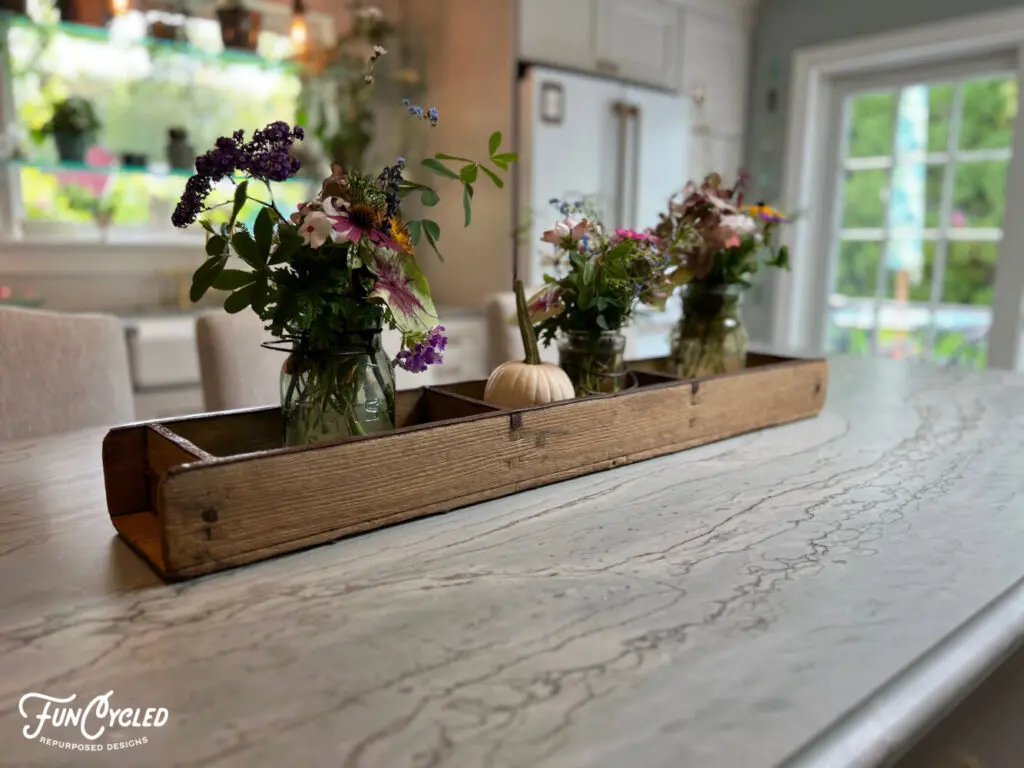
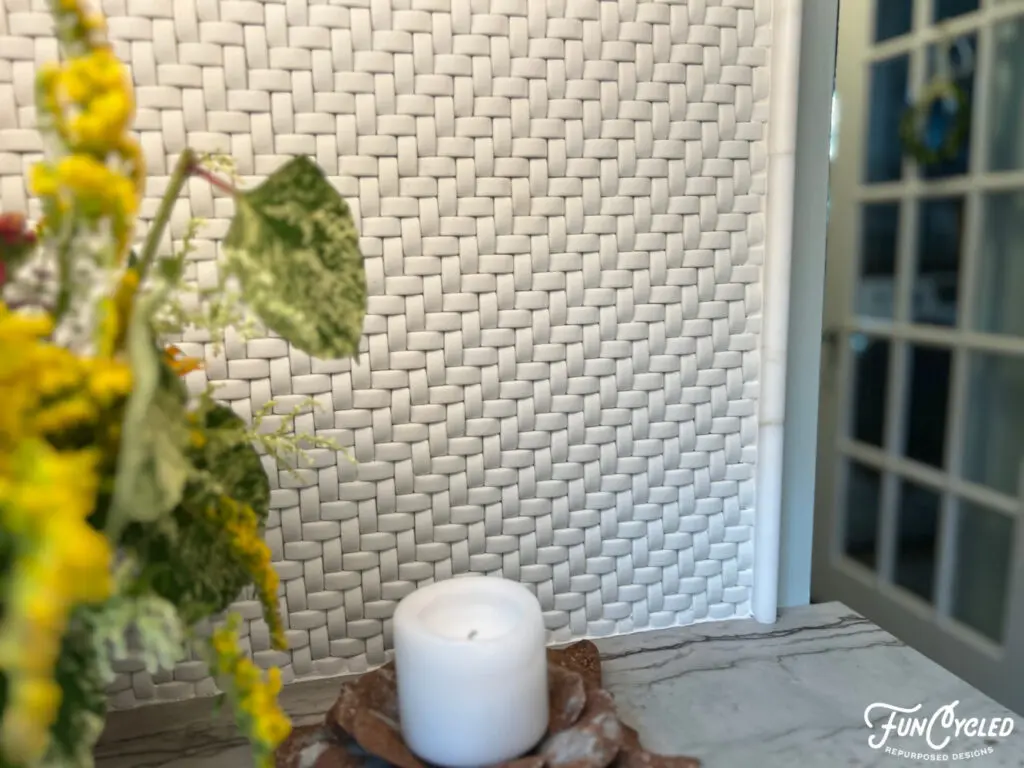
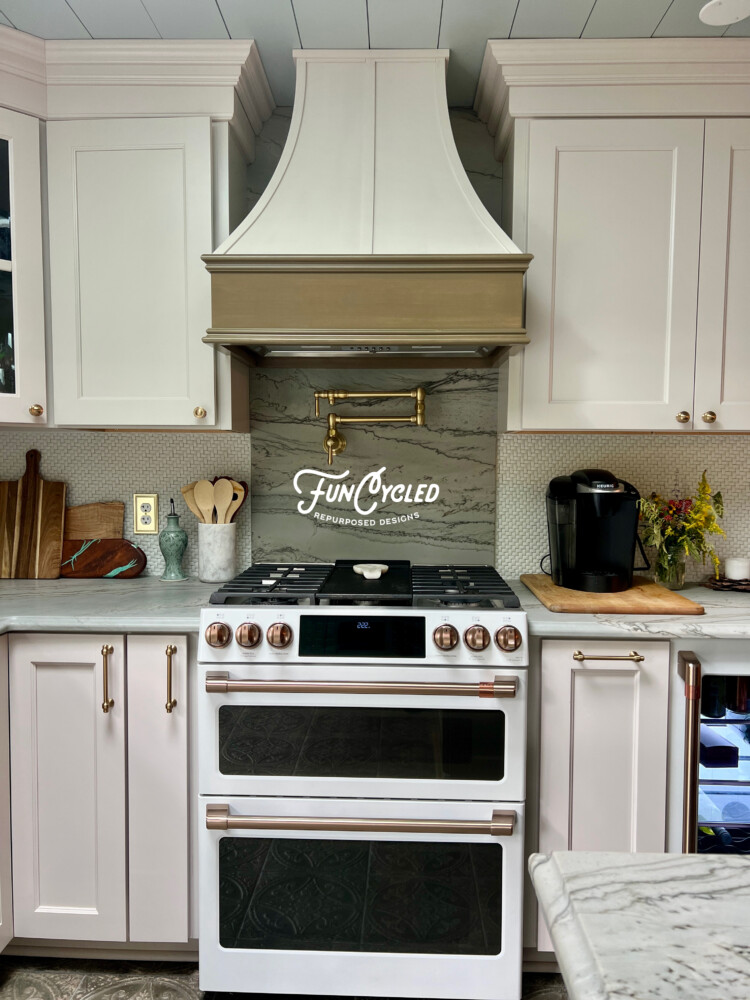
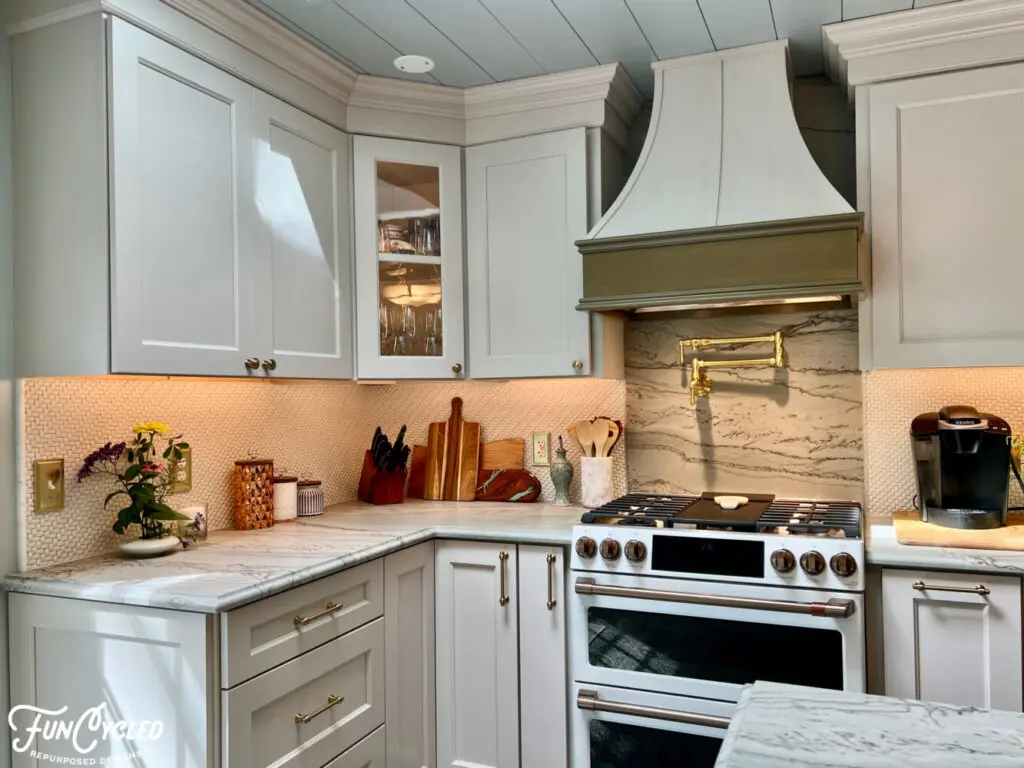
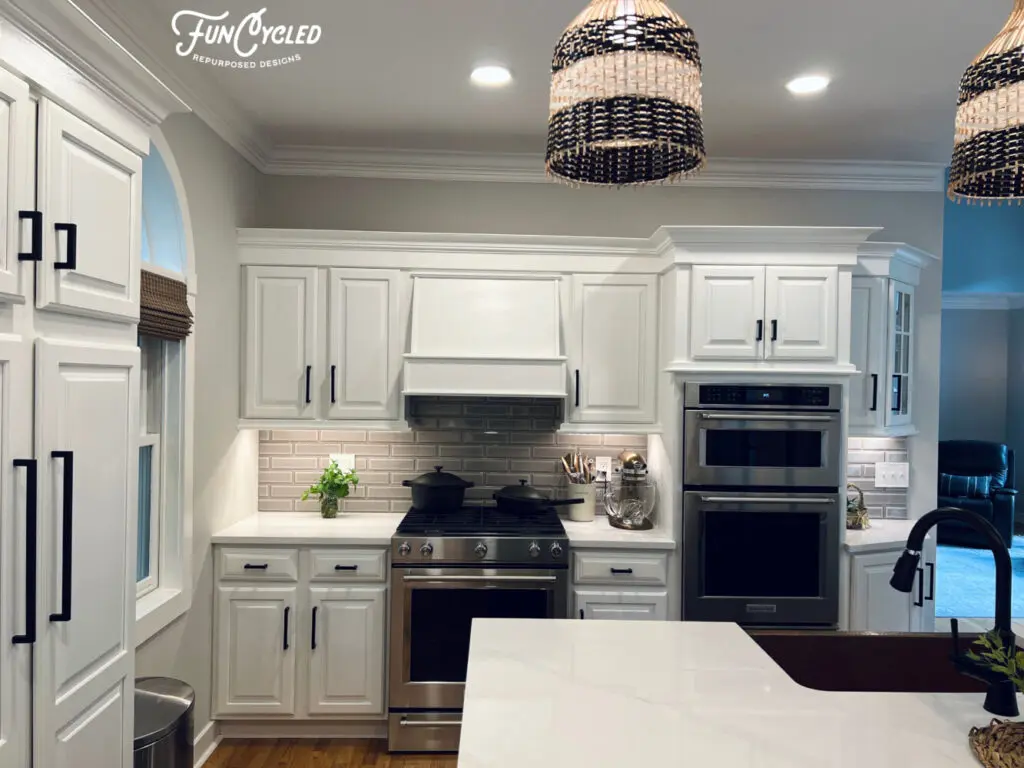
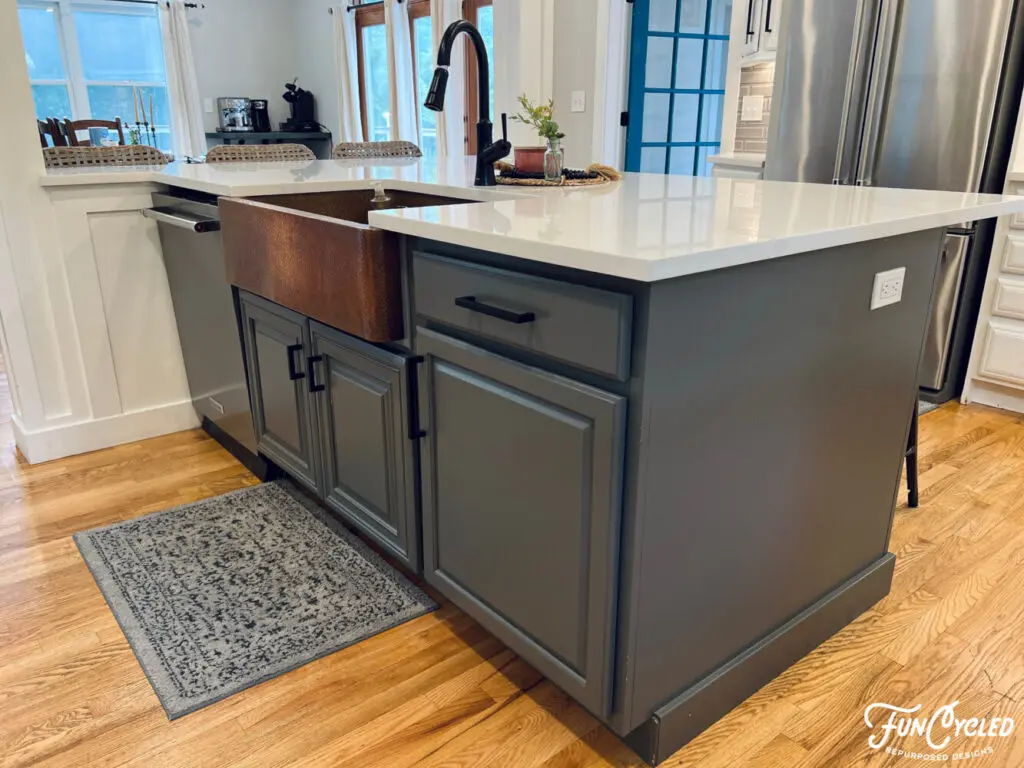
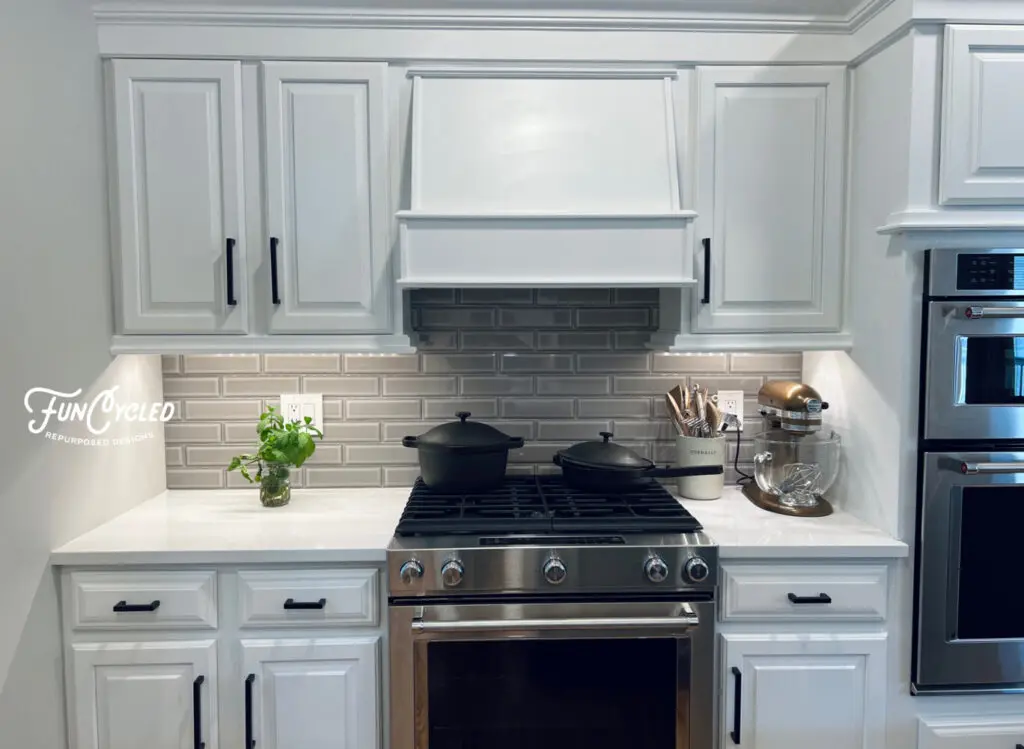
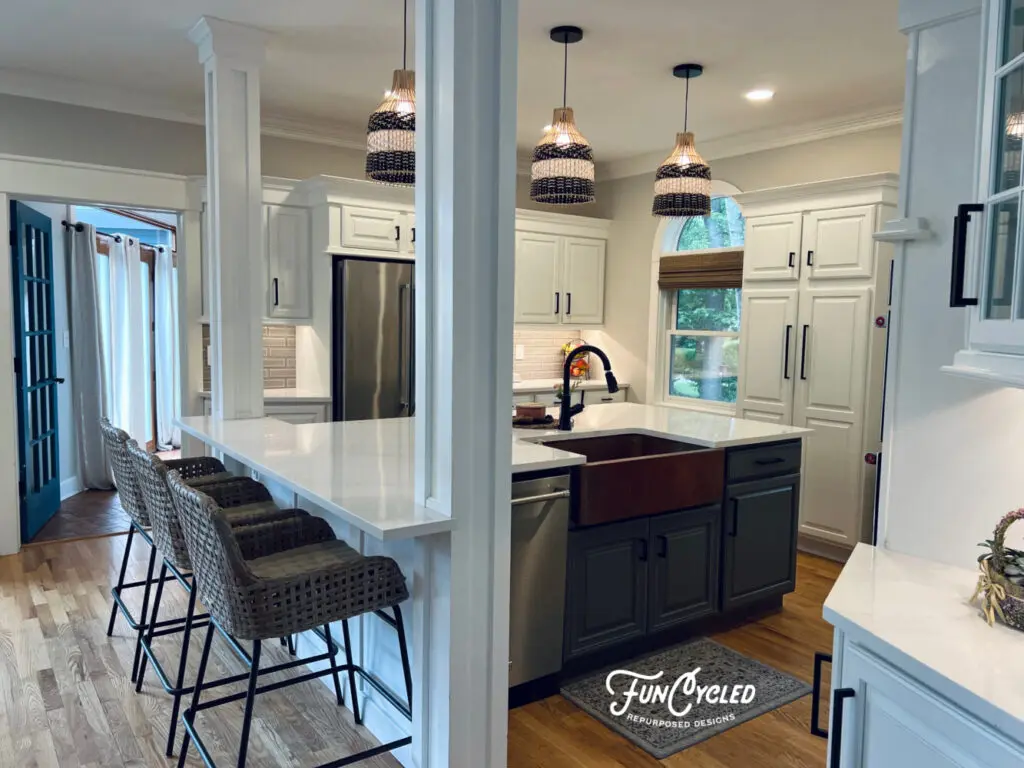
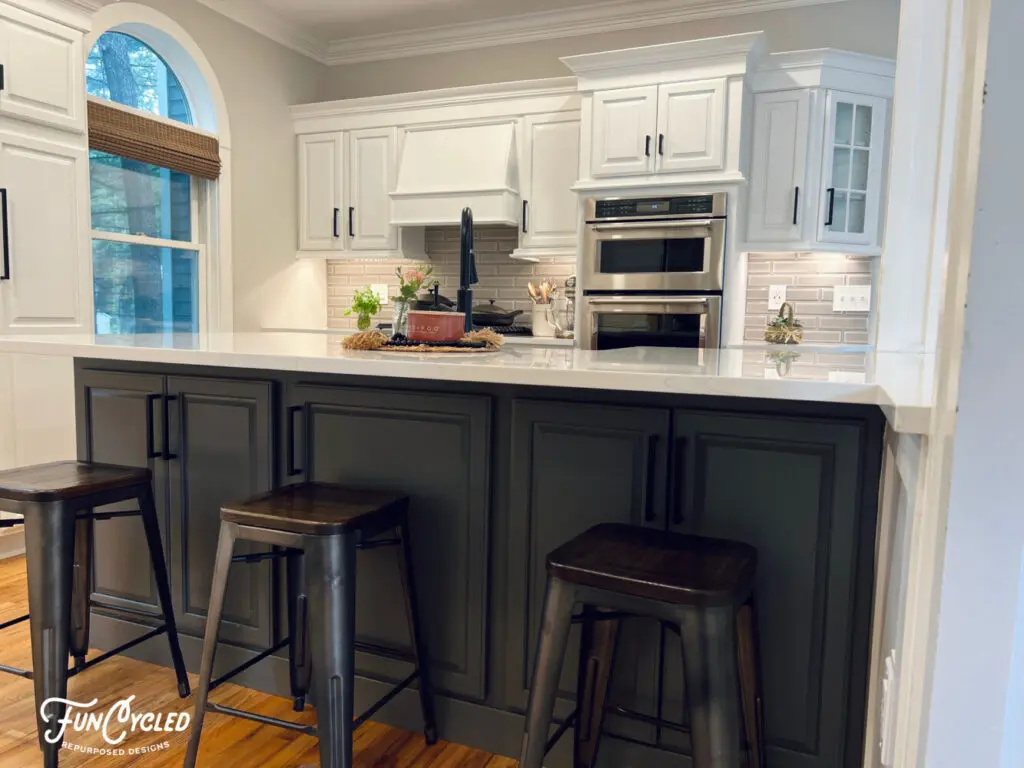
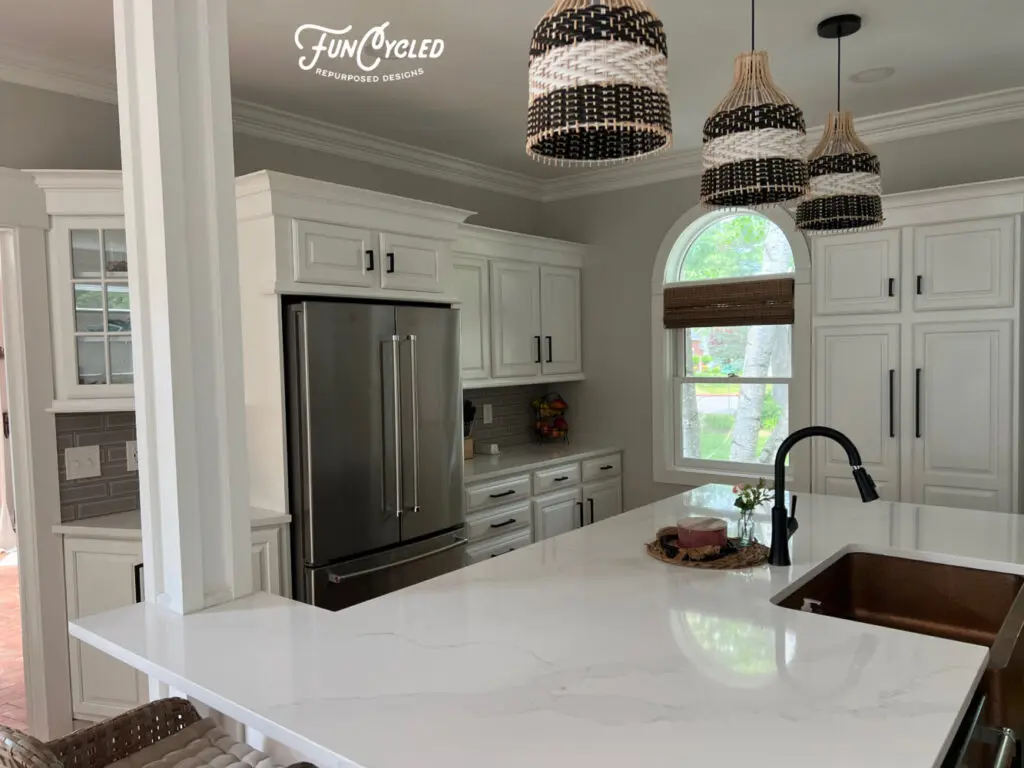
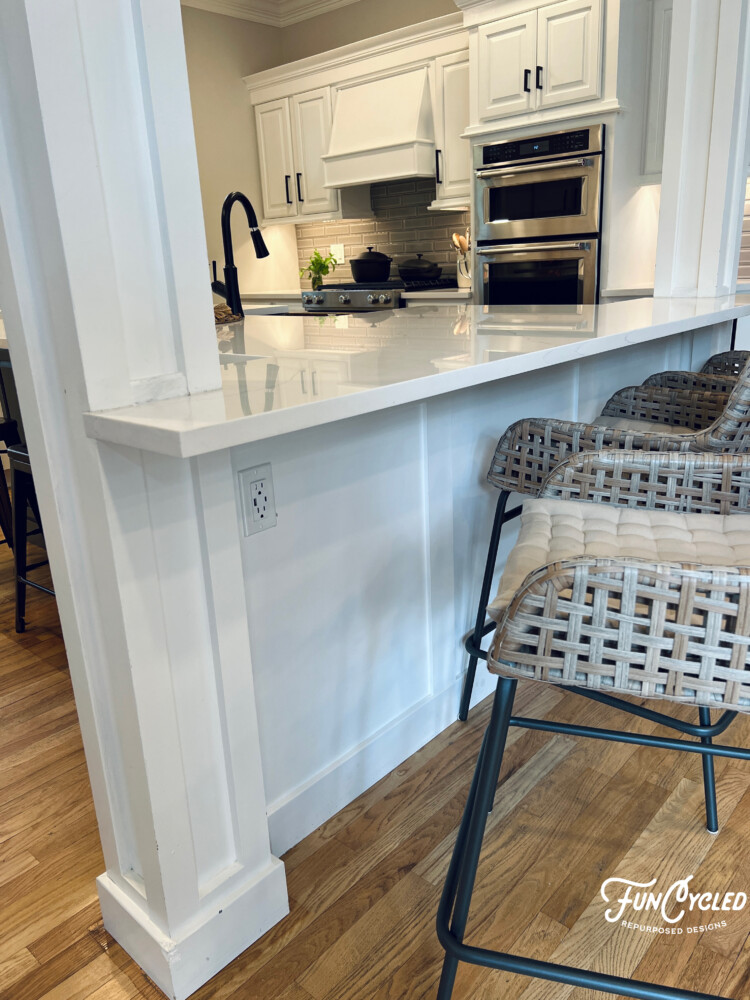
Maureen wanted to keep her granite counters, but asked us to make some other alteration to the kitchen. We updated it by removing the microwave above the stove and installing a hood vent. We also removed the wainscoting on the back of the peninsula and installed rough cut lumber sprayed with Chelsea Gray and then River Pewter. We also added new backsplash. Isn’t it amazing how much those two changes update this space? (click the green words to watch the time lapse video on Instagram)

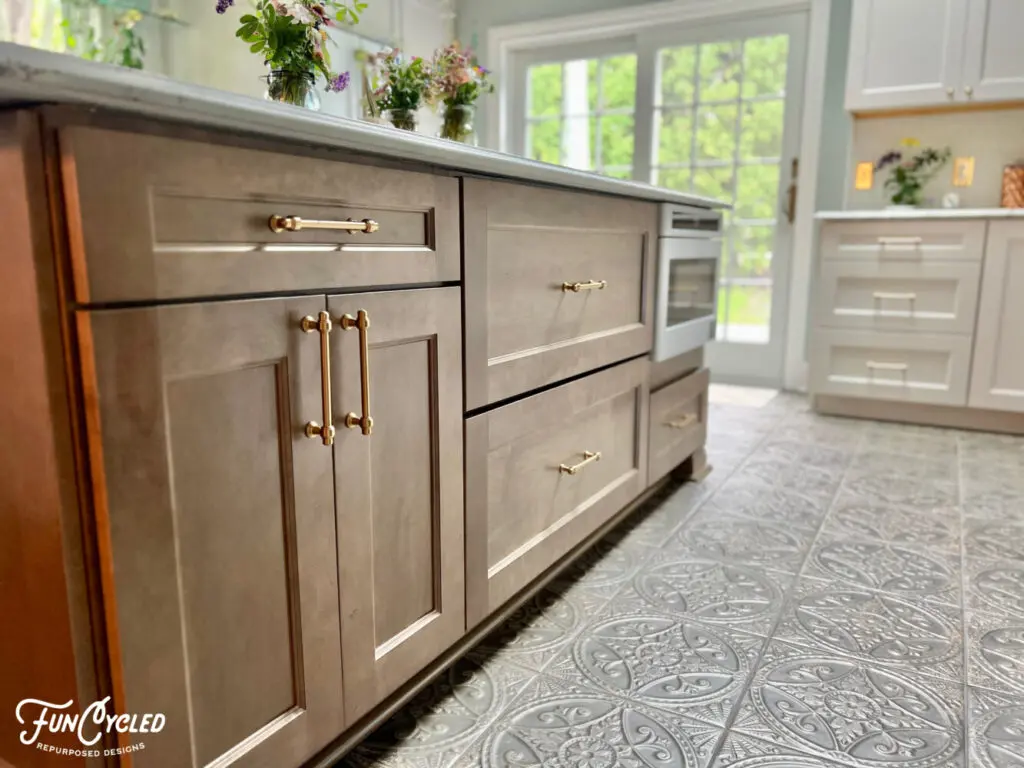
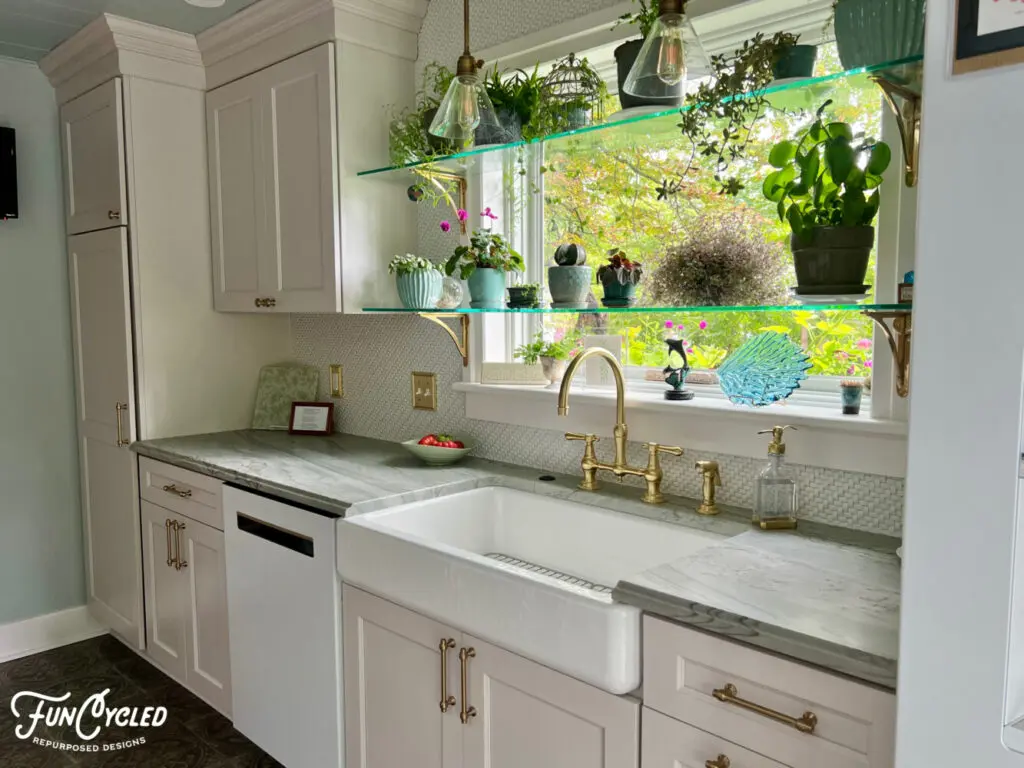
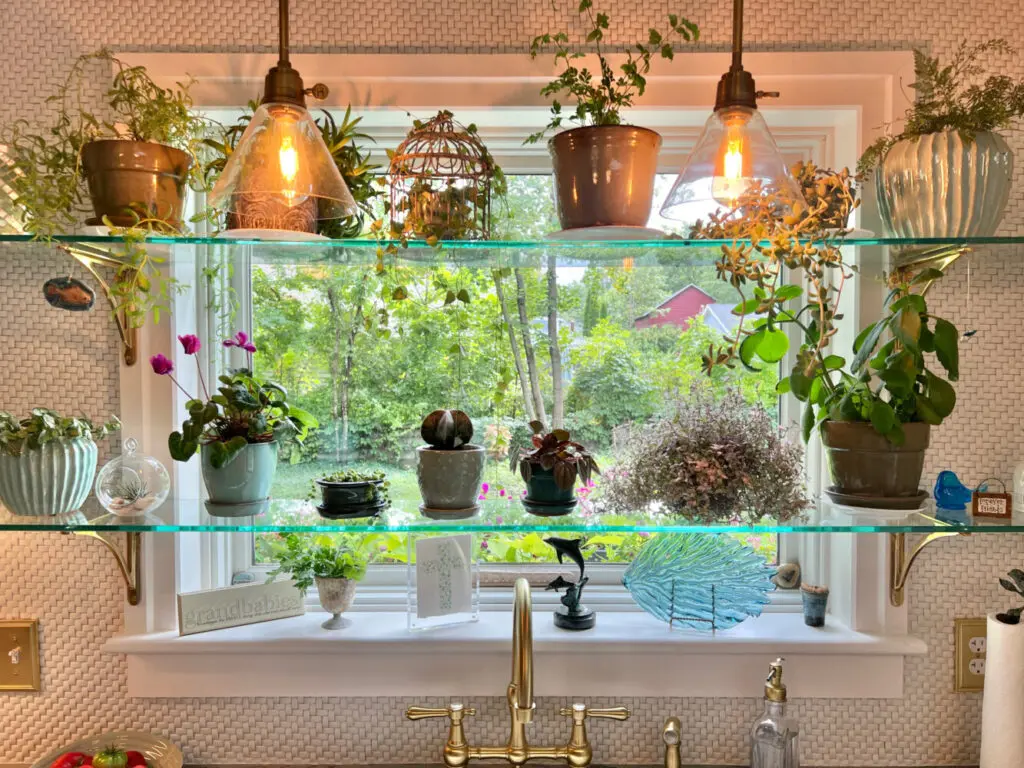
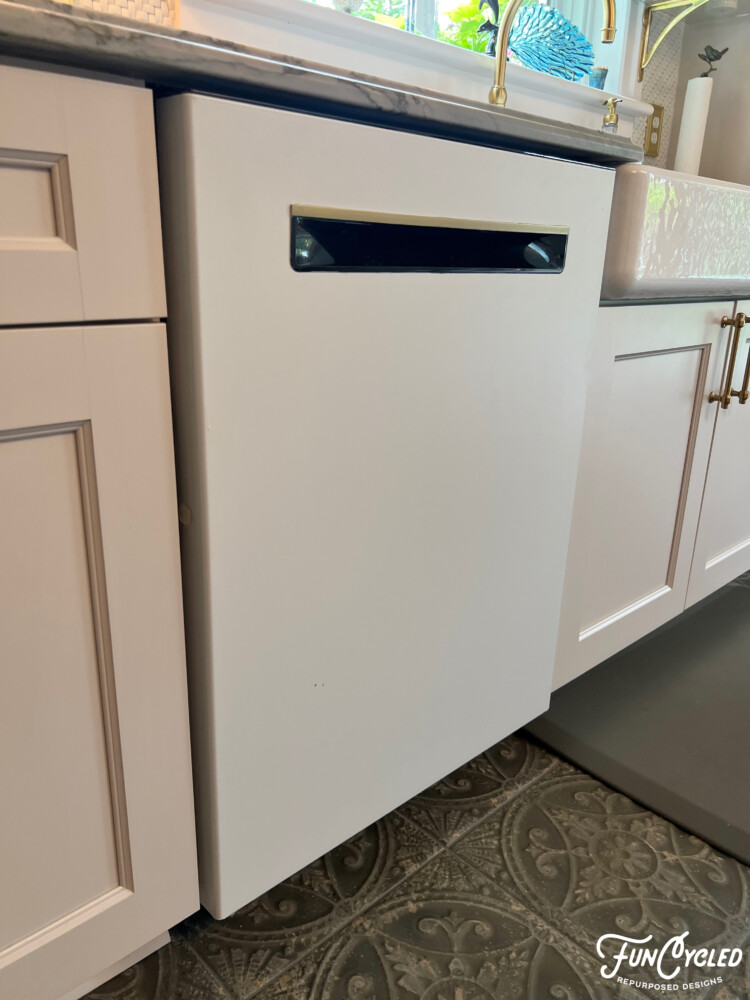
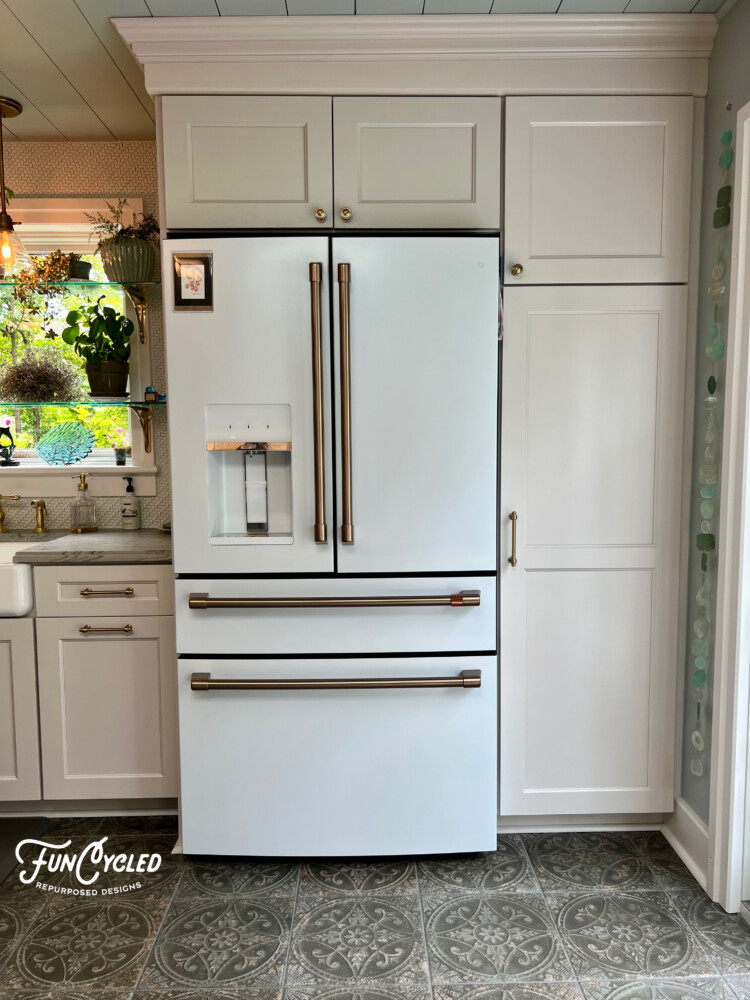
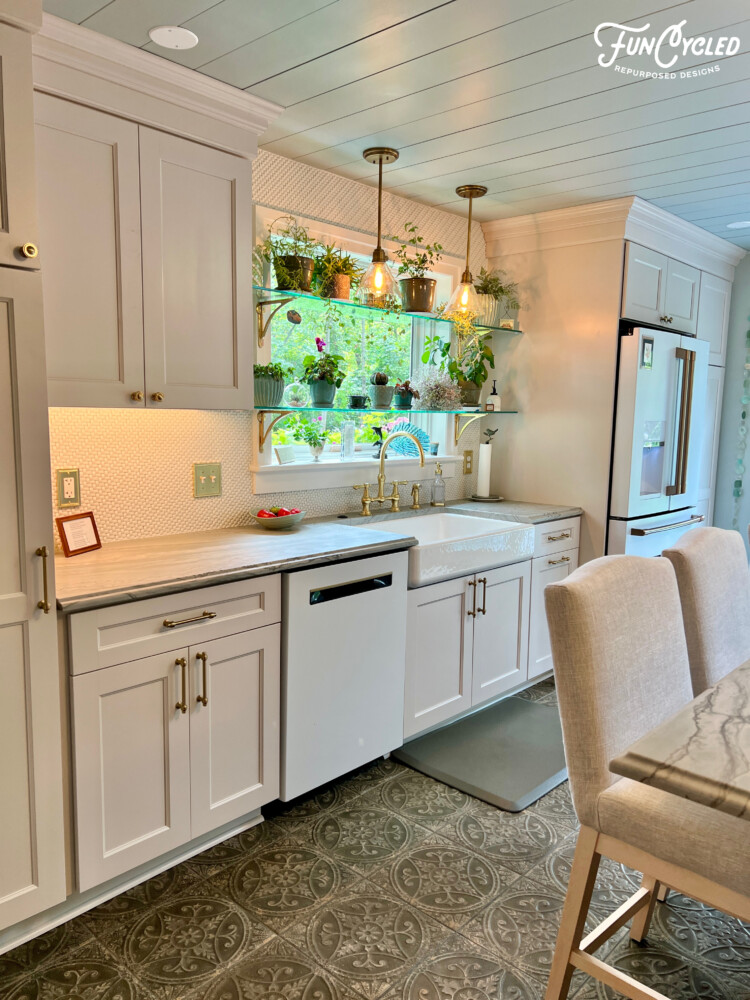
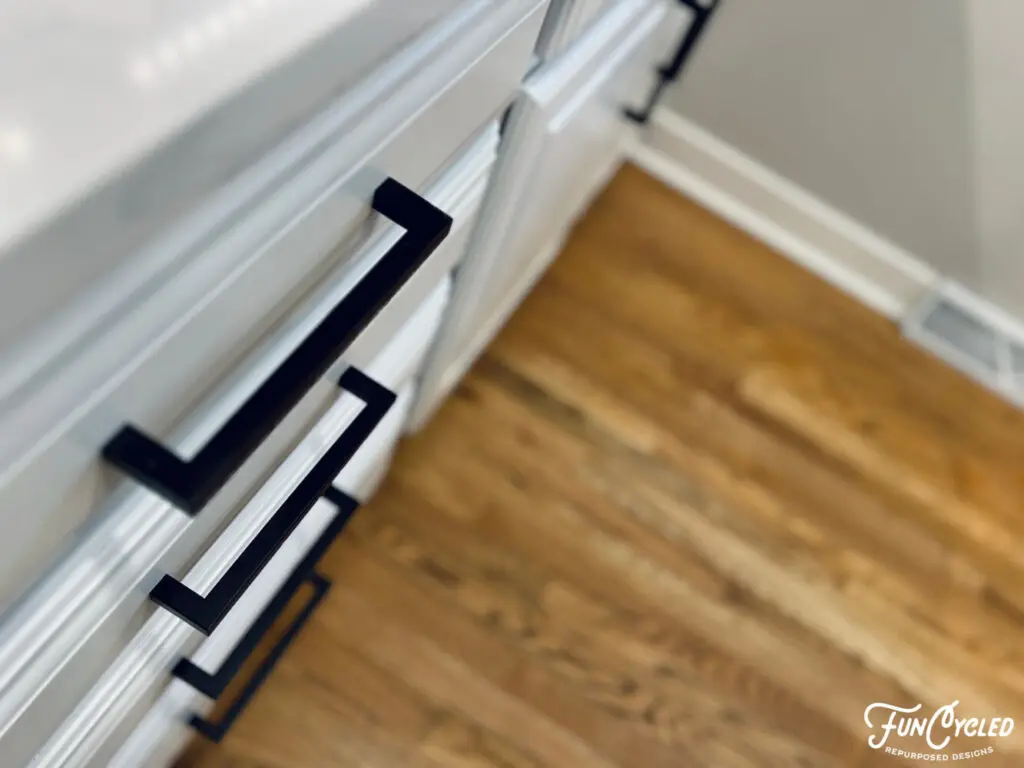
Up next, we painted the kitchen cabinets with Benjamin Moore’s color Revere Pewter and added all new hardware.

If you’d like to see how we paint Kitchen Cabinets, click here to check out our video on YouTube.

Ready for the after photos?

What an beautiful transformation!! 

Could your kitchen use an update? We’d love to help!! We can help pick out colors, finishes, product and do the cabinet painting, tiling, add new hardware. You can use our Contact Us form to request our design services or a quote for painting your kitchen. Please check out other kitchen projects on our For Sale page. We’ll need to see a picture of your kitchen, a list of how many doors and drawers there are, and where you are located to email you an estimate. This change ups the value of your home and gives you a whole new look at a fraction of the cost of new kitchen cabinets!

Thank you all for following along! If you’d like to get this blog in your email once a week, please sign up for our weekly newsletter by adding your email in the little box below my picture. 

If you’ve enjoyed this post, please like FunCycled on  FacebookInstagram and Pinterest if you don’t already. Keep up to date on the newest finds, vote on colors and give your input on our creativity. We share fun tutorials, great before and after, and new design inspirations. 

We offer interior design, kitchen cabinet painting, and custom built tables, barn doors, and repurposed furniture. Thank you, again, for working with us and for taking the time to spread the word about what we do. 

Happy FunCycling Friends,

Sarah ;)

Posted on

Antique Buffet Makeover – Tuesday’s Treasures

Hi Friends!

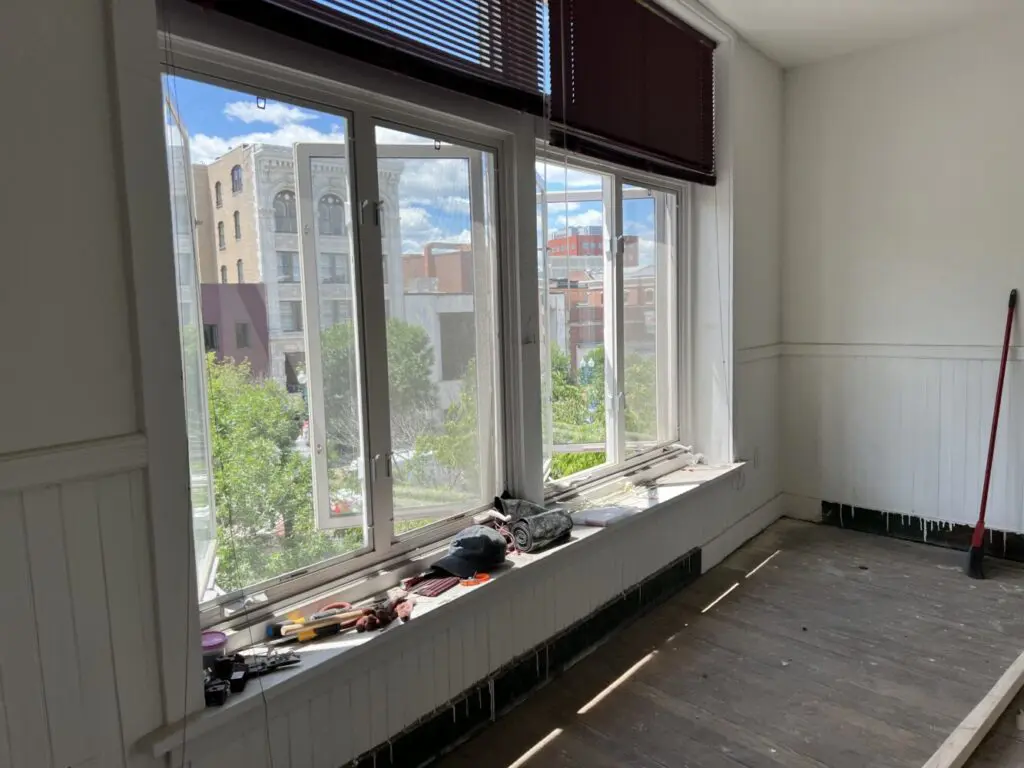
How was your weekend? I hope you enjoyed the warmer temperatures! We are hard at work on our Trolley House flip and are so happy to have warmer temps while we are working in a house with no heat!

For this week’s post, I wanted to share a custom furniture makeover that we recently finished for a client.

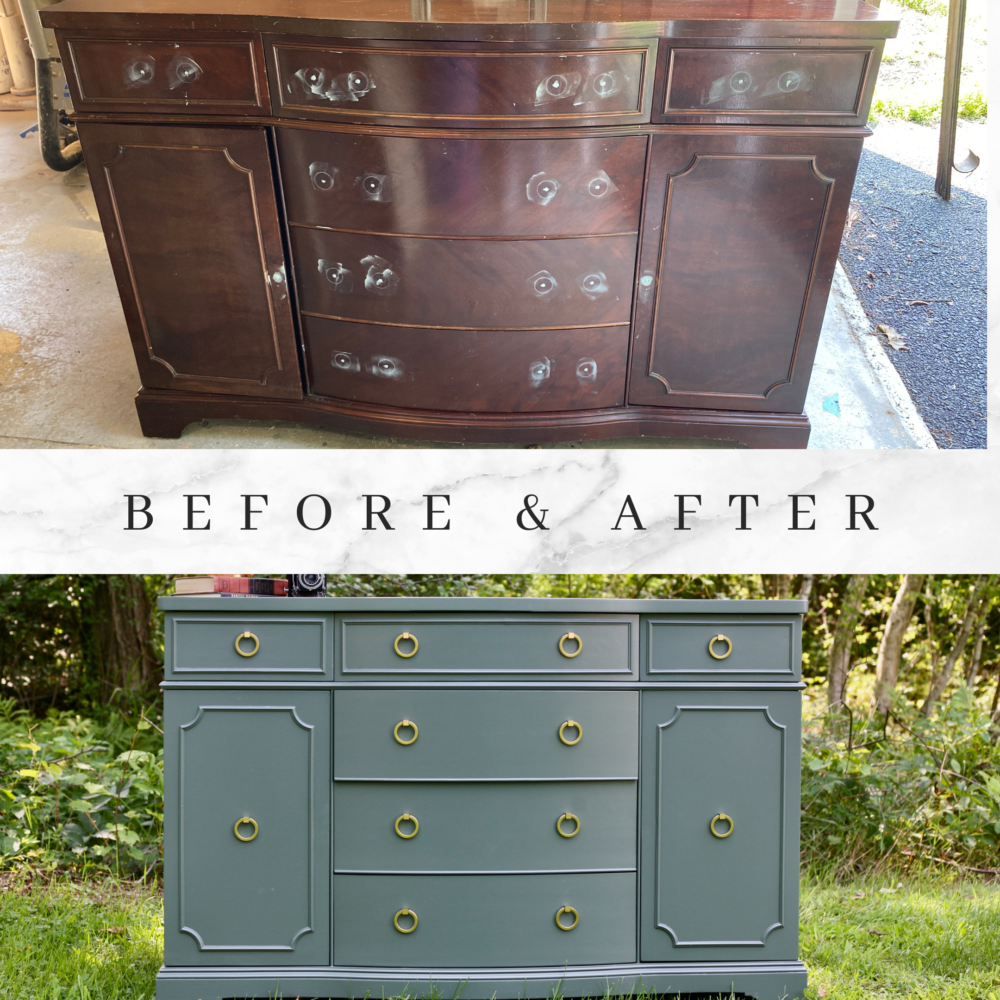
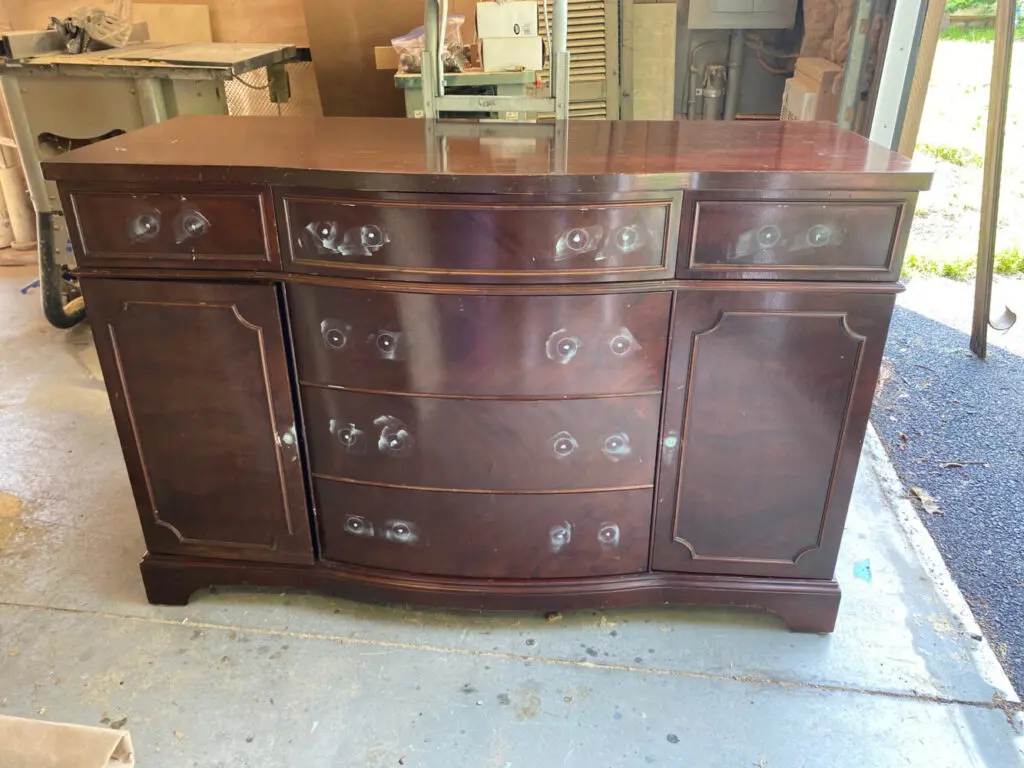
Here’s the buffet before:

I love this style buffet! It’s one of my favorite styles to redo and it has so much storage so it’s really practical, too.

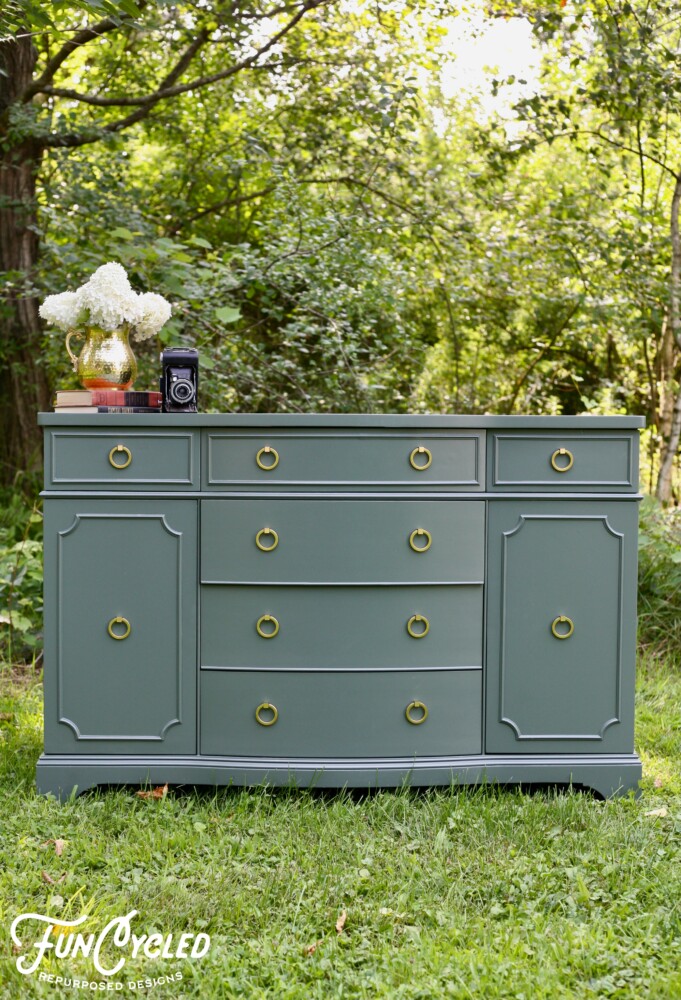
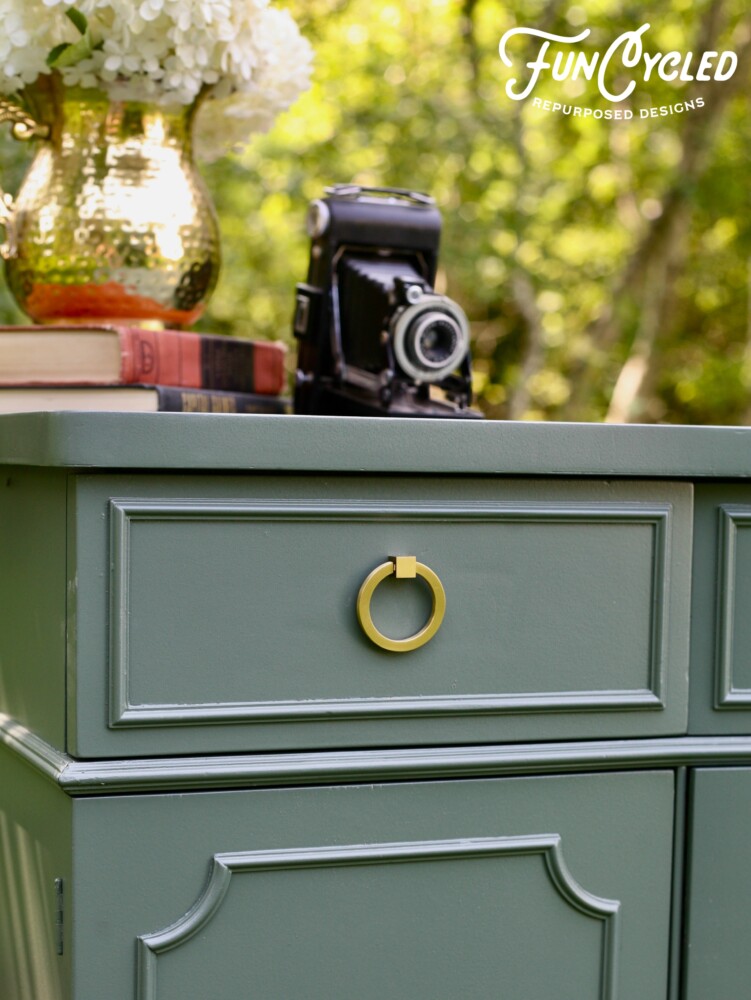
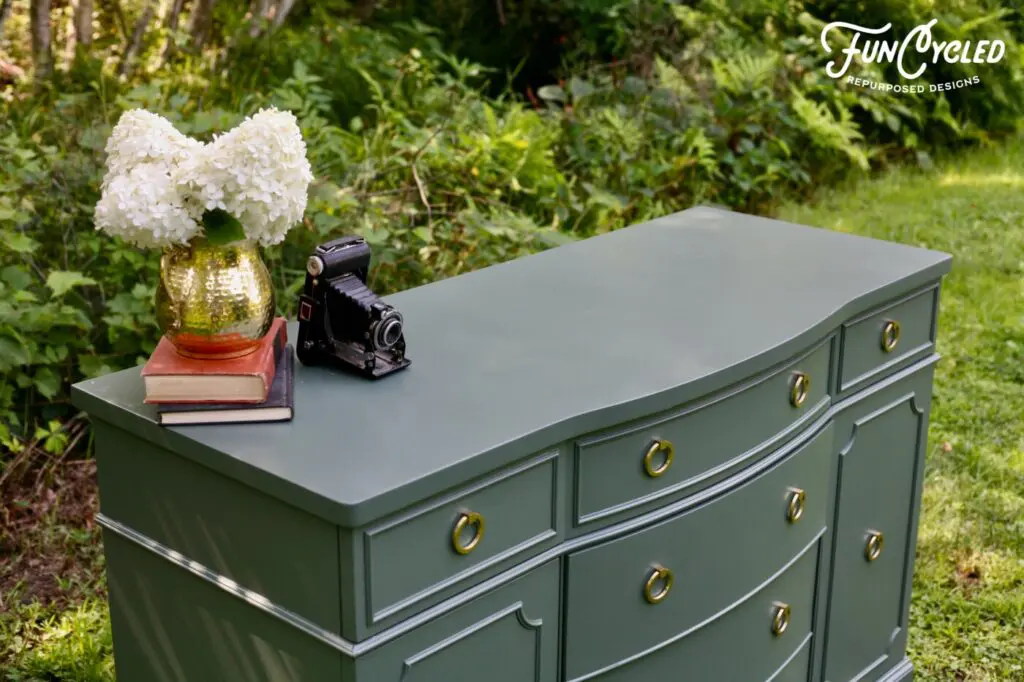
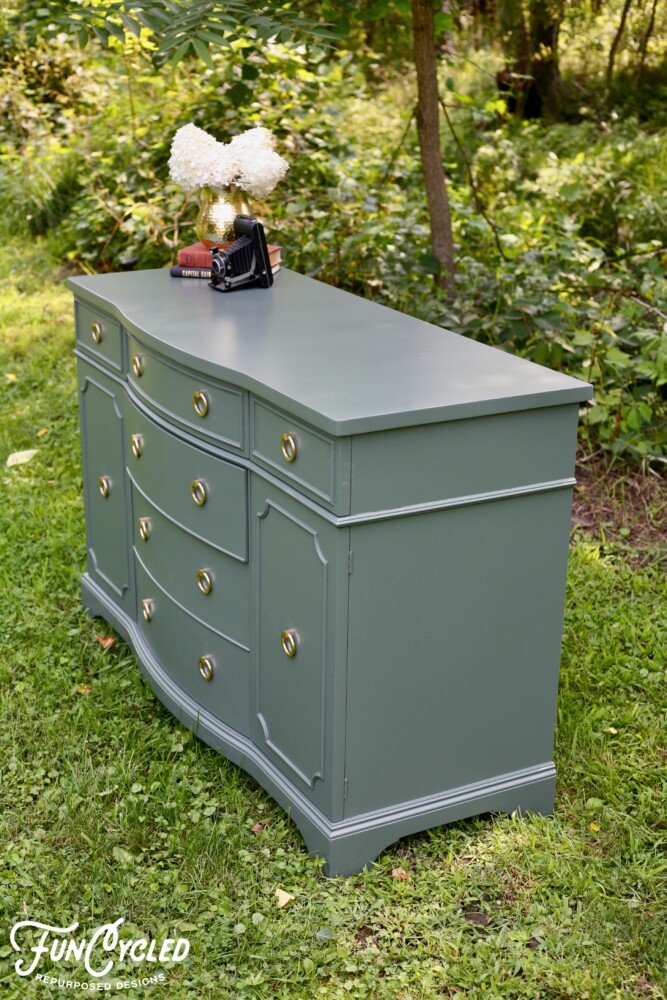
We painted the base Hale Navy by Benjamin Moore and sanded and stained the top with Minwax Dark Walnut. We also painted the hardware with a matte gold finish then sprayed the whole piece with a stain clear coat.

If you want to see how we paint furniture, check out our How to Paint Furniture post. 

Ready for the afters?

This buffet was done as a custom order so it’s not for sale, but I still wanted to share the transformation. Be sure to visit our SHOP page to see what pieces we do have available for purchase. Or contact us to get a quote to let us redo your furniture for you! 

Thank you all for following along! If you’d like to get this blog in your email once a week, please sign up for our weekly newsletter by adding your email in the little box below my picture. 

If you’ve enjoyed this post, please like FunCycled on  FacebookInstagram and Pinterest if you don’t already. Keep up to date on the newest finds, vote on colors and give your input on our creativity. We share fun tutorials, great before and after, and new design inspirations. 

We offer interior design, kitchen cabinet painting, and custom built tables, barn doors, and repurposed furniture. Thank you, again, for working with us and for taking the time to spread the word about what we do. 

Happy FunCycling Friends,
Sarah ;)
Posted on

Staying in an Upstate NY Castle

Hi Friends!

As you probably already know, I’ve been working on doing 40 new experience before I turn 40! The most recent was sleeping in a castle. I searched the world and debated on everything from a full castle stay in Scotland to renting a castle in the south and inviting all my friends. I was torn about this experience because I knew how much fun any of those scenarios could be. Doing 40 new experiences in one year can be pricey so I decided to check closer to home for a weekend stay. I found the Amsterdam NY castle and for the price (about $100) and the location, I thought it would fit the bill perfectly!

I love that you can go for just one night and enjoy all the amenities without breaking the bank. It’s an experience worth doing! Maybe even surprise your partner or friend with a night for Valentine’s Day!

Amsterdam Ny Castle Hotel
Amsterdam NY Castle Hotel

I loved the look of the outside as we pulled up, but the inside dining hall area was just as impressive.

Amsterdam NY Castle Dining Hall

We settled into our rooms which were clean and looked like a cute hotel. The beds were really comfortable and the bathrooms were updated and adorable.

Then we decided to eat dinner at the restaurant in the dining hall of the castle. It was a cold winter night so there weren’t many people there for dinner. I was a little nervous that it wouldn’t be good because of that. We were pleasantly surprised that it was delicious. I had rib eye roast and John had lobster Mac and cheese.

Our besties went with us for the weekend and having friends to enjoy it with made the already cool experience even more fun! The castle has a room upstairs where you can go to lounge or play games. We ended the night playing Farkle and eating snacks! It was the best!

We also did another 40 by 40 and visited a religion I’ve never attended for a service. We went to St. Mary’s in Amsterdam while we were there.

Then we went to antique shops and even walked different areas for cool city photos. Check them out!

If you’d like to book the castle for an overnight stay or make reservation for dinner, head here!

I hope you enjoyed this post and that you all try something new this year. Even if it’s not 40 new things… it’s fun!

There is a box at the top right of this page to enter your email address to receive notifications by email when I post something new on this blog. Please sign up today! 

Happy FunCycling Friends,
Sarah ;)

If you like what you see, please like FunCycled’s Facebook page to keep up to date on the newest travel tips, interior design trends, and kitchen and furniture repurposing projects. 

Send us a note with if you’re interested in our design services or custom furniture using our contact pageOr buy something that we’ve already designed from our furniture for sale page.

Posted on

Being on BYU TV’s Survivalist Show – Team Trop from Troy!

Hi Friends!

We have some big news to share with you! This weekend the BYU Survivalist episode that we were on aired! A casting producer reached out to us on Instagram about a year ago to see if we would be willing to interview with one of their producers to be on the show! At first, I thought it might be a scam, but after a little research, I realized it was a legitimate request and we said yes to the process. We didn’t know if we’d be selected, but within a couple of months, we got the call that they had chosen our family to compete on season 3.

When we were originally selected, we didn’t know where we would be going or when, but we did know a couple of things. We would be doing a new adventure as a family and we’d be unplugging from technology. Both of those ideas excited us!

I’m not an athlete by any means so I knew it would be the hardest physically for me. Most people asked me why I would choose to go on the show. I told them I wanted the kids to see me do hard things. Things that were not pretty, things that were exhausting, and that pushed us all to the limit. So they would learn that they can do hard things in life, too!

So off we went to Baja Mexico! It was 5 days of filming, 4 days in the desert with only what you can carry on your back. That’s right… all the food, clothes, and sleeping gear for 4 days. So that meant we had one outfit, one swim suit, bedding, and military meals. It was SO HOT each day. By the end of the day, I would lay in the tent and wake up in the middle of the night not being able to move my legs at all. Then the next morning, I’d wake up and they would be working again. I’ve never had that happen to me before! The body is an amazing creation I tell you!

Photo by BYU – Survivalist

One thing I didn’t think about before going on shows was… where do we go to the bathroom? Welp, you go wherever you can. That’s where. No big trees to help hide you. Lots of camera crews. lol That was probably the most awkward part, but by day 3 no one in our family cared.

We had two tents for the 4 of us to sleep in which worked out just fine. We were so tired by the end of the day, we didn’t really move once we were asleep.

John’s hardest challenge was swimming in the ocean with the whale shark. He HATES swimming so it really was a big deal for him. After one failed attempted, he joined us as we plunged into the cold water the morning of day 2. My biggest challenge that day was fitting into the wetsuit. I think it took 4 attempts and me going “Bigger, Bigger” to a sweet woman who only spoke Spanish. I think she was shocked by my need for a larger size. It is what it is sister! 😂

Photo by BYU TV – Survivalist

Day 3 was the hardest day for me because of the steep elevations and ground full of pebbles, boulders, and cactus! The last time I was in that high elevations was when I hiked the Grand Canyon and got COVID. I swear I still can’t breathe like I could before COVID. So it felt like deja vu! I wanted to quit on day 3, but the family encouraged me to keep pushing forward no matter how slowly we went. I also split my pants down the center on day 3 and fell into a cactus. Thanks to whichever producer cut that from the show! I’m sure it wouldn’t have been flattering. As proof, notice on day 4, I’m wearing swim shorts.

The kids both did so well! I couldn’t believe how they adjusted and pushed and didn’t care that there wasn’t electronics, AC, or much down time. Even the fact that they were vulnerable about their feelings on camera was so precious to me. I love them to pieces. Every little ounce of them, every comment, and every smile. It’s a true joy to be their mom.

Then the race to the end! You’ll have to watch the episode here to see who wins!

Photo by BYU TV – Survivalist

We hope this inspires you to try something you’re not comfortable with. Grow together with the people you love. It was really, really difficult, but we are thankful we did it! So thankful for the opportunity and for all the amazing producers, videographers, sound staff, other competitors, and medics we met. It felt like a once in a lifetime opportunity!

Love,

Photo by BYU TV – Survivalist

Sarah and John Trop
(Josh and Harmony, too!)

Posted on

Airbnb Set Up and Design Services

Welcome friends!

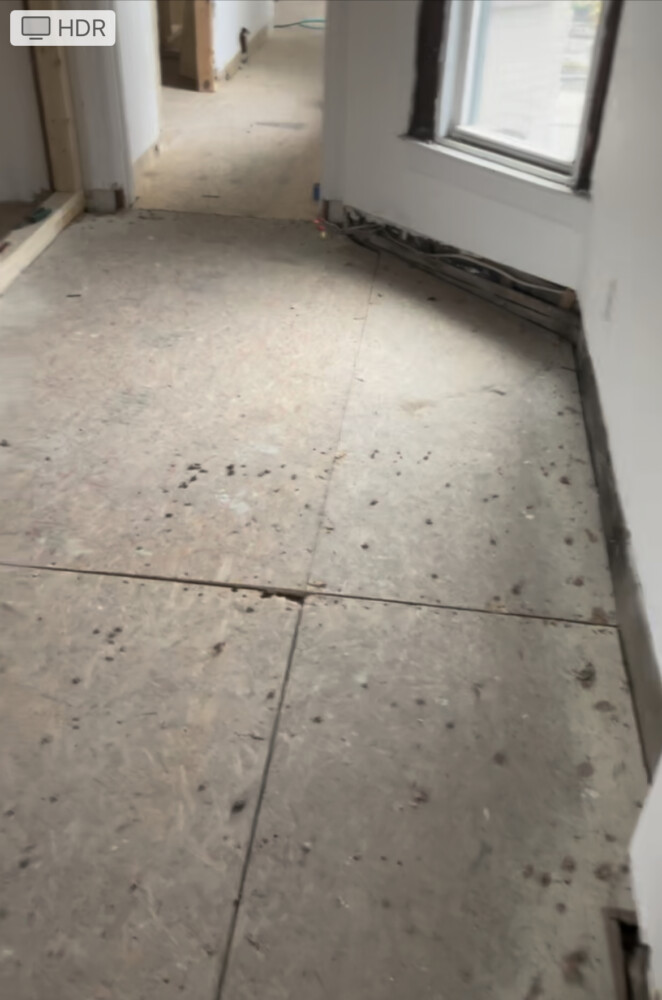
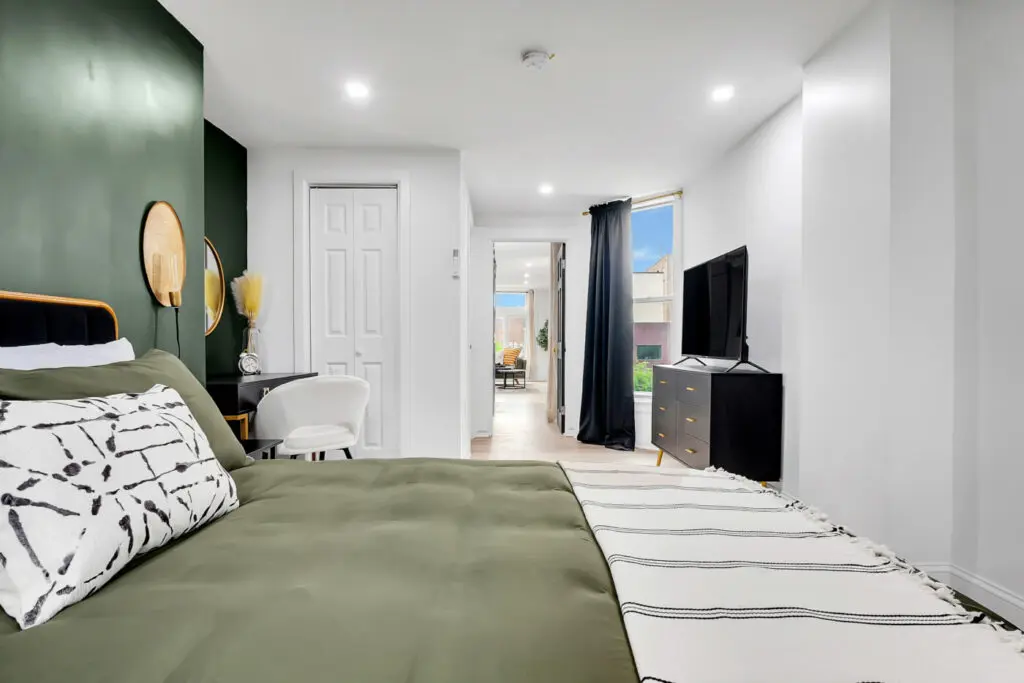
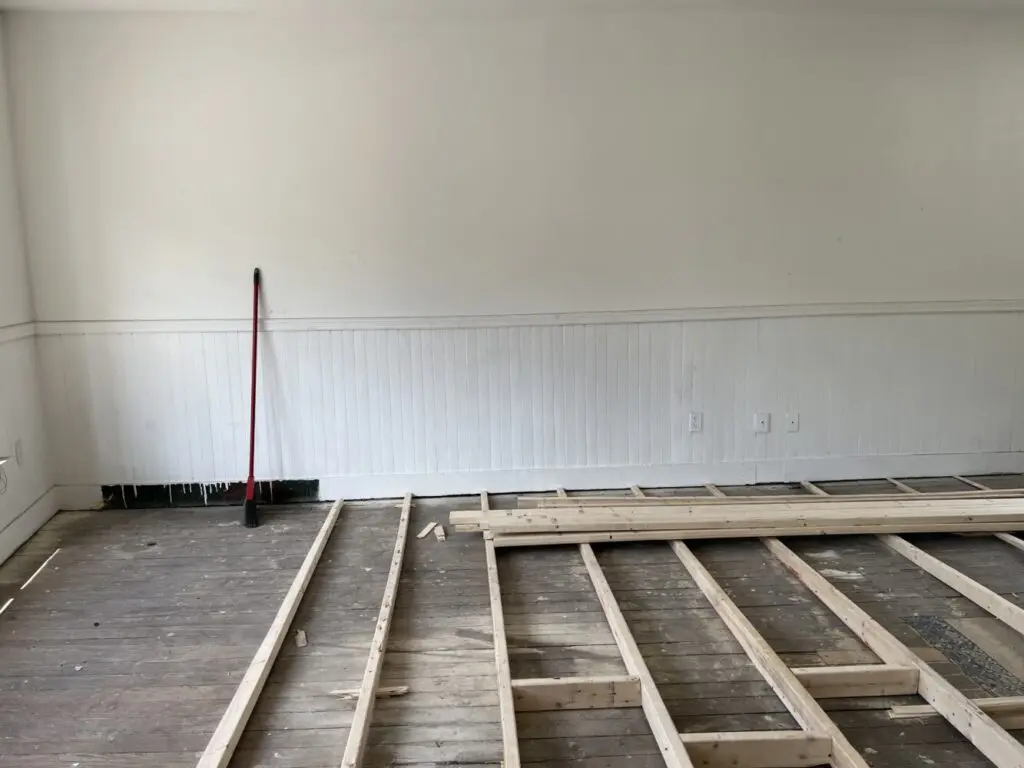
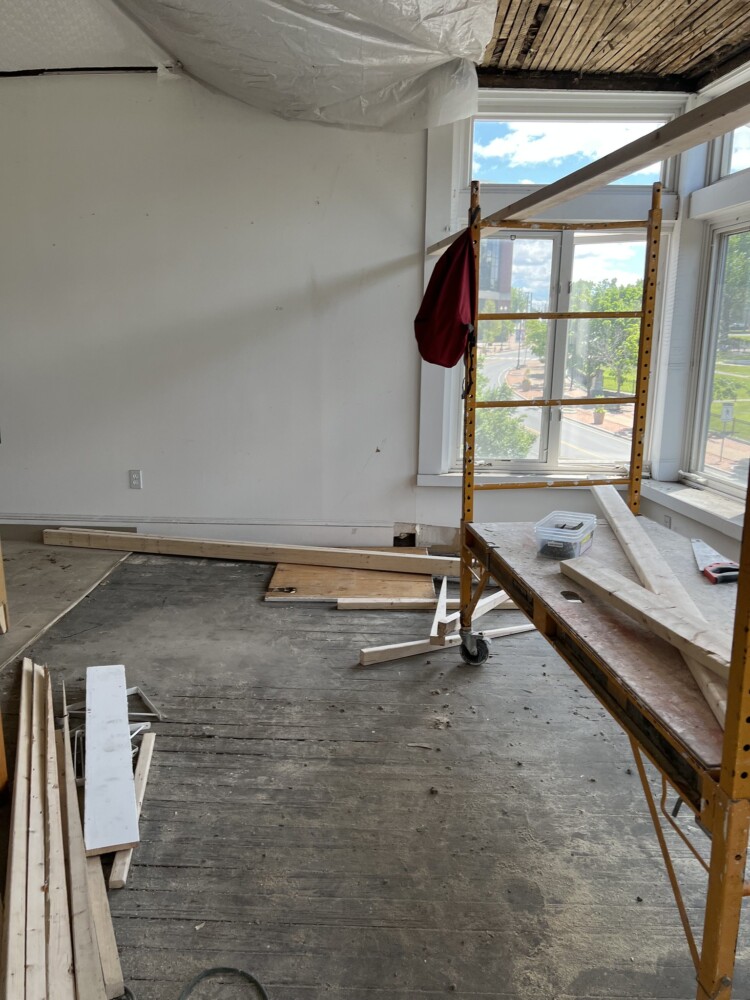
As you may already know, we purchased a building in Troy in the middle of the pandemic and redid it completely to create a large airbnb space. Within the 1st year, we more than doubled any other airbnb income in Troy.

We had a game plan, marketing strategy, and one of a kind design. We believe that is the recipe for success in the Airbnb industry.

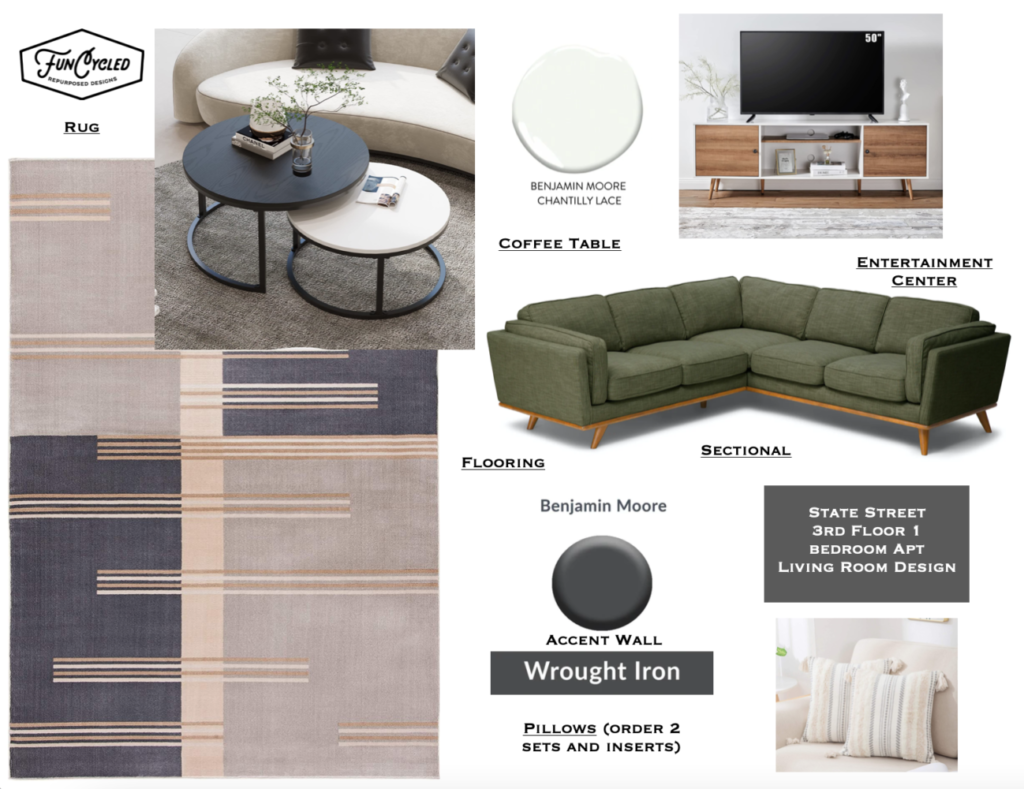
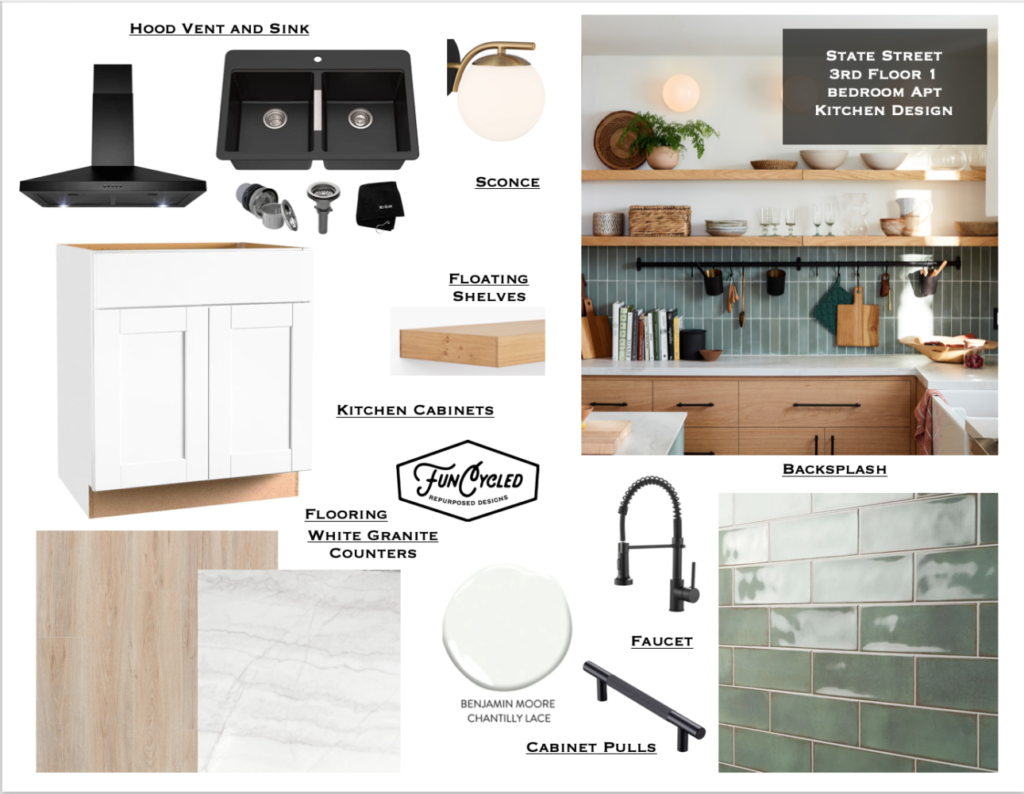
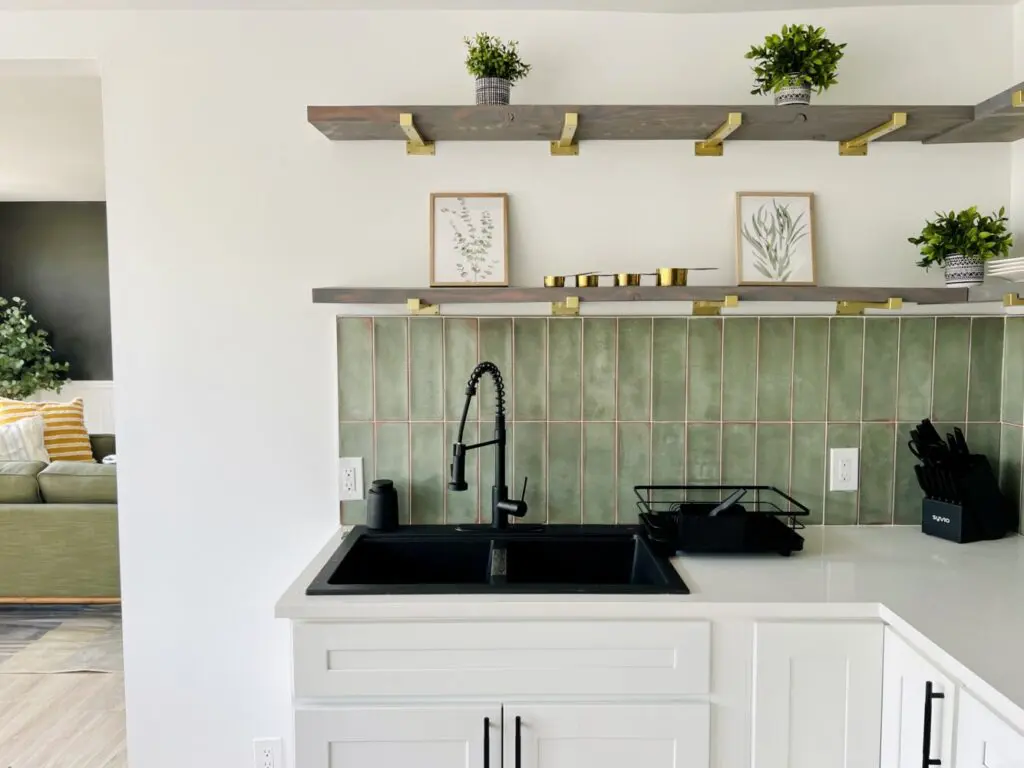
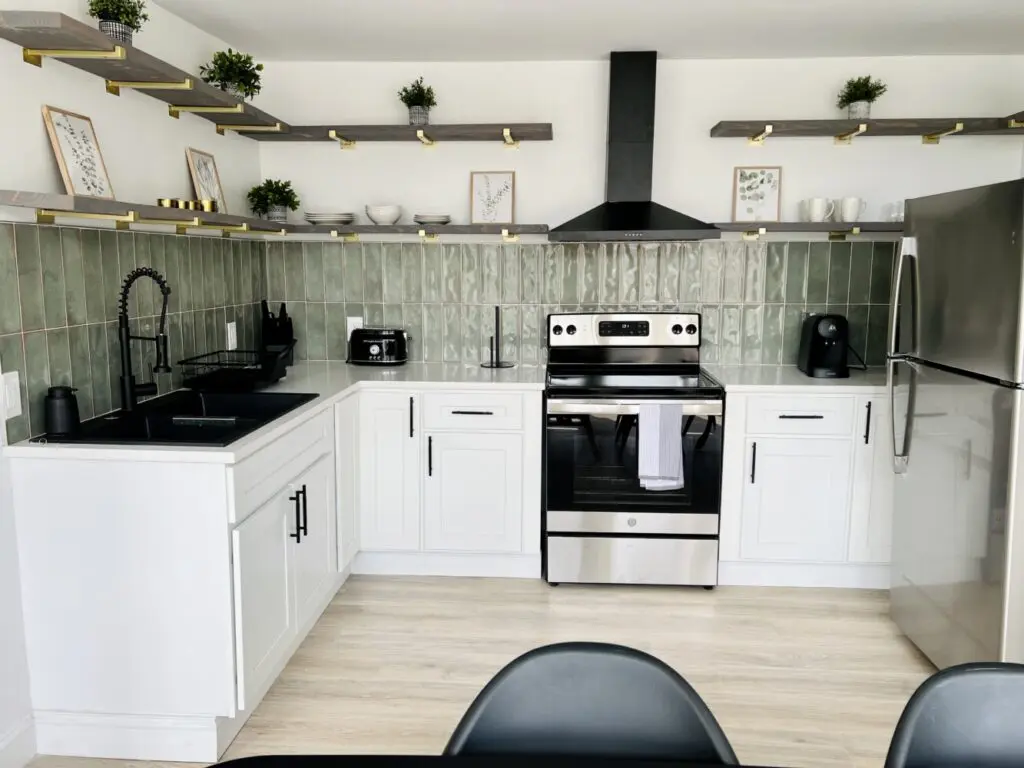
What you may not know is that we offer interior design and set up strategies for clients who are looking to start an airbnb or already purchased a building and want one of a kind design to set them apart from other listings.

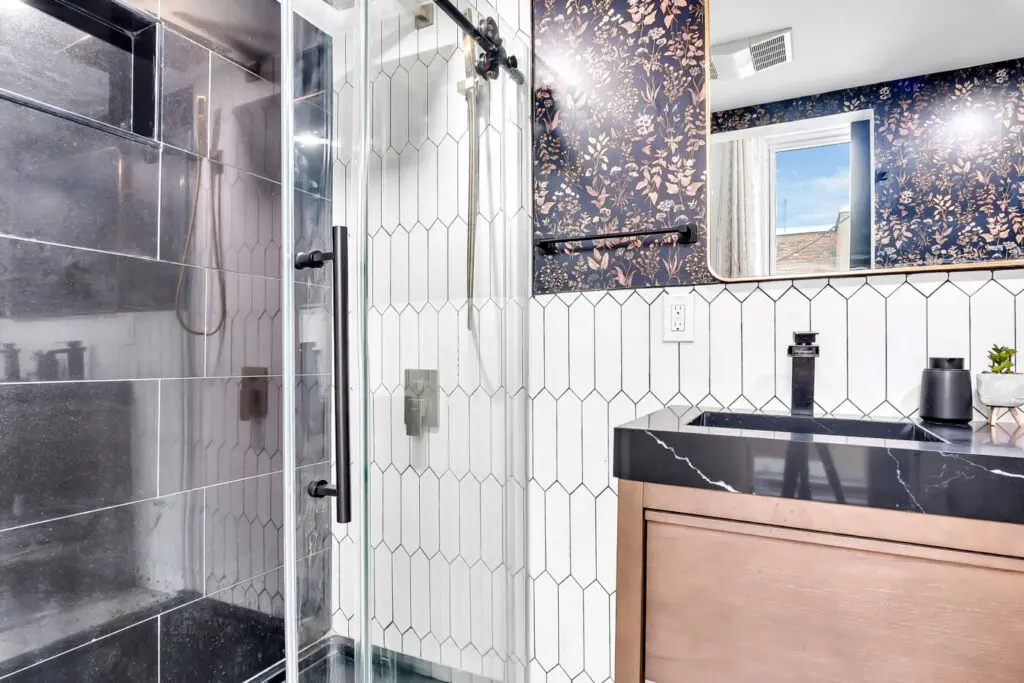
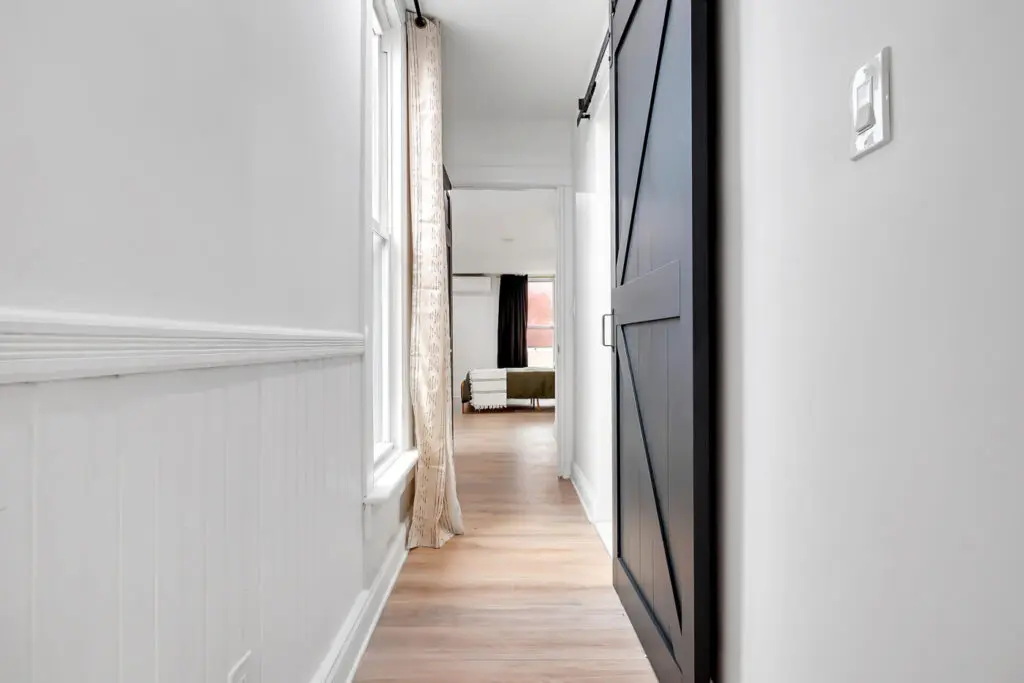
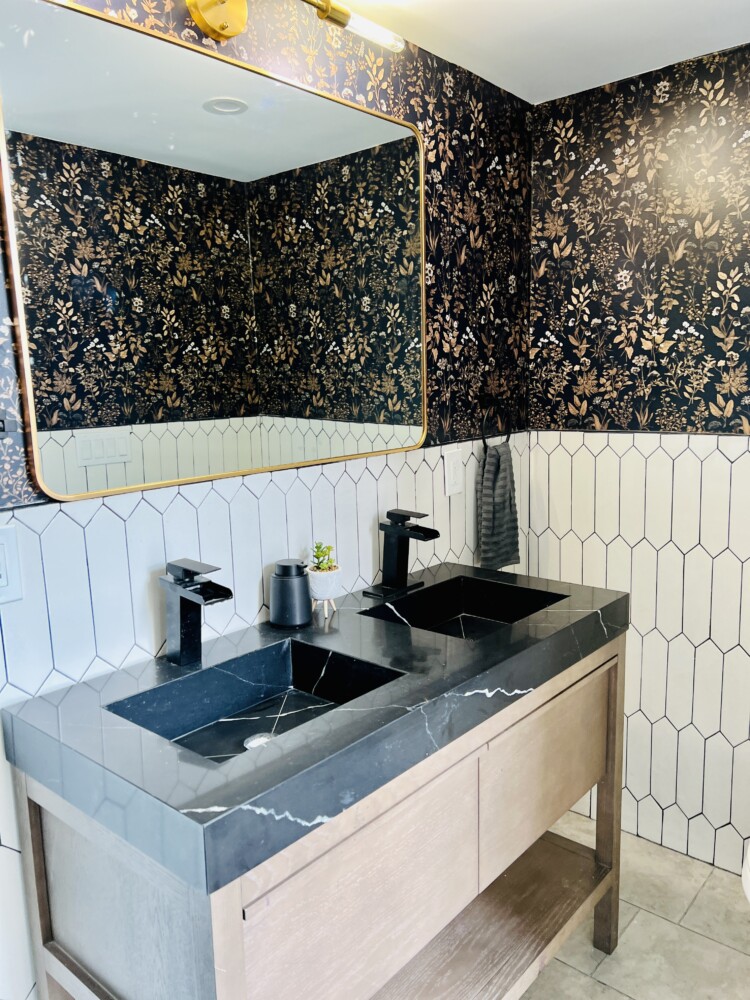
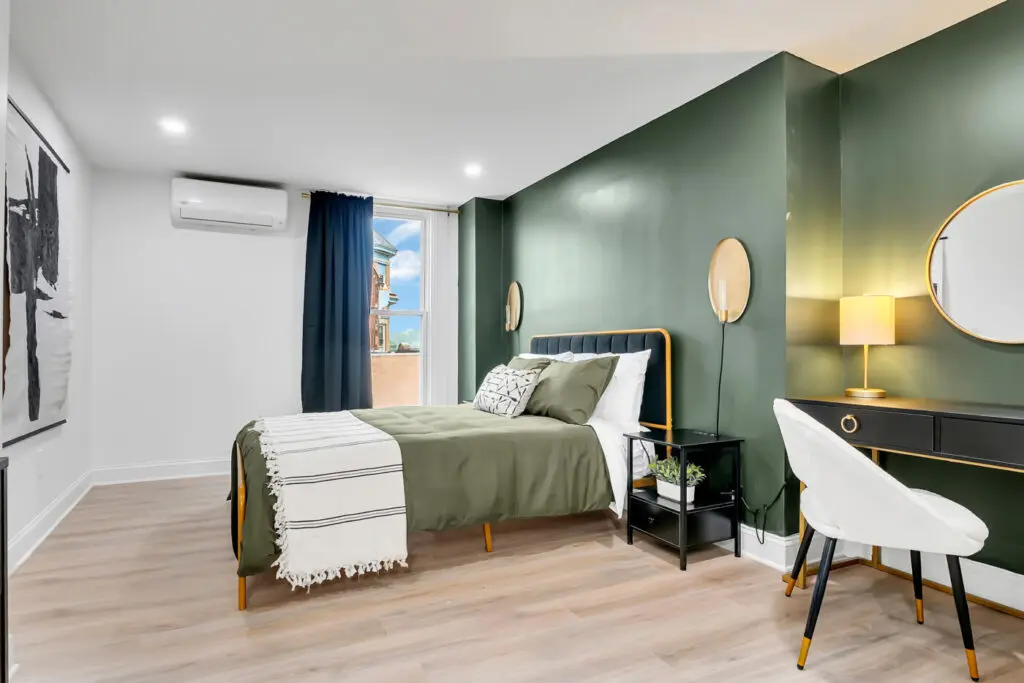
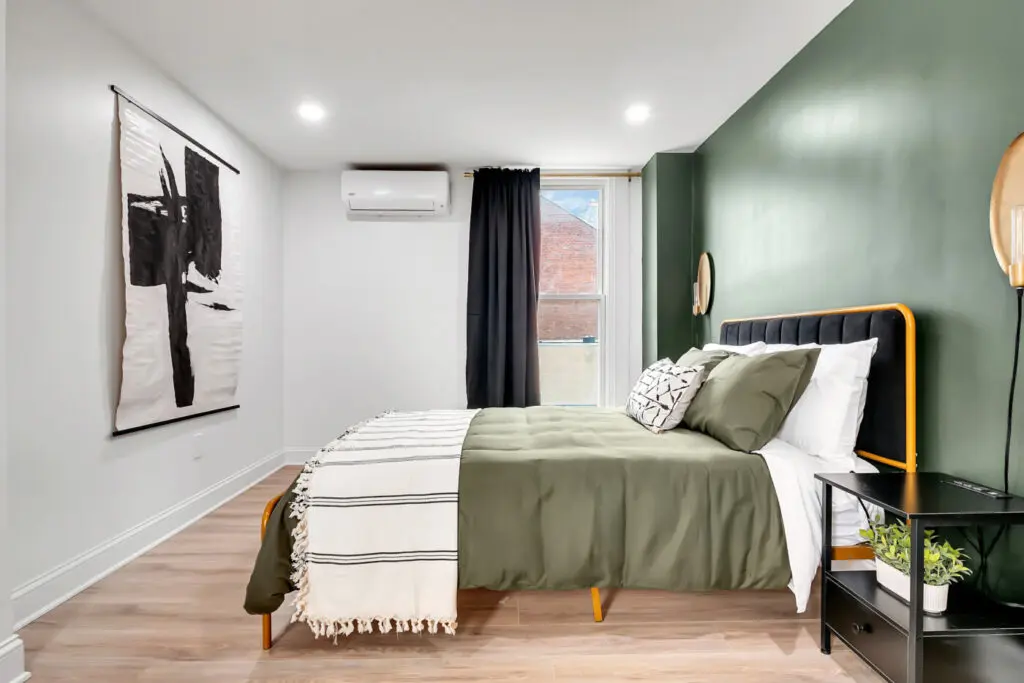
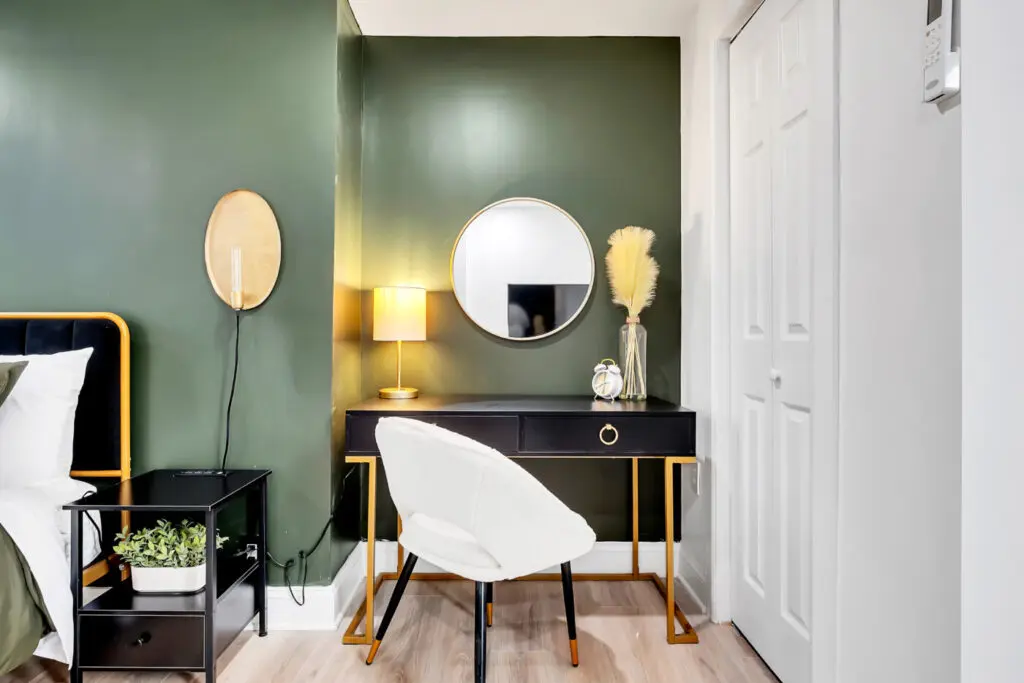
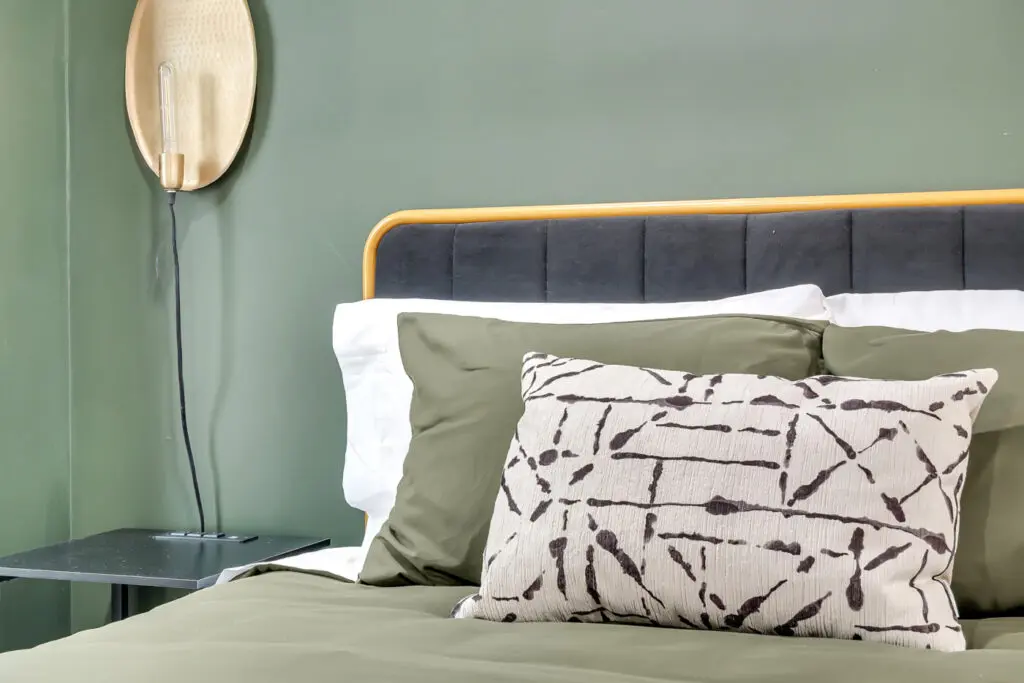
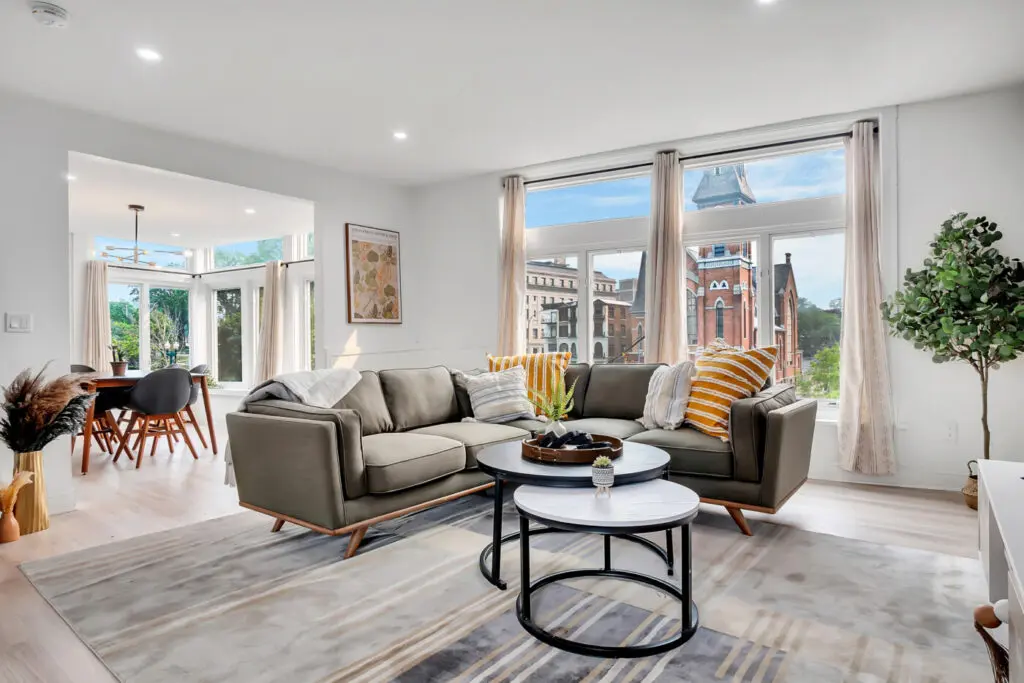
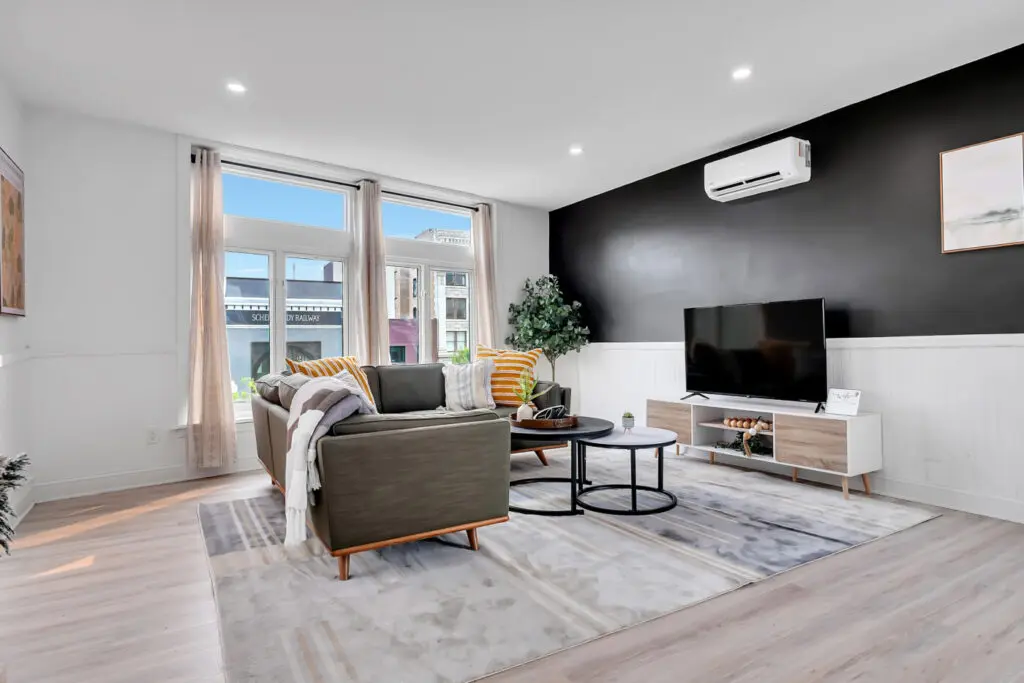
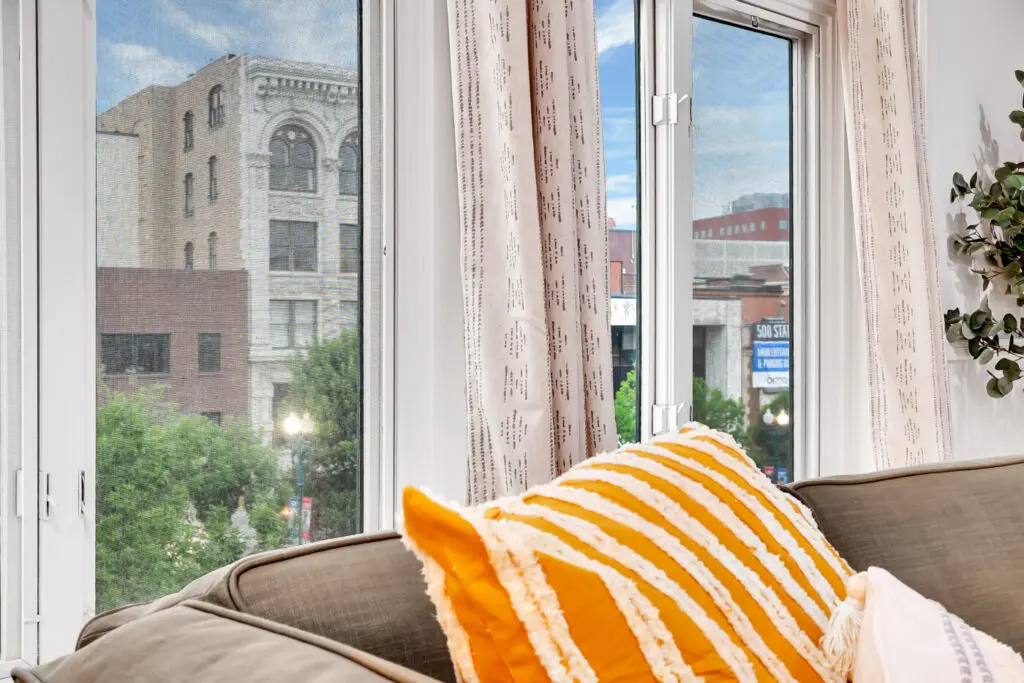
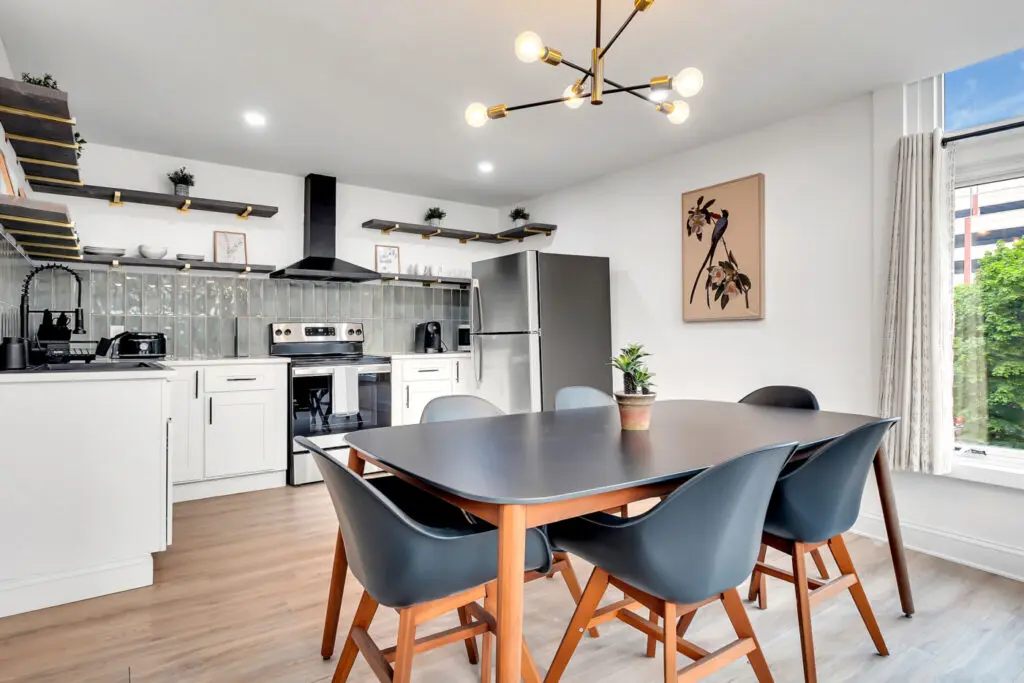
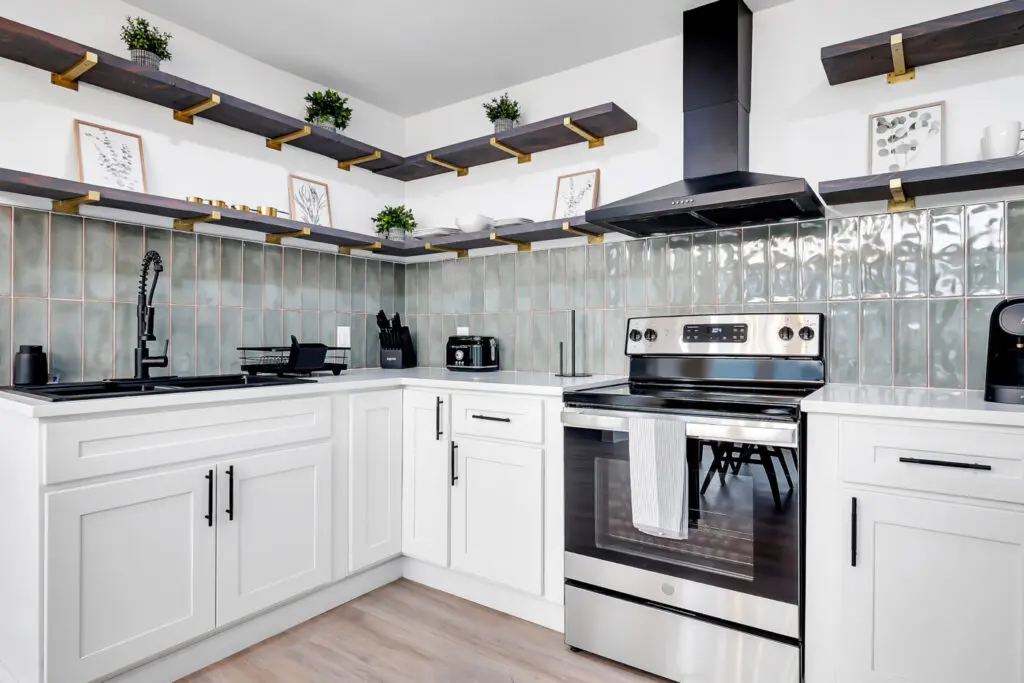
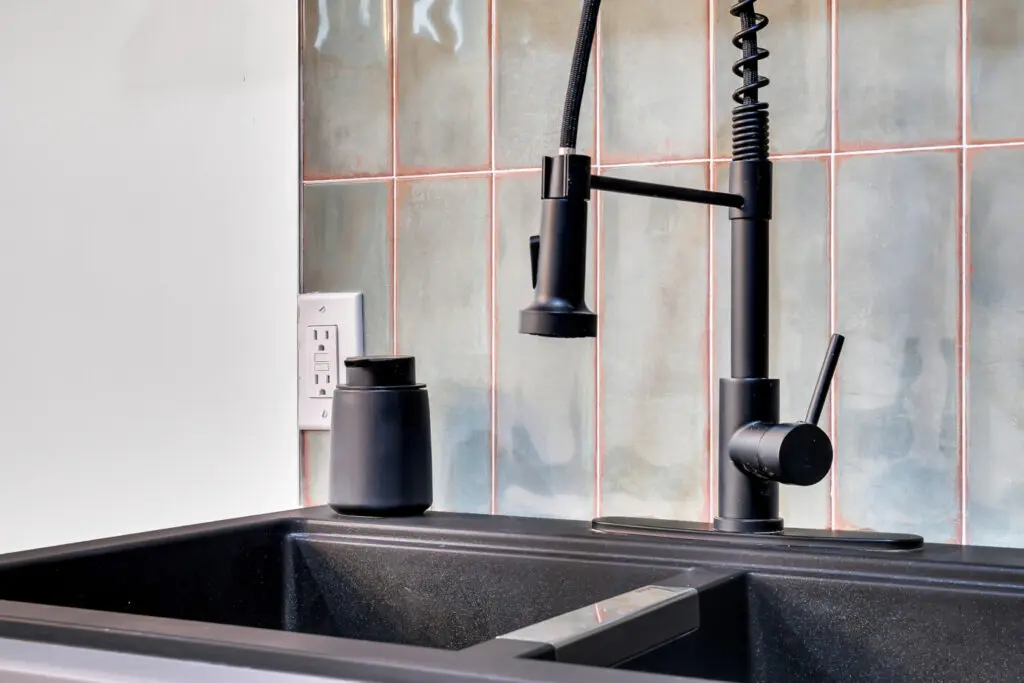
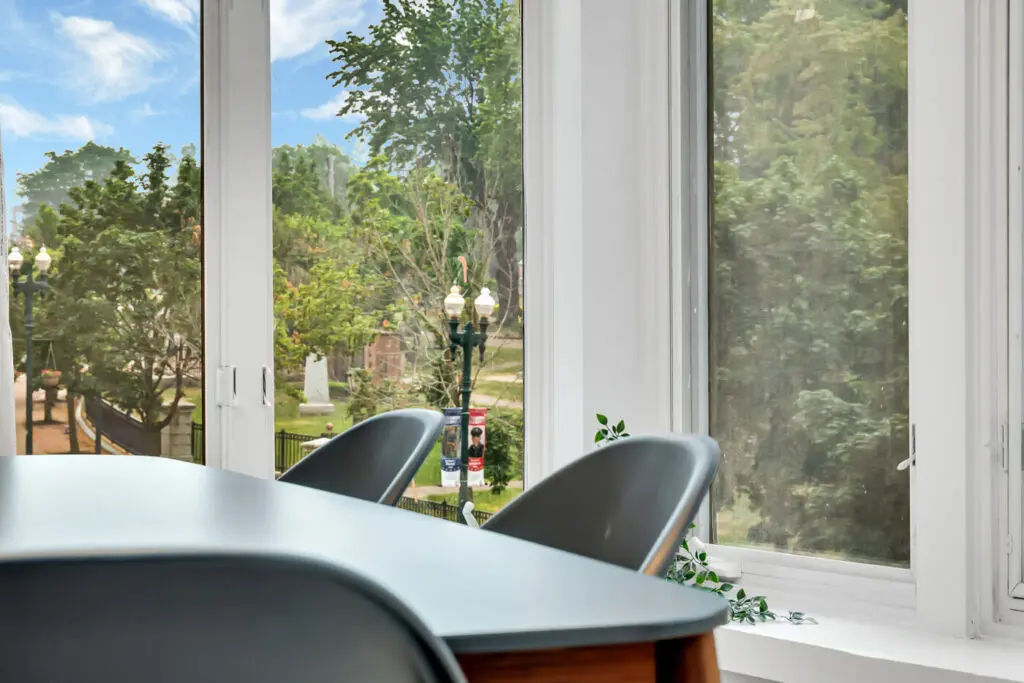
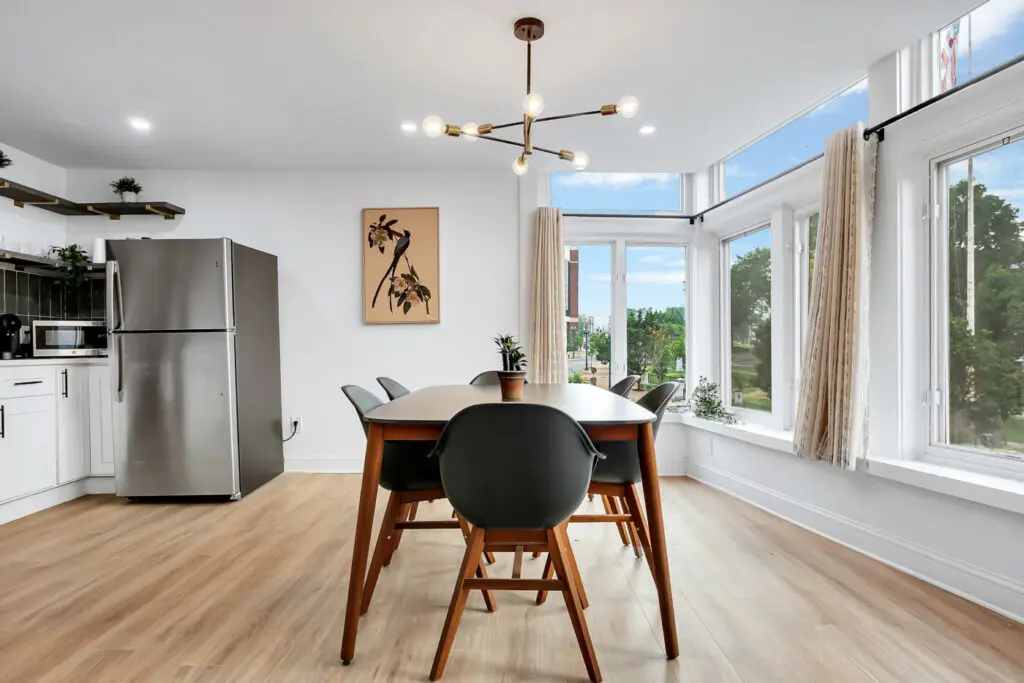
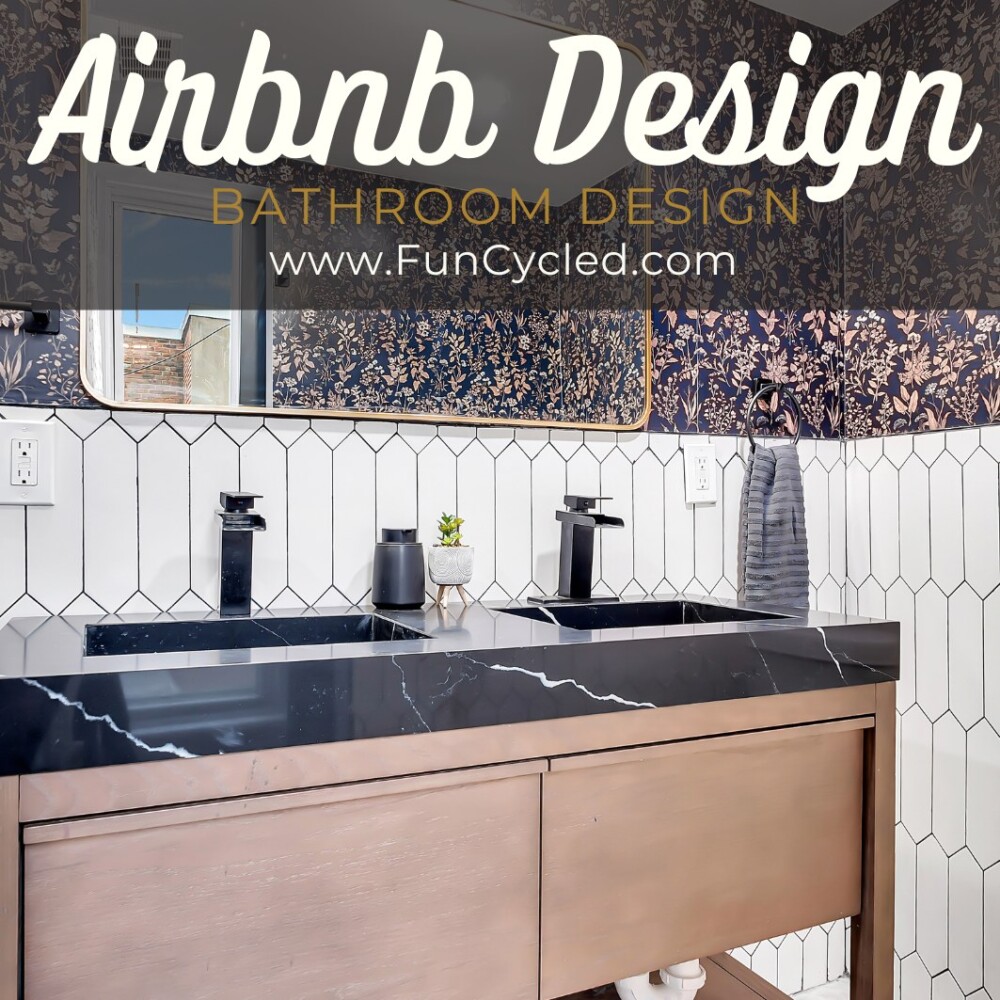
Check out some of our Airbnb designs:

Before you decide if you should open an airbnb, we recommend asking these questions.

  1. What is the draw that would bring a lot of people to the area? Think venues, colleges, destinations.
  2. Am I ok with being on call all of the time? If not, am I ok with paying a property manager up to 35% of the income I make?
  3. Do you like meeting new people? Do you like the idea of people you don’t know in your space (if it’s located in your house)?
  4. How many other airbnb’s are there in the area? If the market is saturated, is your design, location or amenities unique enough to have people choose your airbnb?

Once you work through those answers, if you’d like to move ahead, I highly recommend hiring someone to do the interior design work (unless you have a really good eye for design). The design really does set you apart from other airbnb’s. I’ll pick a uniquely designed airbnb over others despite the price any time.

If design isn’t your thing, hire us! We can help you no matter where you’re located in the US. We can give you tips to get reimbursed easier when there is a problem, tips to make the experience one of a kind for your guest, and show you products we’ve used and loved over the years… and that’s in addition to helping you with design!

FunCycled Airbnb Design Services

Contact Us today to get the help we know you’ll need!

Thank you all for following along! If you’d like to get this blog in your email once a week, please sign up for our weekly newsletter by adding your email in the little box below my picture. 

If you’ve enjoyed this post, please like FunCycled on  FacebookInstagram and Pinterest if you don’t already. Keep up to date on the newest finds, vote on colors and give your input on our creativity. We share fun tutorials, great before and after, and new design inspirations. 

We offer interior design, kitchen cabinet painting, and custom built tables, barn doors, and repurposed furniture. Thank you, again, for working with us and for taking the time to spread the word about what we do. 

Happy FunCycling Friends,
Sarah ;)
Posted on

Kitchen Table Update – Tuesday’s Treasures

Hi Friends!

How was your weekend? We had a great weekend at home and I was able to check off the list another one of my 40 new experiences before I turn 40! I went to a ring making class at Sawtooth Jewlers and made my own ring with my friends Heather and Aubrey! It was so much fun!! If you’re looking for something different to try with a friend, I recommend this!

For this week’s Tuesday’s Treasures, I wanted to share a kitchen table makeover that we recently did for a client who had us redo her kitchen. While I was there she said, once we do this kitchen, the table isn’t going to look right. How about we redo that, too!! Perfect plan to me!

Here’s the table before:

When a table set is sturdy and just the right size, that’s the time I recommend giving it an update instead of replacing it. So we sanded the top and stained it with Classic Gray, primed and painted the chairs and legs Benjamin Moore’s color Black. We also added sprayed it with a protective clear coat.

If you want to see how we paint furniture, check out our How to Paint Furniture post. 

Ready for the afters?

This set was done as a custom order so it’s not for sale, but I still wanted to share the transformation. Be sure to visit our SHOP page to see what pieces we do have available for purchase. Or contact us to get a quote to let us redo your furniture for you! 

Thank you all for following along! If you’d like to get this blog in your email once a week, please sign up for our weekly newsletter by adding your email in the little box below my picture. 

If you’ve enjoyed this post, please like FunCycled on  FacebookInstagram and Pinterest if you don’t already. Keep up to date on the newest finds, vote on colors and give your input on our creativity. We share fun tutorials, great before and after, and new design inspirations. 

We offer interior design, kitchen cabinet painting, and custom built tables, barn doors, and repurposed furniture. Thank you, again, for working with us and for taking the time to spread the word about what we do. 

Happy FunCycling Friends,
Sarah ;)
Posted on

Shaker Trim Upgrade to Kitchen Cabinets – Tuesday’s Treasures

Hi Friends!

How was your holiday weekend? We spent it on our friends small homestead/farm. We try to go once a year to catch up on life. Chrisie and I have been dear friends for over 16 year.

We even got to see the baby pigs before they went to their new homes. So cute!

For this week’s makeover, we painted the kitchen cabinets which I, of course, love! In addition to that, I wanted you to see how much adding shaker trim to the side of the cabinets and the back of the island really elevates the look of the cabinets. It’s a fairly simple to install and makes the kitchen look like high end, custom cabinetry.

Here’s the kitchen before:

Kitchen Before
Kitchen After
Shaker trim on the side of the fridge.
Shaker trim on the side of the base cabinets.

In addition to adding the shaker trim, we also painted the whole kitchen with Benjamin Moore’s Kendall Charcoal and added all new hardware.

If you’d like to see how we paint Kitchen Cabinets, click here to check out our video on YouTube.

Look at the fine finish on these cabinets! So beautiful!

What an beautiful transformation!! 

Could your kitchen use an update? We’d love to help!! We can help pick out colors, finishes, product and do the cabinet painting, tiling, add new hardware. You can use our Contact Us form to request our design services or a quote for painting your kitchen. Please check out other kitchen projects on our For Sale page. We’ll need to see a picture of your kitchen, a list of how many doors and drawers there are, and where you are located to email you an estimate. This change ups the value of your home and gives you a whole new look at a fraction of the cost of new kitchen cabinets!

Thank you all for following along! If you’d like to get this blog in your email once a week, please sign up for our weekly newsletter by adding your email in the little box below my picture. 

If you’ve enjoyed this post, please like FunCycled on  FacebookInstagram and Pinterest if you don’t already. Keep up to date on the newest finds, vote on colors and give your input on our creativity. We share fun tutorials, great before and after, and new design inspirations. 

We offer interior design, kitchen cabinet painting, and custom built tables, barn doors, and repurposed furniture. Thank you, again, for working with us and for taking the time to spread the word about what we do. 

Happy FunCycling Friends,

Sarah ;)
Posted on

Antique Mirrored Dresser Painted White- Tuesday’s Treasures

Hi Friends!

I hope you had a beautiful weekend! If you didn’t see it already, I’m planing to do 40 new experiences in the that I turn 40, and I’m sharing the adventures along the way! The next one to check off the list; luxury sheets! I asked for luxury sheets for Christmas, and my friend Jo Ann bought them for me!

They are so silky and soft and I love them! You could get a pair here!

For this week’s furniture makeover, check out this adorable mirrored dresser makeover.

Here’s the dresser before:

It definitely could use an update! So we smoothed out any imperfections, primed and painted it Benjamin Moore’s color Simply White. We also added new hardware and sprayed it with a protective clear coat.

If you want to see how we paint furniture, check out our How to Paint Furniture post. 

Ready for the afters?

This set was done as a custom order so it’s not for sale, but I still wanted to share the transformation. Be sure to visit our SHOP page to see what pieces we do have available for purchase. Or contact us to get a quote to let us redo your furniture for you!

Thank you all for following along! If you’d like to get this blog in your email once a week, please sign up for our weekly newsletter by adding your email in the little box below my picture. 

If you’ve enjoyed this post, please like FunCycled on  FacebookInstagram and Pinterest if you don’t already. Keep up to date on the newest finds, vote on colors and give your input on our creativity. We share fun tutorials, great before and after, and new design inspirations. 

We offer interior design, kitchen cabinet painting, and custom built tables, barn doors, and repurposed furniture. Thank you, again, for working with us and for taking the time to spread the word about what we do. 

Happy FunCycling Friends,
Sarah ;)
Posted on

Dresser Set Makeover – Tuesday’s Treasures

Hi Friends!

Happy 2023!!! This month marks our 11th year in business! I can barely believe it and want to say thank you so much to each of you for sharing our business with your friends, buying our furniture, hiring me to do design work for you, or asking us to paint your kitchen cabinets. Without YOU there is no FunCycled.

This year, I’ll be turning 40 in October! To celebrate, I’m planning to do 40 new experience this year! I’ll share them as I do them to give you some ideas to try yourself if you’d like to join in with me. If you have a unique experience you’ve done, please share it in the comments to give me more ideas.

This week, I checked 2 off the list! I colored my hair an unnatural hair color for the first time ever. I went with rose gold which is hard to tell from photos, but here it is:

Rose Gold Hair #40before40fun

I also got a second ear piercing! Harmony has been wanting one so I thought this could be another new experience that she could do with me.

2nd Earring #40before40fun

If you’re on social media and would like to follow along as I do these throughout the year, follow hashtag #40before40fun to see them in your feed!

For this week’s furniture makeover, I wanted to share a dresser set that we updated with paint!

Here are the dressers before:

We kept most of this piece as is; just painted it with Benjamin Moore’s Steam AF-15, glazed it, and sprayed it with a protective clear coat.

If you want to see how we paint furniture, check out our How to Paint Furniture post. 

Ready for the afters?

This set was done as a custom order so it’s not for sale, but I still wanted to share the transformation. 

Thank you all for following along! If you’d like to get this blog in your email once a week, please sign up for our weekly newsletter by adding your email in the little box below my picture. 

If you’ve enjoyed this post, please like FunCycled on  FacebookInstagram and Pinterest if you don’t already. Keep up to date on the newest finds, vote on colors and give your input on our creativity. We share fun tutorials, great before and after, and new design inspirations. 

We offer interior design, kitchen cabinet painting, and custom built tables, barn doors, and repurposed furniture. Thank you, again, for working with us and for taking the time to spread the word about what we do. 

Happy FunCycling Friends,
Sarah ;)
Posted on

Kitchen Repurposed for the Holidays

Hi Friends!

We pray you had a wonderful Christmas last weekend! We hosted Christmas and it was a day filled with family, reading through Luke 2; celebrating our Savior’s birth, singing Christmas carols around the piano, laughing until it hurts, and eating delicious food!

Check out how John stole the show with his Christmas shirt at church this year… lol

This week, I’m sharing a kitchen transformation that we finished just in time for the holidays.

Here’s the kitchen before:

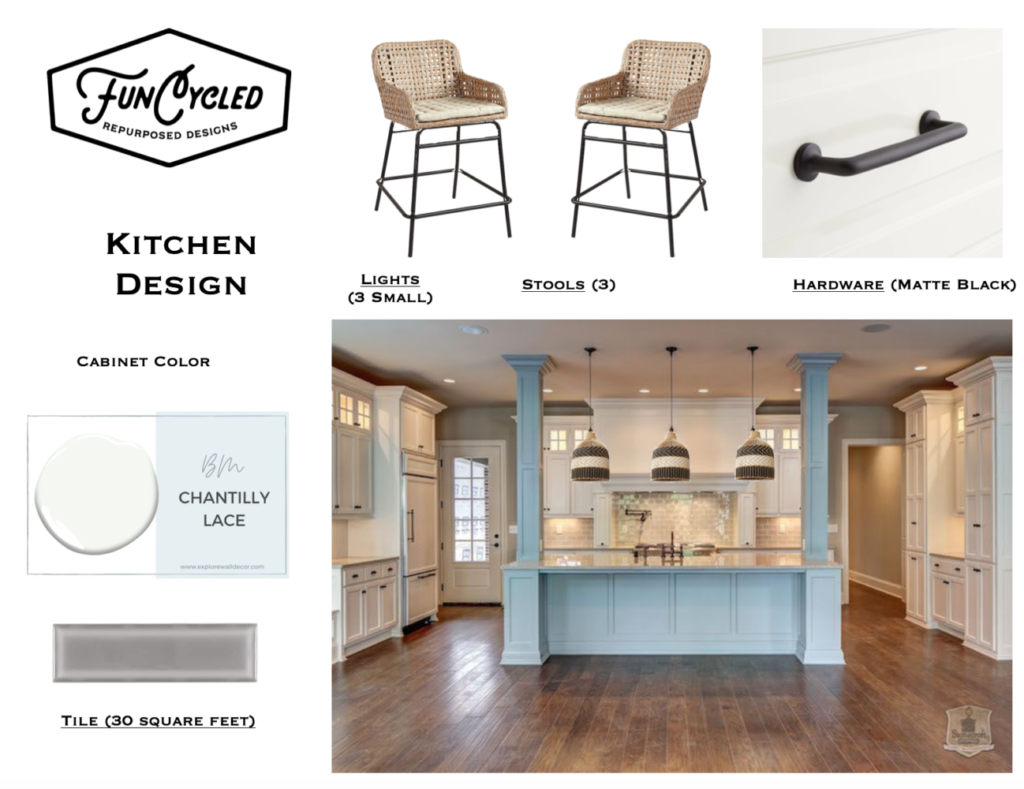
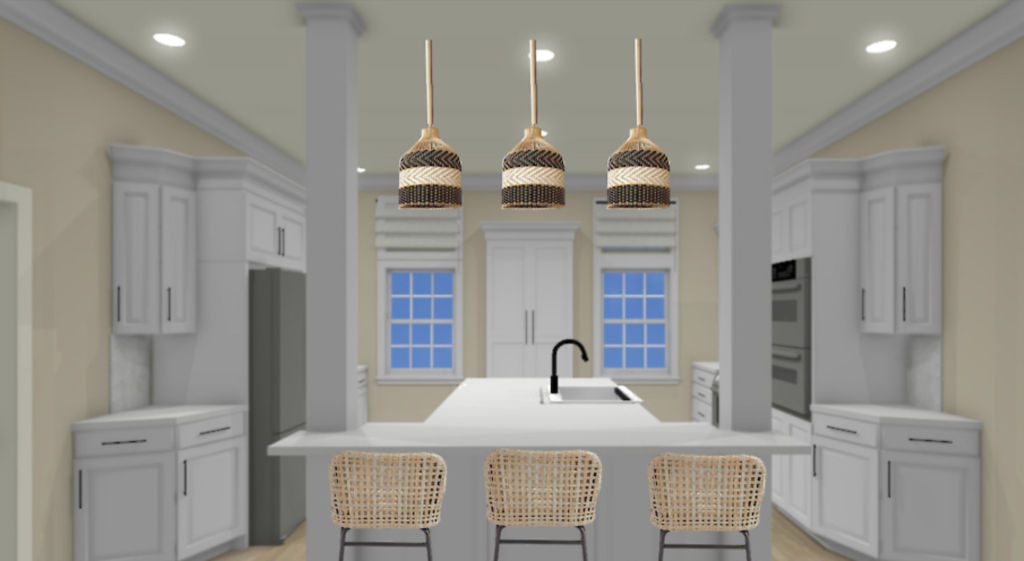
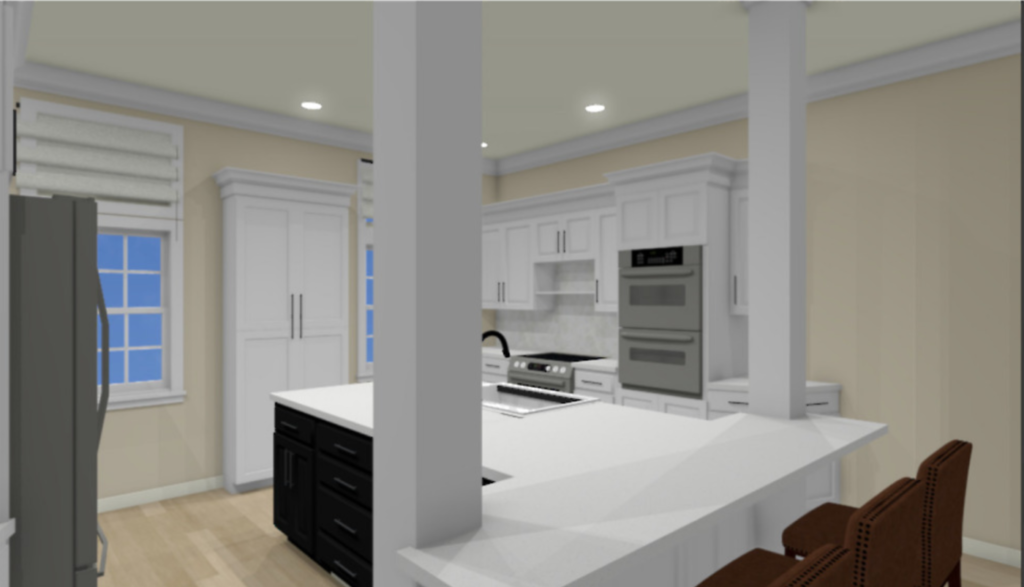
This client started by hiring me to do the design of the kitchen. We met for an hour and selected colors, talked through counter and tile options, and selected new hardware.

That was just the planning stage in early 2022. Then she carefully budgeted and planned out the next steps. She had the new counter installed and then booked us to paint and tile in November so it could be done before the holidays.

We painted the kitchen cabinets Benjamin Moore’s Simply White. We also added new hardware, and sprayed everything with a protective clear coat. Then we removed the old tile and added new tile. The accent tile above the stove is one of my favorite parts about the tile design.

If you’d like to see how we paint Kitchen Cabinets, click here to check out our video on YouTube.

Ready for the after photos?

What an beautiful transformation!! 

Could your kitchen use an update? We’d love to help!! We can help pick out colors, finishes, product and do the cabinet painting, tiling, add new hardware. You can use our Contact Us form to request our design services or a quote for painting your kitchen. Please check out other kitchen projects on our For Sale page. We’ll need to see a picture of your kitchen, a list of how many doors and drawers there are, and where you are located to email you an estimate. This change ups the value of your home and gives you a whole new look at a fraction of the cost of new kitchen cabinets!

Thank you all for following along! If you’d like to get this blog in your email once a week, please sign up for our weekly newsletter by adding your email in the little box below my picture. 

If you’ve enjoyed this post, please like FunCycled on  FacebookInstagram and Pinterest if you don’t already. Keep up to date on the newest finds, vote on colors and give your input on our creativity. We share fun tutorials, great before and after, and new design inspirations. 

We offer interior design, kitchen cabinet painting, and custom built tables, barn doors, and repurposed furniture. Thank you, again, for working with us and for taking the time to spread the word about what we do. 

Happy FunCycling Friends,

Sarah ;)