How’s your week going? We are knee deep in a kitchen remodel project while getting goods restocked at FunCycled and getting the kiddos ready to start school next week. This is the time of year that I feel ready for school. The kids are ready not to be around each other all day and I’m ready to have time to catch up with work. Work has been busy this summer and we’ve had added in a lot of non-work fun, but I’m ready to feel like I’m not running on all cylinders again.
This week’s makeover is actually much harder than it may look. We took this old oak dresser:
We’ve tried to redo an oak dresser with a gradient ombre stained finish, but sometimes oak doesn’t like to take the stain colors as well as pine or a softer wood so it hasn’t come out right when we’ve tried it. But we decided to give it another go!
We painted the outside with a black enamel and heavily distressed it. If you want to see how we paint furniture, check out our How to Paint Furniture post. For the drawer fronts, we sanded down into the oak pretty deeply. We needed the grain to take the stain. Then we stained the drawers in this order with these colors:
1st drawer (top) – all natural (no stain applied just a protective clear coat)
2nd drawer – Minwax 1 coat of Early American
3rd drawer – Minwax 1st coat Early American – 2nd coat Dark Walnut
4th drawer – Minwax 2 coats of Dark Walnut
5th drawer – Minwax 1 coat of Ebony
Sometimes seeing it in a picture is helpful, right? On photo day, I also had a helper to do the pictures. She’s just the cuteness.
There is a box at the top right of this page to enter your email address to receive notifications by email when I post something new on this blog. Please sign up today!
Happy FunCycling Friends,
Sarah ;)
If you like what you see, please like FunCycled’s Facebook pageto keep up to date on the newest finds, vote on colors and give your input on our creativity. Last but not least, let us customize a furniture piece for you. We create custom furniture and will deliver for customers in upstate NY and also ship throughout the US. Send us a note with what you would like using our contact page. Or buy something that we’ve already designed from our furniture for sale page.
How was your week? Last week felt like the busiest week of our summer as far as work goes. John was working on a kitchen cabinet painting project. It rained quite a bit last week and that slows down our job so much. It makes for long days, drips and tricky finishes. Thankfully, I have a hard working husband who worked long days and pushed hard to finish the kitchen in one week! These aren’t the best pictures but here’s a little before and after shot of it for you.
We painted the top cabinets with Benjamin Moore’s Simply White, the bottom with Benjamin Moore’s Gray Mountain. Then we glazed, lightly distressed and did a protective clear coat.
After working long days all week, we decided to go on a day trip to Sturbridge Village after church on Sunday. My parents came along and we had a blast!
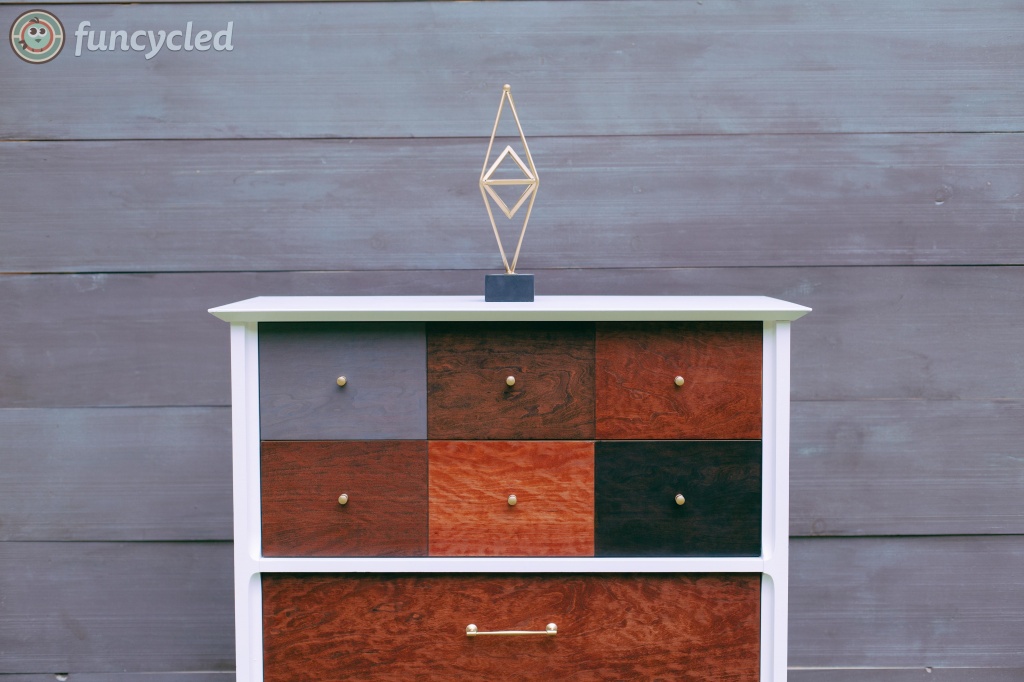
So many good things to share, right? Now onto this week’s furniture makeover. We took this mid century dresser, changed the drawers and made it new again.
For the outside of this piece, we painted the box with Benjamin Moore’s Simply White. Then we sanded and stained the drawer fronts with multiple stain colors. We used ebony, dark walnut, special walnut, and a gray wash. You could use whatever colors you like though! If you want to see how we paint furniture, check out our How to Paint Furniture post.
Mid Century Patchwork Dresser
We also just added a ton of new pieces to our for sale page! Snatch them up because it’s summer and things don’t stick around here long in the summer! See all the new pieces on our Furniture For Sale page.
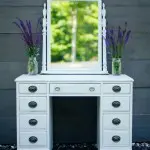
White Vintage Dresser
Navy Bookcase
White Mid Century Credenza
Black and White Hutch
Teal Buffet
Antique Red Desk Set
There is a box at the top right of this page to enter your email address to receive notifications by email when I post something new on this blog. Please sign up today!
Happy FunCycling Friends,
Sarah ;)
If you like what you see, please like FunCycled’s Facebook pageto keep up to date on the newest finds, vote on colors and give your input on our creativity. Last but not least, let us customize a furniture piece for you. We create custom furniture and will deliver for customers in upstate NY and also ship throughout the US. Send us a note with what you would like using our contact page. Or buy something that we’ve already designed from our furniture for sale page.
On the build day, we went to Stamford, Connecticut and the show staff brought all of the flea market items that we bought on day 1 to a large garage/warehouse type building. We were assigned a team of 2-3 people (depending on what we were working on sometimes people on our team helped the other team). Here’s what we started with:
This was my favorite day by FAR!The designer in me absolutely loved having the freedom to think up any design and then have a team of experts there to help us make it happen. We had a master carpenter and a welder/builder that helped us most of the day. You’re given a $100 budget to buy things to help complete your project. We used that $100 to buy 2 legs for our coffee table, old legs for our “Stylish Storage” project and an old burlap sack for our “Mixed Texture” project. You have about 12 hours to finish the projects. We arrived at the workshop at 9am and worked straight until 9pm with only a quick break to scarf down lunch and no dinner.
I started working on the ironing board that would become a coffee table which was our “Modern Americana” challenge. I sanded the ironing board and stained it a new color so the mid century legs we purchased could be stained to match. I’ve never welded before and was able to give it a try as we needed to weld a base plate on the old tractor gear for one side of the coffee table. It was so much fun!! I only did a little bit of it, our welder did the rest.
While I was working on the “Modern Americana” project, John started prepping the cable spool that we would be turning into a bar which was our “Mixed Texture” project. We welded a metal plate on the top of the industrial light post to attached the cable spool. John had to figure out how to drill the holes for the neck of the wine bottles to make them all sit at the same angle. He practiced quite a few times on a separate board. Then he brought the cable spool wood back to life by using shellac and sanded down the metal base a bit to make it smoother. I came in to do the finishing touches using the burlap sack and metal detailing.
Our master carpenter did most of the work on the “Stylish Storage” project! We wouldn’t have had time to finish them all if he hadn’t done the majority of the work for that project. He built the base out of the old dining room table legs we had bought. He and John worked on the dividers that would go inside of the desk. I shellacked the wood on the trunk to make it shine again. We cut it close on this project. At the end of the day the latch to hold it closed wasn’t working right and our master carpenter really pushed to make it happen for us. He was so amazing!!
The behind the scenes of filming was interesting on this day. I had a hard time initially speaking my mind! I came with all my design plans but then I had amazing people suggesting changes. I didn’t have the heart to say no. The whole time we were filming each team had their own producer and then there is a producer in the back that is watching everything on TV’s. I called her that “phantom producer”. Lol! At one point, we were filming and the staff suggested a change to our Modern Americana project that I thought would look horrible but I said OK. The “phantom producer” stopped everything and came out to me. She said, “Sarah, you’re thinking things you’re not saying, right?” I told her she was right. Then she goes on to say, “You are much more fun and interesting in real life, you need to speak up and say what you want. These are your designs and if you don’t stand up for them, no one will.” That was the moment that the show became really fun for me. She gave me the freedom to be me and be open about my thoughts. So we rerecorded and I kept to my original plan for the piece! Yay!
It felt a little weird having the team we were competing against working right next to you. The longer I watched them the less I was concerned about whether we would win. I was confident in our designs and the functionality of each piece in a NYC apartment. The producers definitely encouraged us to be playful and pick on our opponents work which John was game for but I just couldn’t do it. I didn’t sound genuine at all. Lol! It was a good balance between us I think though. :)
One thing that is interesting about day 2 is that you only have that day, if your makeovers aren’t done, you have to stop. So it is very fast pace, but the staff was so amazing and helped make it happen. Next week, I’ll share about the final day of being on Flea Market Flip and show you how the transformations turned out!
The next day of filming was the workshop day and my favorite of all the days!
If you like what you see, please like FunCycled’s Facebook pageto keep up to date on the newest finds, vote on colors and give your input on our creativity. There is a box at the top right of this page to enter your email address in to receive notifications by email when I post something new on this blog.
Please sign up today! Last but not least, let us customize a furniture piece for you. We create custom furniture and will deliver for customers in upstate NY and will also ship throughout the US. Send us a note with what you would like using our contact page. Or buy something that we’ve already designed from our furniture for sale page.
How was your week? We have been busier and busier with interior design (which I love by the way)! Two weeks ago we set the upcoming 5 weeks aside for interior design jobs. Starting with designing offices for the Troy Innovation Garage, then to kitchen cabinet painting, and ending with a whole kitchen renovation project. We are mid way through those five weeks! Pushing myself into new fields and designs can feel risky but it’s wonderful all at the same time. Focusing on the bigger projects has also given me time to focus even more on the design of the furniture in our store. I’ve been really giving it my all and I just want to say thanks to all of you who have purchased so many pieces in the last few weeks. I don’t say thank you enough. You are letting me create, supporting your local community and rescuing old treasures. It means more than I can even say!
One of the many new pieces that I wanted to share was this buffet. As soon as I laid eyes on it, I knew exactly how I wanted it redone. When I told my husband I loved it, he said “that one”? Lol! Yes, THAT ONE! I replied with a big smile on my face. Here it was before: At first glance, I loved the legs and I hated the doors. I knew I could make both so much better. People often ask me what I love to do with furniture, I love to take something fancy or modern and add a little bit rustic texture. That’s just what we did with this piece.
We painted it all with Benjamin Moore’s color Simply White (my favorite white), lightly distressed it and finished it with a semi-gloss clear coat to give it a more modern finish. John built the door fronts using barn board and a Kreg jig. If you want to see how we paint furniture, check out our How to Paint Furniture post.
Ready for the after?
A beautiful part of this buffet’s story; it sold within 1 hour of me posting about it online. That makes me feel soon good! I hope it’s loved forever in its new home.
We also just added a ton of new pieces to our for sale page! Snatch them up because it’s summer and things don’t stick around here long in the summer! See all the new pieces on our Furniture For Sale page.
Teal Buffet
Black and White Hutch
Ombre Oak Dresser
White Mid Century Credenza
Mid Century Bookcase
Rustic Farmhouse Coffee Table
There is a box at the top right of this page to enter your email address to receive notifications by email when I post something new on this blog. Please sign up today!
Happy FunCycling Friends,
Sarah ;)
If you like what you see, please like FunCycled’s Facebook pageto keep up to date on the newest finds, vote on colors and give your input on our creativity. Last but not least, let us customize a furniture piece for you. We create custom furniture and will deliver for customers in upstate NY and also ship throughout the US. Send us a note with what you would like using our contact page. Or buy something that we’ve already designed from our furniture for sale page.
How’s your week going? Sometimes in the summer I get so busy with places to go, things to see, sunshine to enjoy that I forget to make time to have friends over for dinner and just relax. This week we made time to pack the house with friends and it was so refreshing! I love having people in our home.
Speaking of sunshine, let’s talk about a sunshiney yellow vanity makeover, shall we? It’s a rainy Tuesday morning so we could all use some sunshine!
This vanity came from an old home in Wynantskill and Mary thought of us when she couldn’t use it in her house any more. Here it is before:
We painted it with Benjamin Moore’s color Imperial Yellow, heavily distressed it and glazed it with Rustoleum Antiquing Glaze, and finished it with a satin clear. If you want to see how we paint furniture, check out our How to Paint Furniture post. We also replaced the hardware for that extra pop with the design.
There is a box at the top right of this page to enter your email address to receive notifications by email when I post something new on this blog. Please sign up today!
Happy FunCycling Friends,
Sarah ;)
If you like what you see, please like FunCycled’s Facebook pageto keep up to date on the newest finds, vote on colors and give your input on our creativity. Last but not least, let us customize a furniture piece for you. We create custom furniture and will deliver for customers in upstate NY and also ship throughout the US. Send us a note with what you would like using our contact page. Or buy something that we’ve already designed from our furniture for sale page.
How’s your week going? We’ve had a really nice one here. I could talk family and fun trips, but I want to talk design and work for a bit. It’s been a great design week for us! We booked our first kitchen renovation project. It’s going to be complete with Retro style appliances, chrome accents, shiplap, and subway tile. Oh yes friends! I’m excited about this! Here’s a little color board to show you some of the designs. I’ll do a new post with more info about the products we’ll be using, but couldn’t help but share a sneak peak!
I also am part of a collaborative design effort for a new coworking space that’s coming to Troy called The Troy Innovation Garage. We will each be creating an office to showcase all of the designers in Troy. I love working together with other creative minds in our city. I’ll be sharing more information with you about this effort as well. Here’s a sneak peak to one of those designs:
For this week’s furniture makeover, we have a really unique desk that desperately needed a makeover. Here’s the before picture:
We painted it with Benjamin Moore’s color Exotic Red, heavily distressed it and glazed it with Rustoleum Antiquing Glaze, and finished it with a satin clear. If you want to see how we paint furniture, check out our How to Paint Furniture post. We also replaced the hardware for that extra pop with the design.
There is a box at the top right of this page to enter your email address to receive notifications by email when I post something new on this blog. Please sign up today!
Happy FunCycling Friends,
Sarah ;)
If you like what you see, please like FunCycled’s Facebook pageto keep up to date on the newest finds, vote on colors and give your input on our creativity. Last but not least, let us customize a furniture piece for you. We create custom furniture and will deliver for customers in upstate NY and also ship throughout the US. Send us a note with what you would like using our contact page. Or buy something that we’ve already designed from our furniture for sale page.
Let’s talk furniture painting dilemmas for a moment, shall we? So often people come into our store or comment online or recognize me on the street, you get the point, to tell me how terrible it is of me to paint furniture. I usually have a response like this. If it’s not a rare antique piece that’s worth a lot and it’s ugly, I like it more painted. Our painted pieces sell for more than if they were left as is. There are a few older furniture pieces that I like the patina of and wouldn’t paint. Old single door cupboards or some sideboards that don’t have any yellow or orange tones to the wood. A good rule of thumb when wondering if a piece of furniture is worth money is by seeing what company made the furniture. Stickley furniture is usually the most valuable. That being said, a customer came to us asking us to paint not just one but multiple Stickley pieces. Gulp! I explained that they would probably be worth more left as is but in the end here’s what it all boils down to – they didn’t like how it looked so they didn’t want them if the furniture stayed as is. Here’s another important thing to remember – people hire me to paint their furniture so sometimes it’s not my choice, it’s theirs.
Here is one of the pieces before: You wouldn’t want to keep it either, would you?
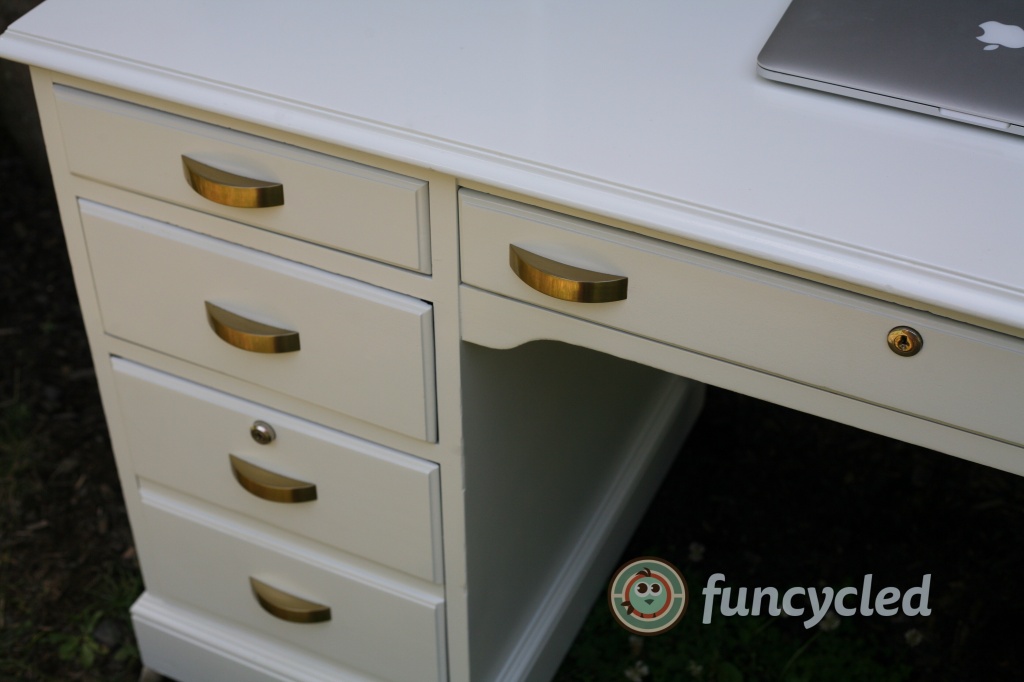
We painted it all with Benjamin Moore’s color Simply White (my favorite white) and finished it with a high gloss clear coat to give it a more modern finish. If you want to see how we paint furniture, check out our How to Paint Furniture post. We also replaced the hardware with a more modern gold finish. The hardware was from Home Depot. You have to order those online, they aren’t stocked in the store.
Ready for the after? See! She made a good choice, right?? I love the end result and if I were in her shoes I would have done the same thing. That being said, if you decide one day to make it your job to strip off paint and stain it, I won’t pick on your for it. Because after all, we all just need to get along. :)
We also just added a ton of new pieces to our for sale page! Snatch them up because it’s summer and things don’t stick around here long in the summer! See all the new pieces on our Furniture For Sale page.
Yellow Antique Vanity
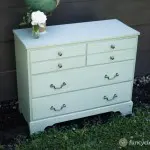
Sage Small Dresser
Antique Red Desk Set
Navy Nautical Dresser
Teal Hutch
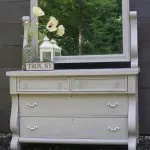
Gray Empire Dresser
There is a box at the top right of this page to enter your email address to receive notifications by email when I post something new on this blog. Please sign up today!
Happy FunCycling Friends,
Sarah ;)
If you like what you see, please like FunCycled’s Facebook pageto keep up to date on the newest finds, vote on colors and give your input on our creativity. Last but not least, let us customize a furniture piece for you. We create custom furniture and will deliver for customers in upstate NY and also ship throughout the US. Send us a note with what you would like using our contact page. Or buy something that we’ve already designed from our furniture for sale page.
This is your lucky day!! I’m showing you not just one but TWO makeovers! If that’s not good news enough, both are teal hutch makeovers. I love nothing more than hutch makeovers and then you add my favorite color and it’s a win, win in my book!!
Here’s the first hutch before. It was really, really ugly when we bought it. I looked at it for a while… then looked at it a little more. It was like the thing was slapping me in the face with it’s ugliness. Just not nice of it to do that to me! Then it came to me… barn board makes everything better so I would put that on the bottom. I didn’t like the trim work on the top either so we pulled that off. We painted the inside the color Silver Fox by Benjamin Moore (a light gray). The painted the outside with the color Tropical Teal by Benjamin Moore. I love distressed teal so of course that came next and then glazed it using Rustoleum’s Antiquing Glaze.
Here are the after pictures:
Rustic Teal Hutch
A little secret about this piece? I wanted to keep it for my dining room, but agreed to put it up for sale for 1 month. If it sold, it wasn’t meant for me. If it didn’t this beauty was mine! Sadly for me, it sold! Good news for you, I have another teal hutch for sale now and it’s coming up next!
An unlikely couple was combined to make this hutch. We took this dresser and put a hutch top on it that went with another hutch we bought. When we bought the other hutch the bottom actually didn’t match it and it was too damaged for repair because it wasn’t solid wood. Out it went and in came this one (I don’t have a before picture of the top unfortunately).
This time we painted the whole thing with Benjamin Moore’s color Tropical Teal and heavily distressed it, then glazed it with Rustoleum’s antiquing glaze. If you want to see how we paint furniture, check out our How to Paint Furniture post.
Are you ready for the after pics?? I had a feeling you might be! ;) This hutch is for sale right now and you can check out other new furniture for sale on our website here! If you’d like to purchase it, please use our Contact Us form or stop by our store at 272 River Street, Troy, NY. I also added quite a few other new pieces to the store!
Gray Empire Dresser
Navy Nautical Dresser
Black Mid Century Credenza
Claw and Ball Ornate Buffet
Oak Antique Cart Dining Table
Chess Piece Vintage Armoire
There is a box at the top right of this page to enter your email address to receive notifications by email when I post something new on this blog. Please sign up today!
Happy FunCycling Friends,
Sarah ;)
If you like what you see, please like FunCycled’s Facebook pageto keep up to date on the newest finds, vote on colors and give your input on our creativity. Last but not least, let us customize a furniture piece for you. We create custom furniture and will deliver for customers in upstate NY and also ship throughout the US. Send us a note with what you would like using our contact page. Or buy something that we’ve already designed from our furniture for sale page.
How’s your week? We had a busy one! Took a long weekend to escape to one of my favorite places – Ocean City! We had a wonderful time soaking up the sun and enjoying some much needed family time!
This week’s furniture makeover is for an interior design project we’ve been working on! Did you see that we now offer interior color consults and design layouts?Check out some of our past projects on our Interior Designs page!
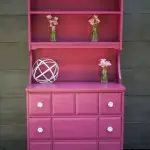
Here’s the china cabinet before: We painted it with Glidden’s color fuchsia berry (but we didn’t use Glidden paint)! If you want to see how we paint furniture, check out our How to Paint Furniture post. After I painted it, I heavily distressed it using an orbital sander and then glazed it using Rustoleum’s antiquing glaze. Here’s the after!! This hutch was a custom order so it’s already sold but there are more new pieces on our Furniture For Sale page right now!! Here are a few other new things, too!
Black Mid Century Credenza
Claw and Ball Ornate Buffet
Chess Piece Armoire
Retro Vanity
White Chic Vanity
Black Cabinet
There is a box at the top right of this page to enter your email address to receive notifications by email when I post something new on this blog. Please sign up today!
Happy FunCycling Friends,
Sarah ;)
If you like what you see, please like FunCycled’s Facebook page to keep up to date on the newest finds, vote on colors and give your input on our creativity. Last but not least, let us customize a furniture piece for you. We create custom furniture and will deliver for customers in upstate NY and also help you ship throughout the US. Send us a note with what you would like using our contact page. Or buy something that we’ve already designed from our furniture for sale page.
How’s it going? We have had a great week! My kiddos spent a few days at my brother Jesse and his wife Jessica’s house for “cousins camp” this past week. They learned screen printing, how to make candles, and recorded their own version of the Wizard of Oz. So adorable!!
This week I want to show you a fun makeover that’s not quite like most of our furniture transformations but reminded me a lot of a piece we would have made when we were on Flea Market Flip.
We bought this industrial oak cart and originally were going to turn it into a coffee table. When I saw it in person it was way too big so we decided to make it into a dining room table.
We wanted to keep the original wood tones so we cleaned it up with a wire brush and cleaner. Then we wanted our customers to be able to be able to handle food and liquid on top so we used a protective clear coat over the top. We bought 2 inch pipe from Home depot to make the base!
You can see how we attached it here: If you like an industrial chic look, this table is for you! How about some detail shots…
There is a box at the top right of this page to enter your email address to receive notifications by email when I post something new on this blog. Please sign up today!
Happy FunCycling Friends,
Sarah ;)
If you like what you see, please like FunCycled’s Facebook pageto keep up to date on the newest finds, vote on colors and give your input on our creativity. Last but not least, let us customize a furniture piece for you. We create custom furniture and will deliver for customers in upstate NY and also ship throughout the US. Send us a note with what you would like using our contact page. Or buy something that we’ve already designed from our furniture for sale page.





 We also just added a ton of new pieces to our for sale page! Snatch them up because it’s summer and things don’t stick around here long in the summer! See all the new pieces on our



 I started working on the ironing board that would become a coffee table which was our “Modern Americana” challenge. I sanded the ironing board and stained it a new color so the mid century legs we purchased could be stained to match. I’ve never welded before and was able to give it a try as we needed to weld a base plate on the old tractor gear for one side of the coffee table. It was so much fun!! I only did a little bit of it, our welder did the rest.
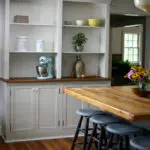
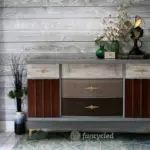
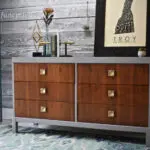
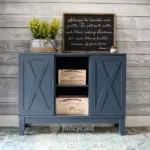
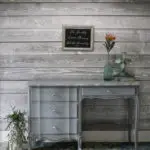
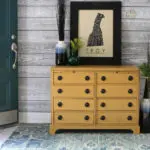
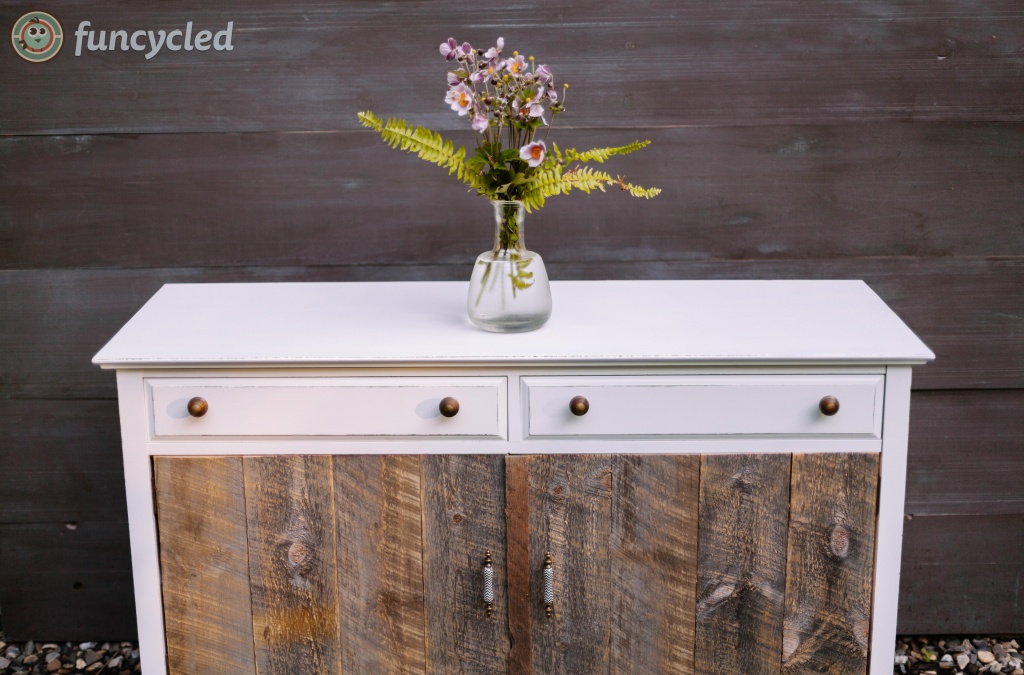
 At first glance, I loved the legs and I hated the doors. I knew I could make both so much better. People often ask me what I love to do with furniture, I love to take something fancy or modern and add a little bit rustic texture. That’s just what we did with this piece.


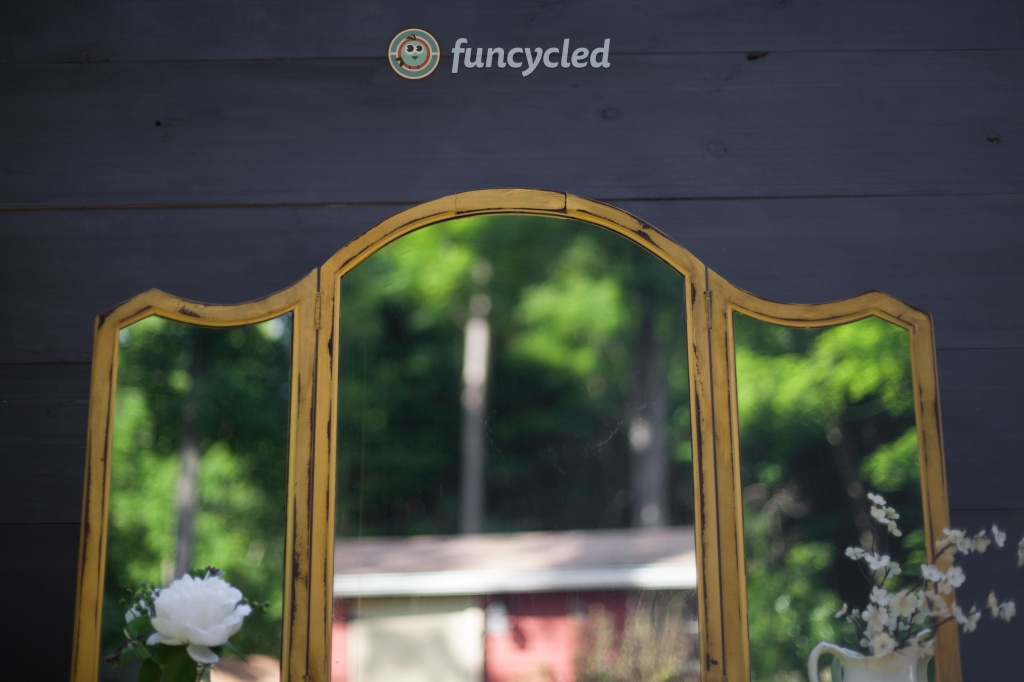


 This vanity is for sale right now and you can check out other new furniture for sale
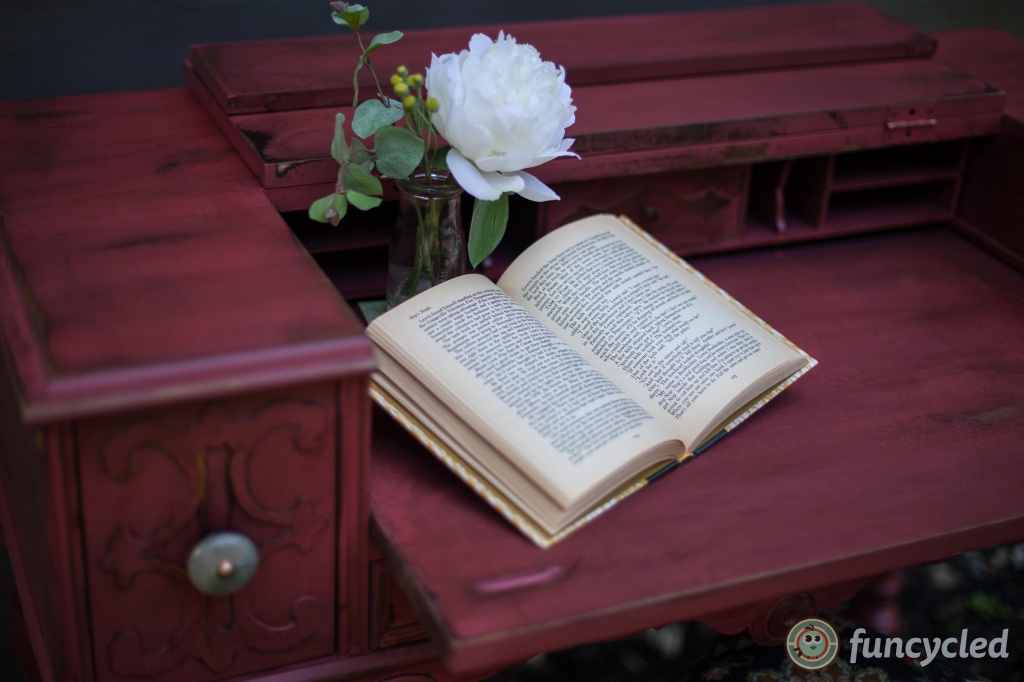


 This desk is for sale right now and you can check out other new furniture for sale
 You wouldn’t want to keep it either, would you?
 See! She made a good choice, right?? I love the end result and if I were in her shoes I would have done the same thing. That being said, if you decide one day to make it your job to strip off paint and stain it, I won’t pick on your for it. Because after all, we all just need to get along. :)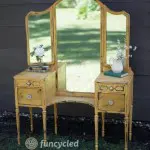
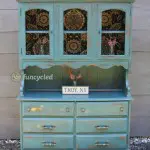
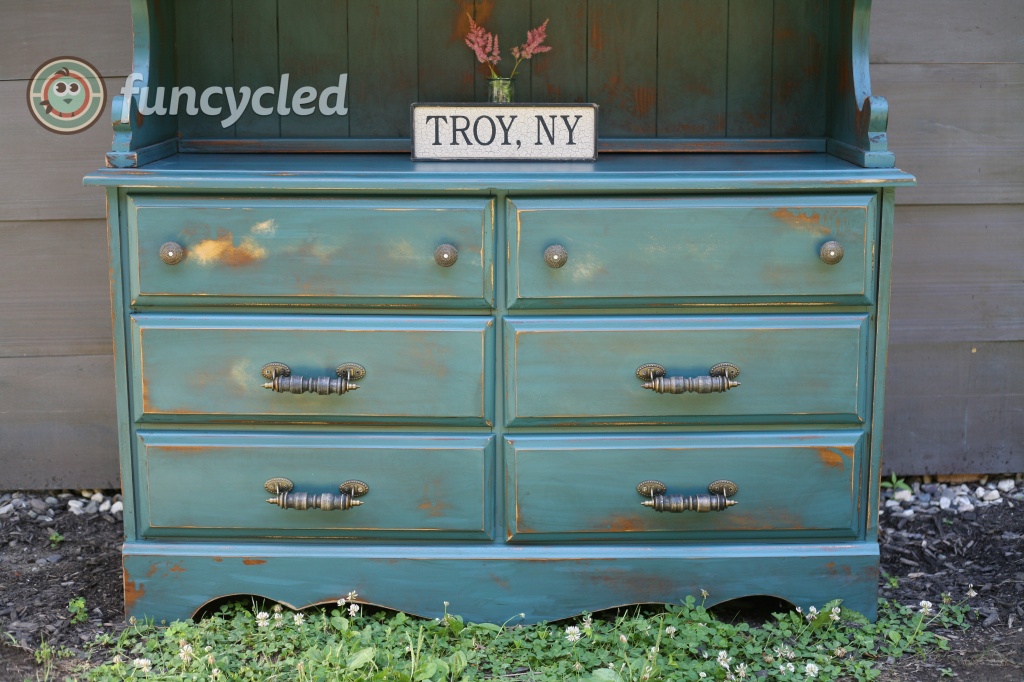
 I looked at it for a while… then looked at it a little more. It was like the thing was slapping me in the face with it’s ugliness. Just not nice of it to do that to me! Then it came to me… barn board makes everything better so I would put that on the bottom. I didn’t like the trim work on the top either so we pulled that off. We painted the inside the color Silver Fox by Benjamin Moore (a light gray). The painted the outside with the color Tropical Teal by Benjamin Moore. I love distressed teal so of course that came next and then glazed it using Rustoleum’s Antiquing Glaze.


 A little secret about this piece? I wanted to keep it for my dining room, but agreed to put it up for sale for 1 month. If it sold, it wasn’t meant for me. If it didn’t this beauty was mine! Sadly for me, it sold! Good news for you, I have another teal hutch for sale now and it’s coming up next!


 This hutch is for sale right now and you can check out other new furniture for sale
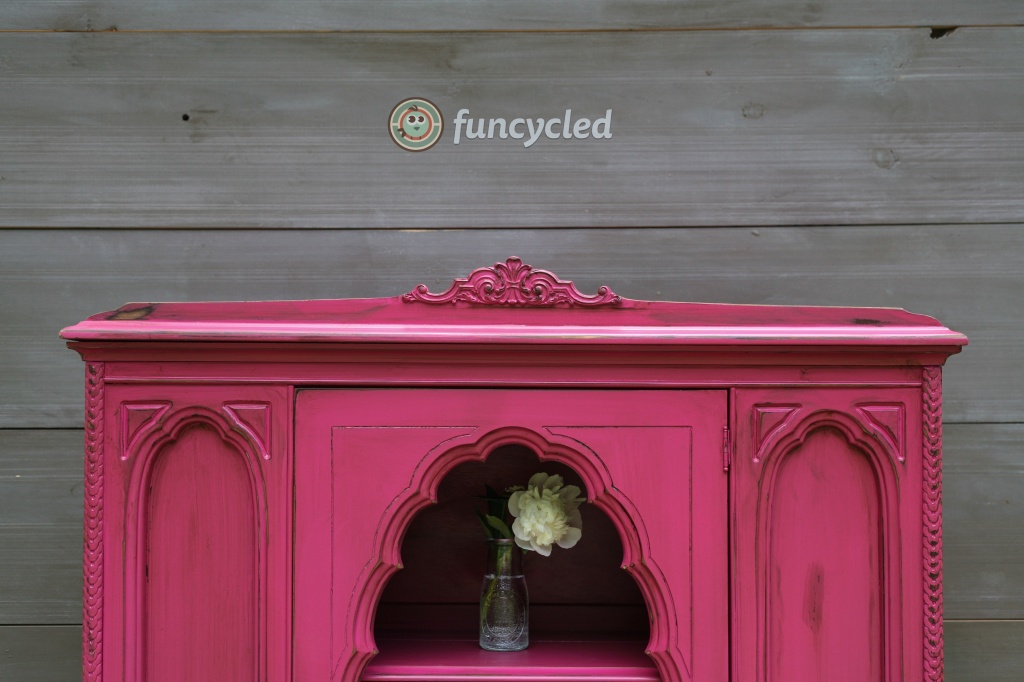


 We painted it with Glidden’s color fuchsia berry (but we didn’t use Glidden paint)! If you want to see how we paint furniture, check out our
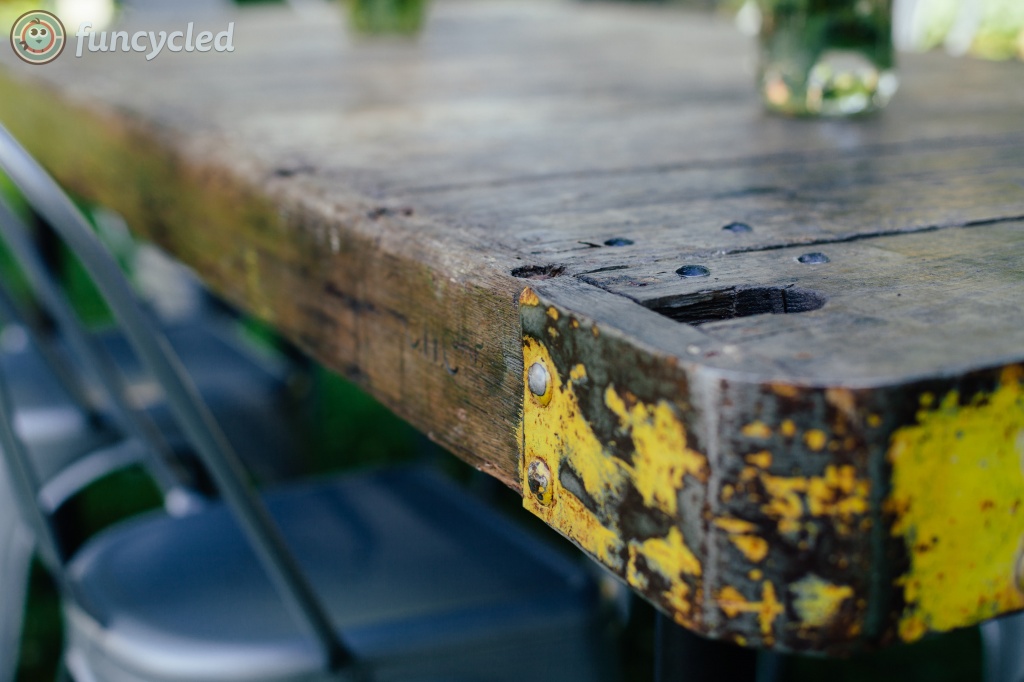


 If you like an industrial chic look, this table is for you! How about some detail shots…