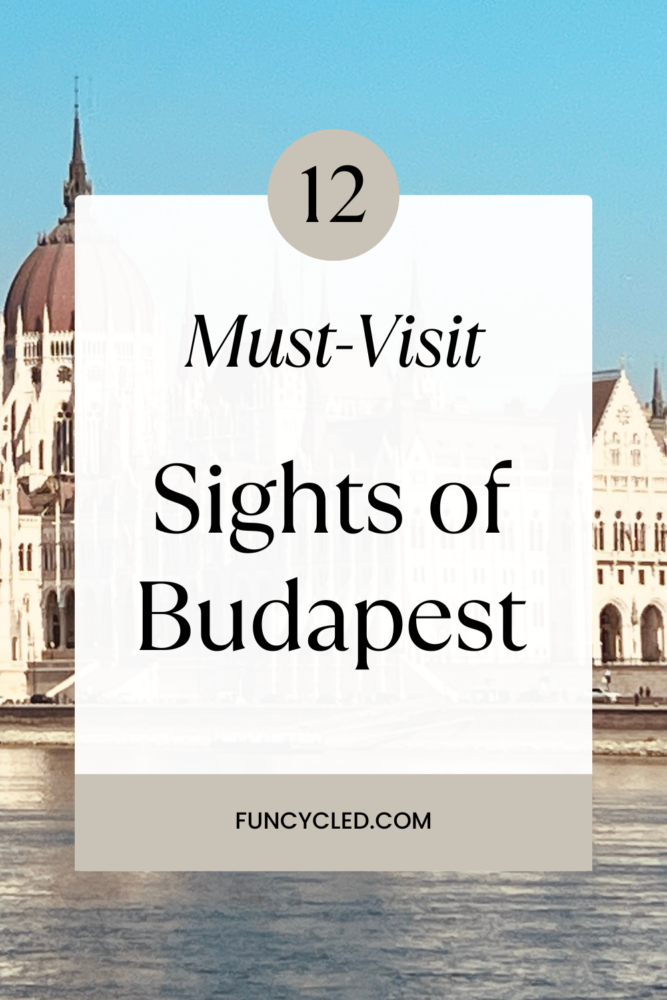
Hi friends! Have you ever really considered this…traveling to Budapest that is? My guess is that a trip to central Europe may not be someone’s first thought, but let me assure you, it should be on your list! Central Europe is like the ultimate hidden gem of travel—packed with vibrant history, charming cities, and some of the most picturesque landscapes you’ll ever see.
Recently, my family and I packed our bags and headed off to explore the sights of 3 major cities in central Europe over a week’s time. Over the next few months, I will be sharing about each of our visits, providing special highlights and tips along the way!
Our first stop is Budapest, capital of Hungary and rich with history and stunning architecture. Thanks to the help of Great Value Vacations, our trip was easy to coordinate, filled with amazing sights, and amazingly affordable! We booked a walking tour of Budapest to cover as much ground as possible, and I am excited to share it with you. That in mind, join with me as we journey through the beautiful sites of Budapest!
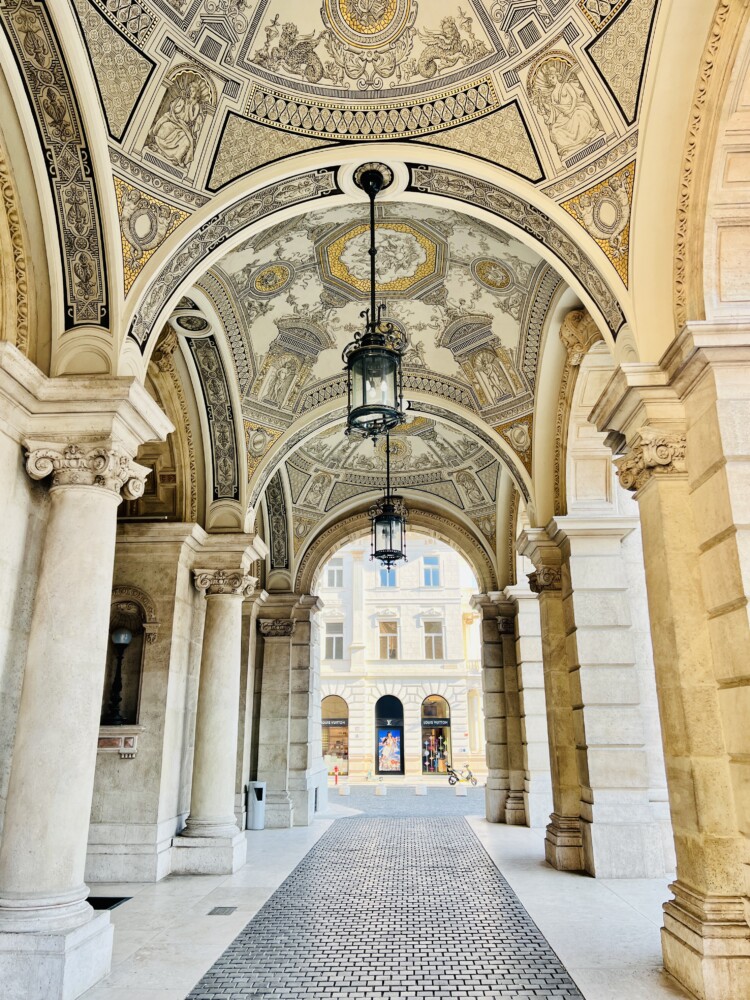
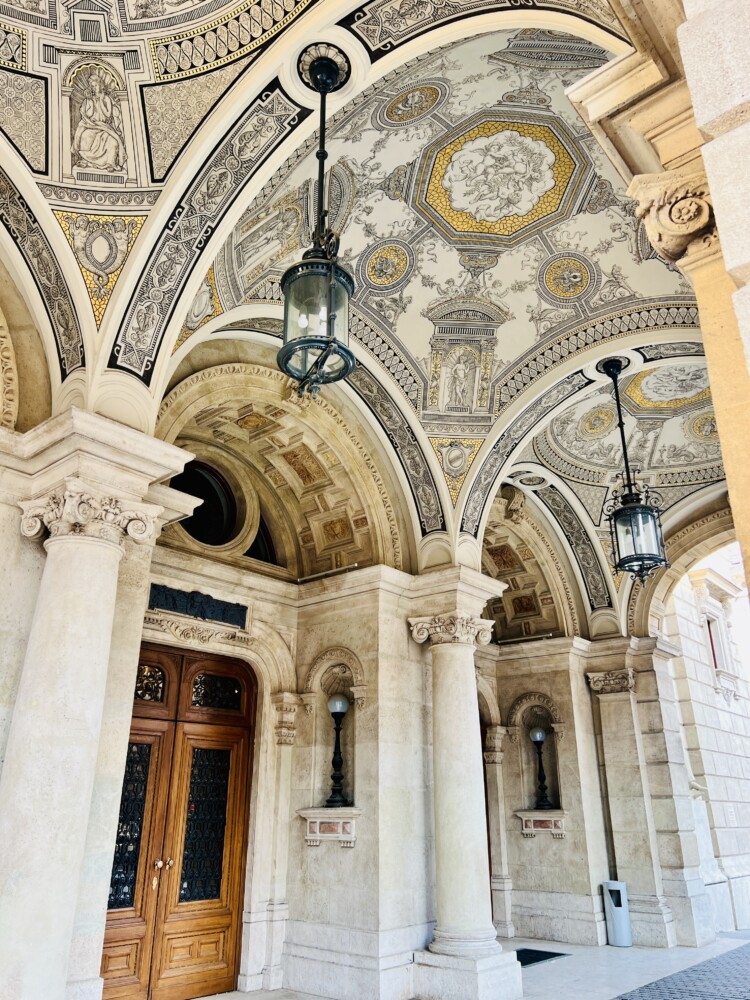
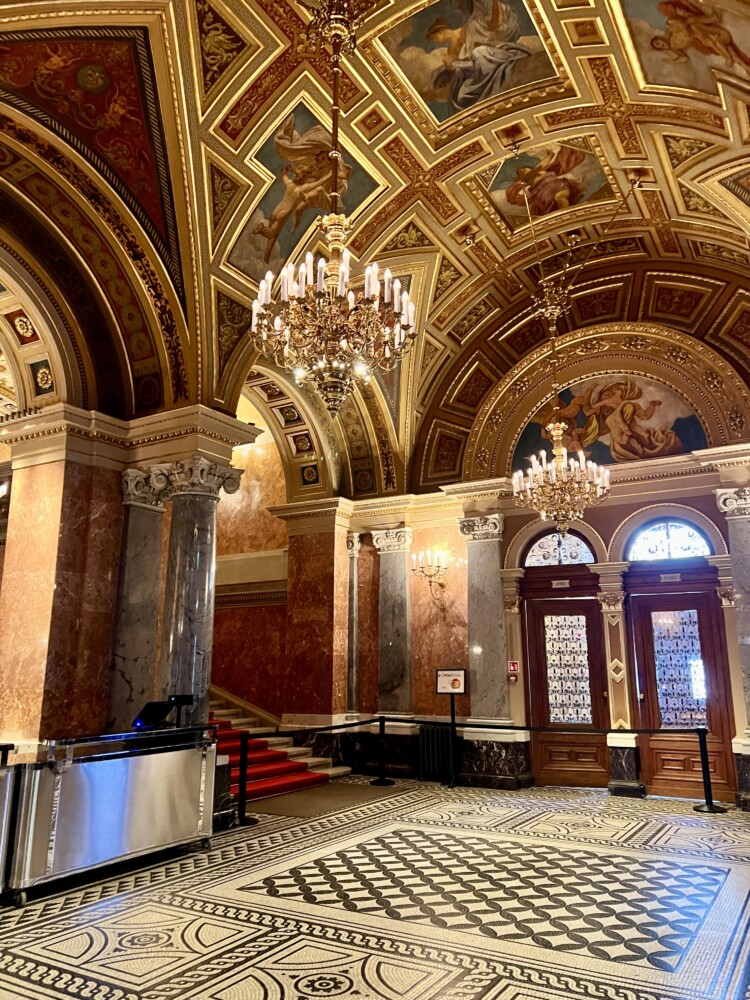
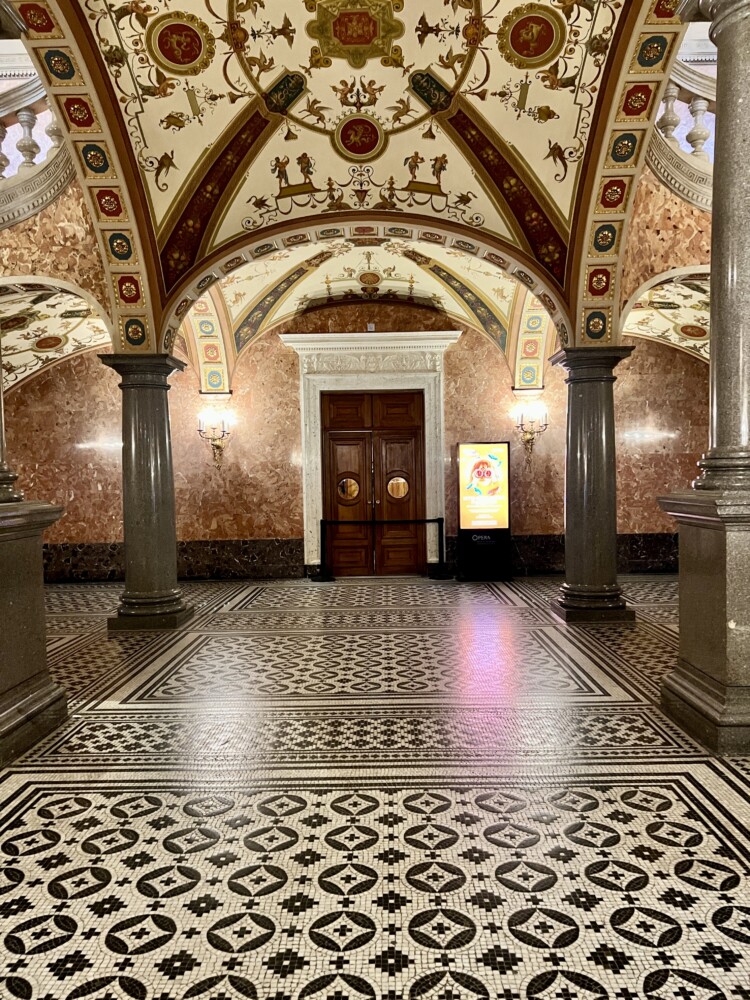
Hungarian State Opera House
First known as the Hungarian Royal Opera House, this architectural beauty hosts some of the most well known operas and ballets to grace a stage. Featuring the magnificence of new-Renaissance style, both the inside and outside of this structure boasts exquisite detail and grandeur commensurate with some of the most iconic places to visit in all of Europe. The materials used to create this grand scale include oak, cedar, marble, bronze, steel, and other natural stone. Take a look at these gorgeous pictures which display the ornate arches present in the covered porticos and walkways on the the exterior as well as the halls and passways within.
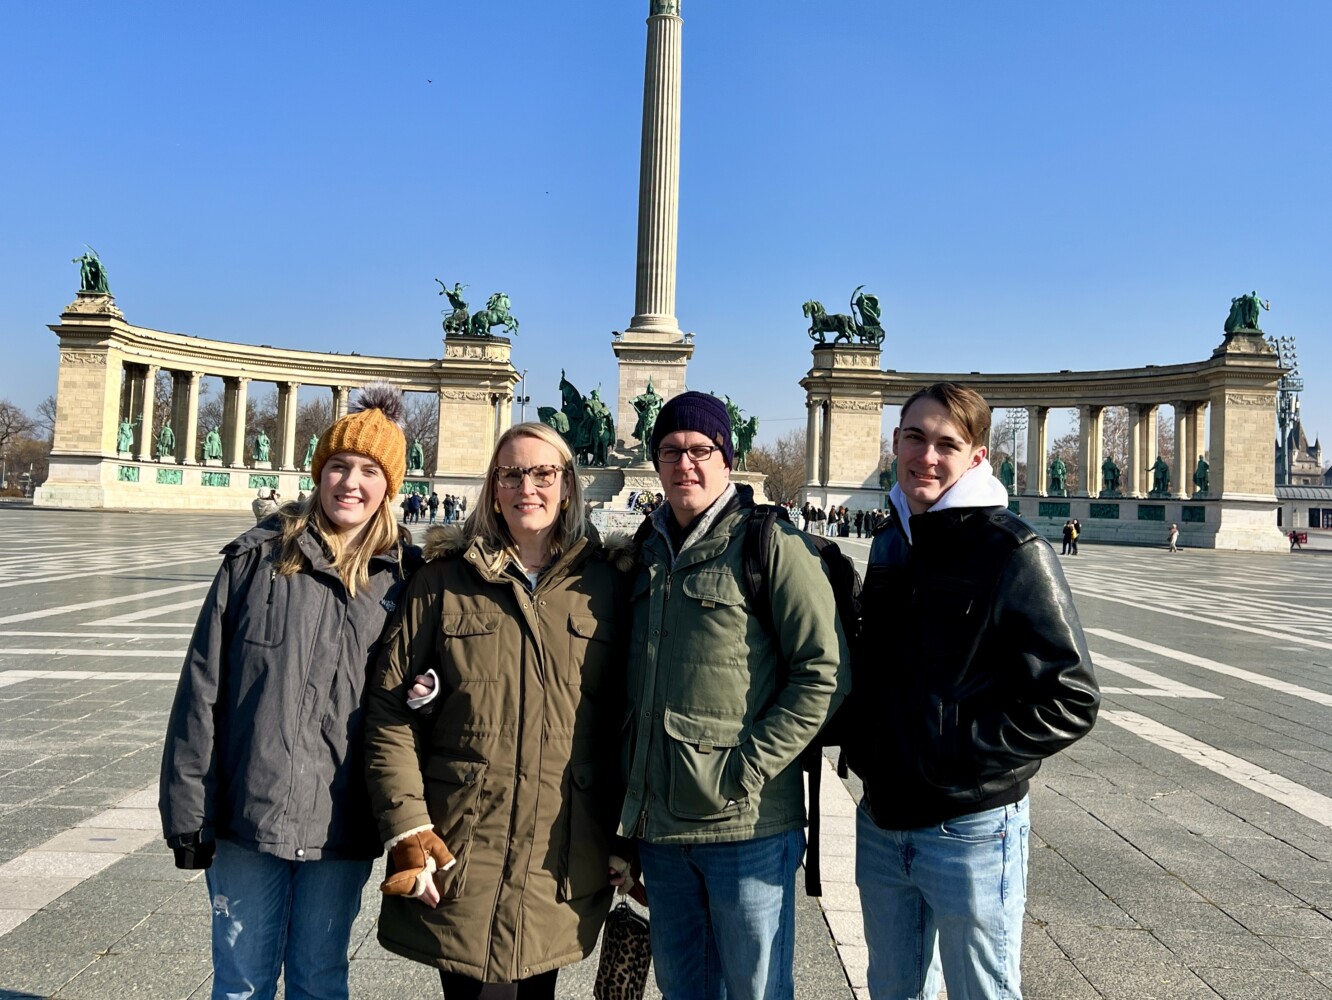
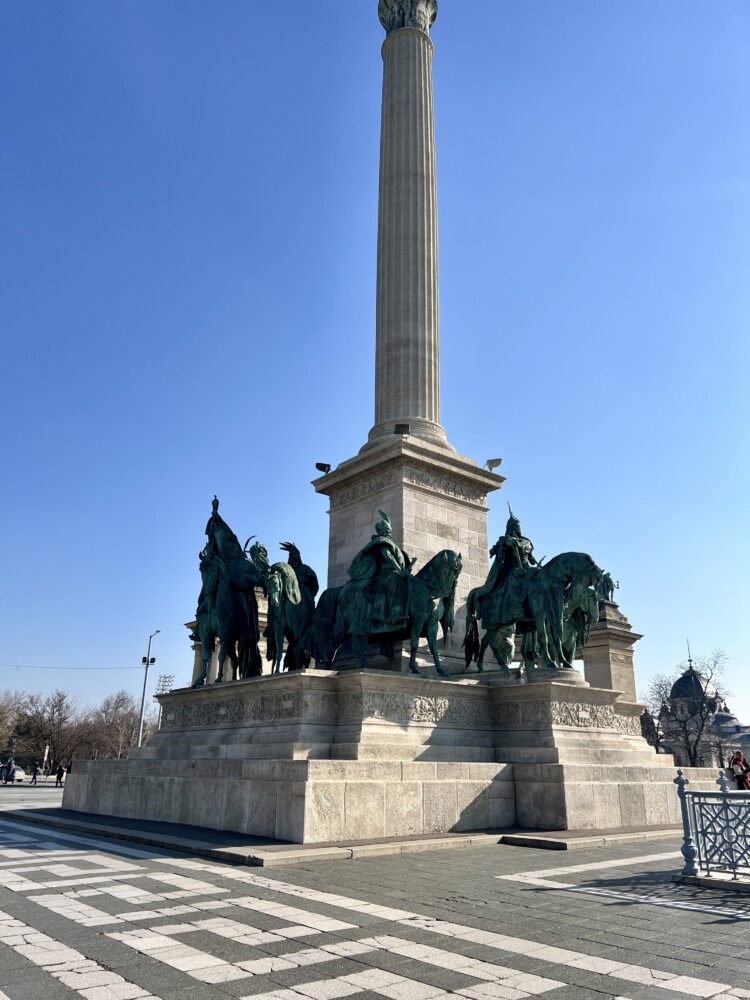
City Park & Heroes’ Square
Covering an area of approximately 302 acres, I recommend visiting City Park, Hungary’s largest public park. Amidst the wide offering for relaxation, City Park is a center for botanical gardens, museums, art, and history. One popular place is Heroes’ Square and serves as a central meeting point for the history and culture of Budapest. You will see in the photos below the iconic statues that form the Millennium Monument, a commemoration for the founding of Hungary.
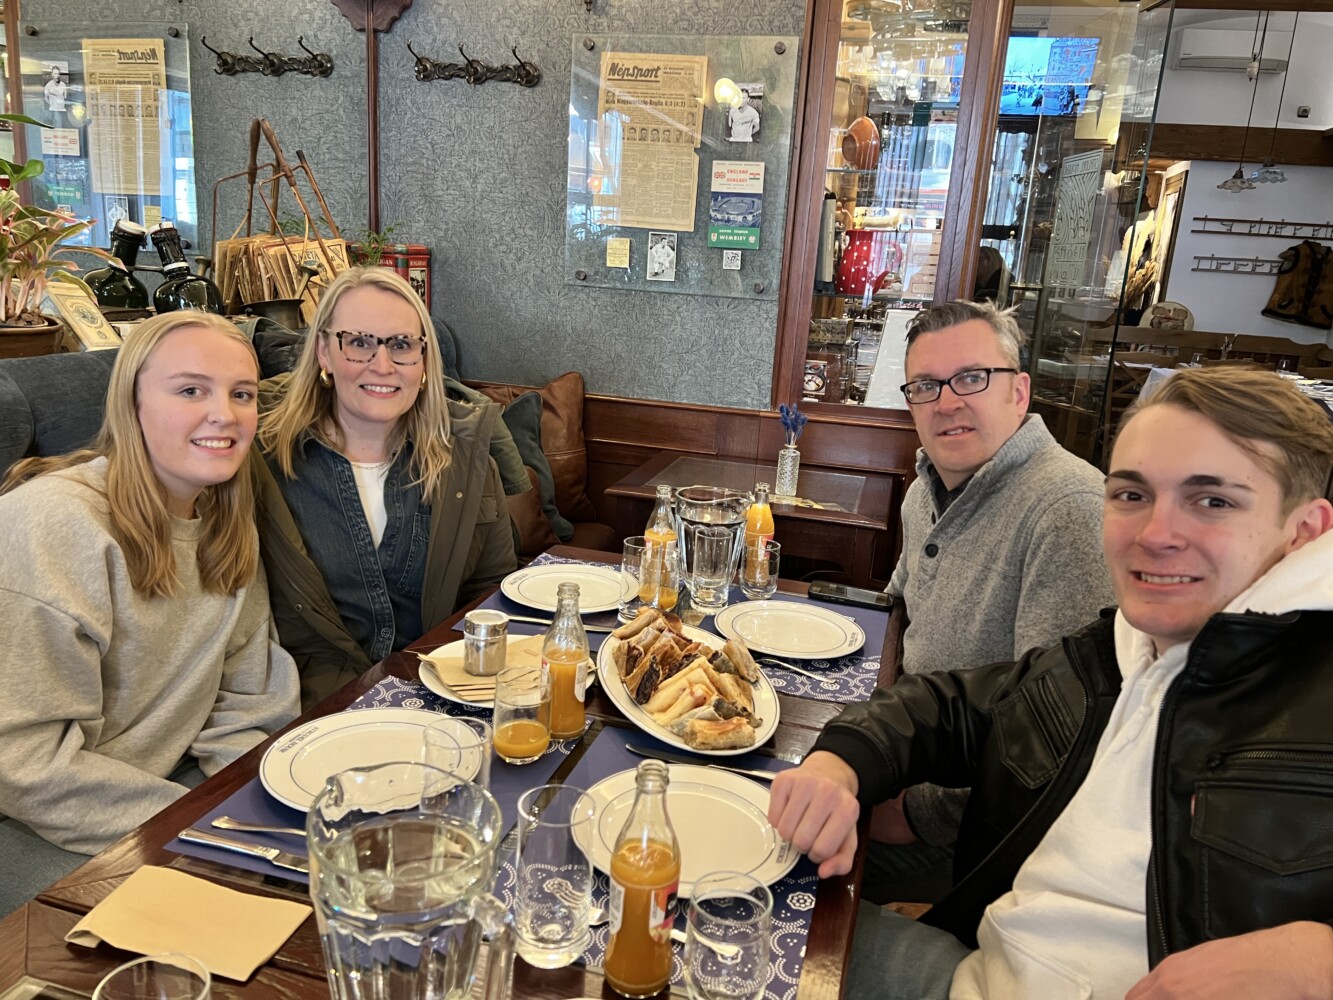
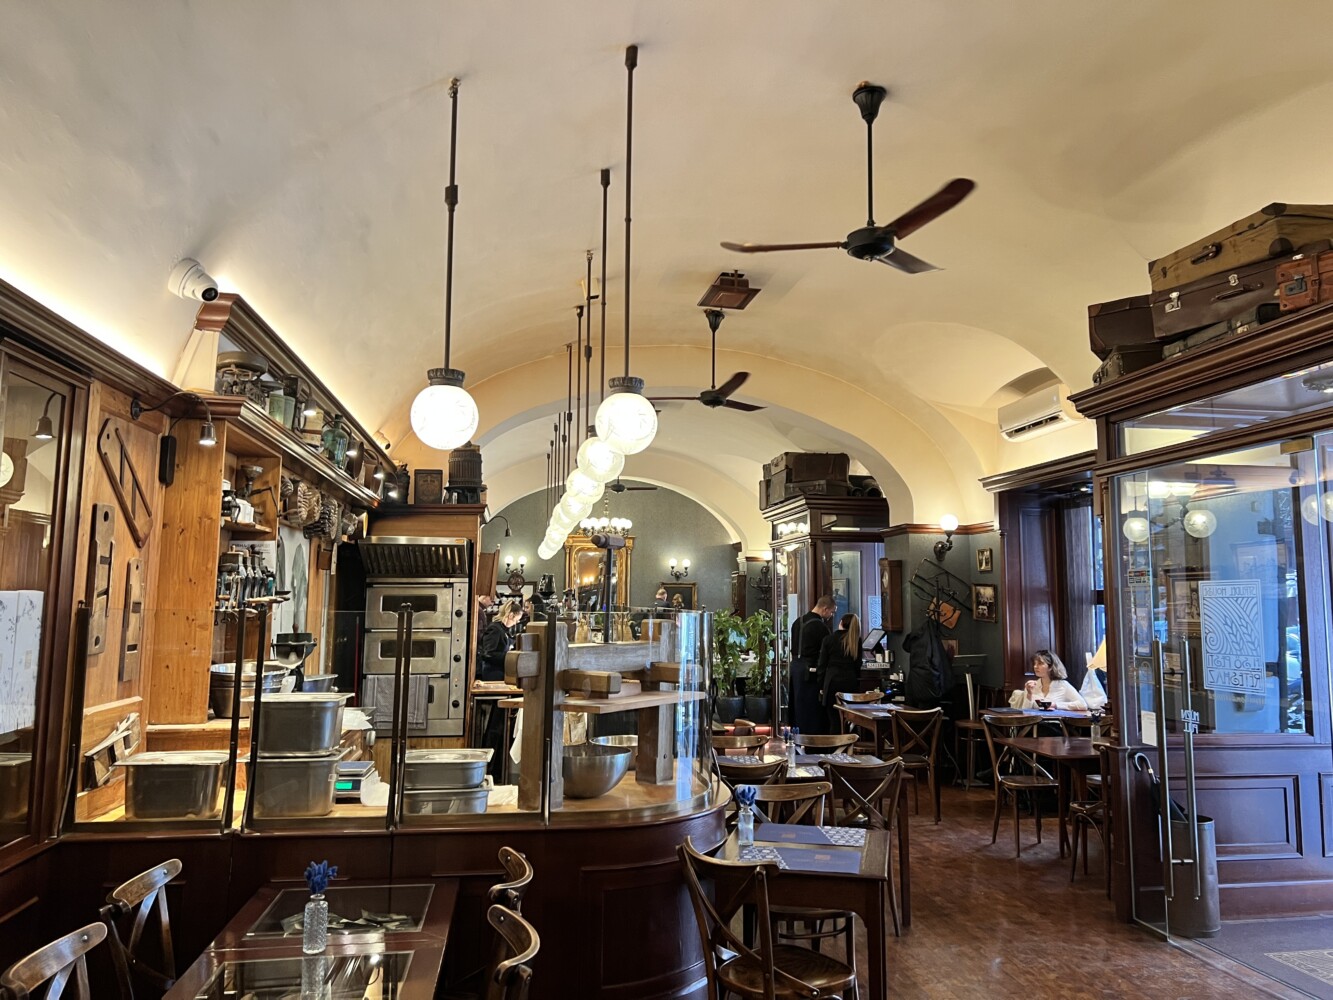
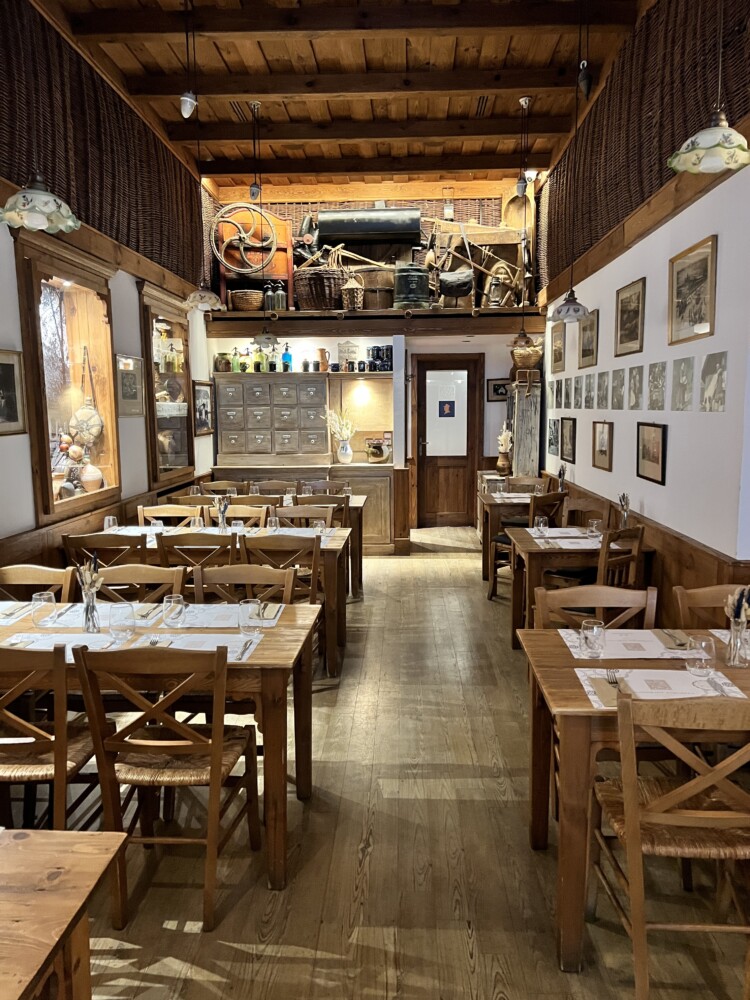
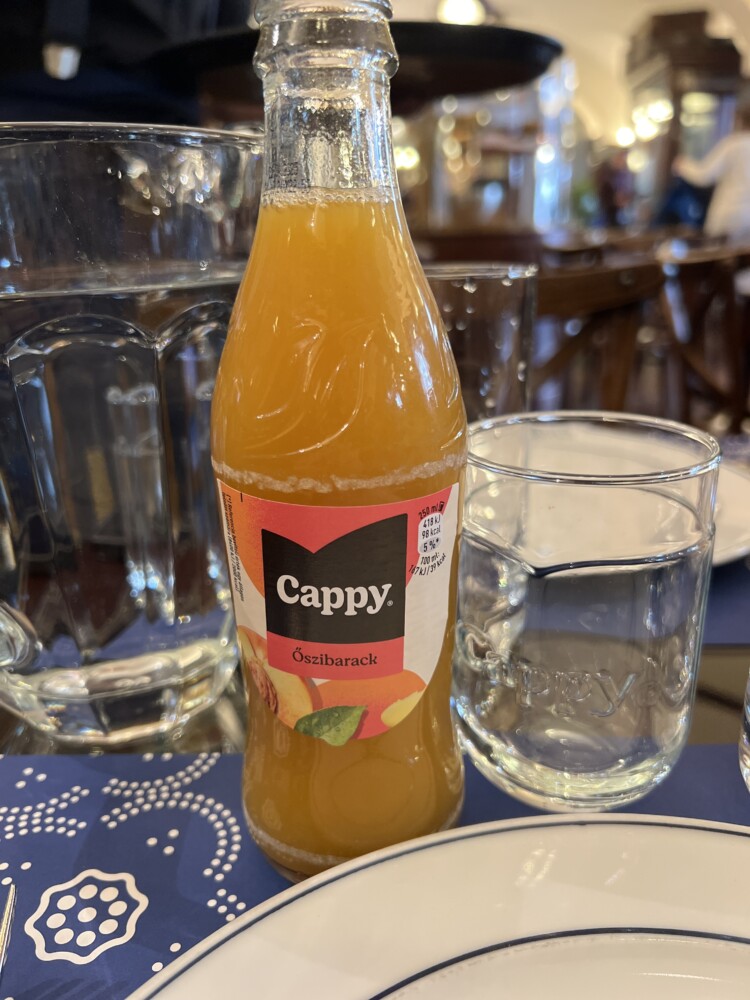
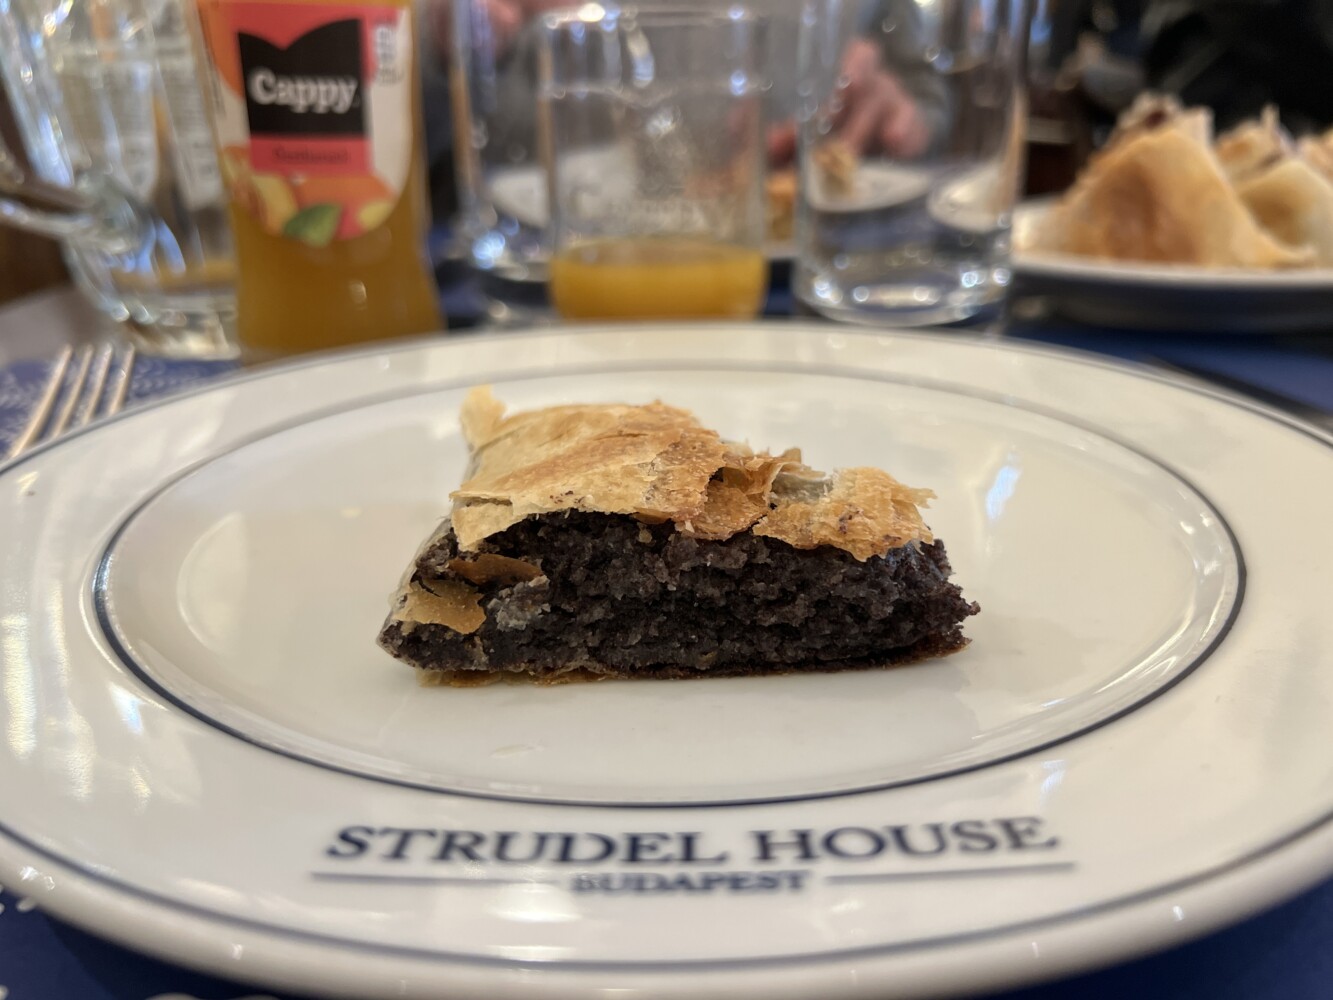
Strudels – Delightful Treats in Budapest
We took a little time to stroll and explore the sights, and we decided to stop and enjoy a little bite to eat. At The First Strudel House, we got filled up with delicious strudel while enjoying the cozy and warm atmosphere. It was the perfect thing for a mid day pick me up!
Exploring the History & Culture of Budapest
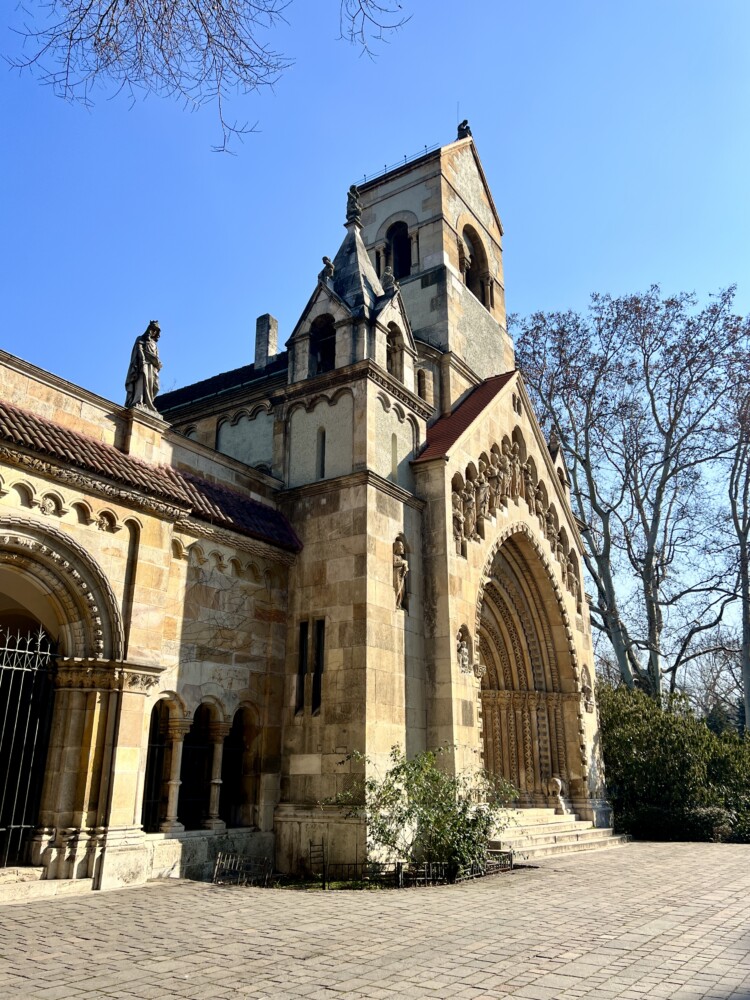
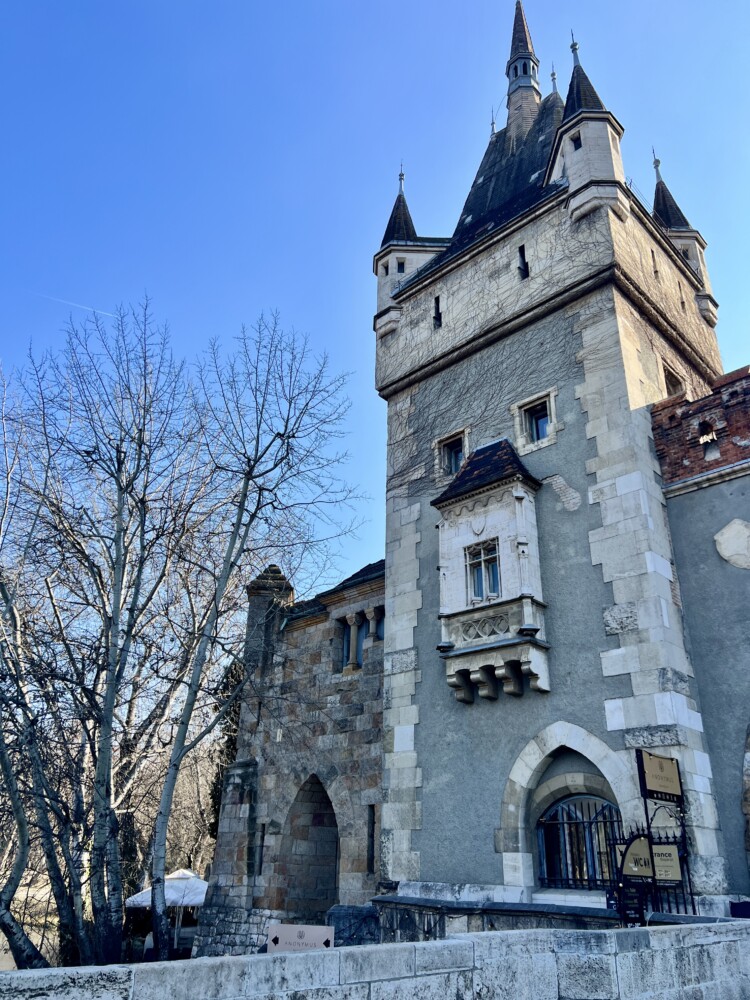
The next few places as part of our walking tour led us to 3 historical pillars of this rich city. Vajdahunyad Castle, Szechenyi Baths & Pool, and St. Stephen’s Basilica are all major landmarks of Budapest and showcase the beautiful and grand architecture of Hungary.
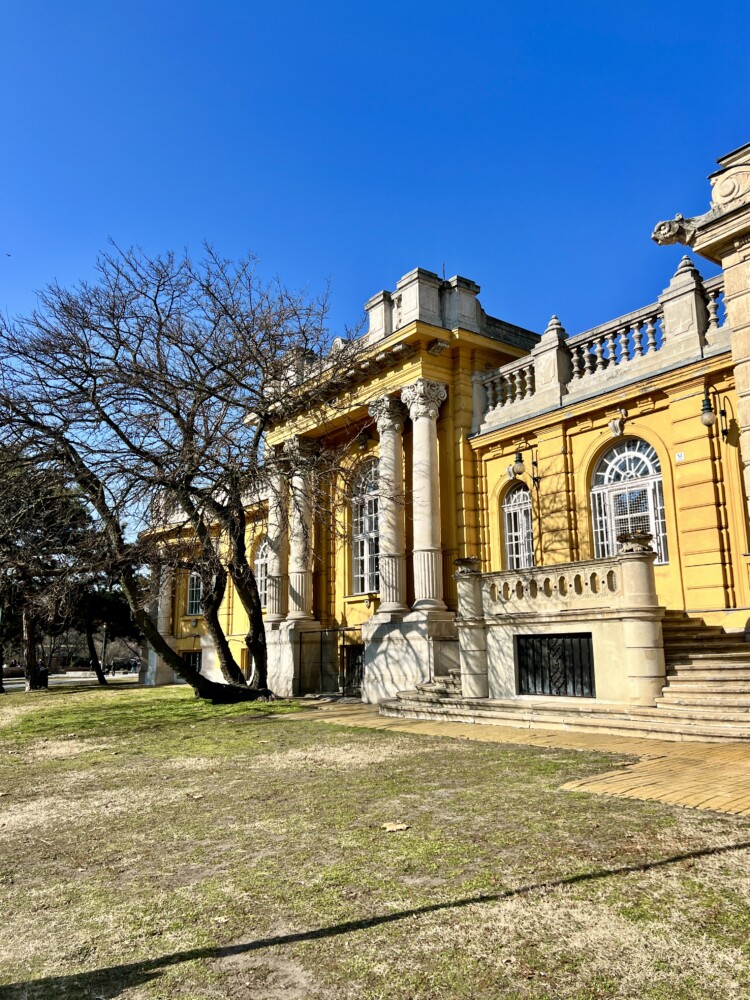
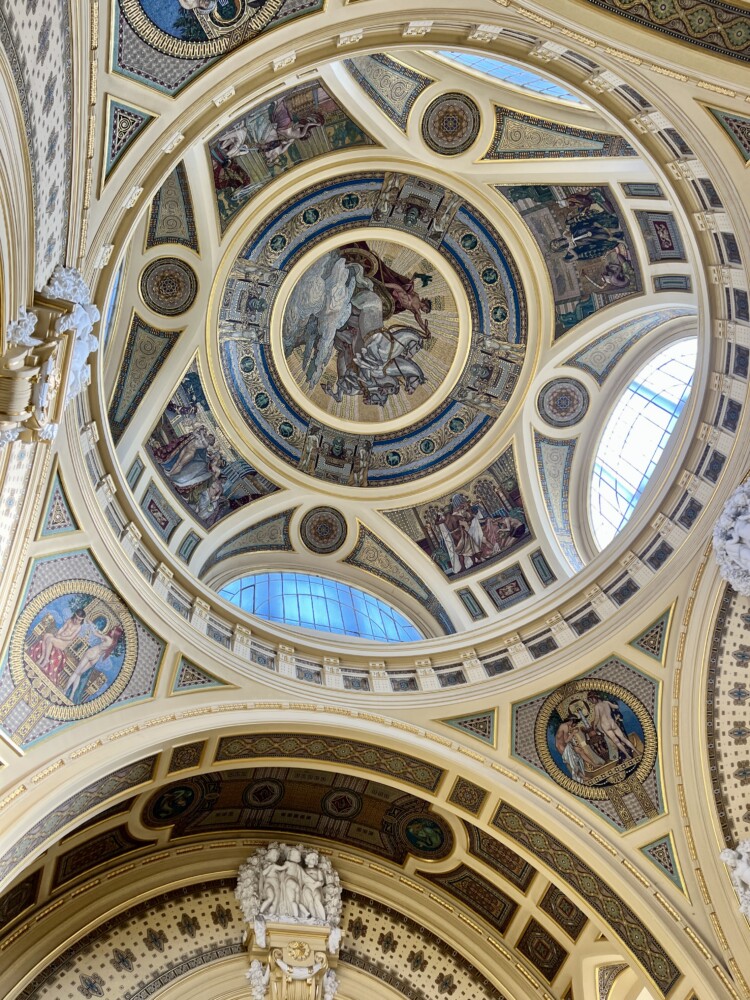
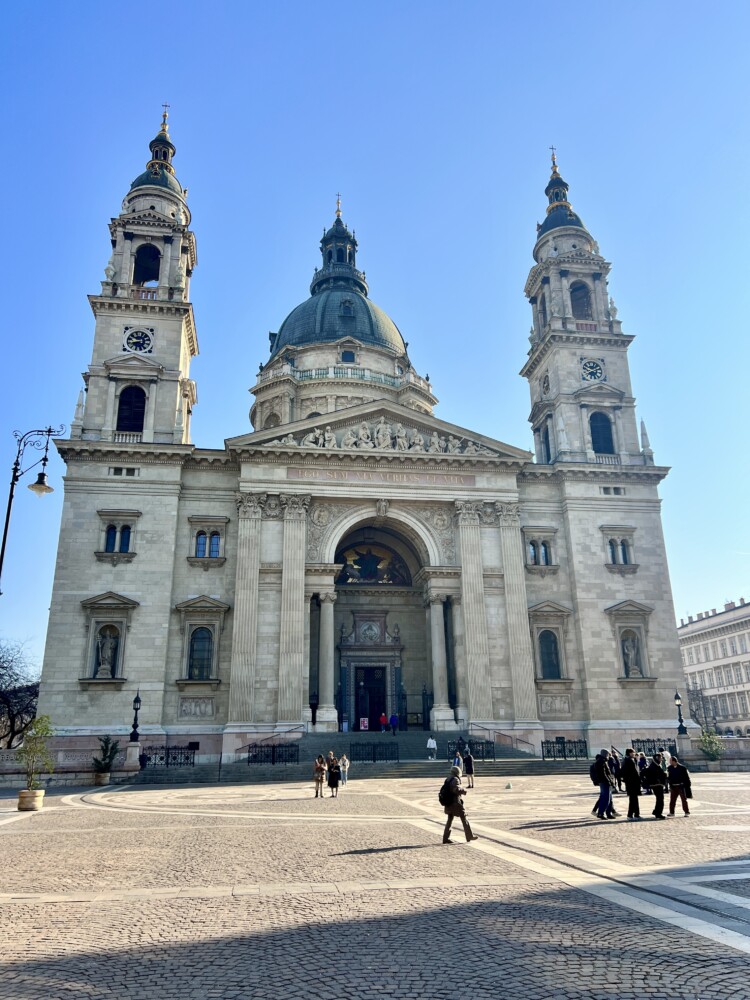
The yellow building you see is the ‘palace’ structure that encompasses indoor spas and surrounds the outdoor pool of the Szechenyi Baths & Pool, the largest spa in all of Europe! Next to that, you will see St. Stephen’s Basilica, one of Hungary’s most treasured and blessed churches.
After a short visit, our journey led us to a deeper dive into the history and government of Hungary. Szabadsag ter, a local park near the main government building is home to memorials and monuments that pay recognition to the liberation of Hungary from communist rule and domination under the Nazi occupation. Although I don’t have any pictures to share, this park serves to memorialize freedom for the people of Hungary, an endeavor that was not finalized until 1989 for this country.
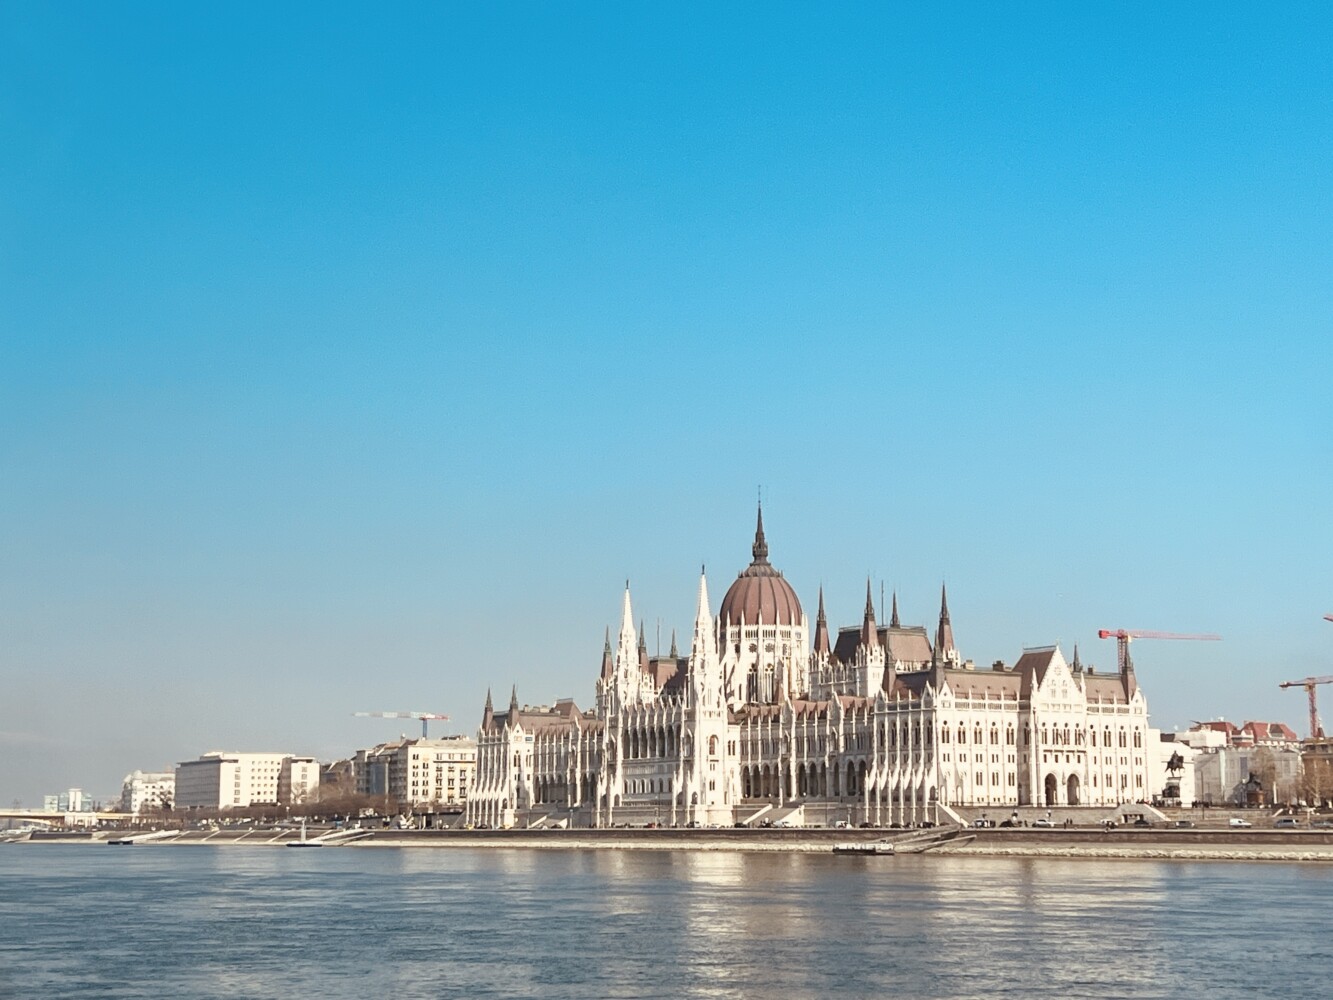
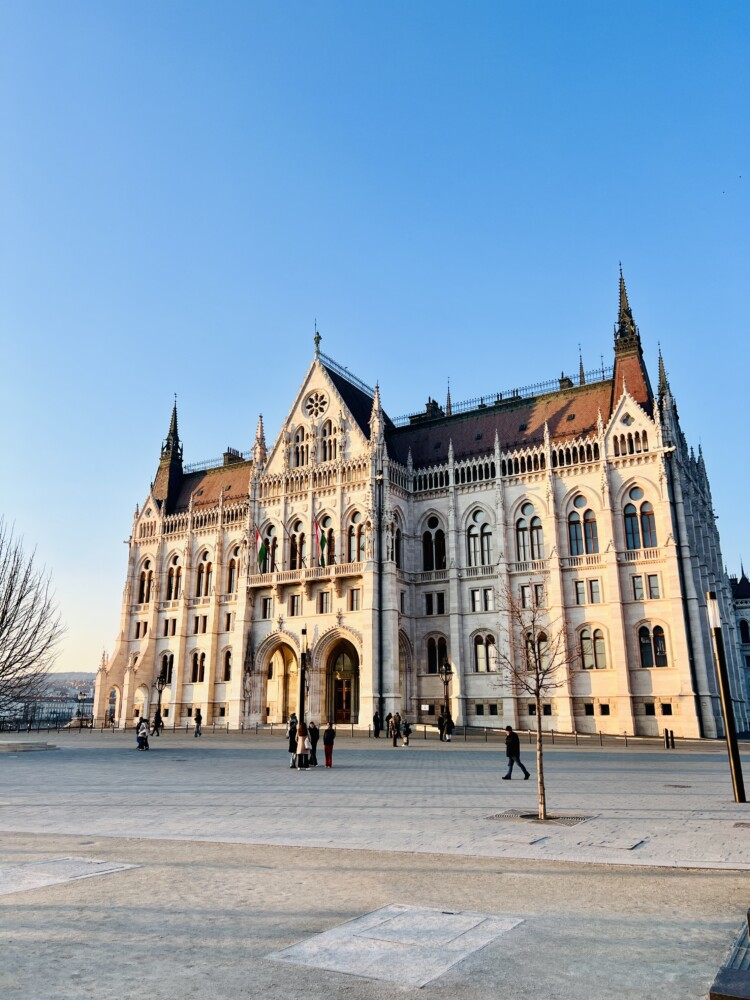
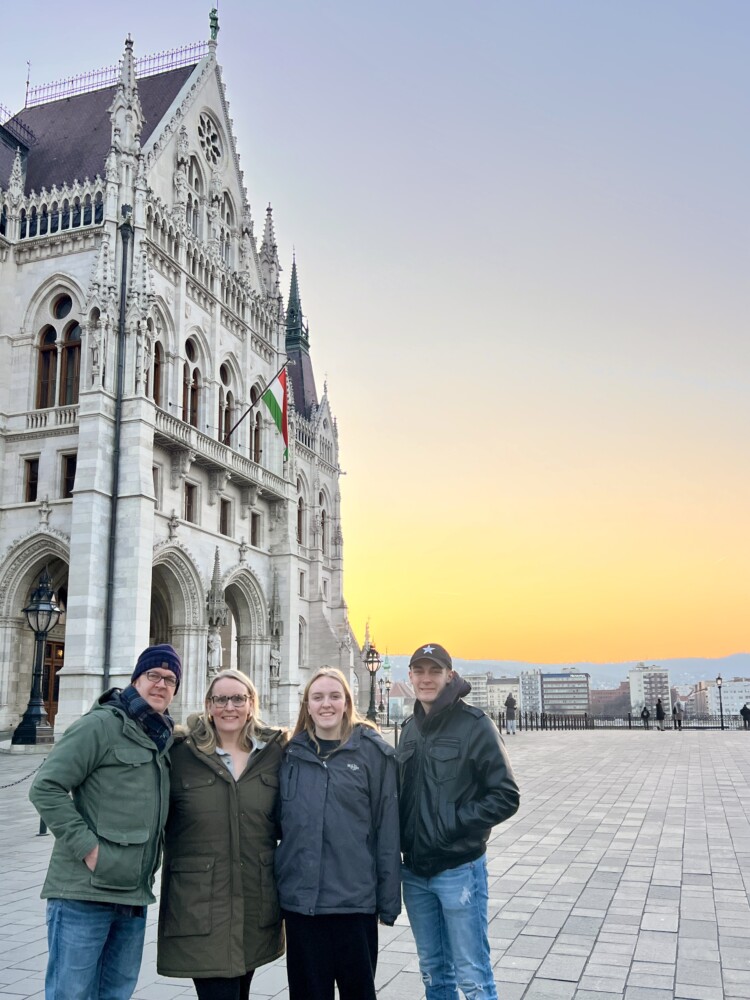
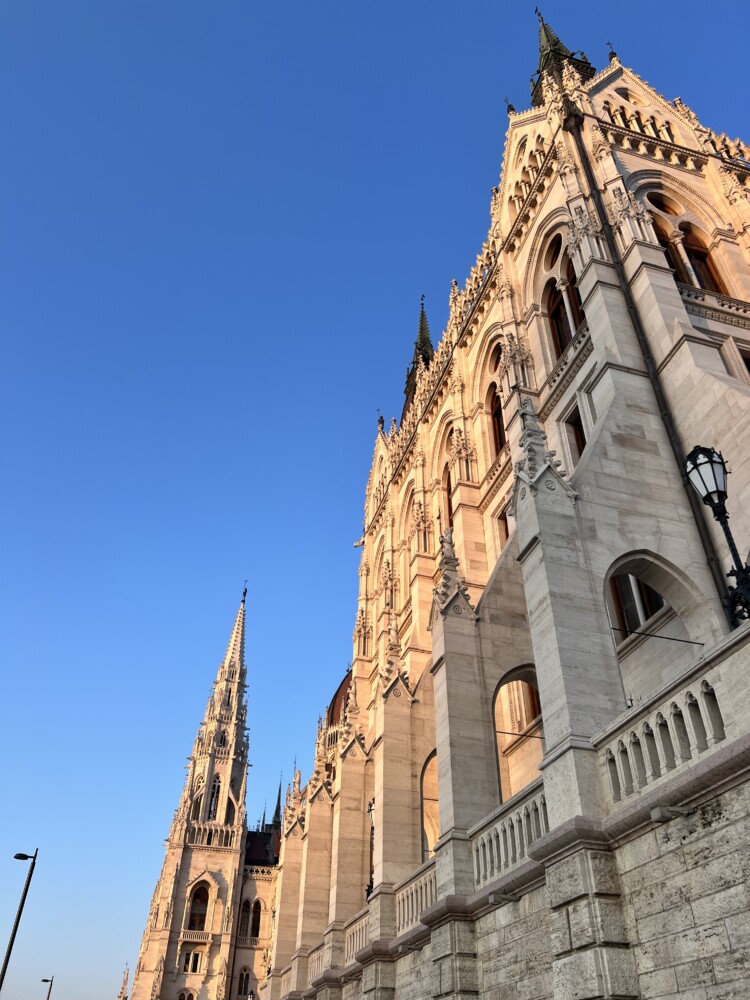
Hungary is now a Parliamentary Republic. Budapest, as capital of Hungary, is home to the official government offices, and our tour allowed us to stop by and see the outside of the Hungarian Parliament Building. It is beautiful. I wish we had an opportunity to go inside as I feel like it would have been worth the extra time. Below are some pictures. Just look at the grandeur!

Next up we strolled by the Danube River and found our way to Szechenyi Lanchid. Spanning over 1,200 ft. this iconic bridge stretches over the Danube, bridging the Eastern and Western sides of Budapest. We did not get any photos, but it is quite a sight!
Buda Castle – Iconic District of Budapest
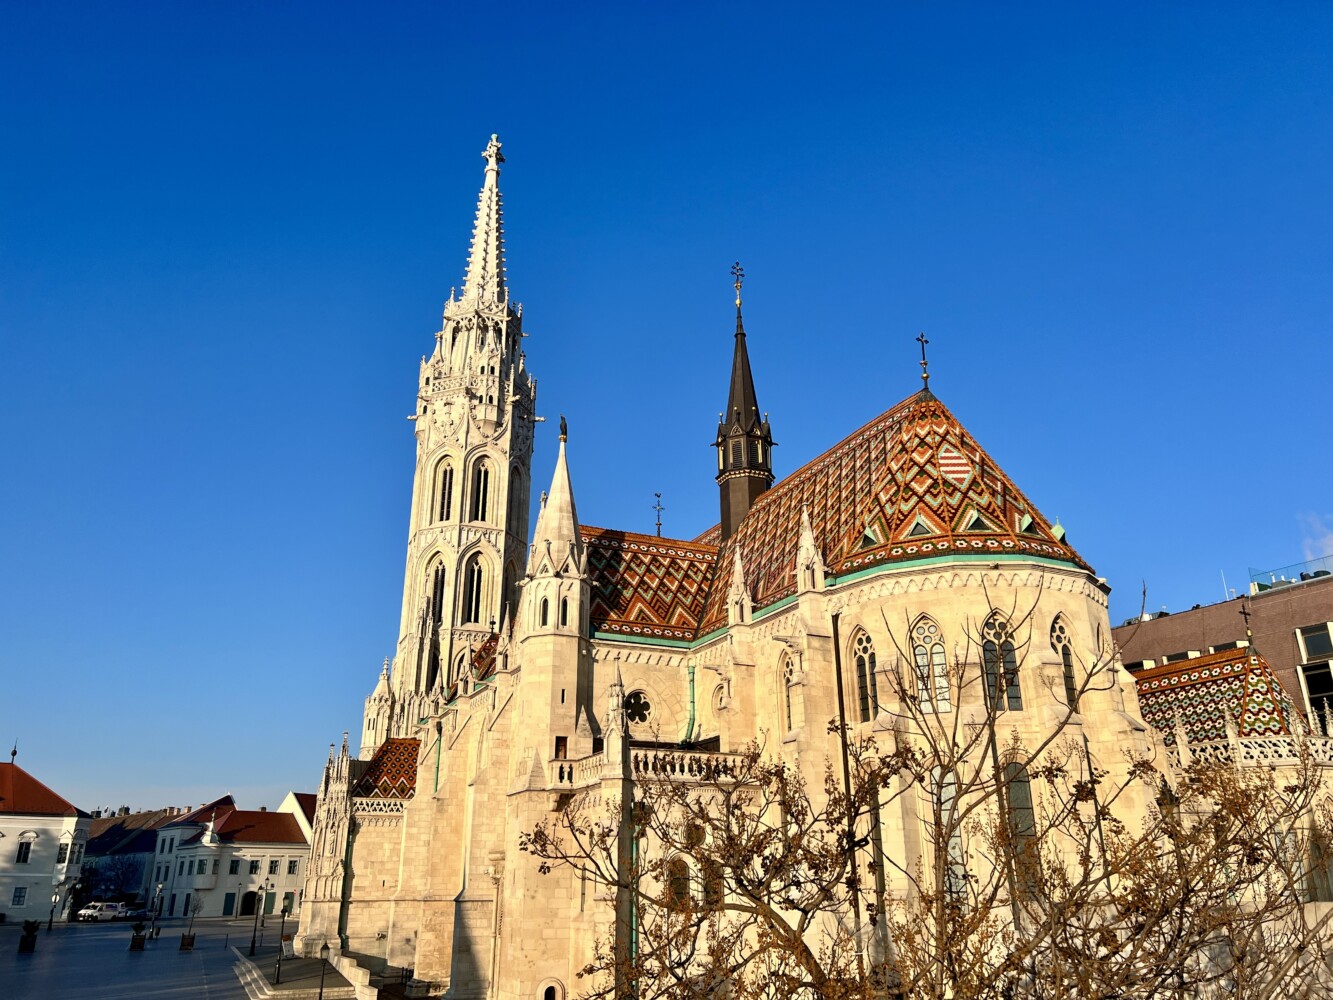
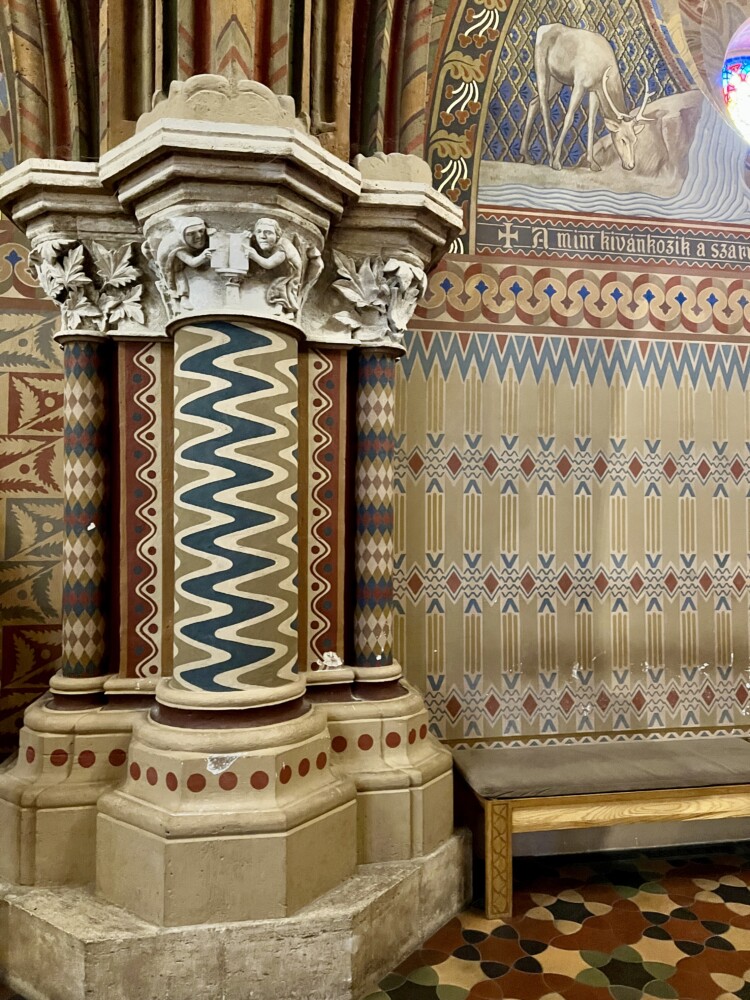
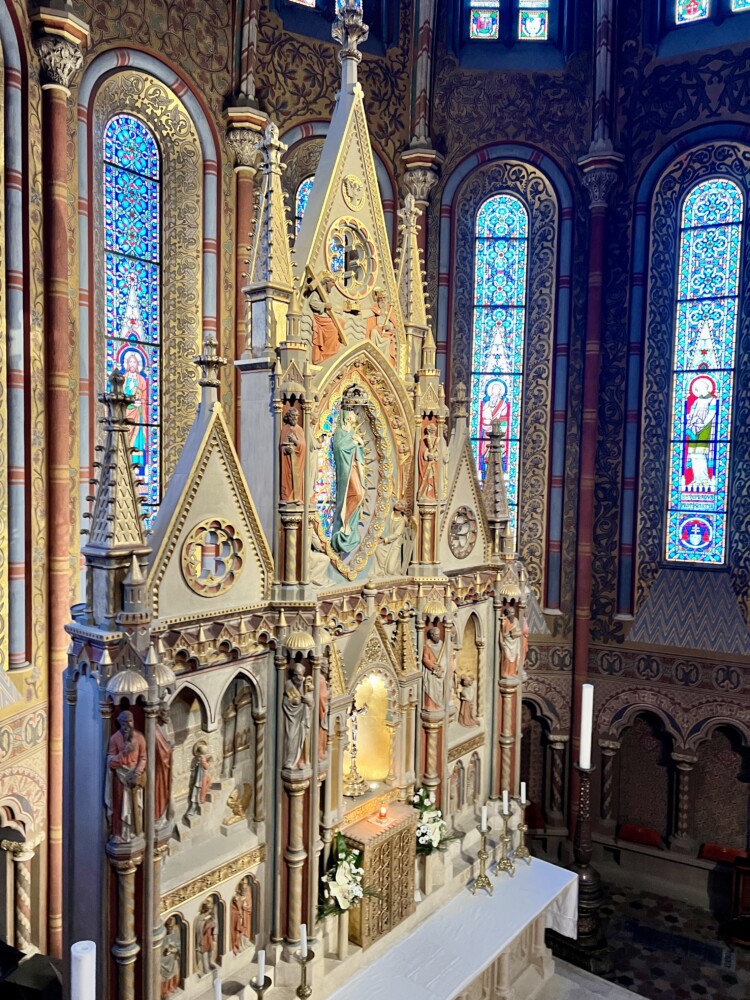
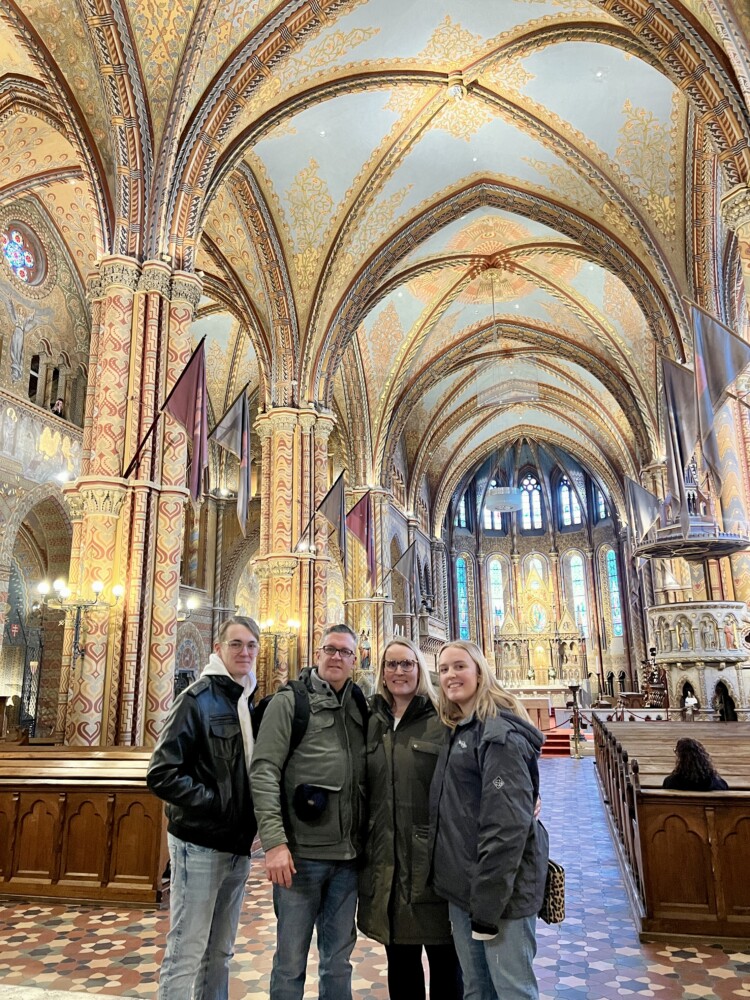
Next we found our way to Buda Castle. Although the name may seem like a single destination, Buda Castle is much more. This palatial complex includes (you guessed it!) a castle as well as museums, historic buildings and churches. Most impressive to me was seeing Matthias Church, featured below. Also known as the Church of Our Lady, this landmark is one of the oldest in the city, making it a true story telling stop and well worth the time.
Take note of the roof top at Matthias Church. From a distance you are not able to see it, but when you get a closer look, the roof is made of thousands of tiles – around 149,000 actually.
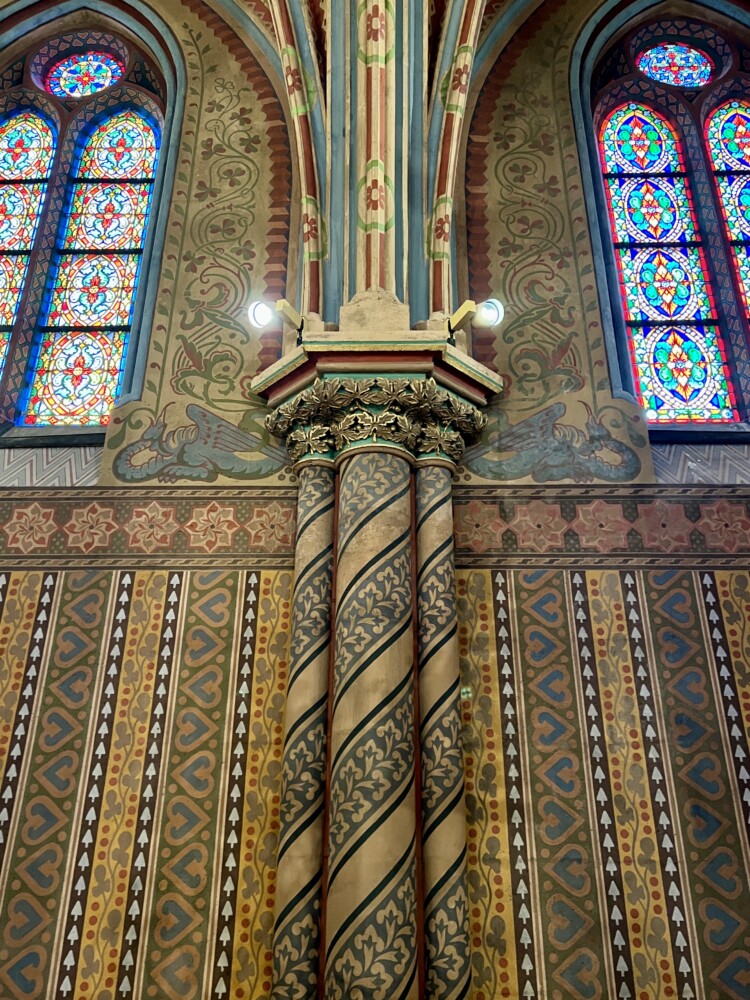
Details just as magnificent as those ceramic tiles are featured on every inch of the inside of this church. Take a look at the intricate patterns adorning the walls, windows, and arches within the interior walls.


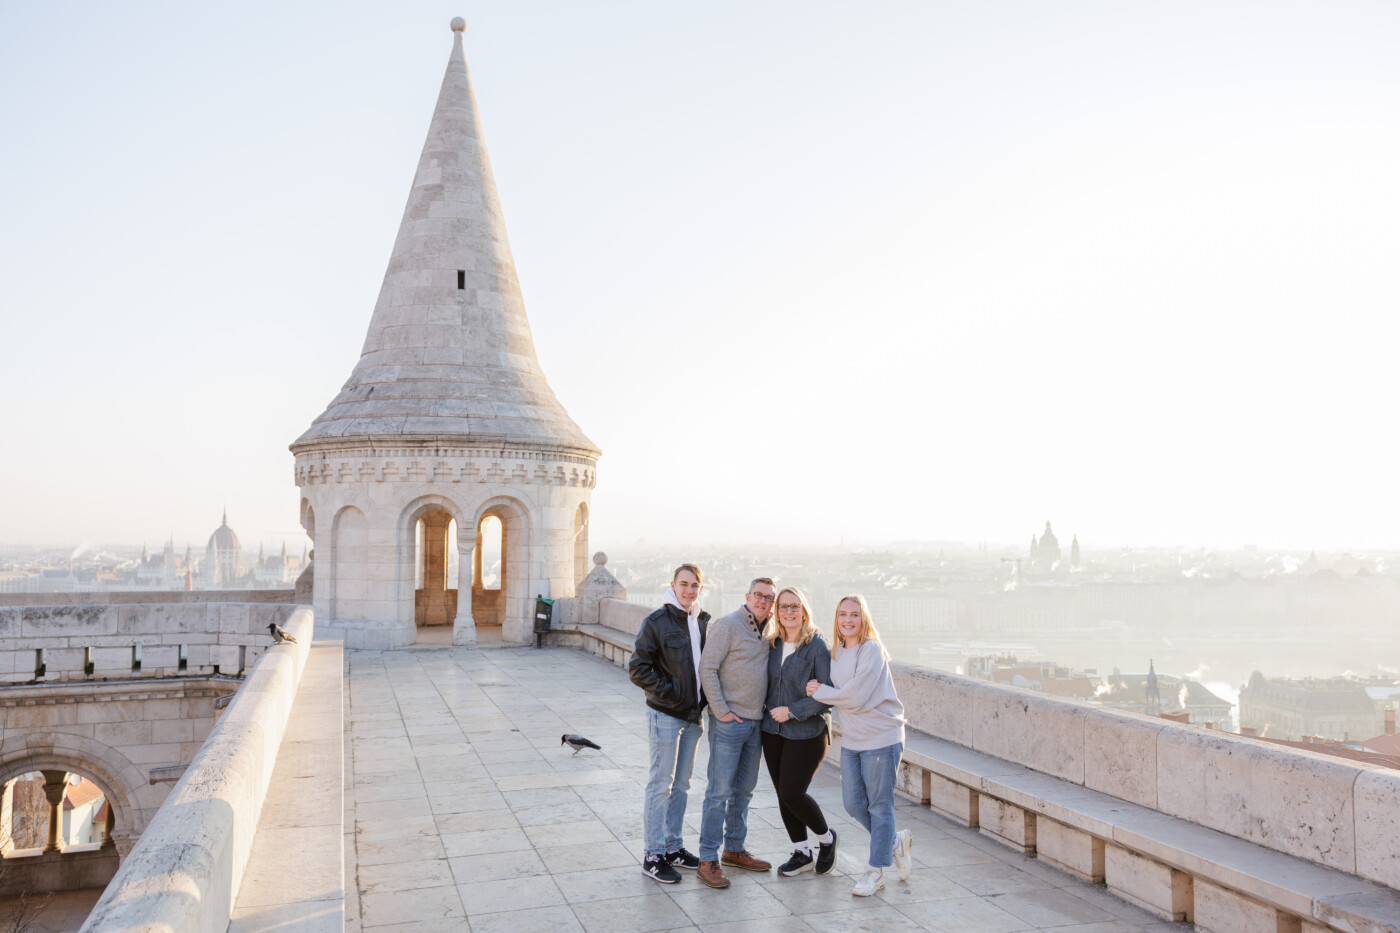
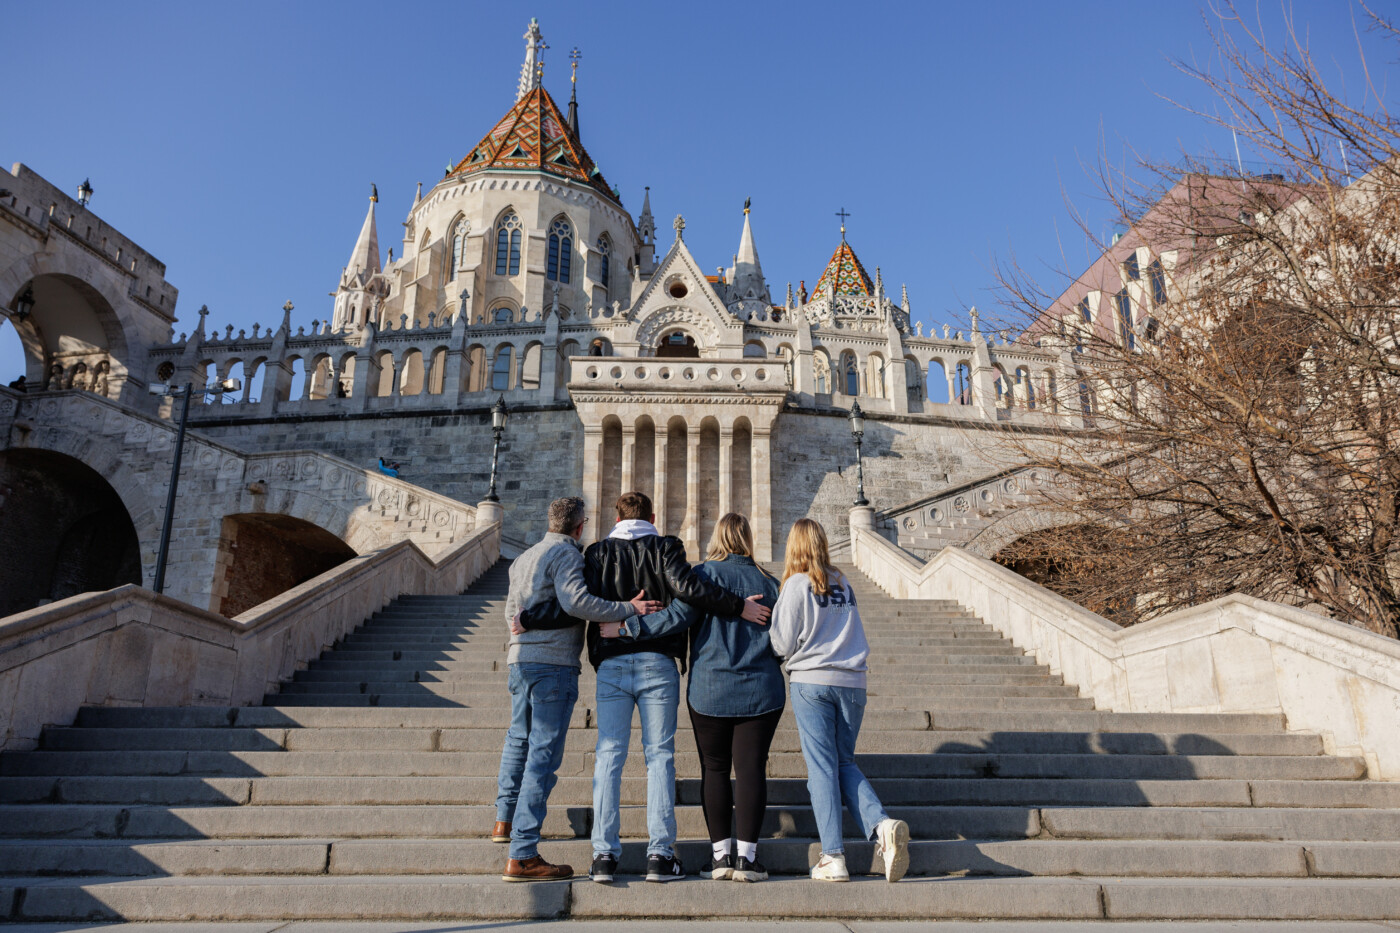
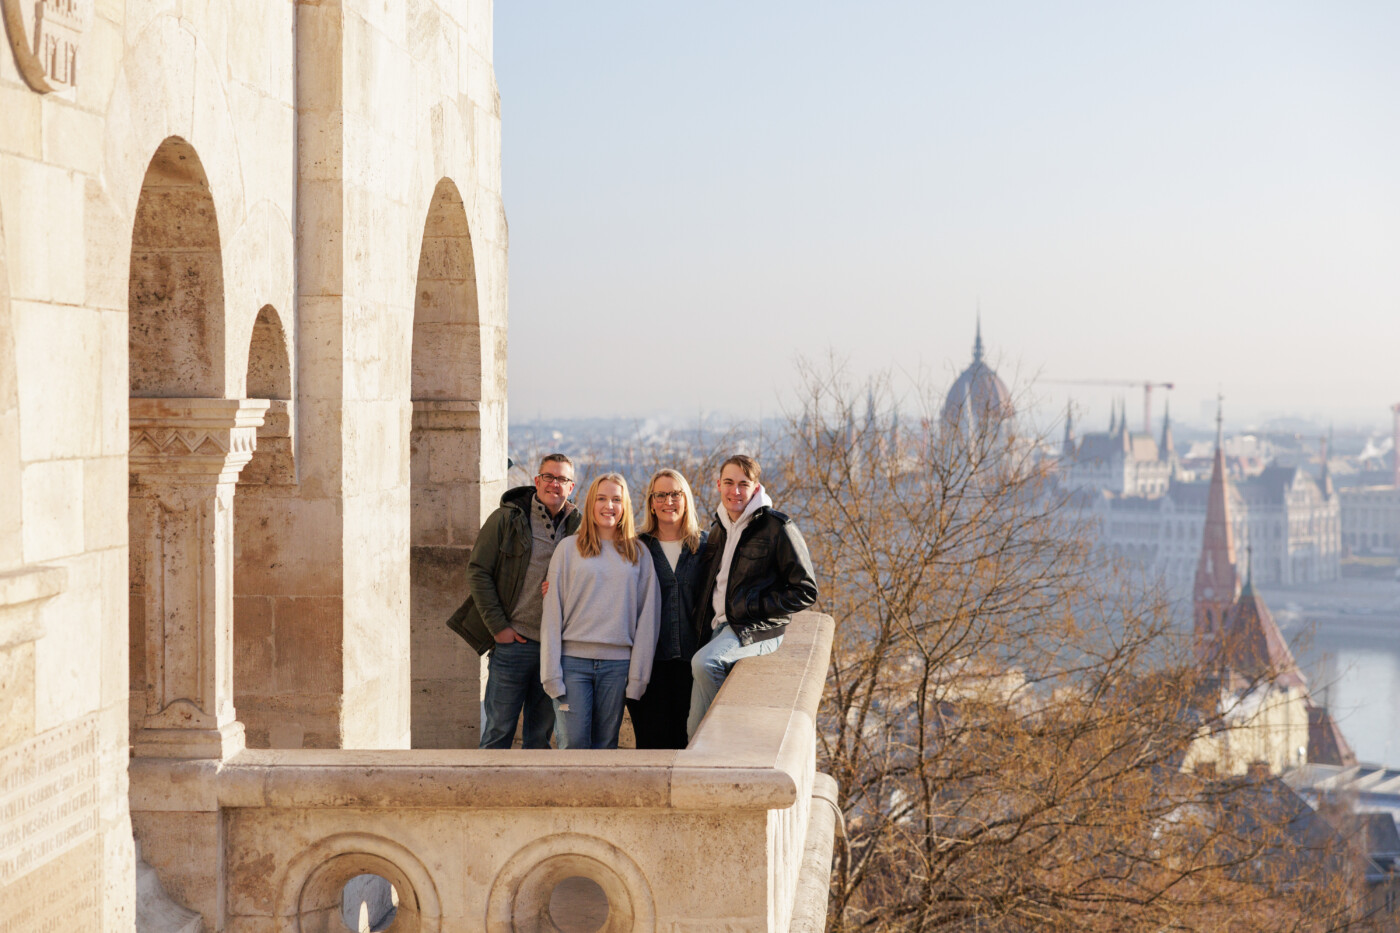
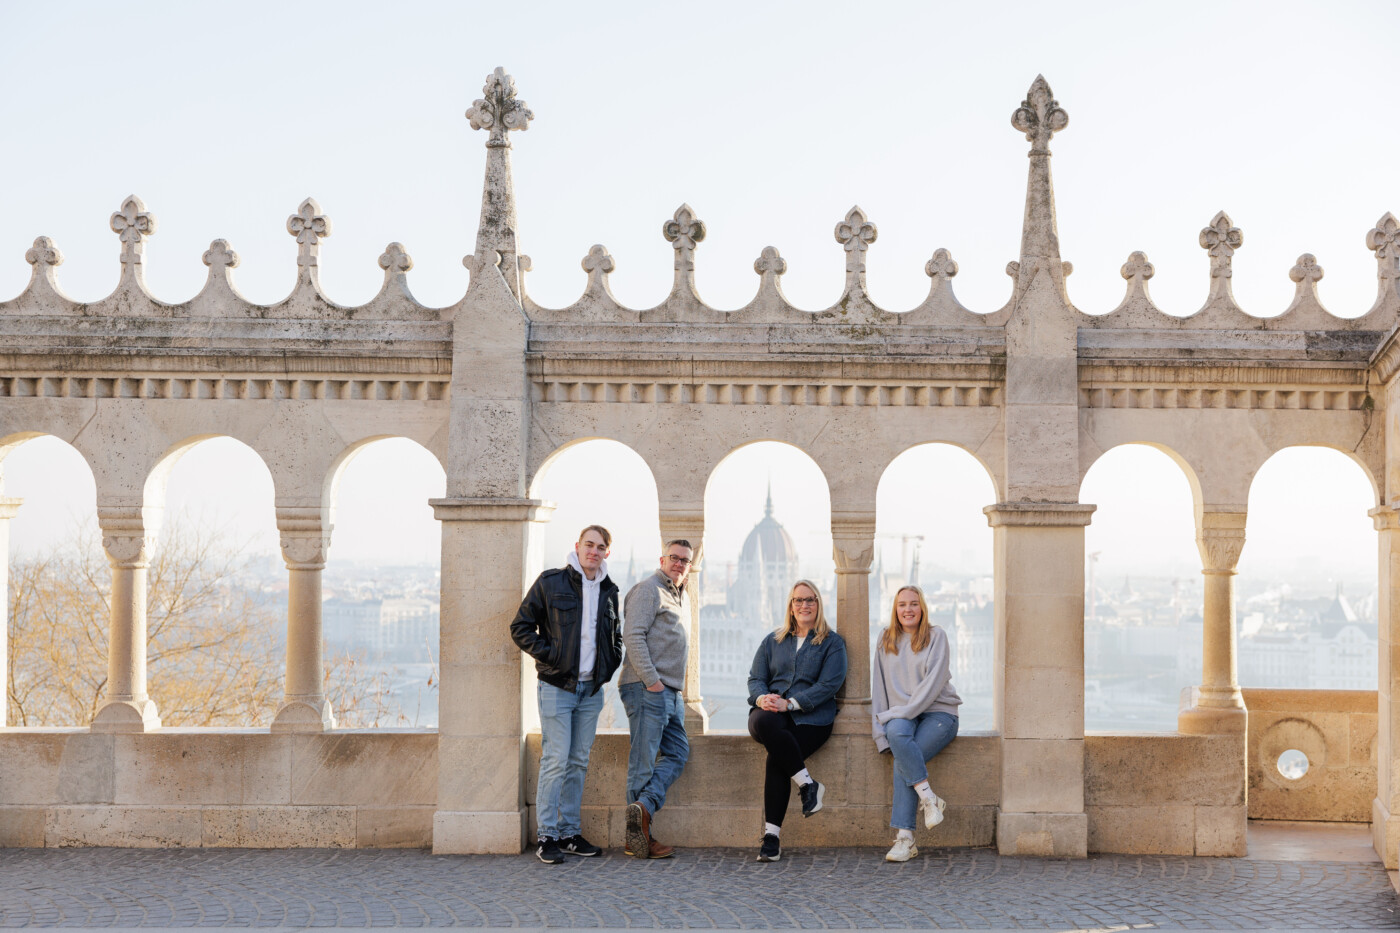
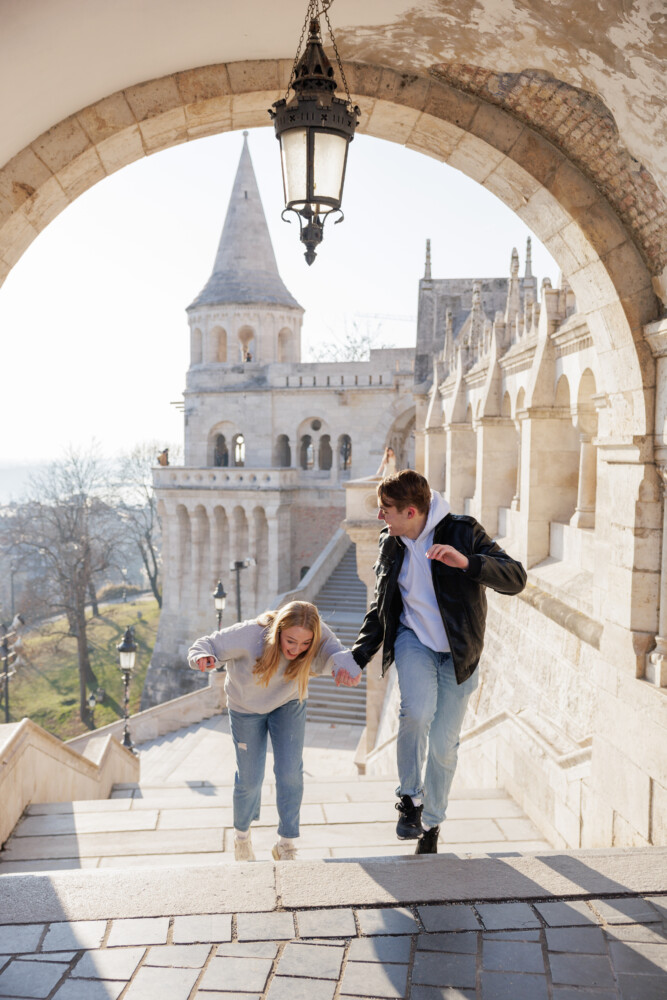
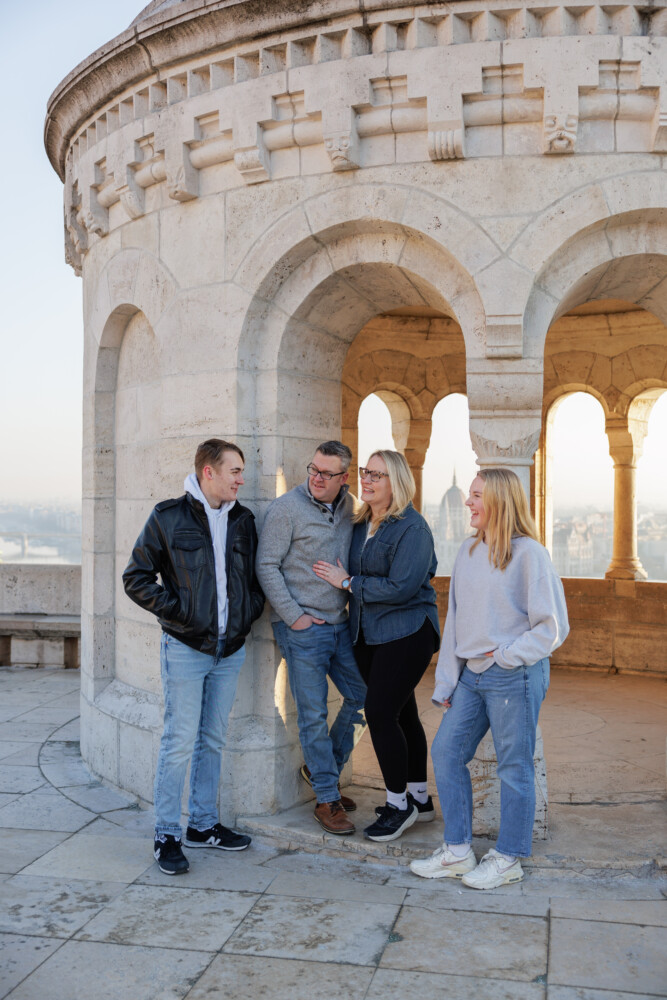
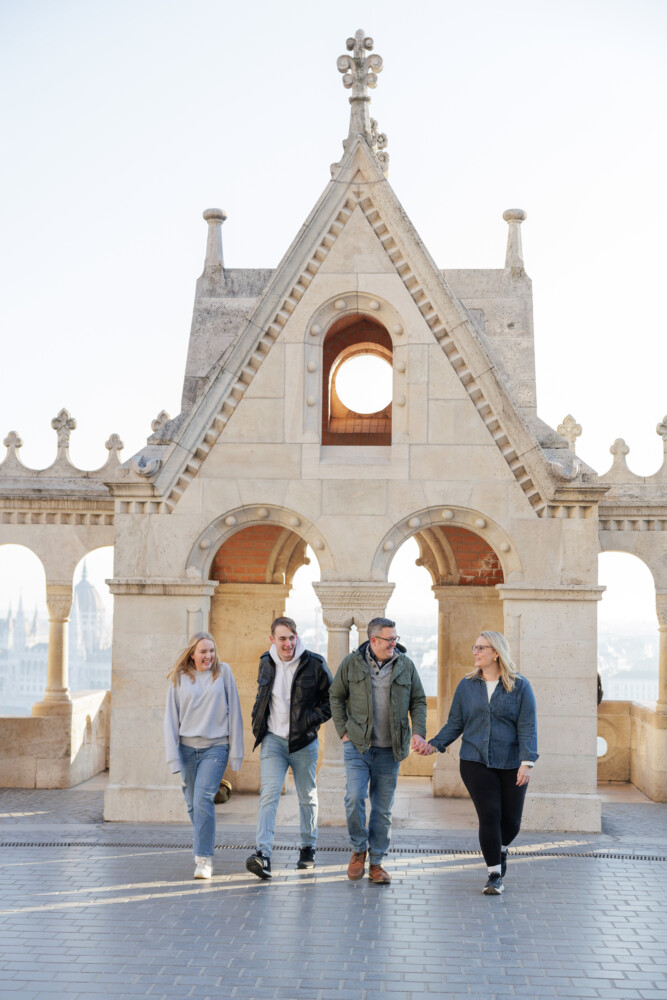
Our final stop at the Buda Castle District was at Fisherman’s Bastion, a historical monument and architectural feature known of Budapest. Overlooking the whole of the Buda Castle District, views from the bastion are breathtaking! You can see for miles out into the whole city.
Saying Farewell
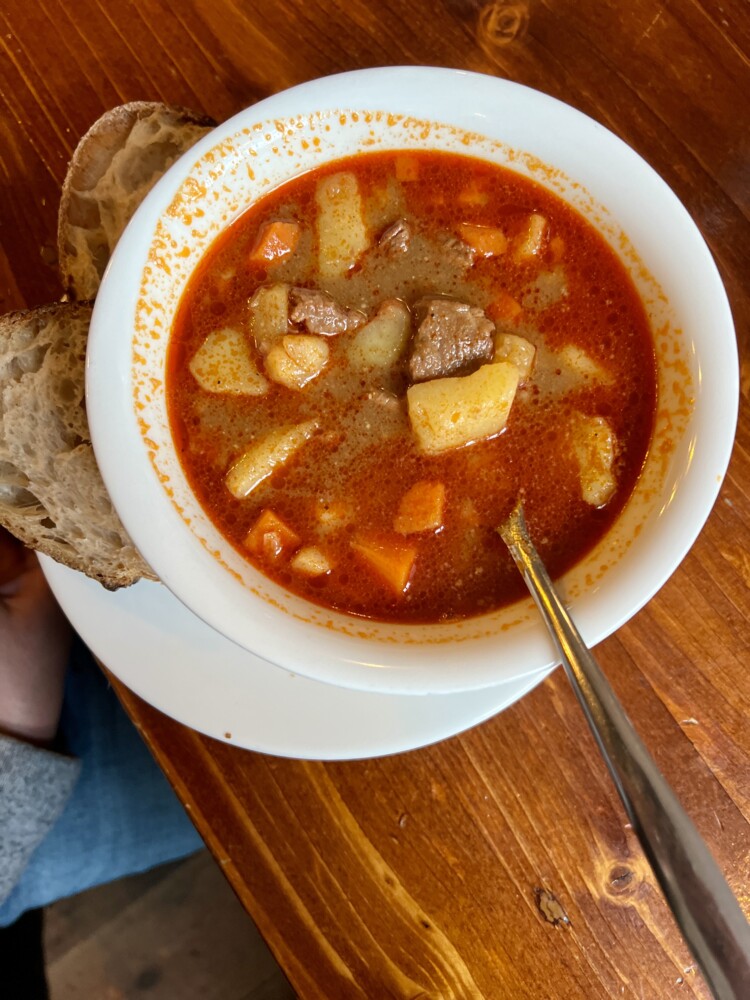
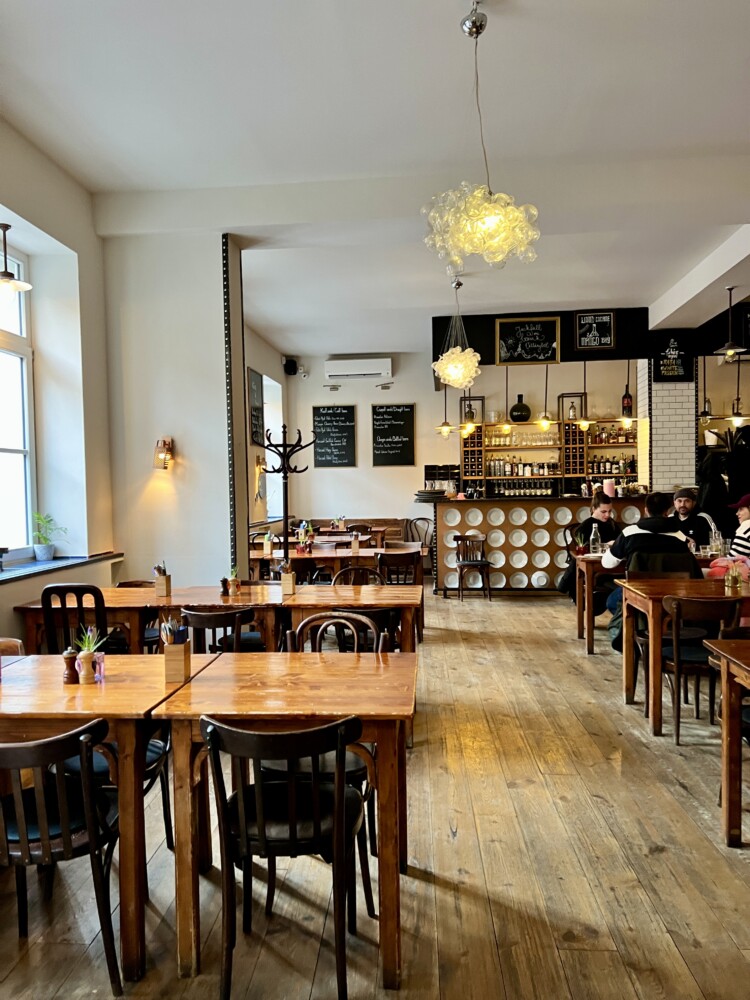
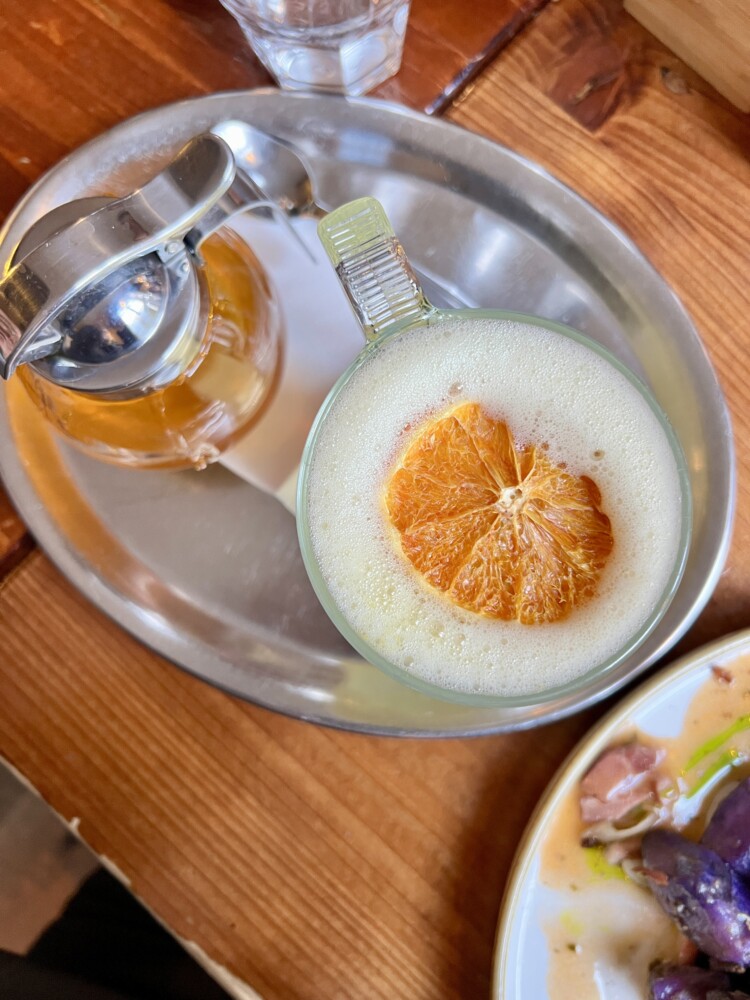
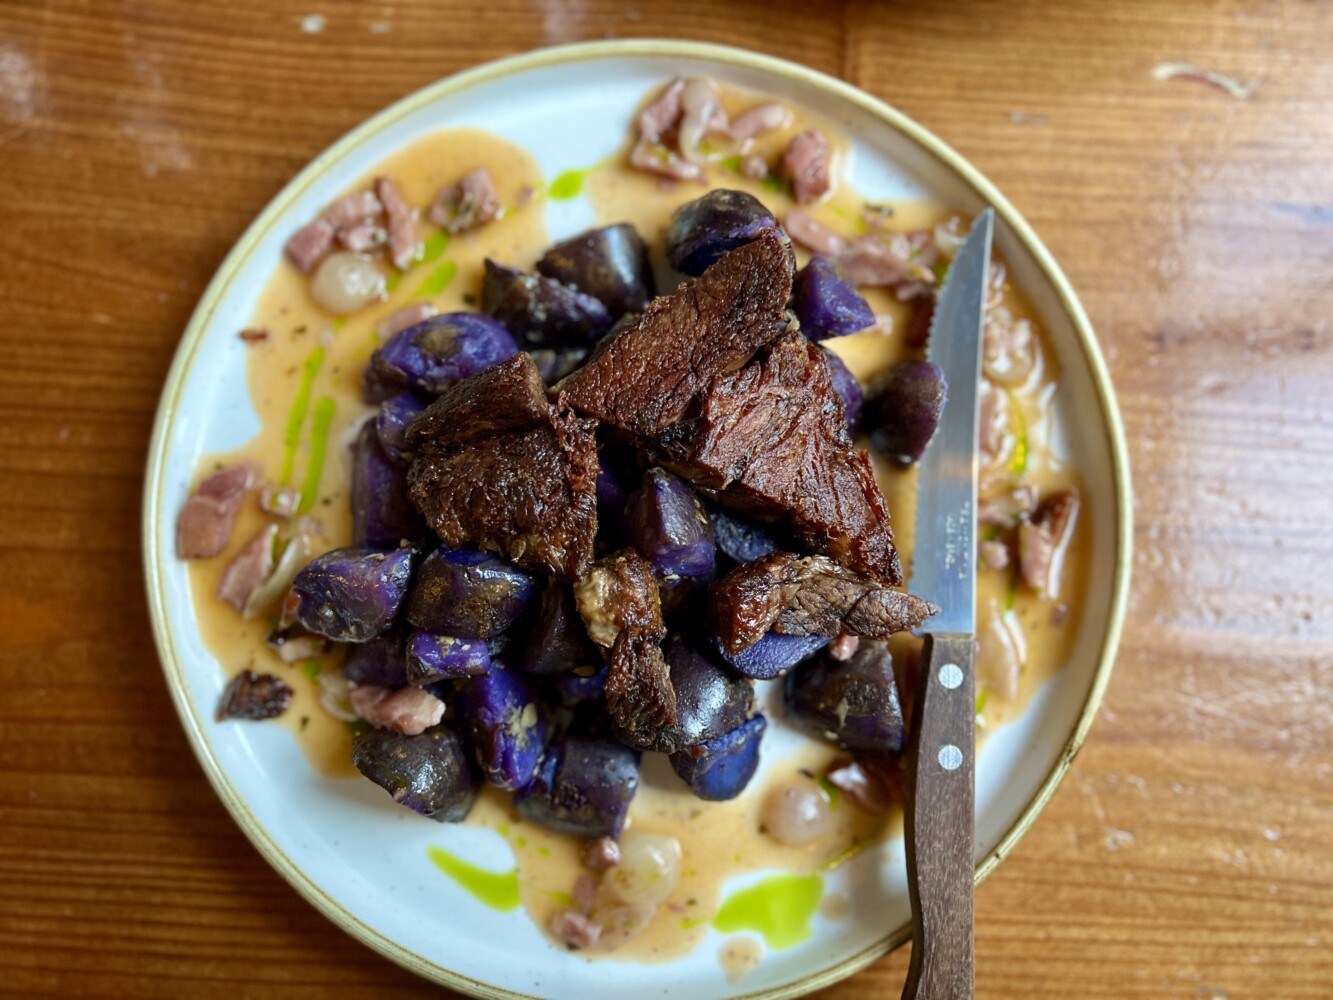
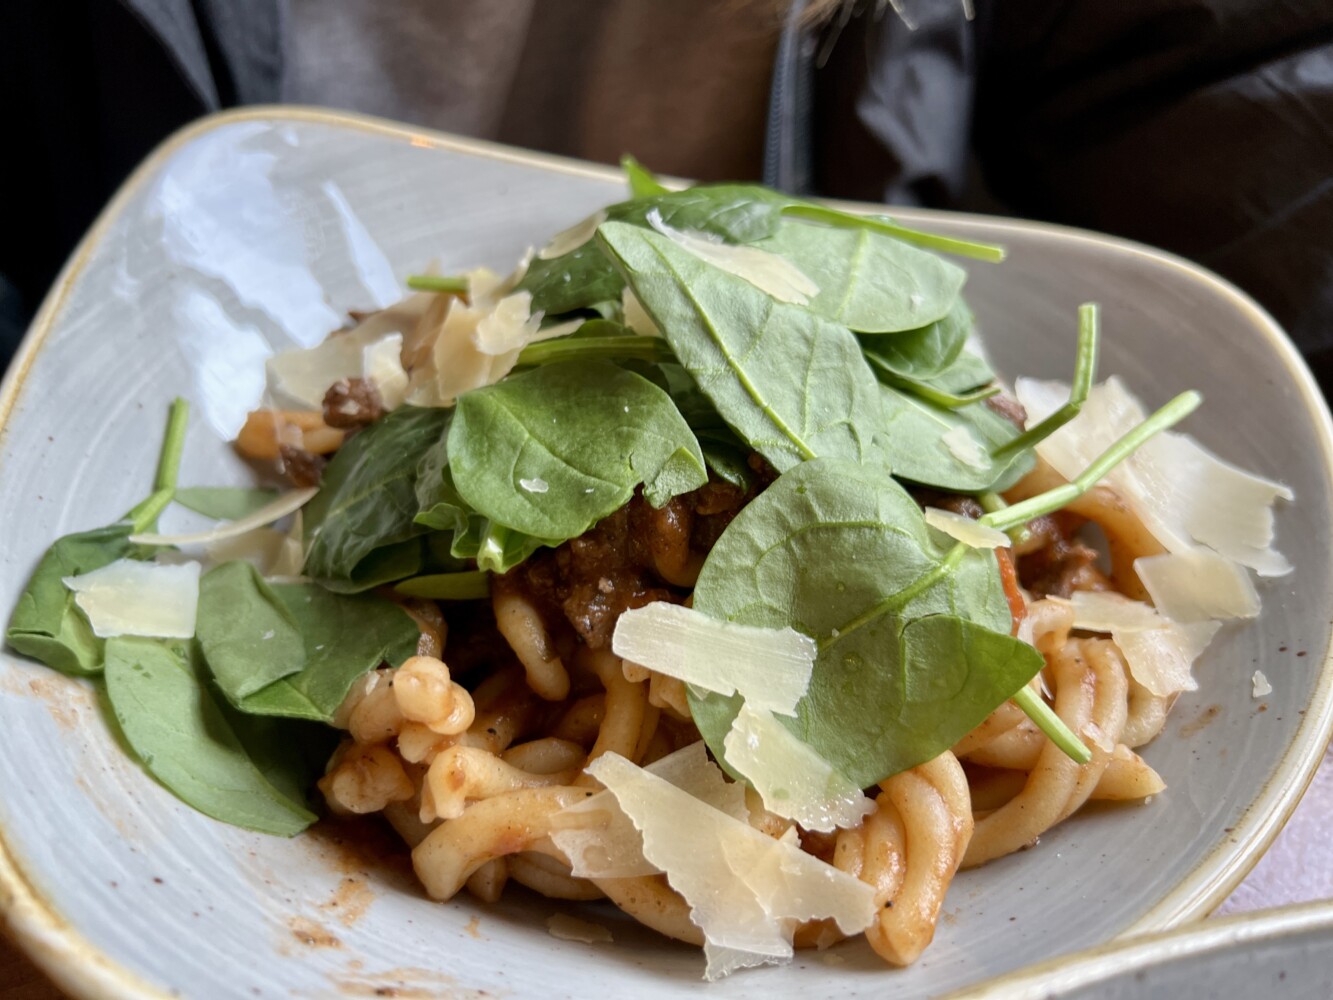
To conclude our travels, we finished with dinner at Koleves Kert. This restaurant also offers allergy friendly choices in addition to some traditional Hungarian dishes. Great place!
Trop Travel Highlights
#1 Getting our photos professionally done with the stunning views from Fisherman’s Bastion as our backdrop.
We booked our session through Airbnb. Our photographer was Tulip, and we couldn’t be happier! She did an outstanding job, and she perfectly captured my family while giving us cherished memories surrounded in the iconic beauty of Budapest. For all this, the price was fantastic – HIGHLY RECOMMEND!
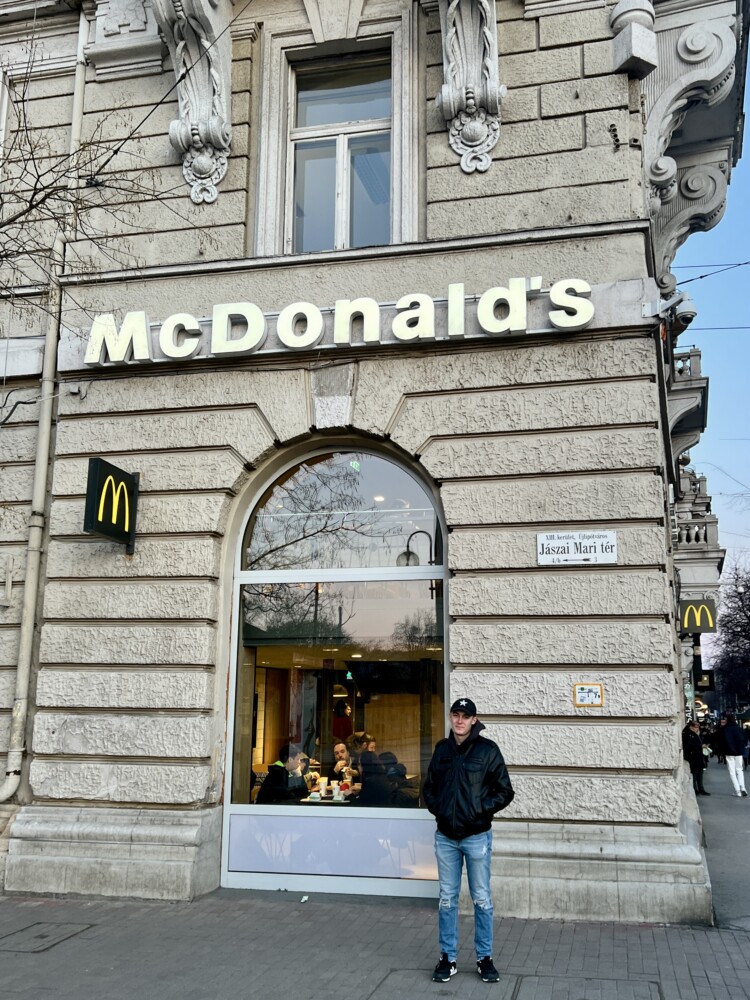
#2 Checking out McDonald’s in Budapest.
Claimed as the most beautiful in the world, this McDonald’s simply WOWS! Making a visit to the golden arches (present or not) around the world is on Josh’s must do list, so I am so happy we made it!
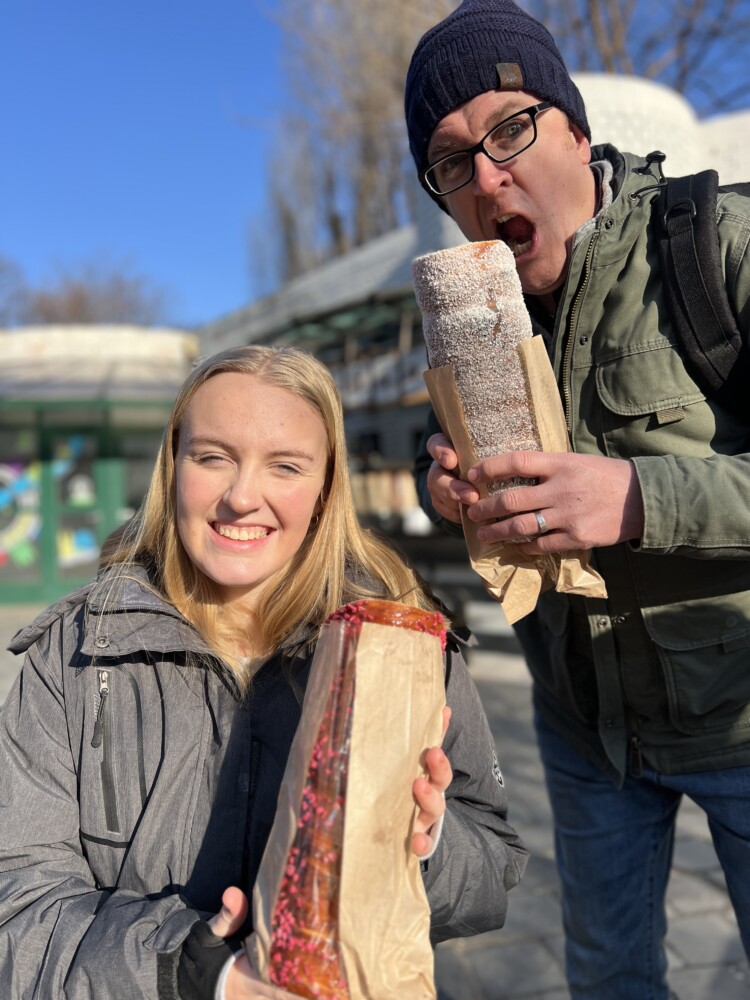
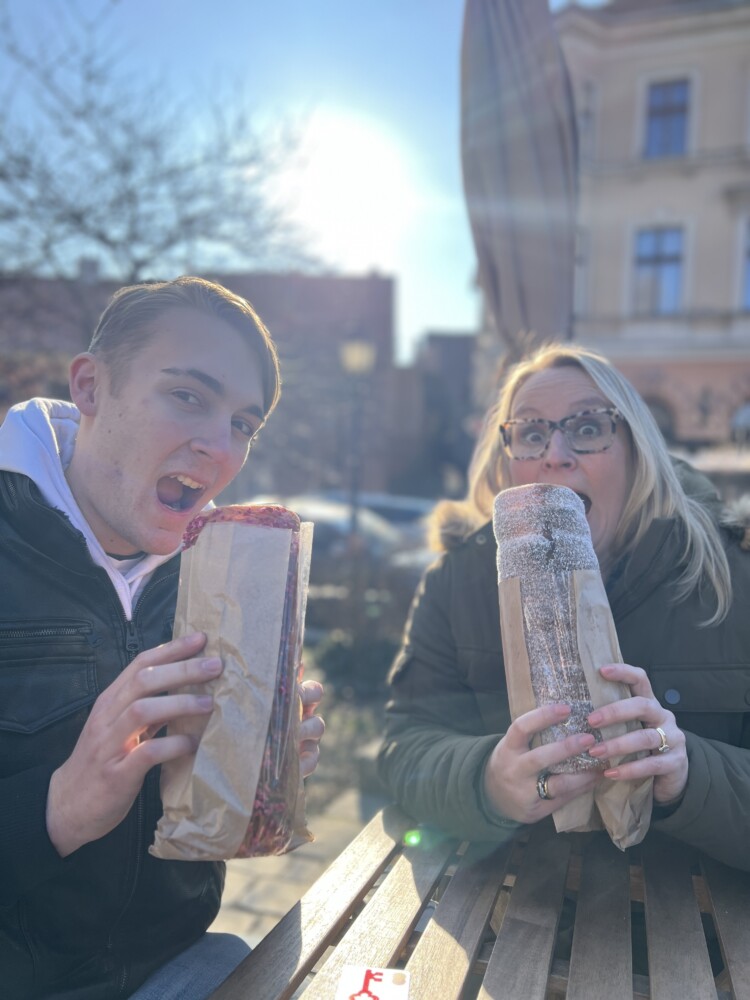
#3 Trying local cuisine.
Branching out and exploring new foods always makes my travel itinerary. In Budapest, I would say you ABSOLUTELY MUST try the delicious chimney cakes! These delights are made from sweetened dough wrapped around a dowel and cooked over an open flame, then stuffed with an assortment of yummy fillings of your choosing.

Tips for Happy Journeys to Budapest
If you are considering a trip to Budapest (or even another destination), here are my top tips for making sure your experience is great!
- Pack a charger for all country types. Select one like this from Amazon – it will accommodate all of your needs!
- Get your tickets ahead of time, particularly for Parliament.
- Be sure to have tip money (and I mean cash) ready to go. In Budapest, it is a cultural norm to tip the folks who are serving in a variety of stations and capacities.
- Have Google translate on phone and ready to go. Some people speak English, but it is not as widely used as you might think. A quick translation will be so helpful for you.
- Uber is easier than public transit. Although the public transportation options are available, we found that taking an uber to most places was the easiest.
- Book guided walking tours. There is a lot to see and you won’t likely be able to get to all of it. Having a guided walking tour hits as many places as possible and keeps you moving!
Ready to start?
Ready to See More Great Places?
Thanks for Following Along
I hope hearing about our journey has inspired you to make some travel plans of your own, even if it’s just to a new town close to home! If you’d like to get this blog in your email once a week, please sign up for our weekly newsletter by adding your email in the little box below my picture at the top of this page.
If you’ve enjoyed this post, please like FunCycled on Facebook, Instagram and Pinterest if you don’t already. Keep up to date on the newest finds, vote on colors and give your input on our creativity. We share fun tutorials, great before and after, and new design inspirations.
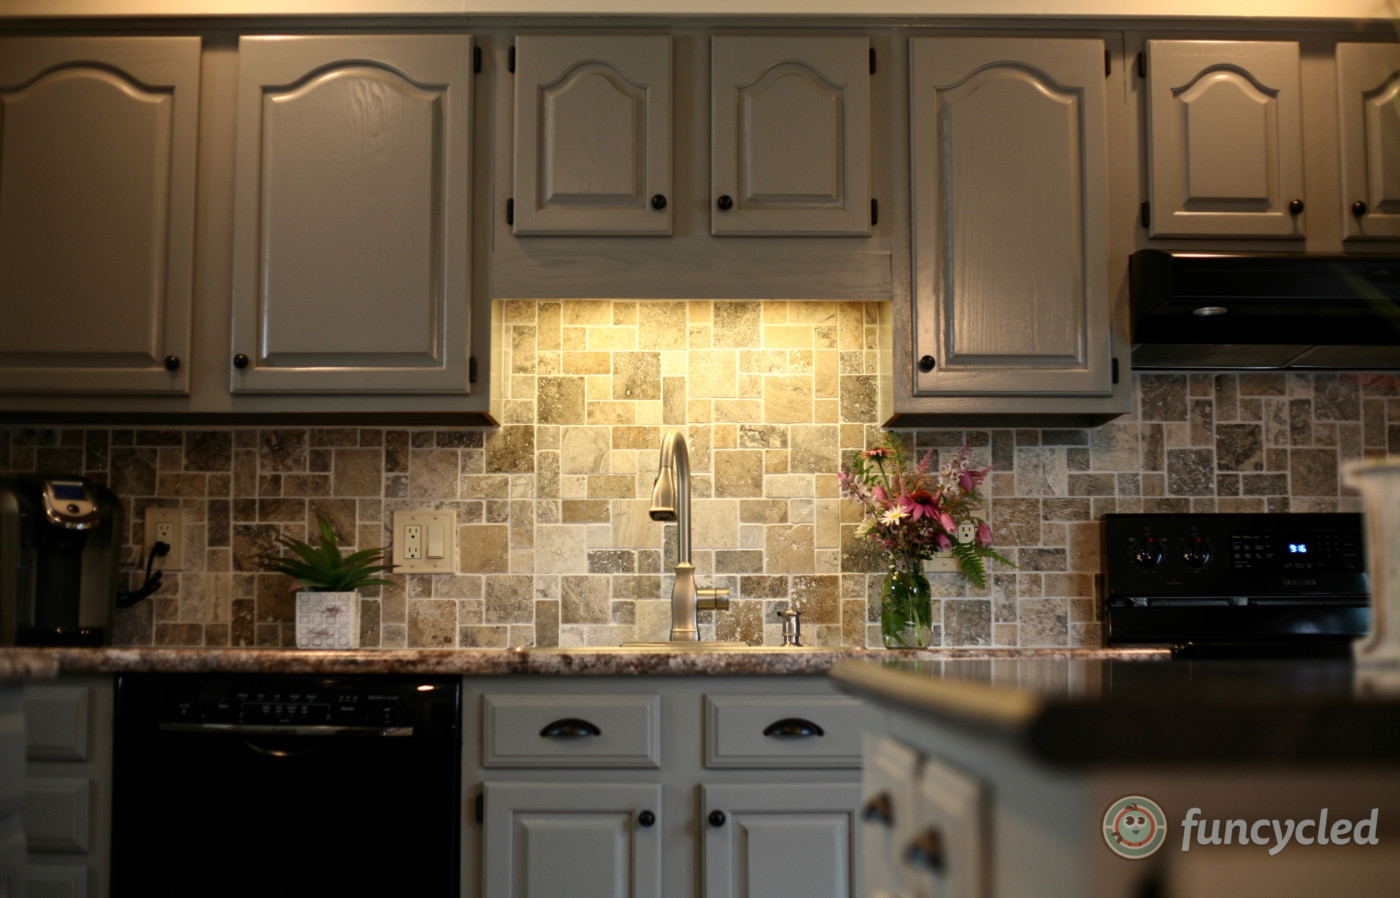
We offer interior design, kitchen cabinet painting, and custom built tables, barn doors, and repurposed furniture. Thank you, again, for working with us and for taking the time to spread the word about what we do.
Happy FunCycling Friends,
Sarah ;)
Note some of the the links provided are affiliate links, and as an Amazon Associate, I earn from any qualifying purchases.


")