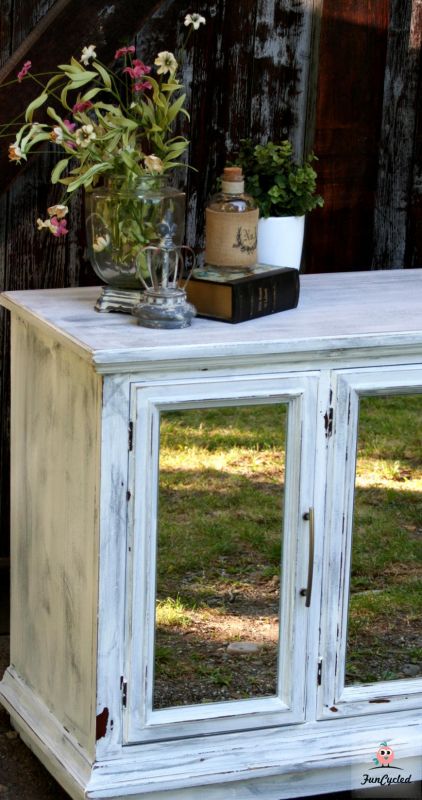
Happy Tuesday everyone!! We’re all about change here at FunCycled… making the old new again with repair, color or classic styles. Sometimes I look at a piece and think that’s not too bad looking. Should I change it?? But then I make some adjustments whether that be color or hardware and wonder why I ever even thought about not changing it. It seems so much better. Sometimes I get that way in life, too. Since we are now official full time entrepreneurs, most people think I must love change. Nope, not true at all! John loves change. I eat the same things at the same restaurants, I have no desire to rearrange furniture, I like little risk. That’s why we’re a great team.
That being said, this month has been a bit of a change for us. Our babies both started school full time Monday-Friday 8-3. That may not seem like much, but when I’ve had them with me every day for the last 5 years, it takes some getting use to. This month I also found out that my two very very dear friends, Marcie and Sarah were planning to move out of state. Sarah’s already gone and Marcie will be in about a month. It’s definitely sad to see them go. That being said, I’m reminded that God so often has to force changes in our lives for great reasons. School has been wonderful for the kids. They’re already writing much better, memorizing Bible verses and singing all about God’s grace. Sweetie wrote her own song this week and it went something like this, “Lord, please help me not say bad words or hit anyone. And make me happy! Teach me your ways”. lol! Apparently she has inner struggles with wanting to say bad words. I confidently believe that God is moving Marcie and her family to Florida and Sarah and her family to Michigan for wonderful reasons. I guess I say all this to remind you all that if you’re anything like me and if change isn’t easy, God wants to move and transform us into something beautiful. His kind of beauty… “But the fruit of the Spirit is love, joy, peace, patience, kindness, goodness, faithfulness, gentleness, self-control.” Galations 5:22-23a ESV
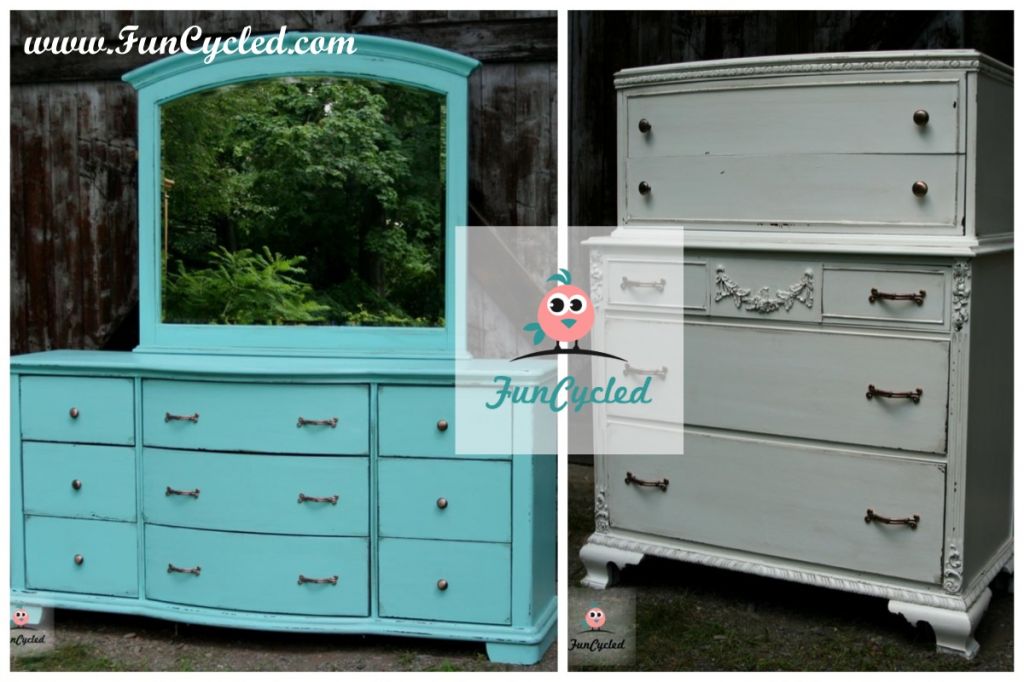
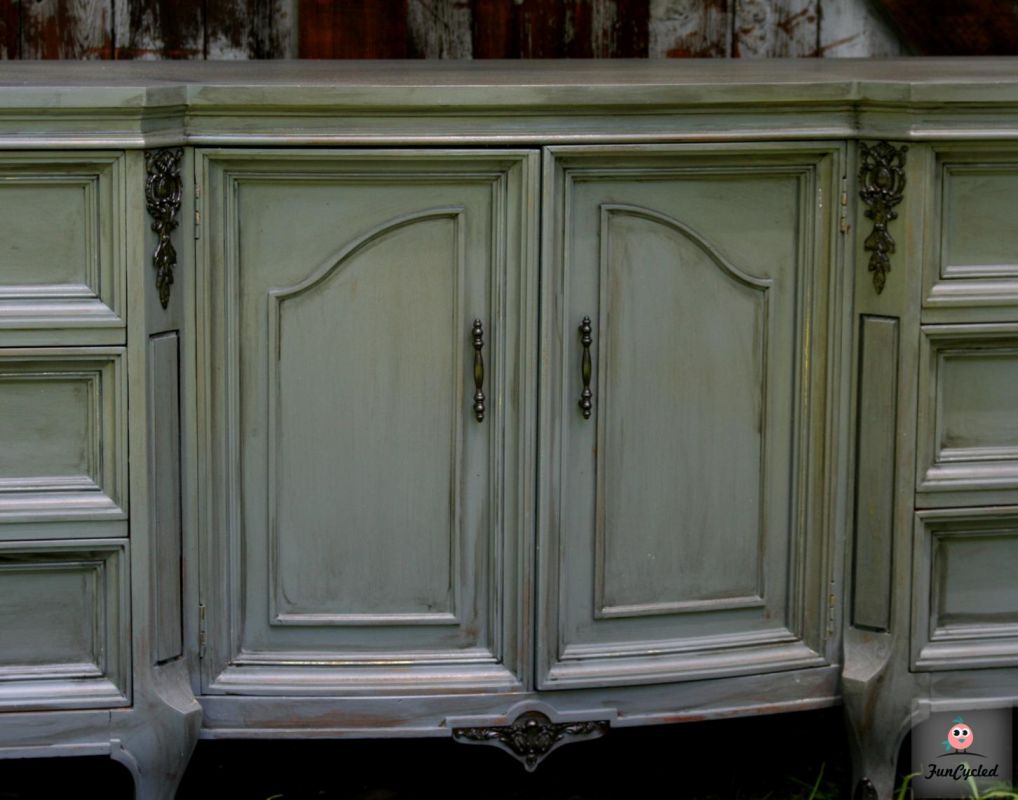
When you see our furniture transformations, I hope that you’re reminded that God makes beauty from ashes. This week’s piece wasn’t necessarily ashes, but definitely needed some beauty. Here she was before! My mom bought this one for me and even fit it in her Subaru! Love you mom. ;)

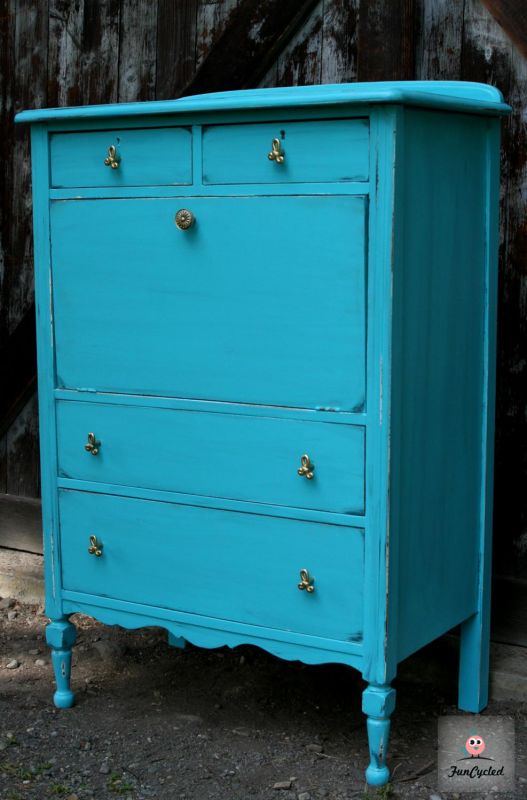
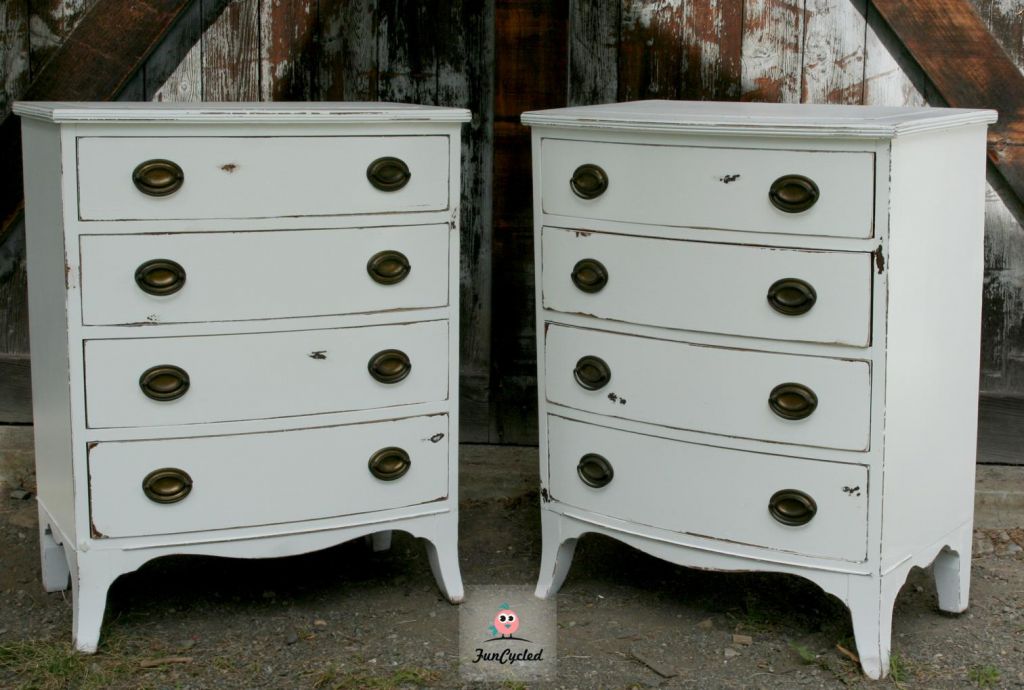
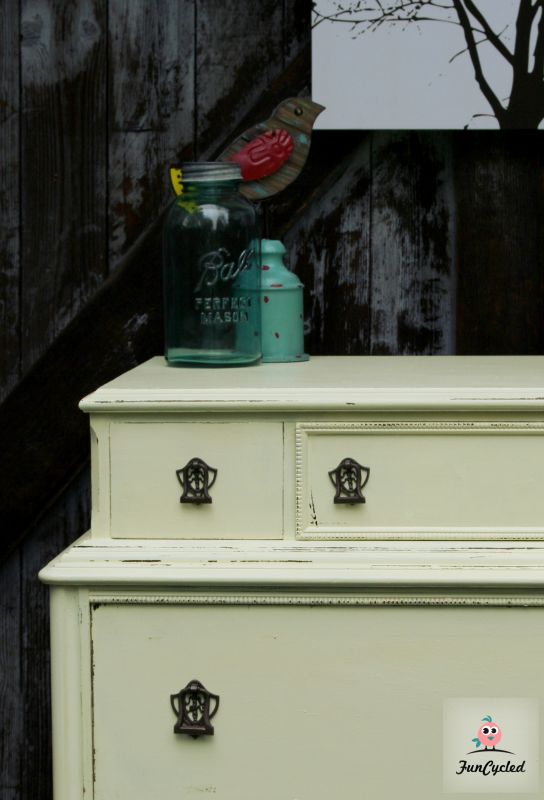
I loved the little tiny top drawers and the knobs. Brenda (who’s already bought pieces from us) saw this on our Upcoming Projects page and asked to have it custom painted. We repaired the veneer damage here and there and painted it all using chalk paint that I made from Benjamin Moore’s Province Creme which is a buttery yellow. Then I distressed it a bit and sealed with a clear water based poly.
Could there be a cuter little dresser? I’m not sure! Love, love this one!!


Have a great week and we’ll see you in October!! I can’t believe September is almost over… wowzer! :)
Happy redesigns everyone,
Sarah
If you like what you see, please like FunCycled’s Facebook page to keep up to date on the newest finds, vote on colors and give your input on our creativity. There is a box at the top right of this page to enter your email address in to receive notifications by email when I post something new on this blog. Please sign up today!
Last but not least, let us customize a furniture piece for you. We create custom furniture and will deliver for customers in upstate NY and will also ship throughout the US. Send us a note with what you would like using our contact page. Or buy something that we’ve already designed from our furniture for sale page.