Last week, I turned the big 3-0 and I can’t believe it!!! Last year, I read a blog (I can’t remember which one) about doing random acts of kindness on your birthday. Ever since that day, I knew that I wanted to try it for my 30th birthday. I looked online and found Ann Voskamp’s 40 Acts of Kindness very helpful with ideas and tags for some of the gifts. Thanks for the help!
I went back and forth about whether or not I should even do a post about this because I didn’t want it to sound like I was bragging. Let me be very clear… I did this not because I’m an amazing person, but because God has blessed me in amazing ways and I wanted to pass that on to others. We’re not rich people, but we have all that we need and so much more. So, instead of sulking about getting old (insert comments about how I’m not old yet here), I wanted to spend the day giving back because of all God has given me. The other reason I’m sharing this is because someone’s blog inspired me to do it and I wanted to be an inspiration to encourage you to try something like this or just try one a week to be a blessing. I guarantee the reward is much higher than the cost.
Ok, you ready??
1. Take mom to breakfast
When mom heard that I would be doing this, her first comment was that I should take her out to breakfast as my first random act of kindness. lol Oh mom! Well, we are at a new little cafe in downtown Troy. We had such a nice time and I’m so thankful for mom. I really couldn’t have started FunCycled without her… She’s thoughtful, giving, outgoing and loves her family more than anything. Love you mom!!
2. Candy in the mailbox for the mail carrier
I love our mail lady, she even leaves us Christmas cards!! I didn’t get to see her face when she opened the mailbox, but she left a sweet note for me the next day.
3. Bring my friend Kassy dinner – she just had a baby
Pulled pork, chips and a salad. Super easy!
4. Leave a basket ball at the basket ball court in the projects
This was fun… before we even left the street someone ran out and grabbed it. Loved that!
5. Leave a family movie pack at a Redbox
Pepsi, Popcorn and $2 for the movie. Who could pass that up??
6. Bring cookies to the Fire Department
7. Give flowers to a stranger on the street
This is my all time favorite one. I took a picture of the elderly woman on the street that I gave a bouquet of fall flowers, but she didn’t want it to be put online. So you’ll just have to use your imagination with me now. She was pushing a cart and seemed poor, but when I stopped her and gave her the flowers I felt like there was a spark in her eyes that she would have had when she was in her 20’s and someone gave her her first bouquet of flowers. She smiled ear to ear and asked God to bless me for my kindness. To which I replied, “He already blessed me and that’s how I can bless you.” Amazingly special moment for sure.
8. Clean up garbage at the park
This was slightly less exciting. For some reason the park seemed super clean that day. I was hoping for a couple garbage bags full but eneded up with MAYBE a couple hands full of trash. Oh well, we tried. :) Hence no picture… very anticlimactic.
9. Bring brownies to the police department
This officer was great! He seemed so excited to get them!! AND he was happy to have me take a quick picture of him. Fun times!
10. Leave detergent on the washing machines at the local laundromat.
I liked that no one was at the laundry mat when I dropped this off. I’m just trusting that God put it in the hands of the right person at the right time to be a blessing.
11. Bring cookies to the nurses at ER
This one was a little crazy, our local hospital has about 1,000 different turns to get to the ER and it took forever. Then when I got there I wasn’t even able to see the nurses—busy day at the ER. We left them anyway, hoping they liked them.
12. Deliver crayons and coloring books to the kid’s floor at the hospital
We went back through the halls and went up to where the families hang out when visiting babies in the NICU and left these for them to find.
13. Drop off a clothes donation at the city mission
14. Do one nice thing for spouse or best friend
Well, this isn’t a good picture but I did get to take three of my very favorite people out to lunch and give the ladies flowers and a note about all the things I love about them. Jo Ann, Sarah and John you make every day better. Hands down, you brighten up my life. Thank you for all of your help to make this day happen!! We went to the Flying Chicken in Troy. Have you been there?? Yummmmmyyyy goooodness!! Oh my word I can’t get enough of that place. Just sayin… !
15. Quarters under the swings at the park, surprising little kids
We spread them out everywhere in the park. Hope no kids choked on them, but I couldn’t afford to do any bills. :)
16. Surprise someone in need with a gas card
Check… I’ll leave them unamed. :)
17. Stop by work to give dad a hug and hand written note
Wish I had gotten a picture with dad!! I don’t know what I was thinking. Love my dad so much!! Writing a note to him about how much he means to me is easy. Super easy.
18. Leave dollars with the Dollar Store clerk to pay for the next 5 kids’ purchases
I LOVED this one and the look on the clerk’s face when I told her what I was doing. She may have been even more excited than I was.
19. Bring flowers and a card to someone who you looked up to growing up
Lara was definitely that someone to me. She’s 10 years older than I am and I’ve known her and her family since I was 3. All of the while I was growing up she was the sweet, spiritual, beautiful girl I wanted to be just like. If any teenagers read my blog, keep in mind that there are little eyes watching you and wanting to be like you. So be the kind of person worth emulating. Love God, be respectful, don’t care about being rich, care about others, love being part of a family. Lara was and is all that and so much more. So thankful for you friend!
20. Bring a teacher flowers at school
Mrs. Jackson was like a 2nd mom to me growing up. When my parents went away, we all stayed with her family. She had all boys and she would always do her best to make the room I was staying in look girly. Even when that meant putting a hat and scarf on the deer head on the wall… not even kidding!! :) Love you so much Mrs. Jackson.
21. Pay for someone behind me at the local Starbucks
This was funny, we had to wait like 5 minutes before someone was actually behind us. lol
22. Leave a surprise gift of your choice at your Pastor’s wife’s door
23. Put quarters in Aldi carts
It was poouurrrring out when I had to this one. Fun times. lol
24. Notes/tracts/verses with candy left on windshields of cars at grocery or handout on street
Got these on the cars before the rain.
25. Leave a favorite book with a note on a bench
What would be one of my favorite books?? The Five Love Languages
If you haven’t read it, I highly highly suggest it.
26. Put coins in the bubblegum machines at the store
This looks much sweeter than it was… the kids cried and whined that they couldn’t get the candy and toys. Just keeping it real! ;) Still a good life lesson and I’d do it again in a heart beat.
27. Box of chocolates left at the medical clinic for our kids doctor
The kids’ doctor was with a patient so we had to leave it at her desk. The kids loved picking out what to get her and seeing her office though.
28. Bring dog treats to the humane society and donuts for the workers
This one made me nearly cry. She loved it and cried!! Such a sweet moment.
29. Go to the nursing home with flowers
If I could choose two of my favorite moments, this would be the 2nd on my list. Look at the smile on my great aunt’s face. I don’t think anything could explain this moment better.
30. Write a hand written letter and mail it to a friend far away.
Sent it to my maid of honor, long time BFF Theresa. Telling her how much she means to me.
*Updated info! A GINORMOUS thank you to the Rachel Ray show for contacting me to be on their local hero giveaway show. It’s not at all why we shared this, but it blessed our socks off. If you want to read more about that experience, check out our post about being on the Rachel Ray show.
One of my favorite things about this day was that so many friends and customers sent me a note or called to say that they did a random act of kindness in honor of my birthday. That means SO much to me!!! If anyone has other random acts of kindness that they would like to share, I’d love to hear them. I definitely will be doing something like this again and would love more ways to show kindness. So please leave a comment in the section below telling us your idea!
Philippians 2:3-4 KJV, “Let nothing be done through strife or vain glory; but in lowliness of mind let each esteem others better than themselves. Look not every man on his own things, but every man also on the things of others.”
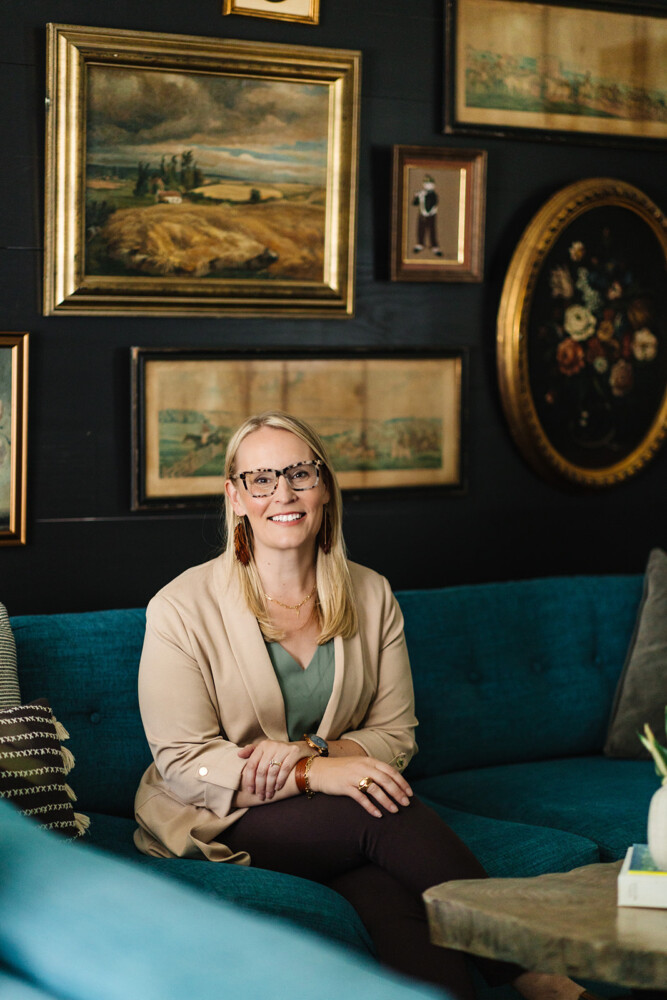
Blessings,
Sarah


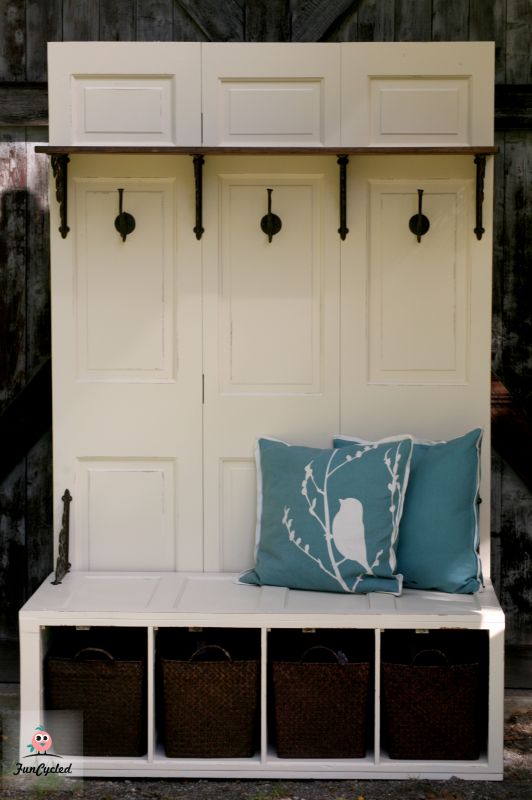
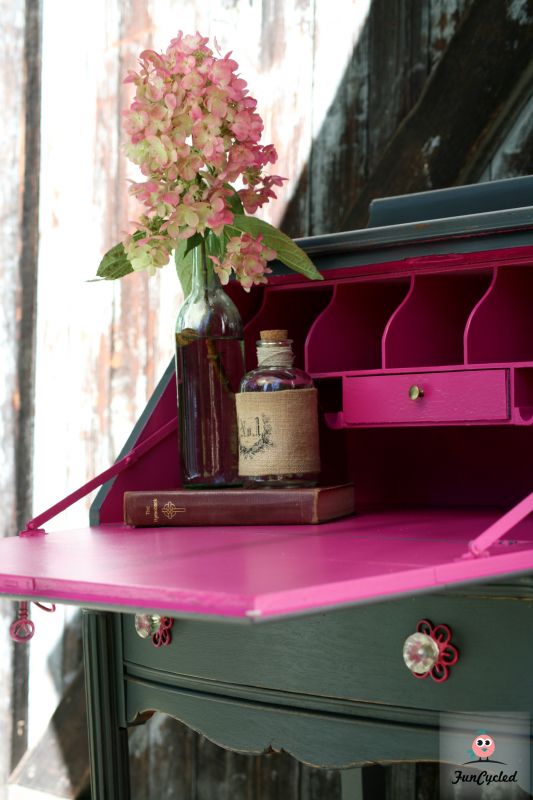
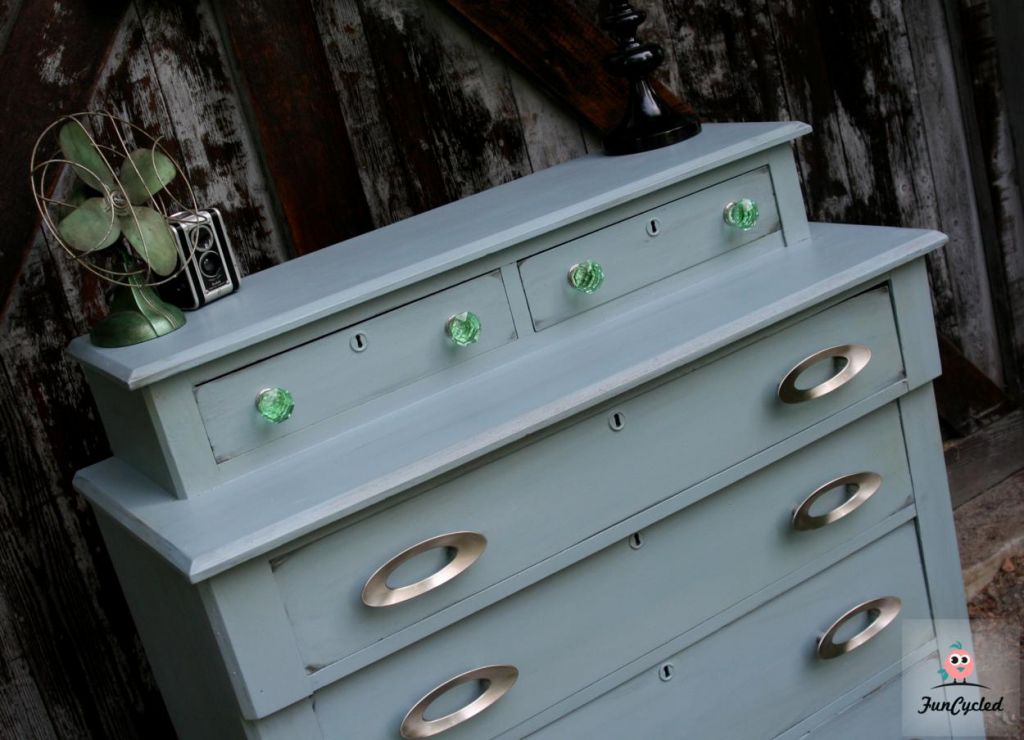
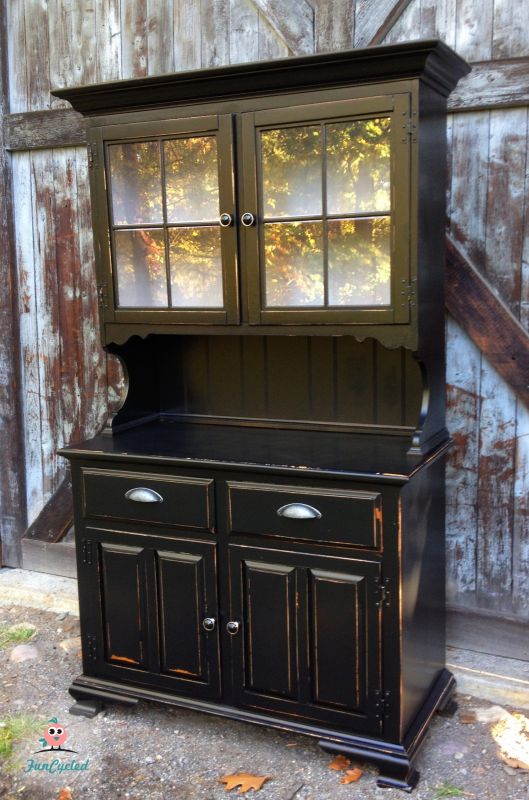
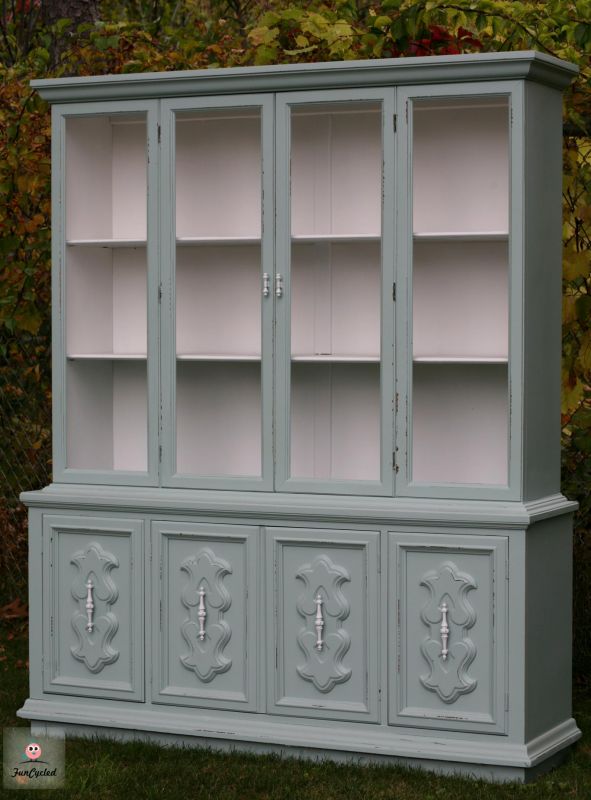
 I love how it came out so much!!! This piece is FOR SALE!!


")

")
")
")
")

")
")


")
")

")