Hi Friend!
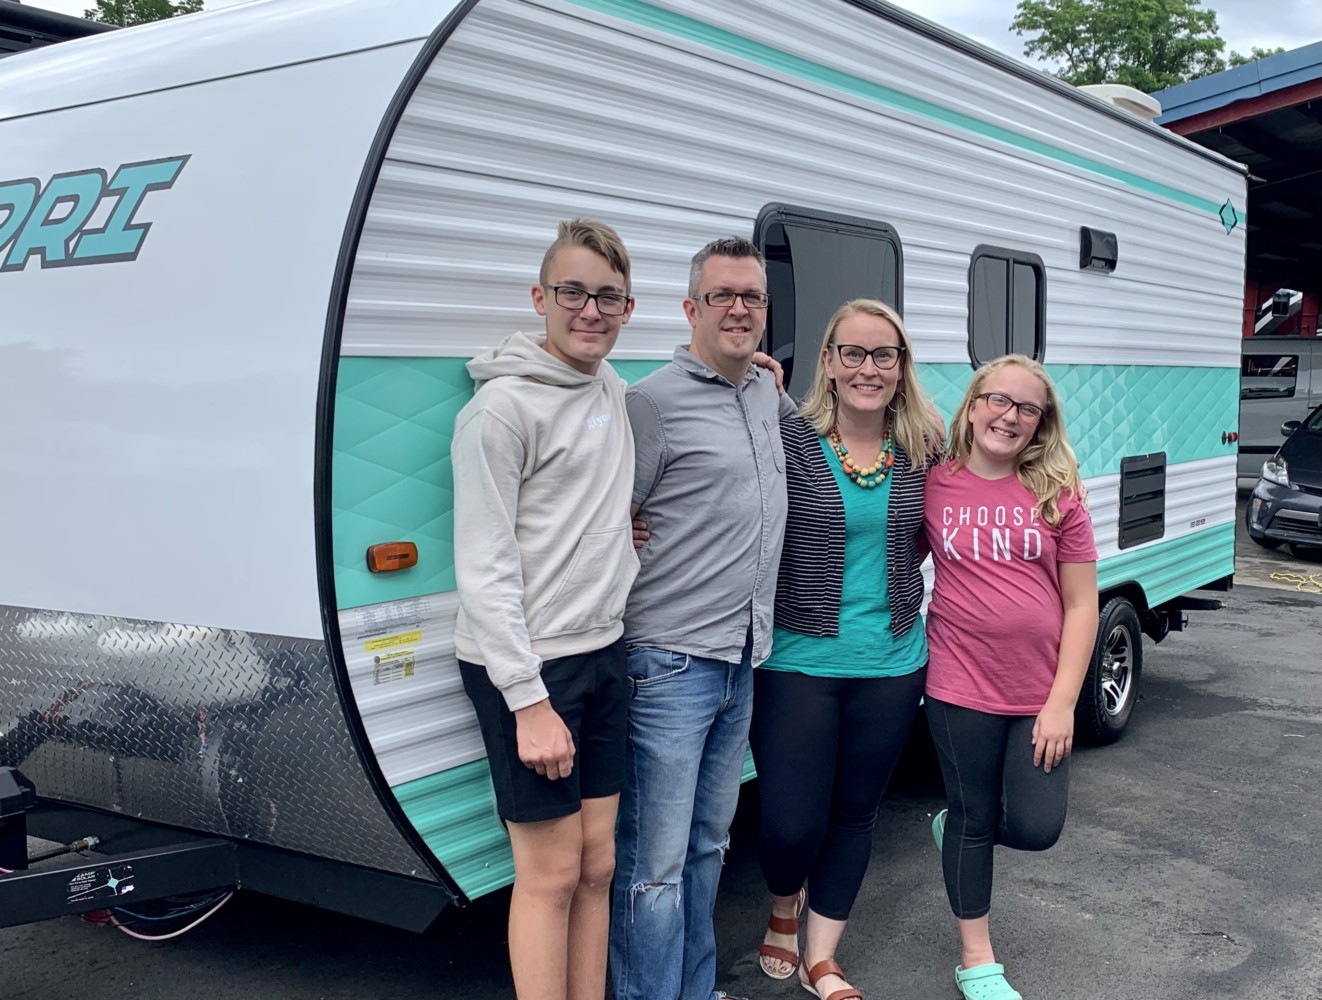
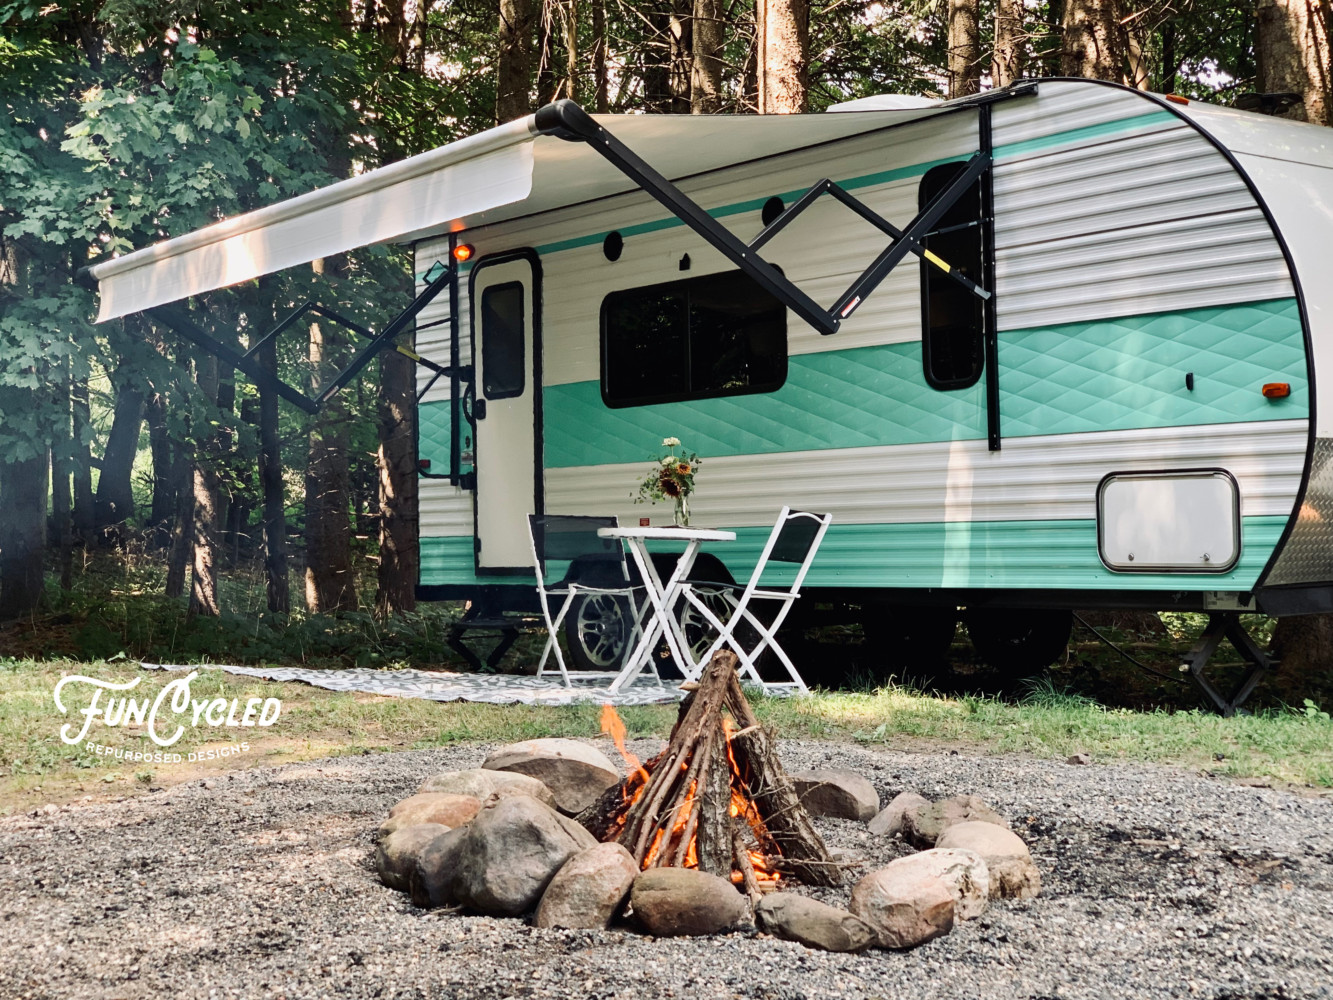
If you follow our social media, you may already know this, but we bought a 2019 Gulf Stream Capri Travel Trailer this summer!!! It’s not old so we don’t have to gut the whole thing, but we did want to make some alterations to give it a look we like.
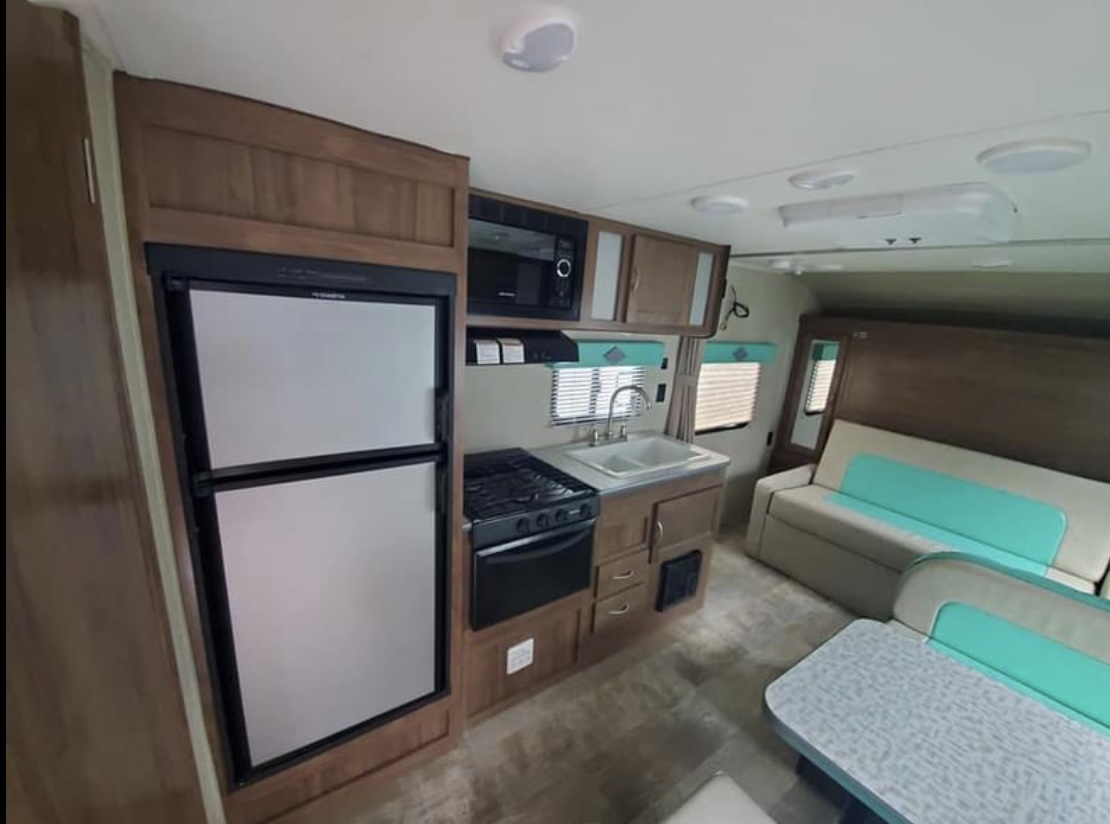
Here’s the camper the day we picked it up:
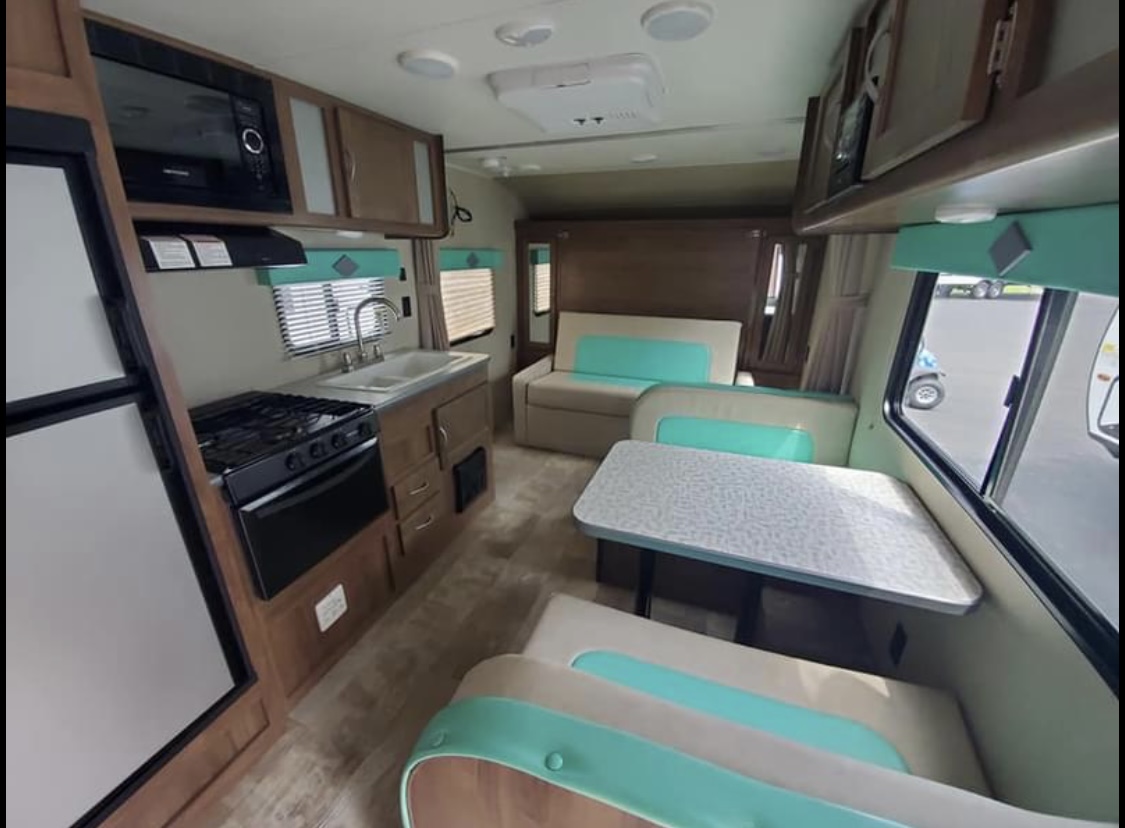
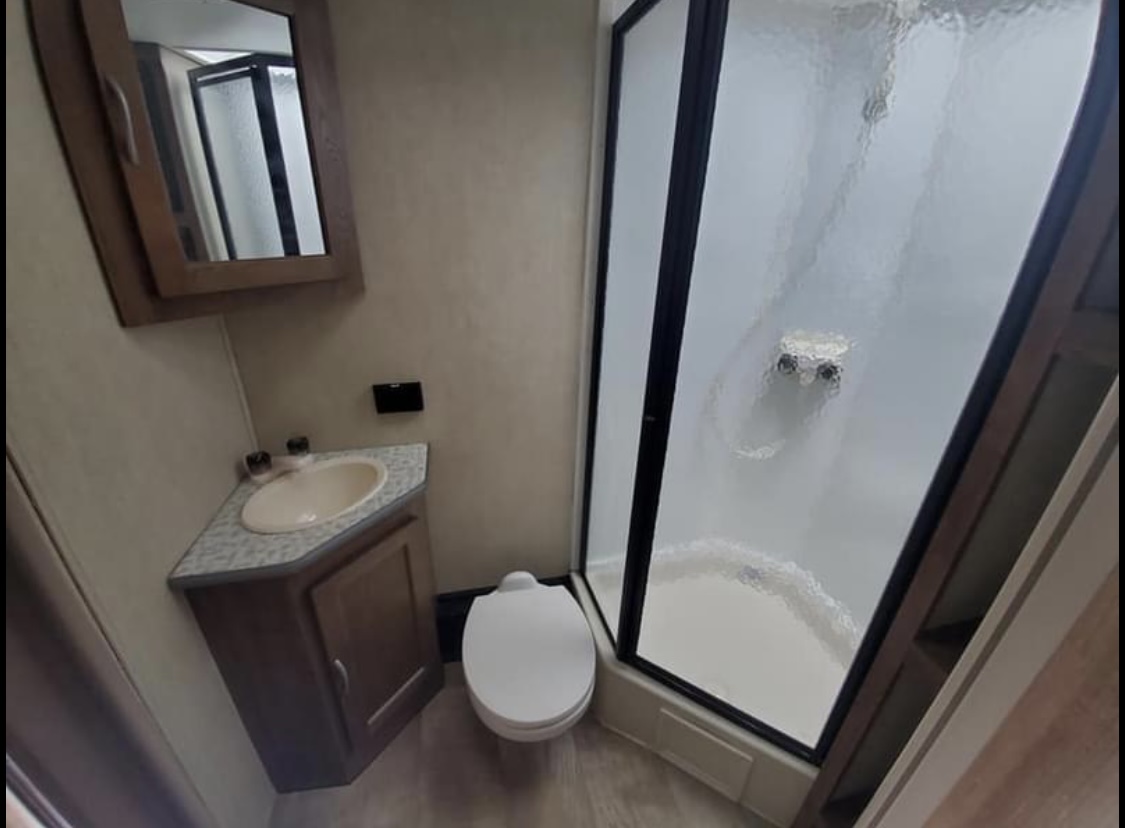
The main things I wanted to change were:
New counters
Get rid of all the retro aqua
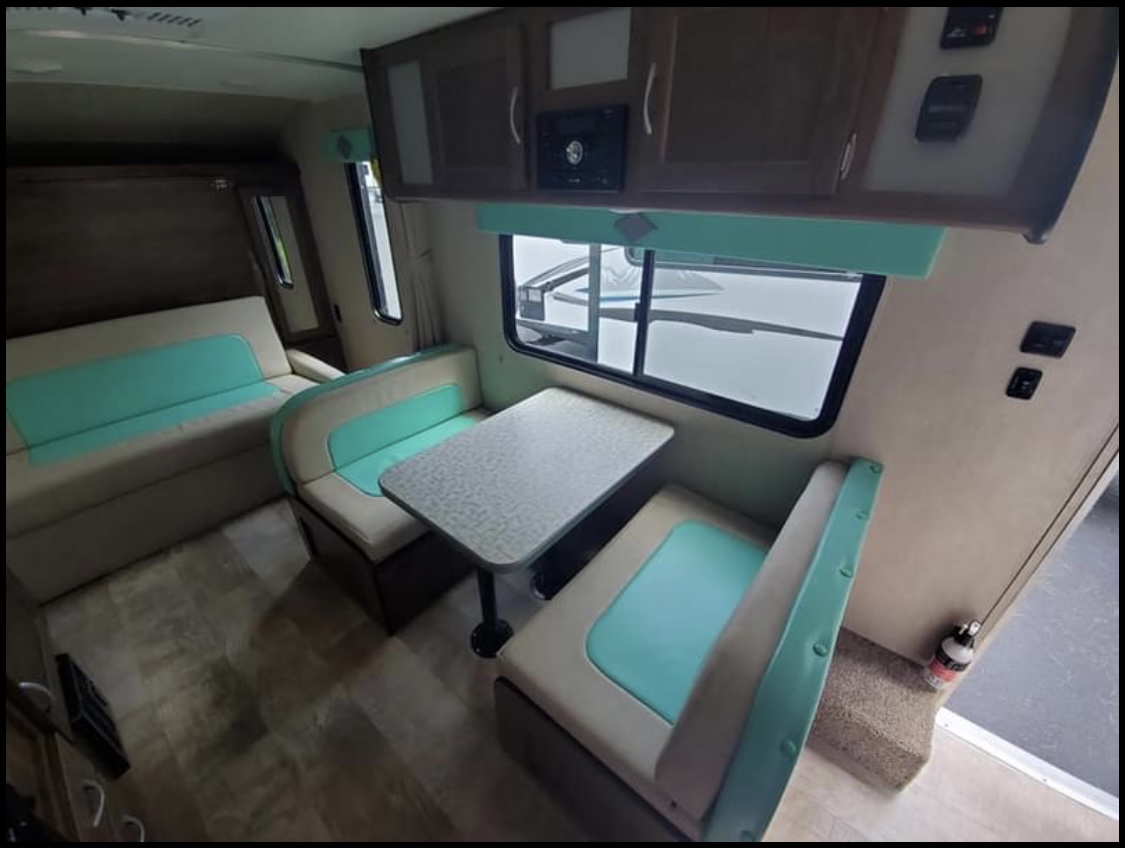
Update the kitchen table area
Add a backsplash
Bring in a different accent color (mustard)
I’ll have links to all the products we used to redo it at the end of the post so keep scrolling until the end friends!
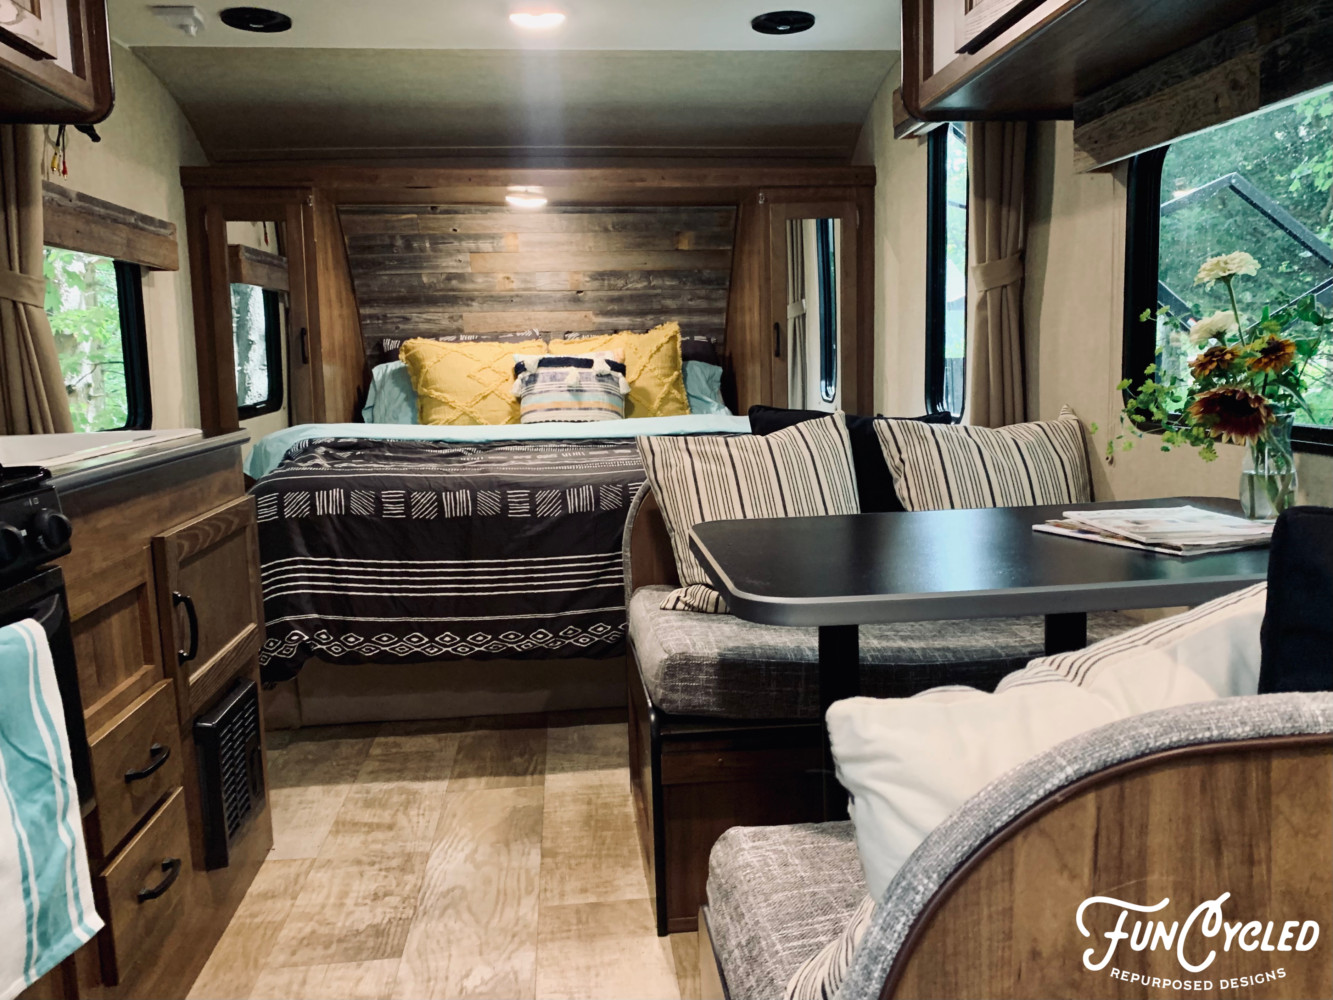


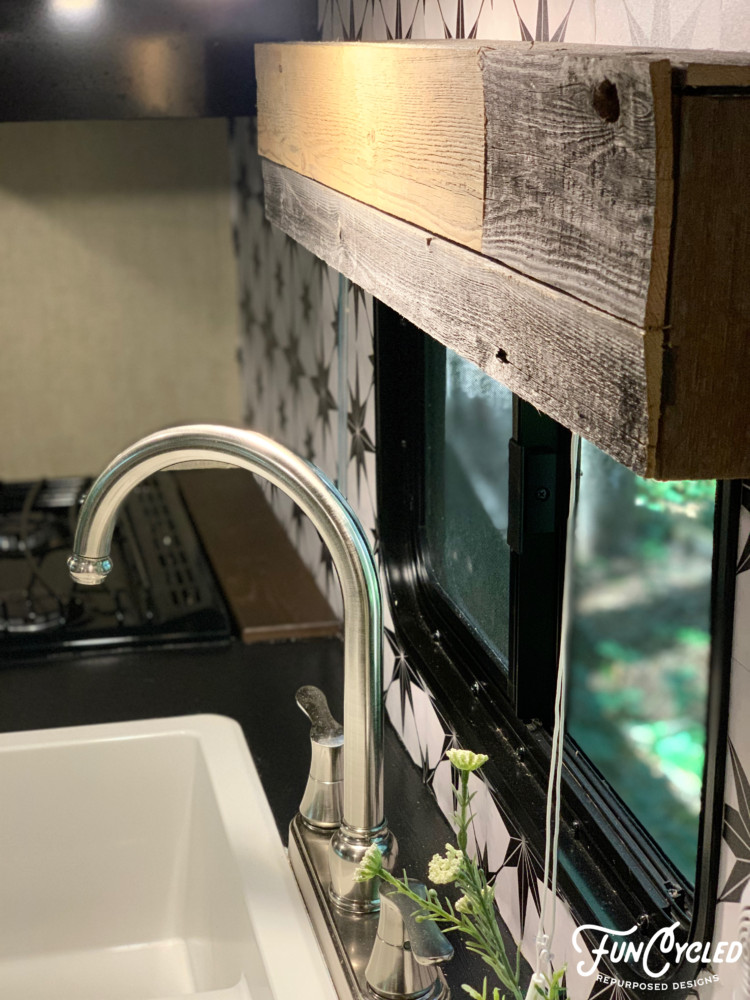
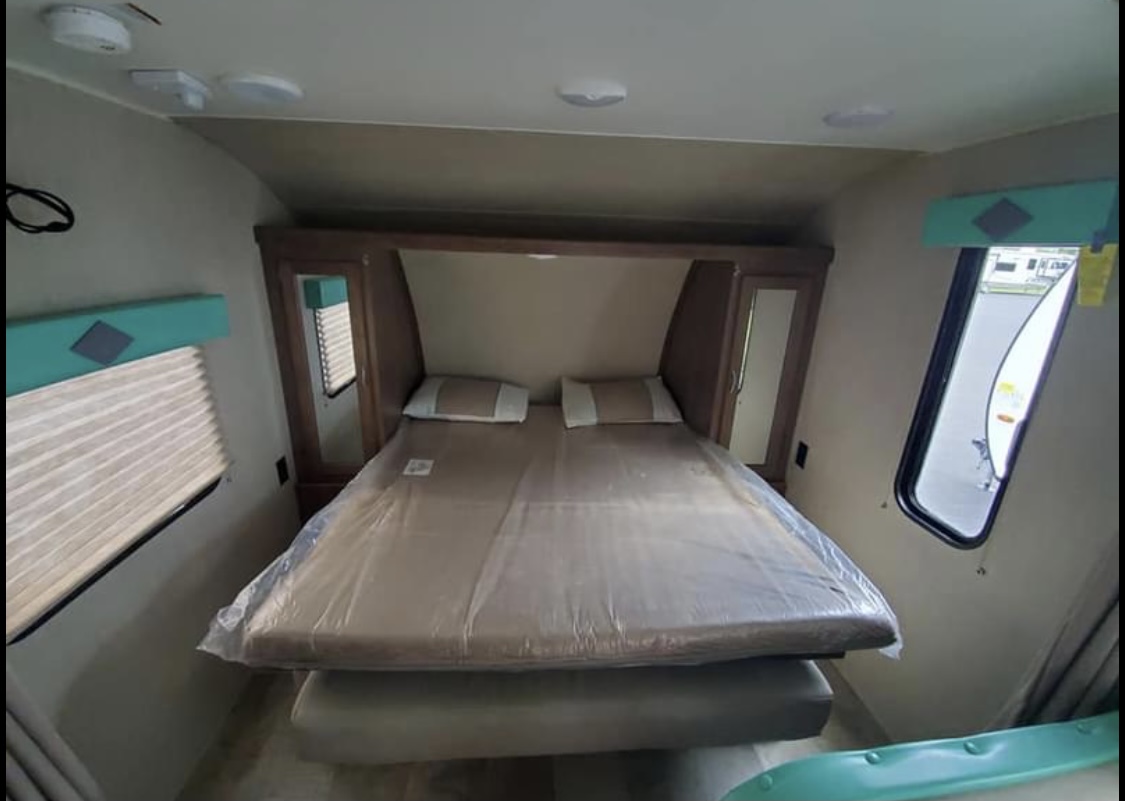
We started by adding peel and stick reclaimed wood to the back of the bed area to create a faux headboard. We also removed the teal and tan section over each window and replaced it with the same wood. I love how both of those things turned out.
Then we painted the counters and the table top with black chalkboard paint and sealed it with a protective clear coat. This part came out ok – not my favorite, but it’ll do the trick for a weekend getaway. :)
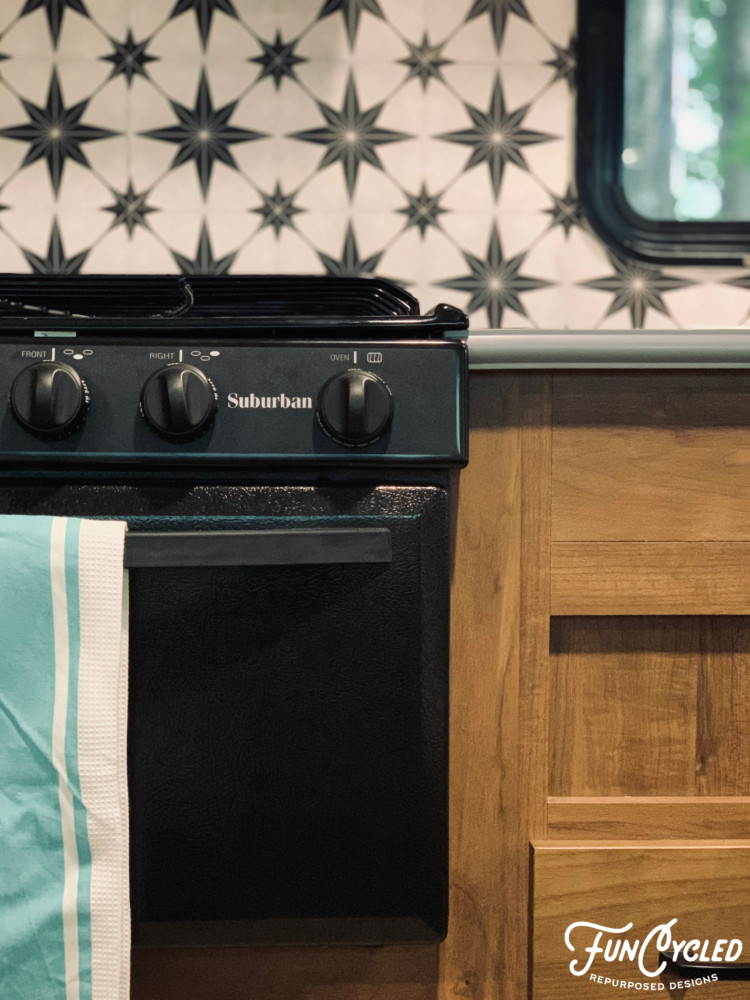
We added Peel and Stick Tile Positano faux tile backsplash and this is another piece that made a huge impact!
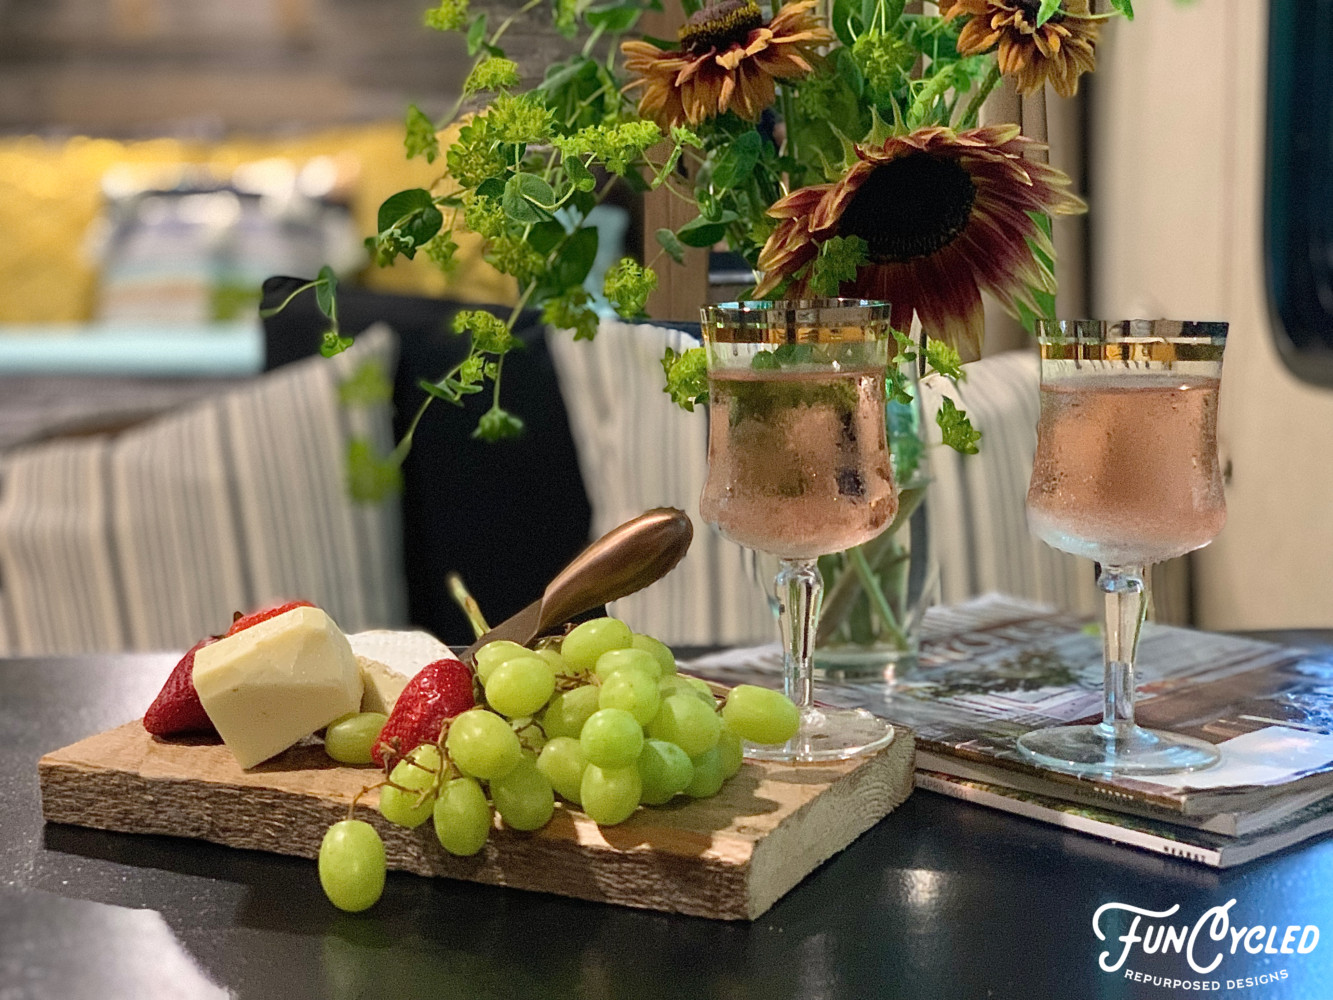
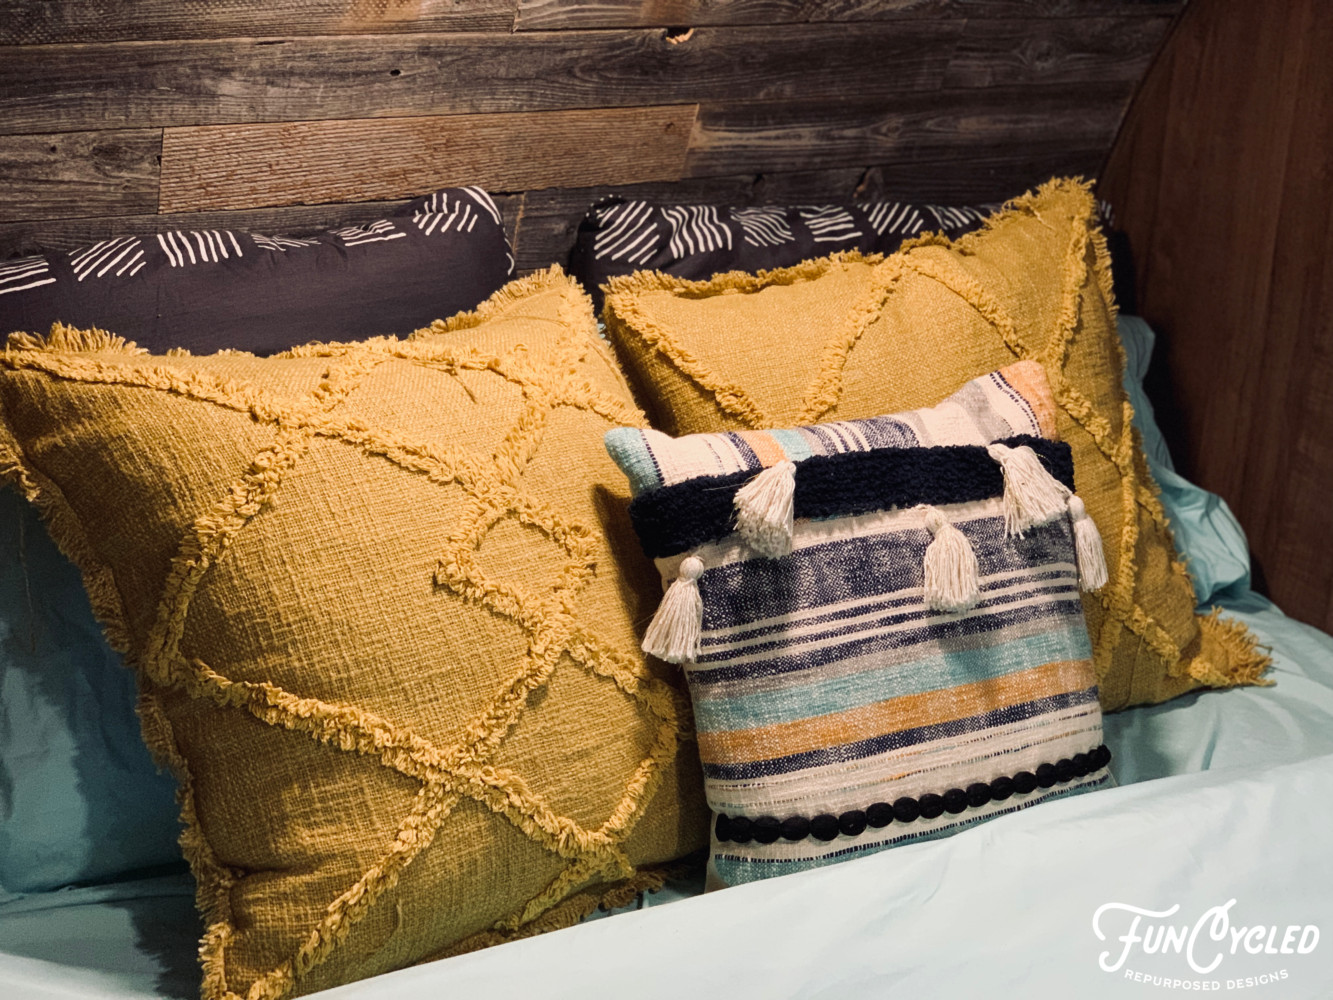
Once that was done, it was time to decorate! With pretty bedding, pillows, sheets.
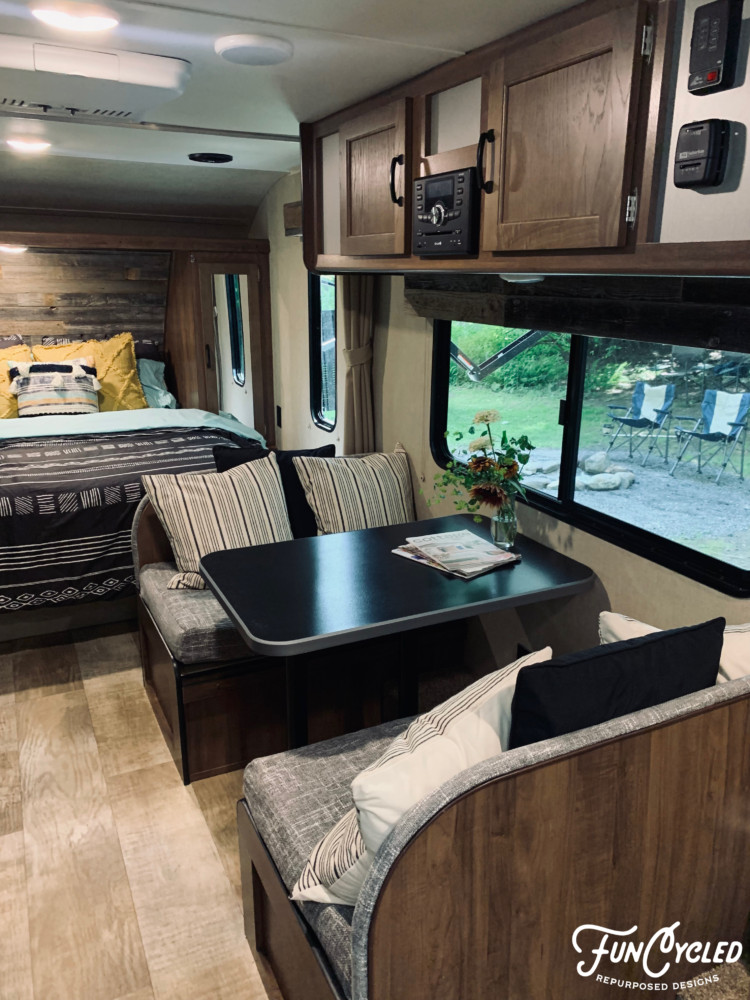
We tried painted the cushion for the dining area with a vinyl fabric furniture paint and it didn’t hold up at ALL! It was terrible. So my mom added fabric to them and we did three pillows along the back which I like even more!!
The mustard throw pillows were from HomeGoods and the mustard towels were from Amazon.
We also changed out all the cabinet hardware and that was from Home Depot.
Product links:
Peel and Stick Reclaimed Wood
Counter and Table Top Paint
Peel and Stick Tile Positano Faux Tile
Sheets
Duvet Cover
Dinette Pillow Covers
Mustard Towels
Cabinet Hardware
Solar Edison Light
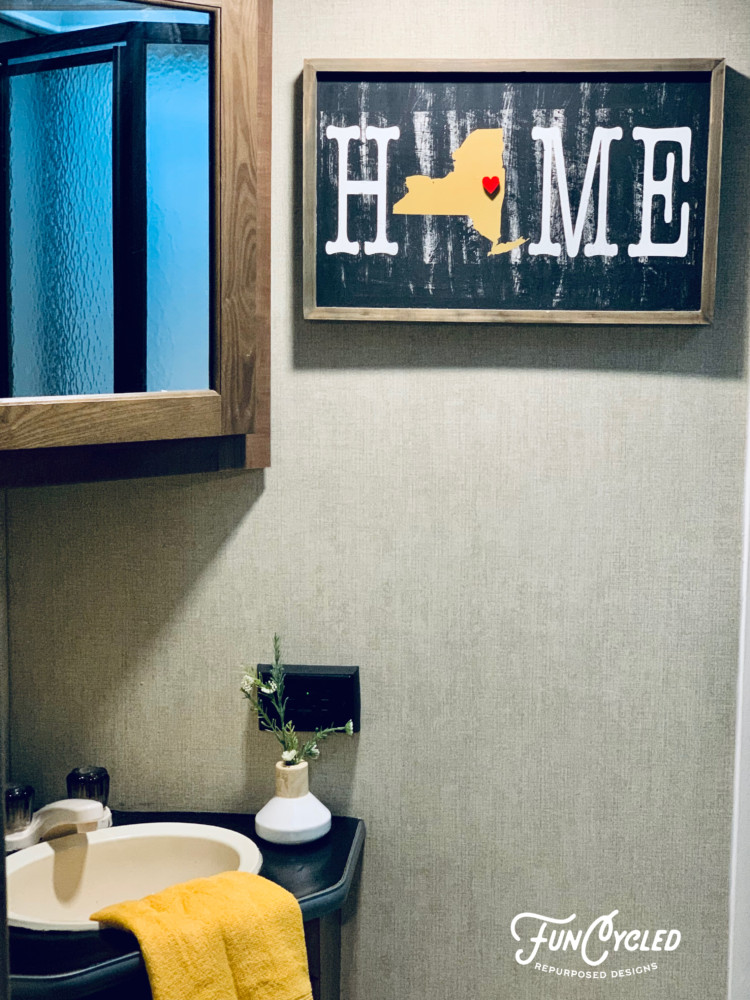
We also did some upgrades to the outside of our house where the camper will be year round. We installed a fence (with 3′ spikes instead of concrete) and old shutter so that we can remove it easily in the winter. Our neighbors had some extra stone that they gave us to spruce up the firepit, and Pam (our store manager) made this beautiful sign for us! We also put solar Edison lights on the fence to brighten everything up!

Isn’t that adorable?!?!?
We already had our friends from Florida come stay with us for a week and we used the camper for more sleeping space which was a huge help!!
Have you redone a camper before? If so, I’d love to see it! Share a link in the comment below!
Thank you all for following along! If you’d like to get this blog in your email once a week, please sign up for our weekly newsletter by adding your email in the little box below my picture.
If you’ve enjoyed this post, please like FunCycled on Facebook, Instagram and Pinterest. Keep up to date on the newest finds, vote on colors and give your input on our creativity. We share fun tutorials, great before and after, and new design inspirations.
We offer interior design, kitchen cabinet painting, and custom built tables, barn doors, and repurposed furniture. Thank you, again, for working with us and for taking the time to spread the word about what we do.
Happy FunCycling Friends,
Sarah ;)