Hi Friends!
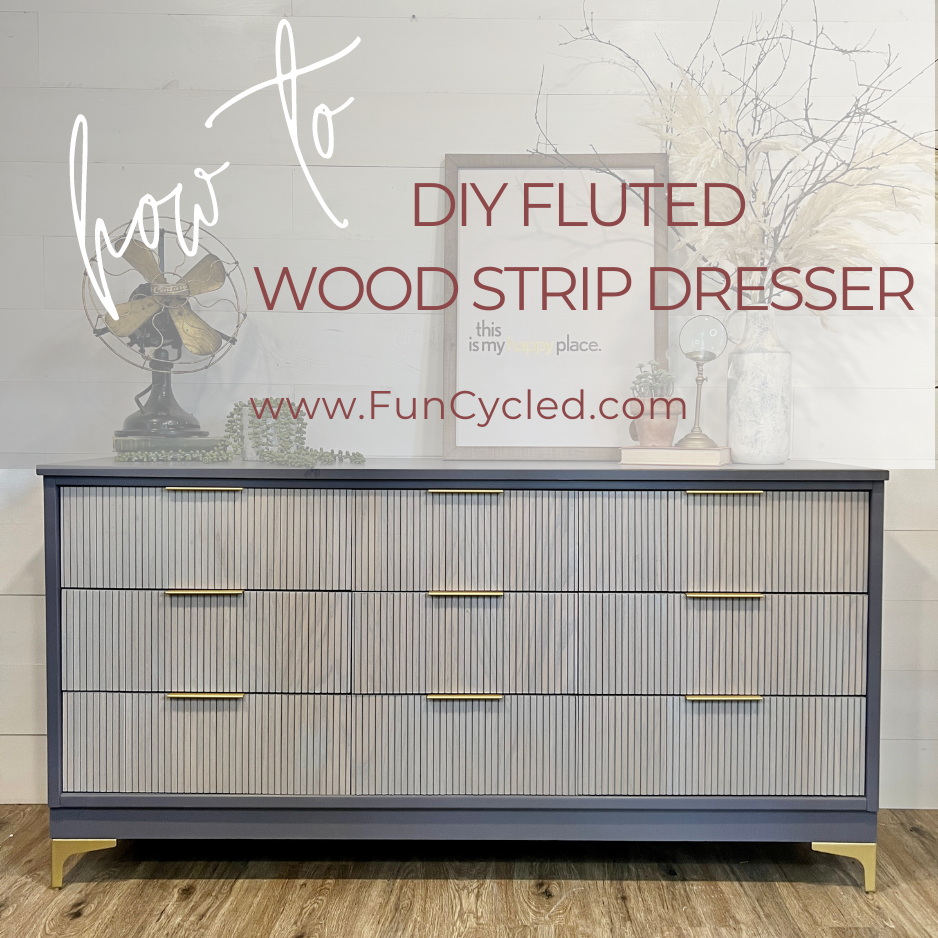
You may have noticed that a big trend lately is to have thin wood strips on the fronts of dressers, bars, or reception desks. If you haven’t noticed, that’s ok. My days are filled with looking at designs and furniture so don’t feel bad. I’ll keep you in the know. :)
I’ve been wanting to try doing this to a dresser set, but it’s an expensive project to try. The wood strips are pricey (there may be a cheaper way to do it that I haven’t found yet). If I do find a cheaper wood product, I’ll update this post. If you know of a way, please comment and let me know below. I love the look of having the wood strips on the front of dresser drawer so I waited until I found just the right set to do the transformation.
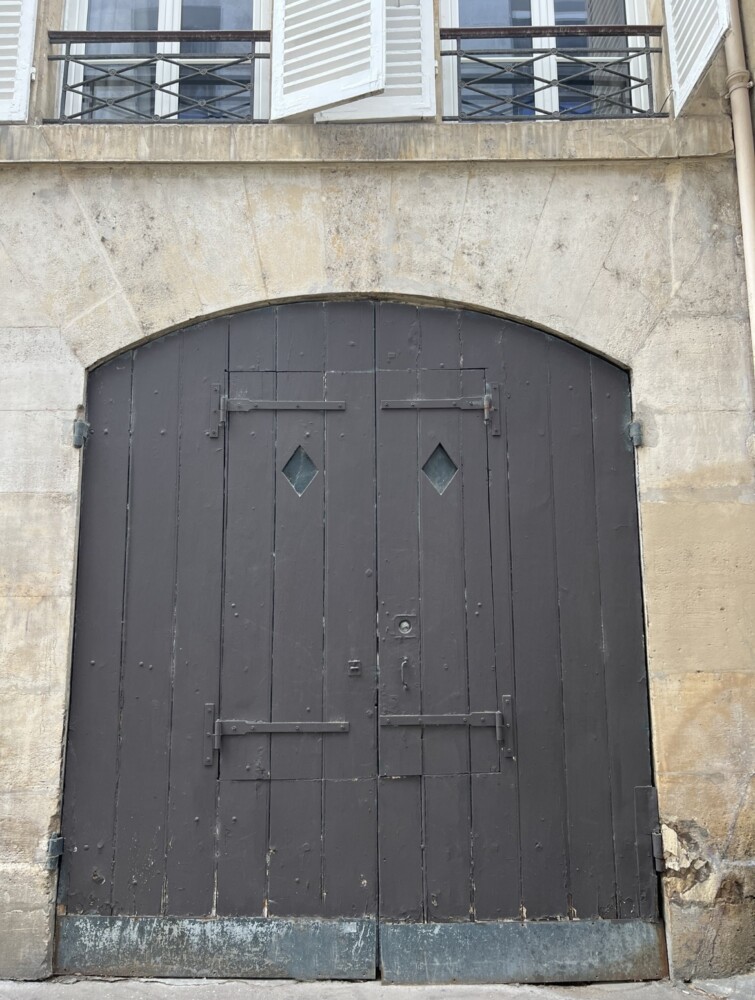
This is the next in the series of furniture that has bee inspired by doors that we saw on our anniversary trip to Paris. I selected all the colors based on this photo.
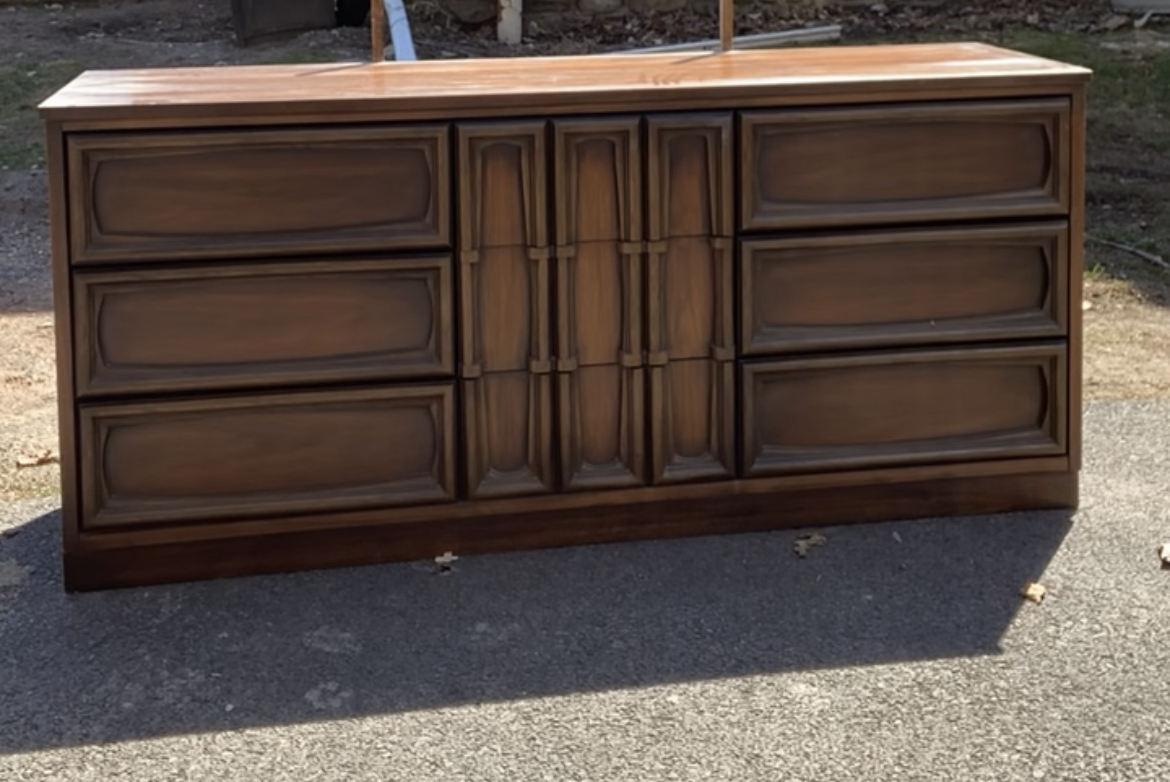
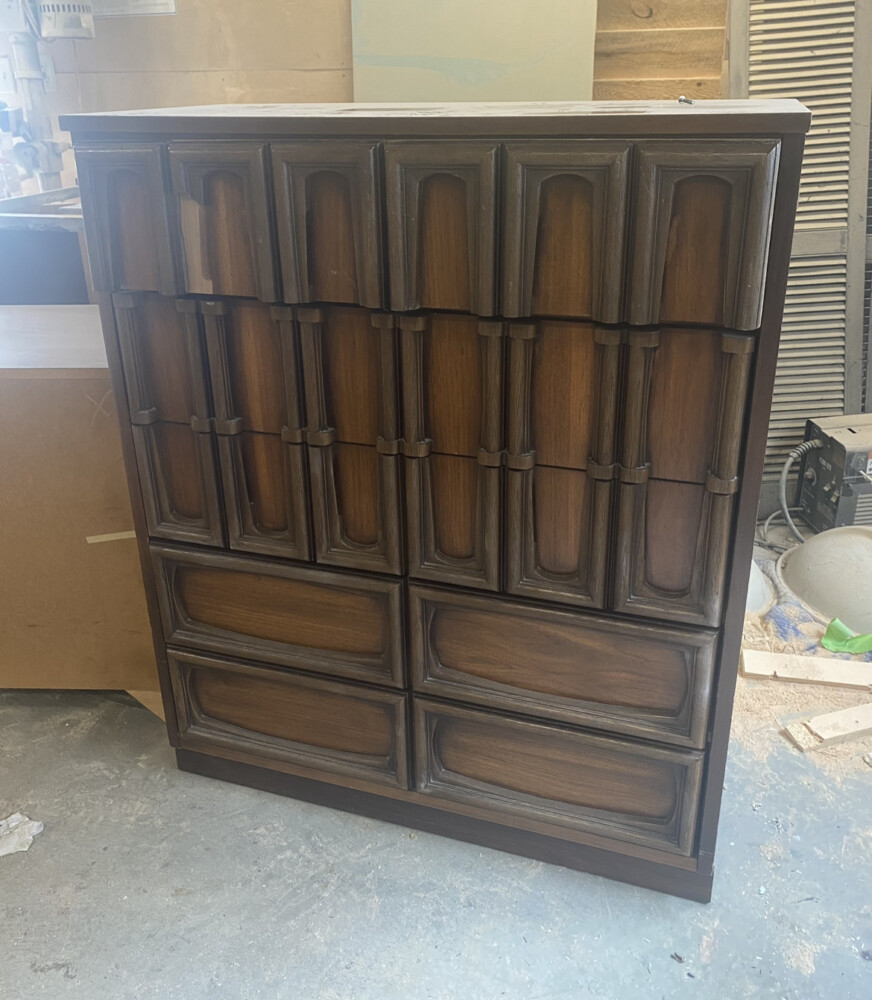
Here are the dressers before:
I did a time lapse video to show the steps of how we removed the trim on the drawers and added the fluted wood. You can check it out on Instagram here.
We removed the drawers, and removed all of the trim work on the drawer to give us room to add the fluted wood strips. Then we repaired, prepped, primed, and painted the boxes.
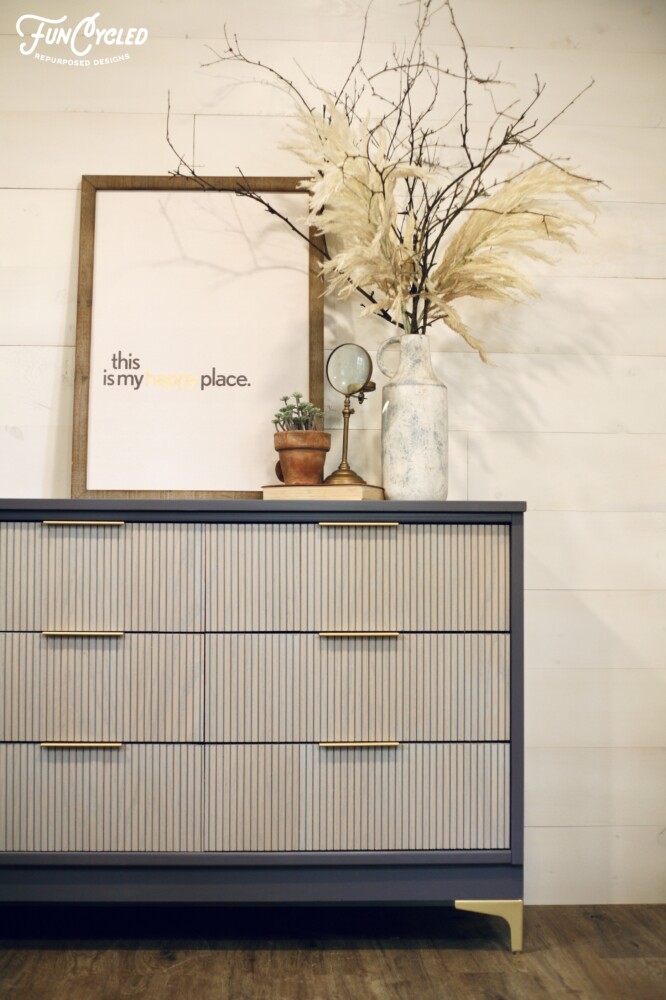
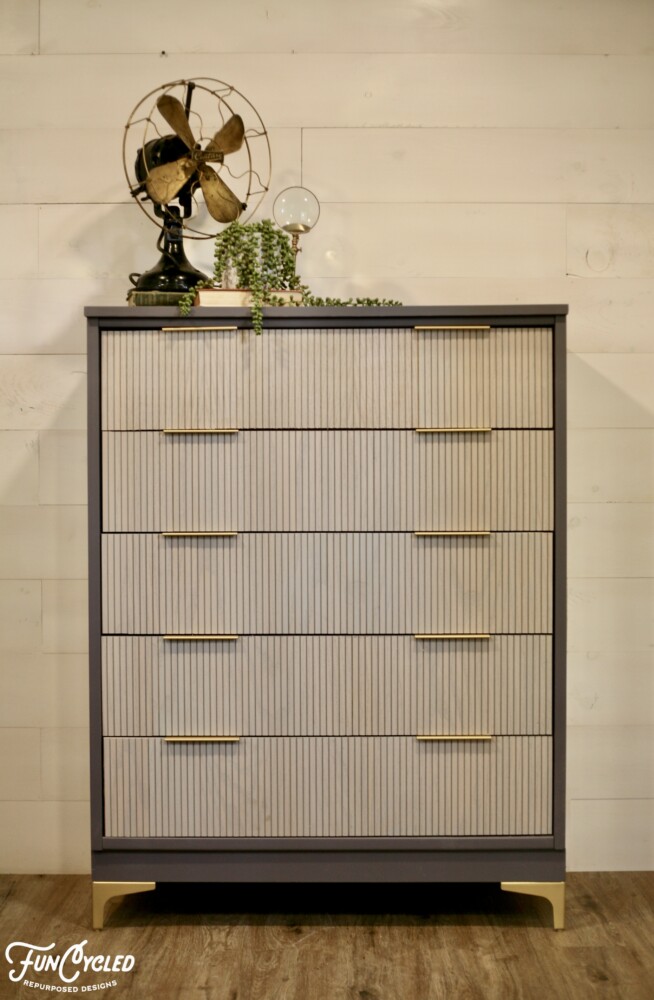
Box Color: Benjamin Moore Mythic CSP-510
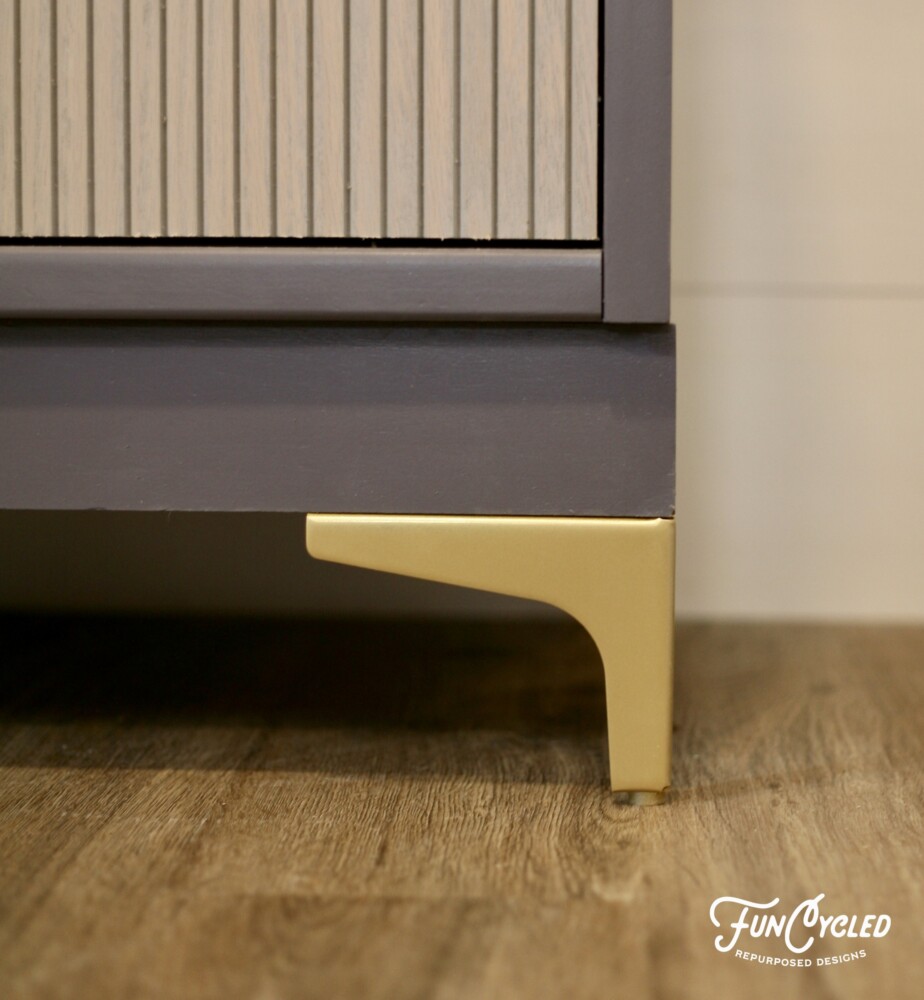
If you want to see how we paint furniture, check out our How to Paint Furniture post. We also added furniture feet onto the dressers. We did have to spray them a different gold so they matched the hardware.
New Hardware: Gold Tab Pulls
Furniture Feet: Triangle Furniture Feet
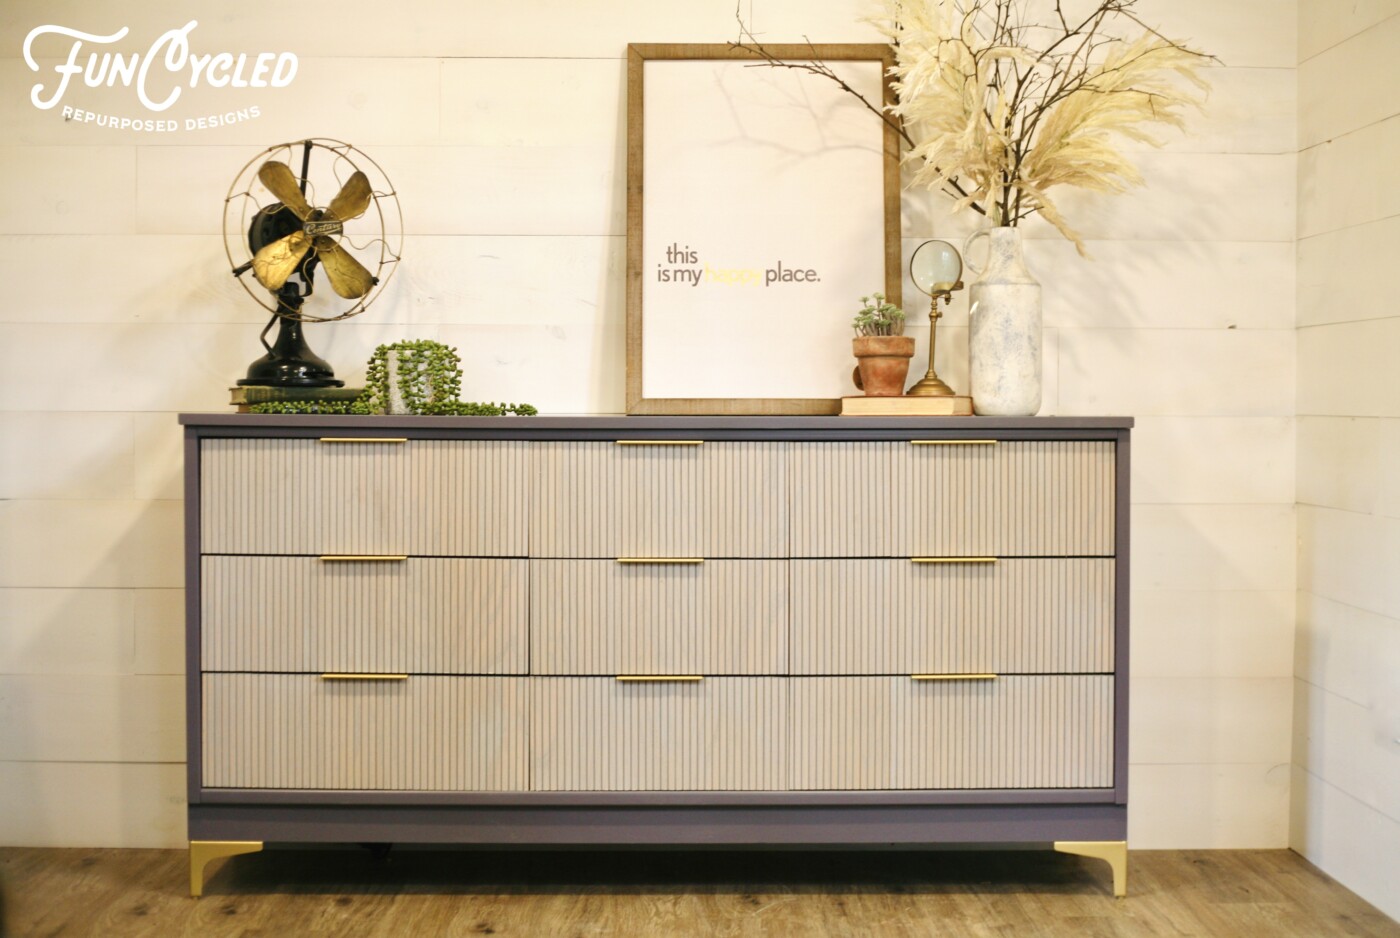
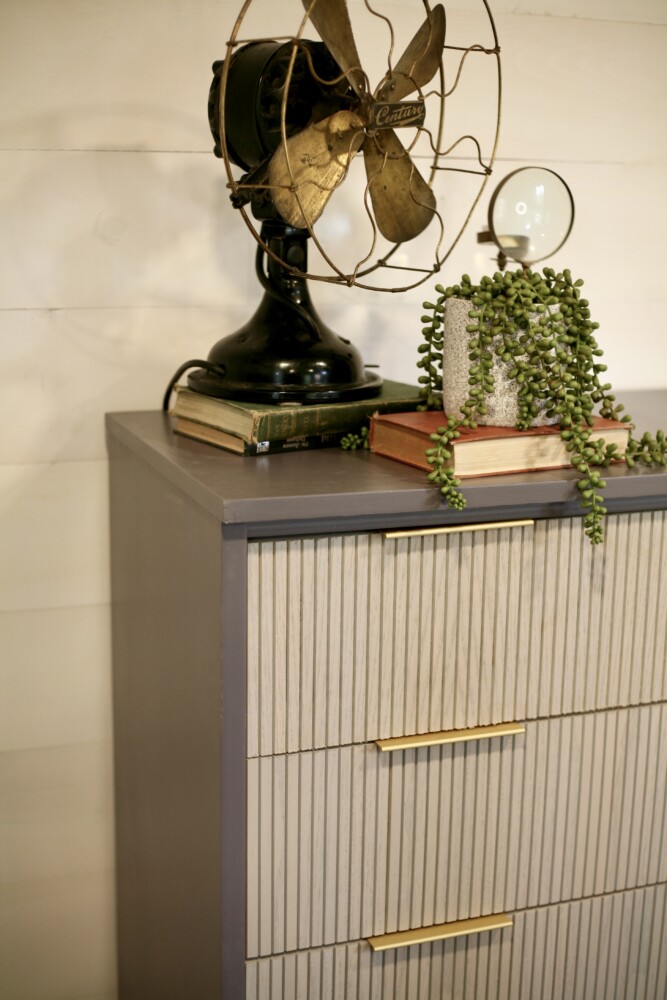
Then we bought pole wraps with fluted wood from Home Depot and stained them with Valspar’s Sunbleached stain. It took 3 of those pole wraps for these two dressers.
After the stain was dry, we glued them onto the drawer fronts and secured it with pin nails. You may have to plane down the tops of the drawers to be sure none of them hit each other. Then we added all the hardware and we were all set! This project did take a couple of days to finish. It’s not a fast process.
Ready for the after photos?
This dresser set is available to purchase on our shop page. Be sure to visit our SHOP page to see if it’s still available, and check out what other pieces we have available for purchase or custom order.
Or contact us to get a quote to let us redo your furniture for you!
Thank you all for following along! If you’d like to get this blog in your email once a week, please sign up for our weekly newsletter by adding your email in the little box below my picture.
If you’ve enjoyed this post, please like FunCycled on Facebook, Instagram and Pinterest if you don’t already. Keep up to date on the newest finds, vote on colors and give your input on our creativity. We share fun tutorials, great before and after, and new design inspirations.
We offer interior design, kitchen cabinet painting, and custom built tables, barn doors, and repurposed furniture. Thank you, again, for working with us and for taking the time to spread the word about what we do.
Happy FunCycling Friends,
Sarah ;)