Hi Friends,
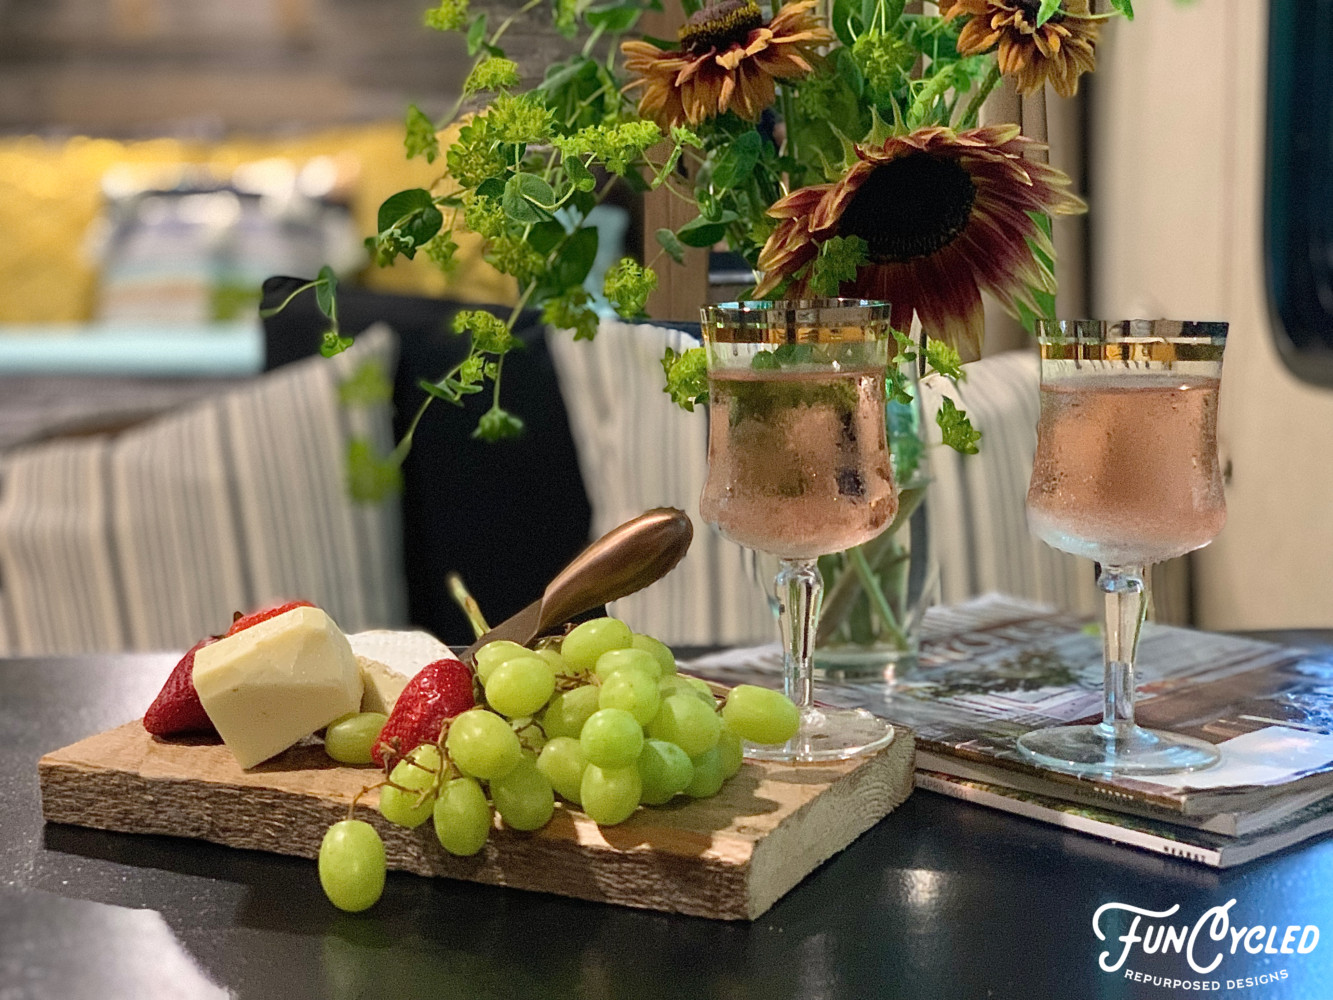
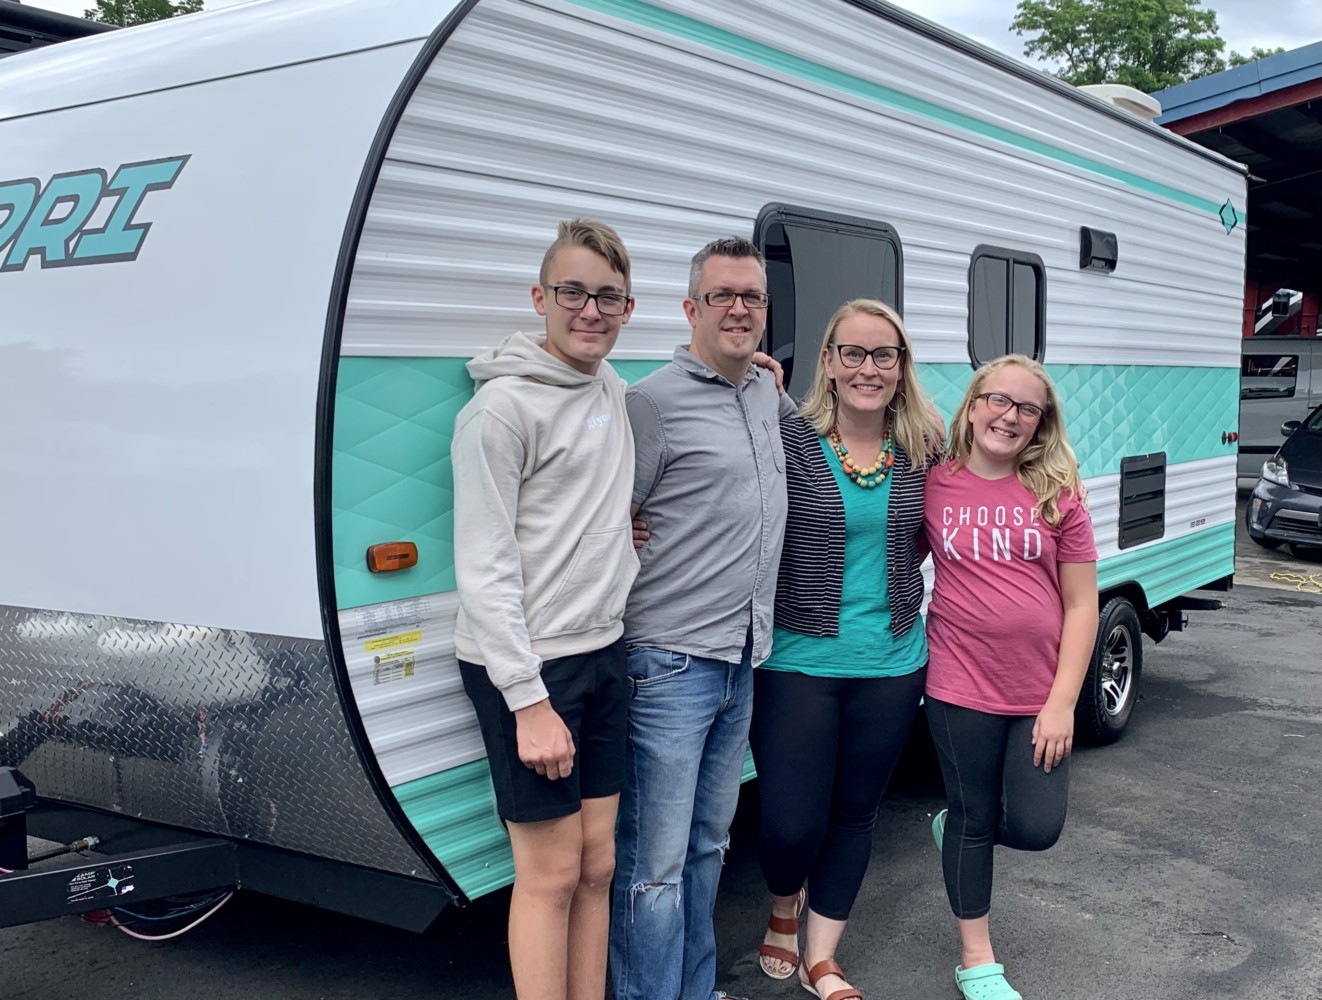
We just got back from a beautiful week in Ocean City, Nj. This is our 13th year going back there and it’s the vacation that the kids and I look forward to most. We bask in the sun, shop the boardwalk, go to the zoo, have cheese nights and date nights, and it really couldn’t be more glorious.
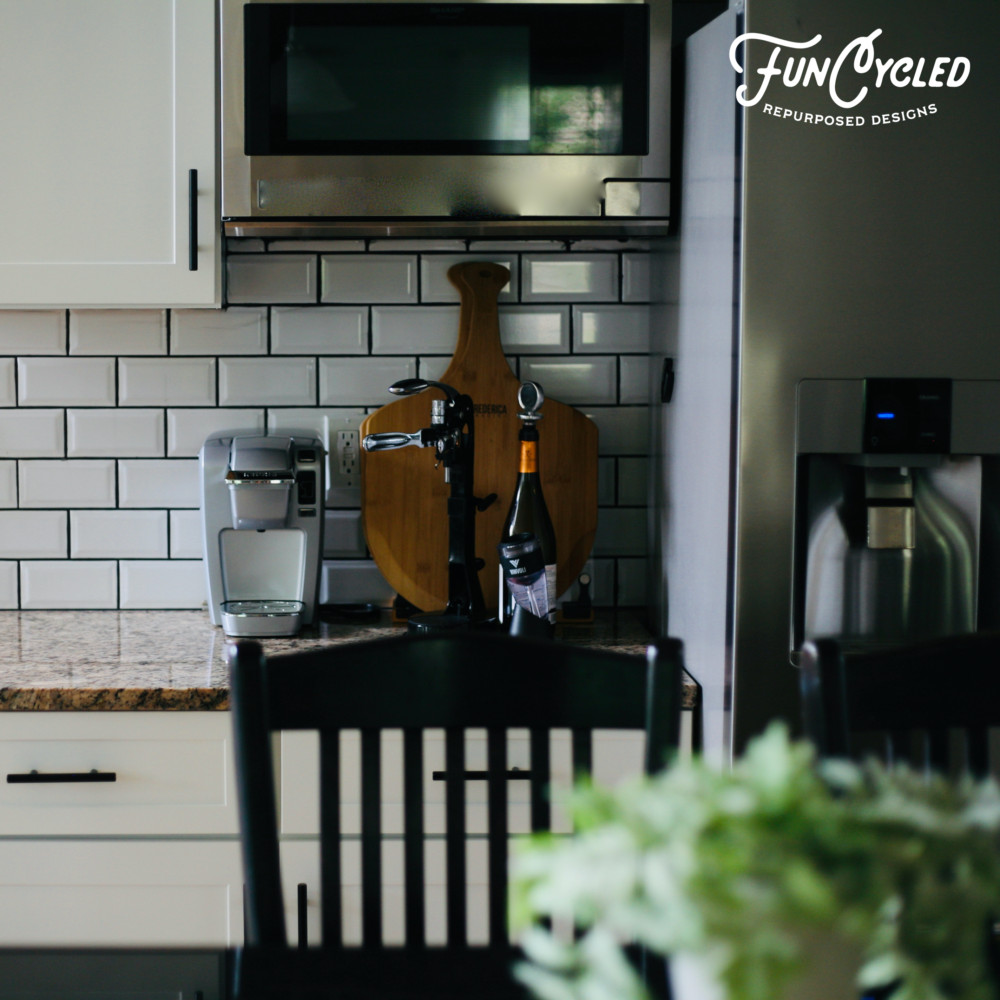
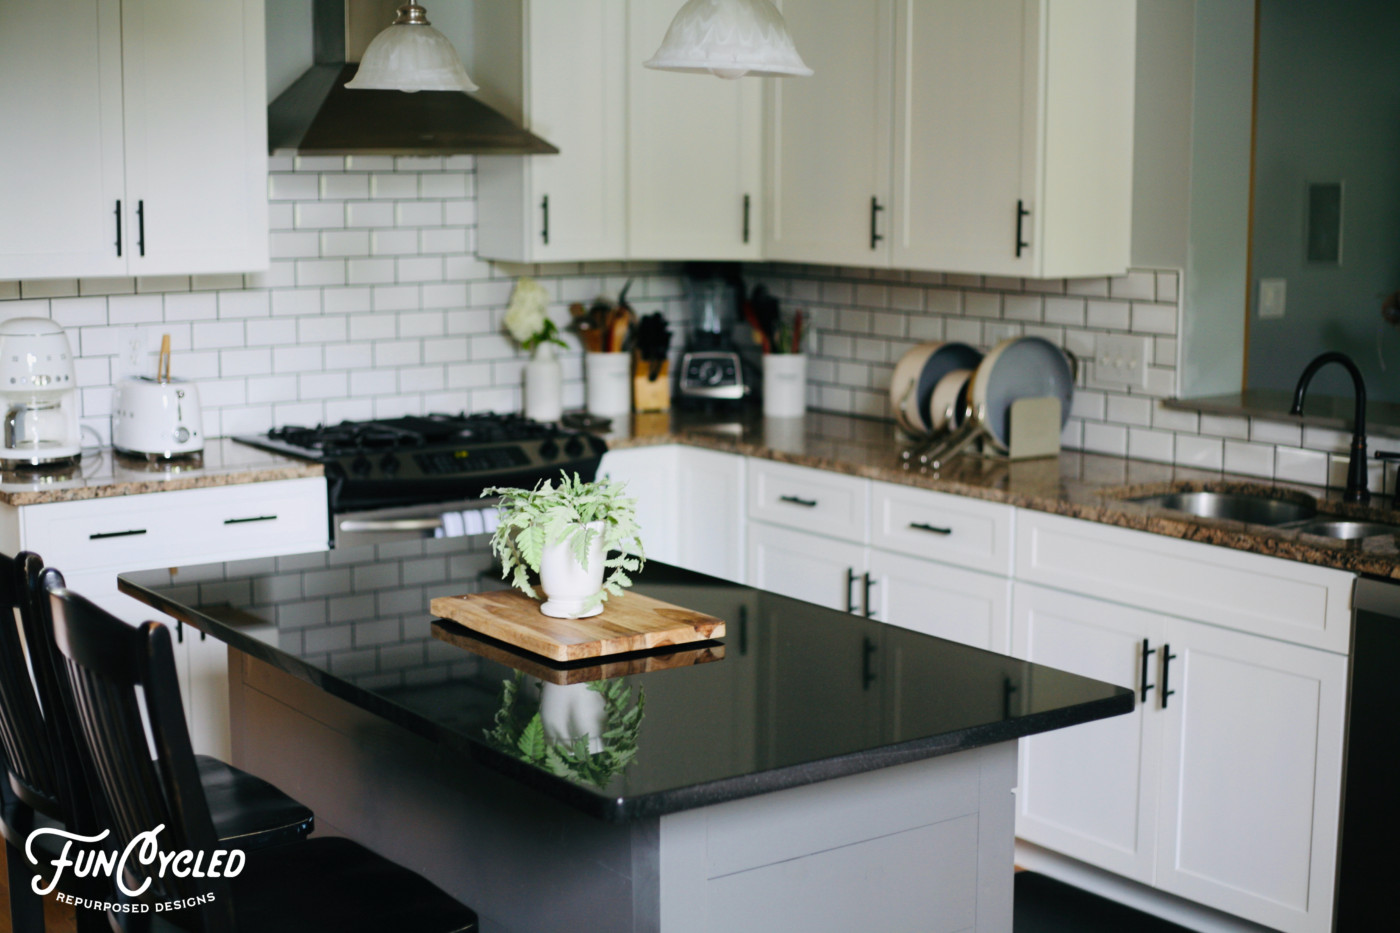
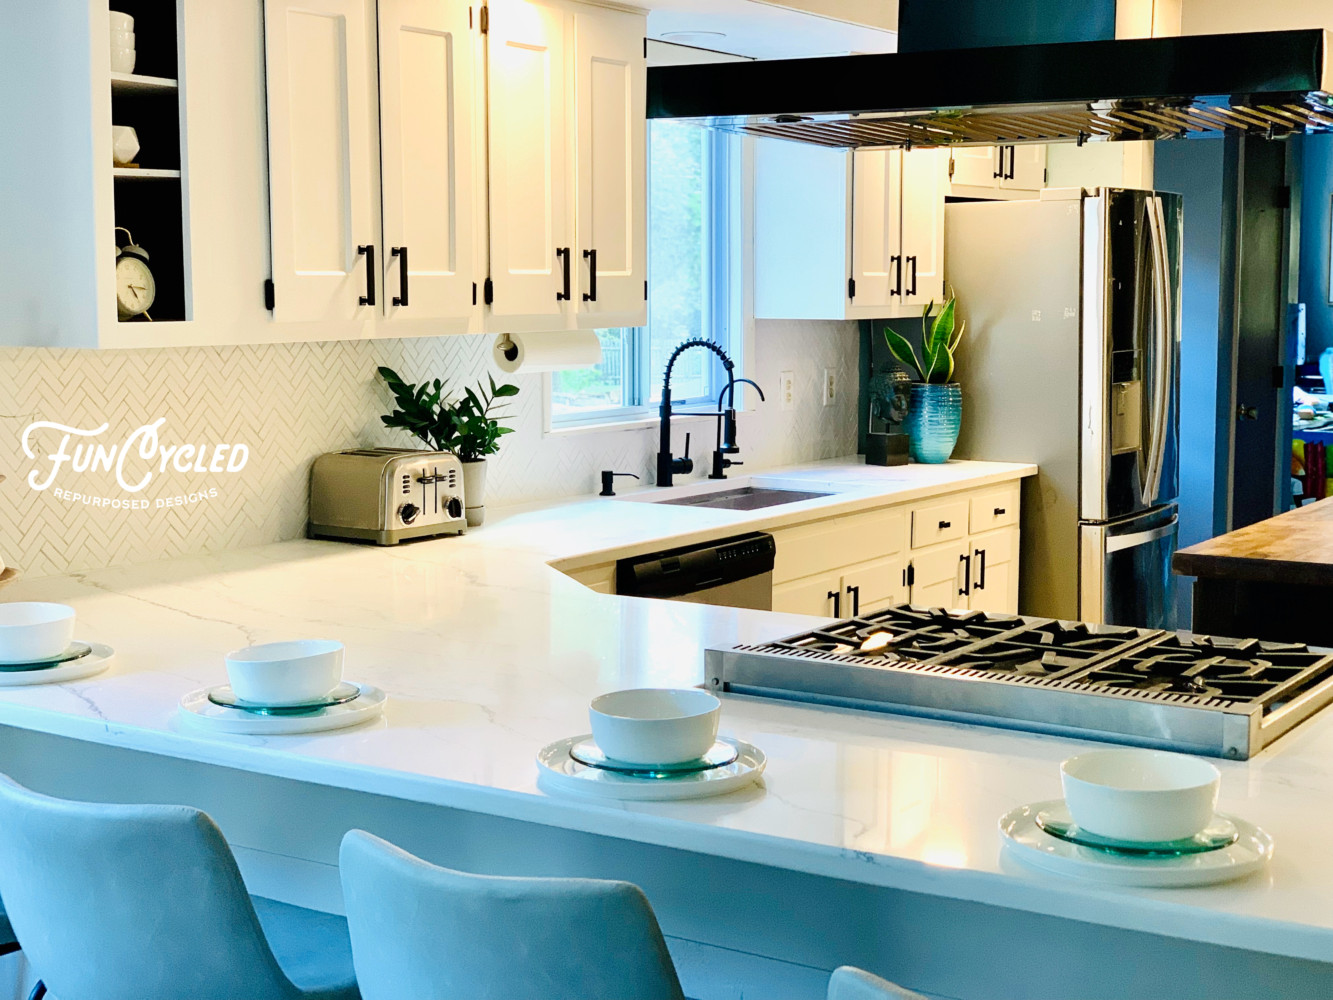
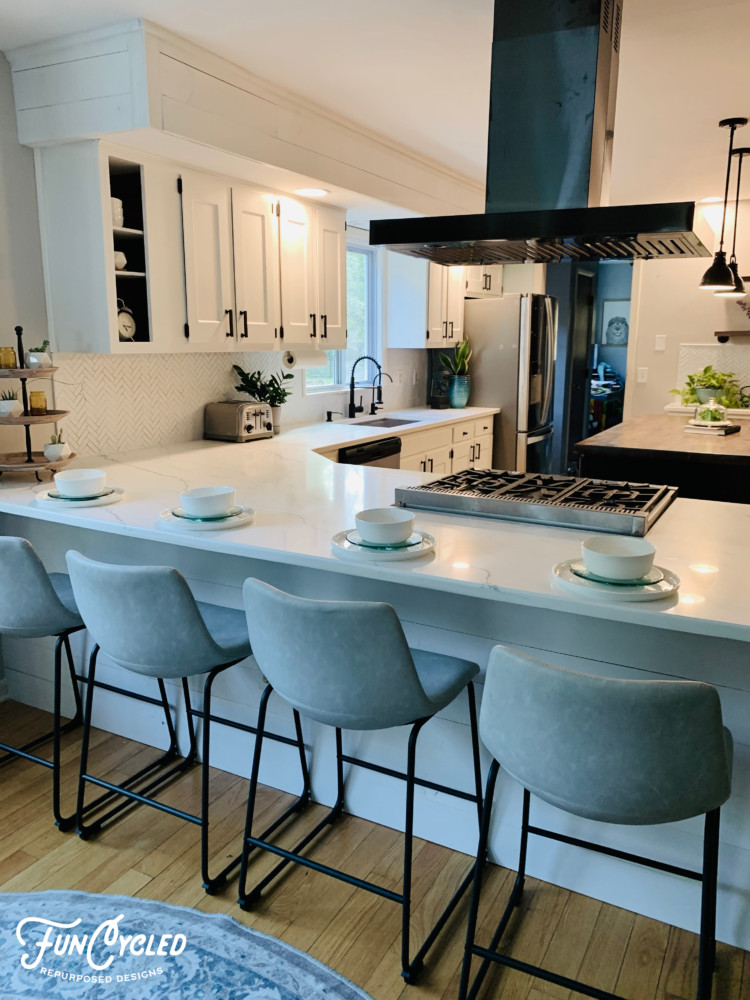
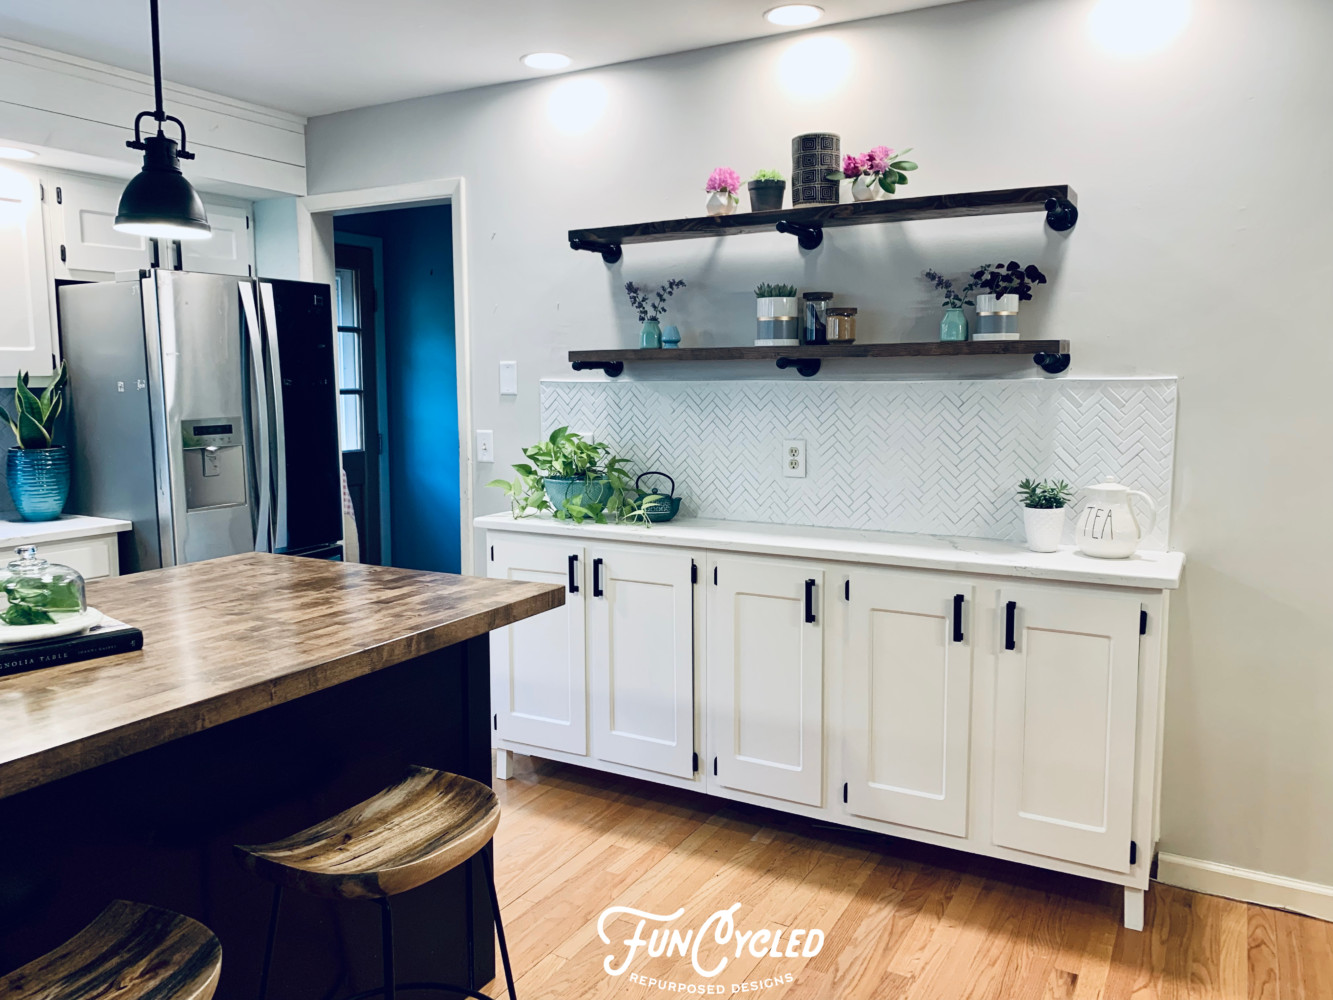
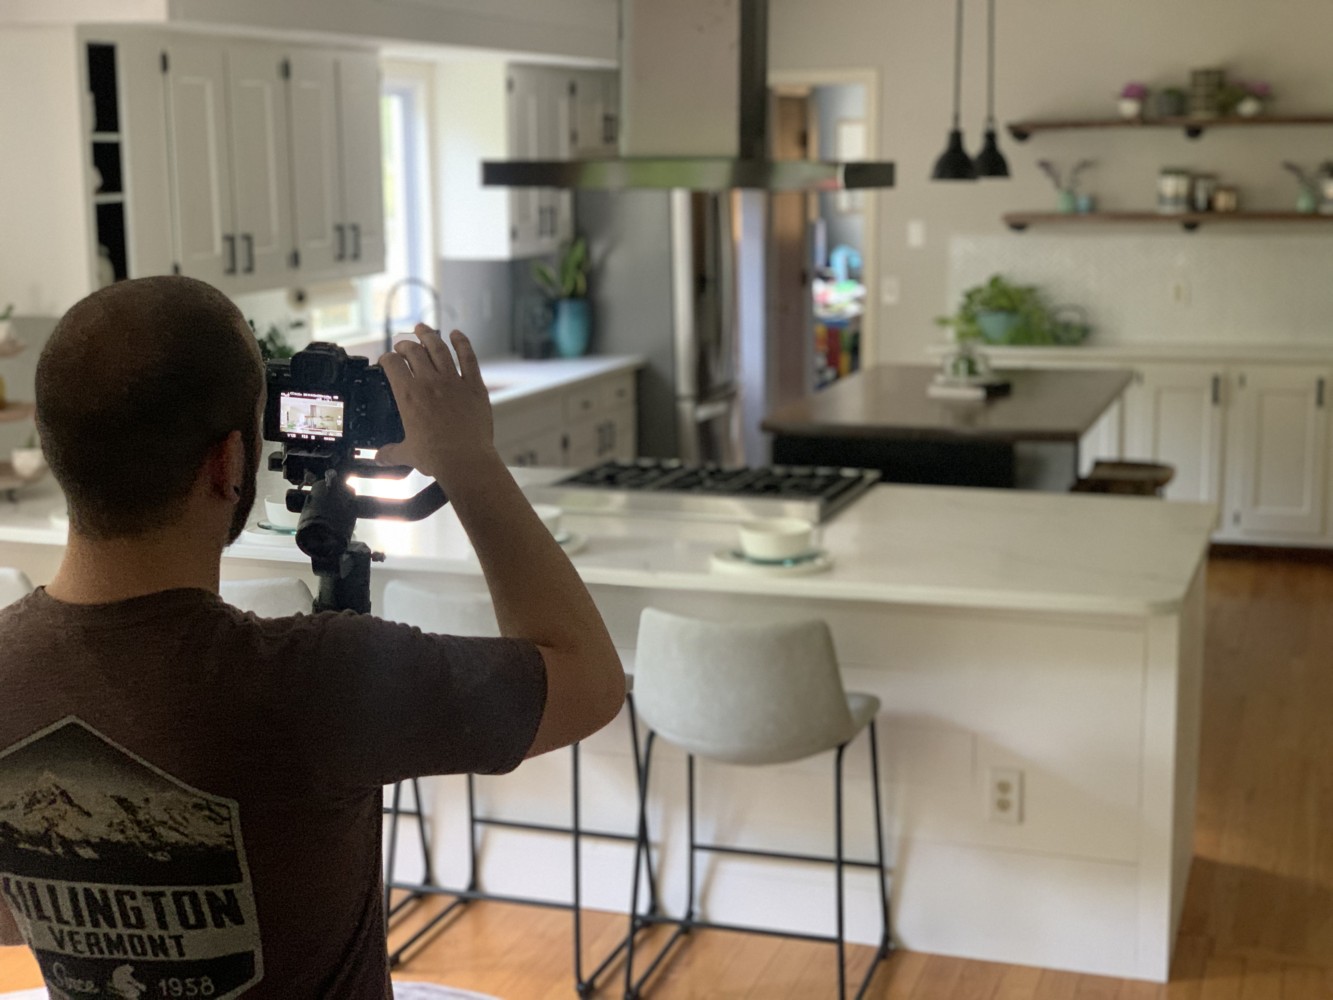
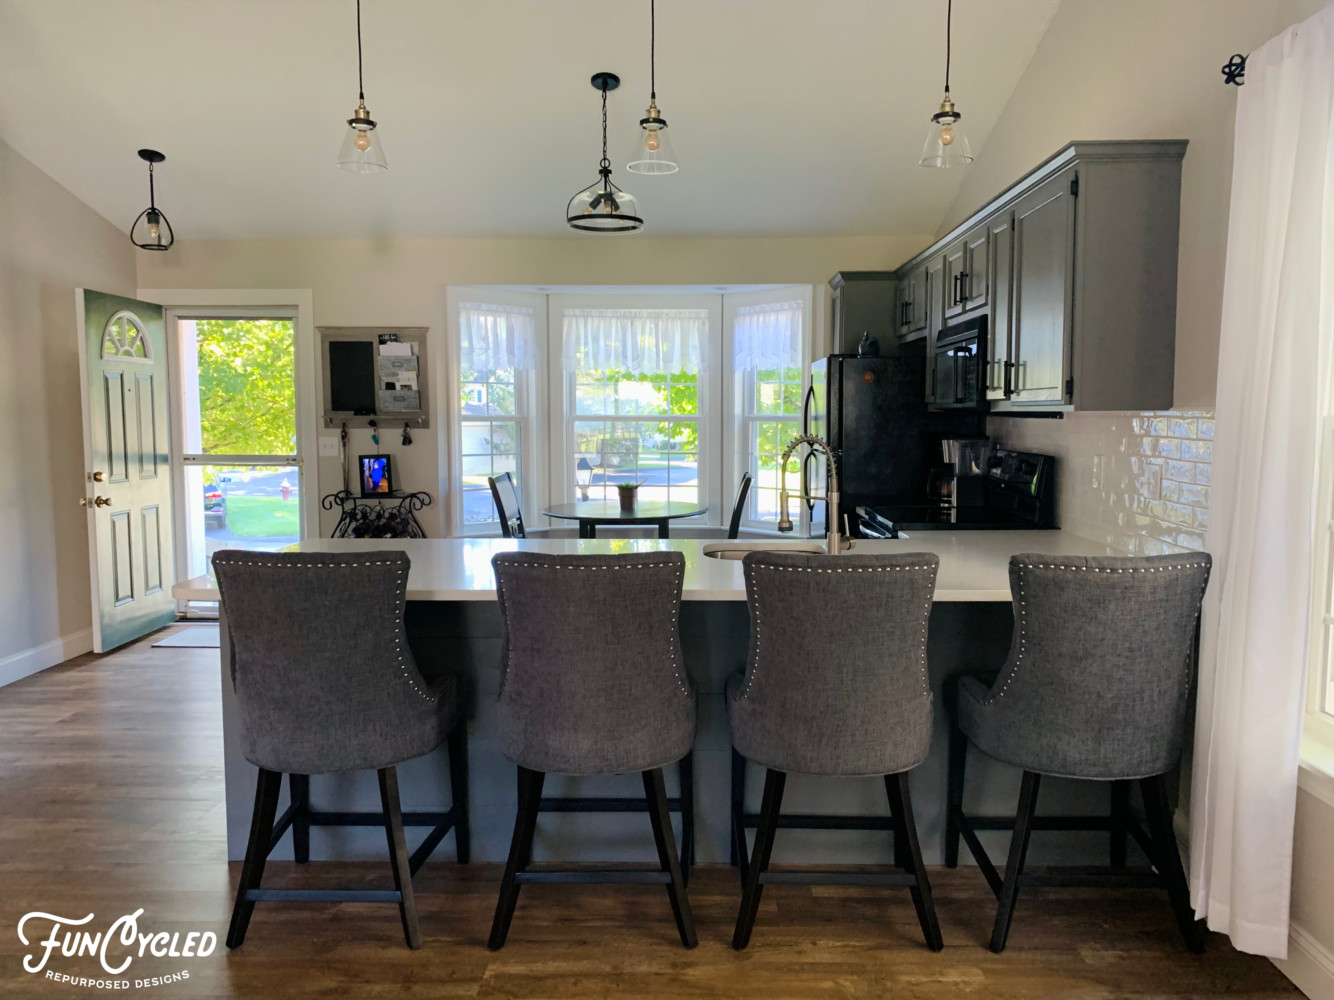
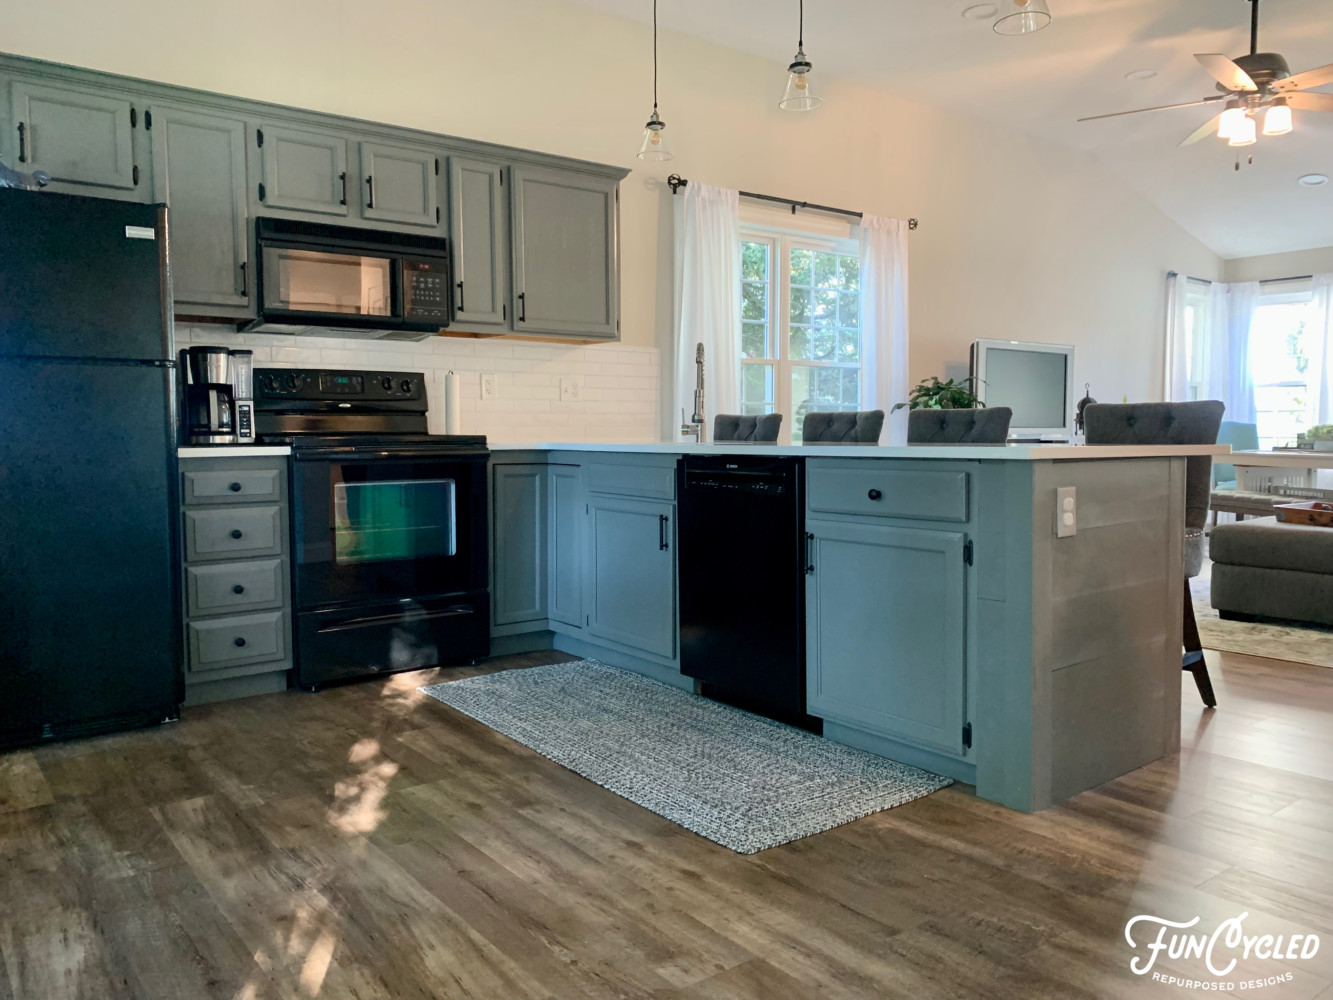
Speaking of couldn’t be more glorious… when I walked into this kitchen once it was finished, it took my breath away!! I couldn’t believe how different it looked!
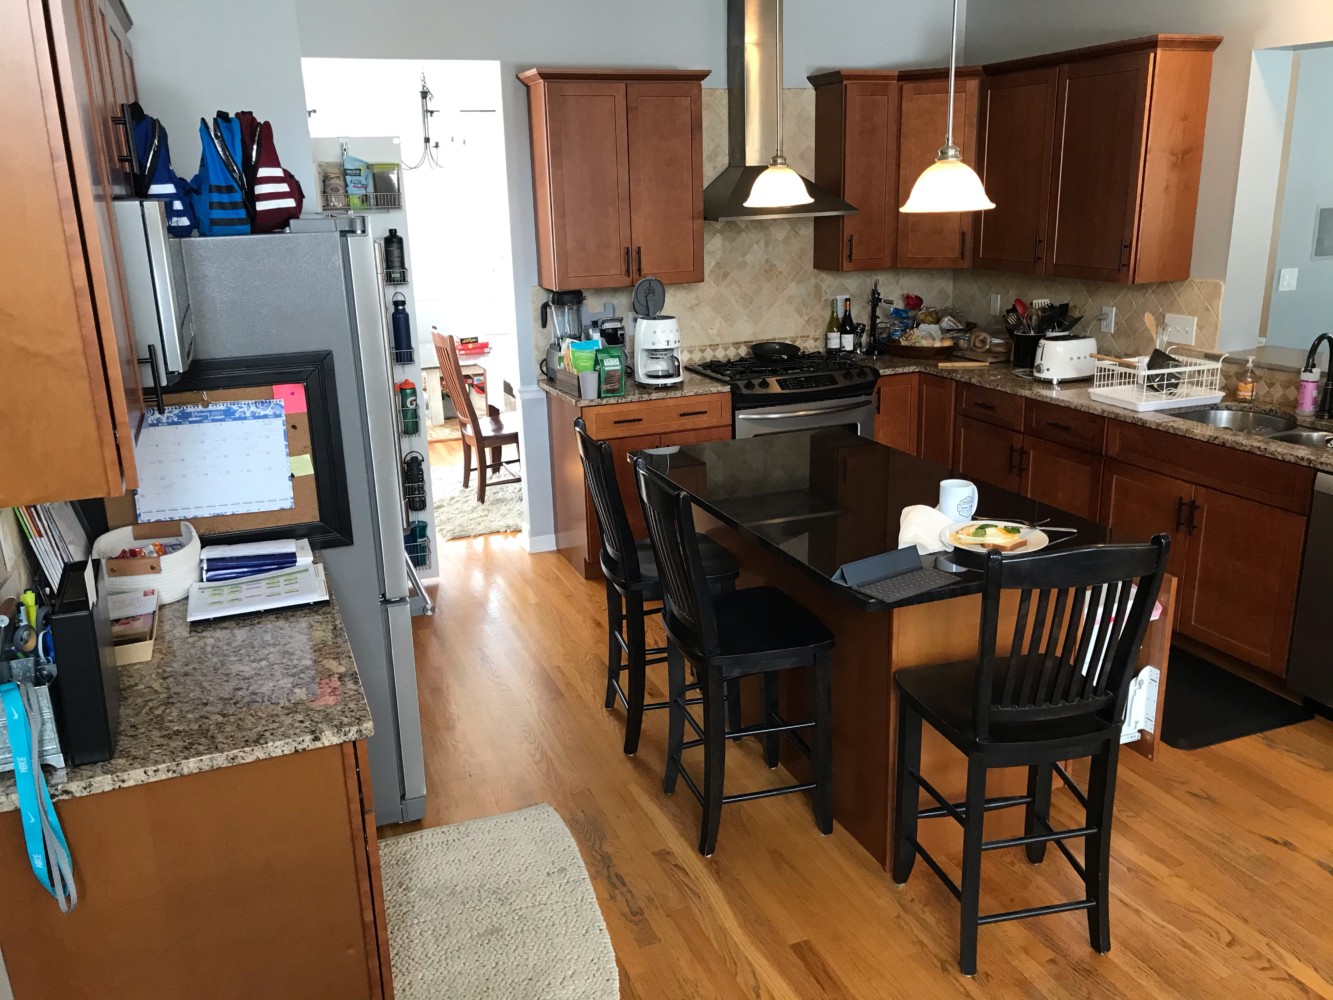
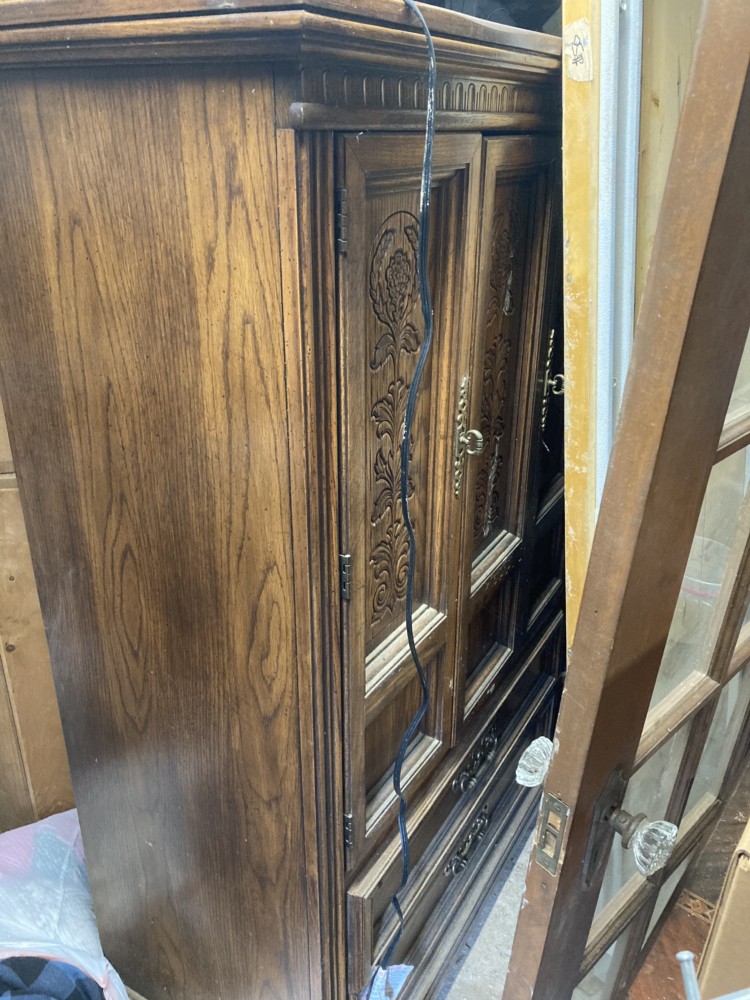
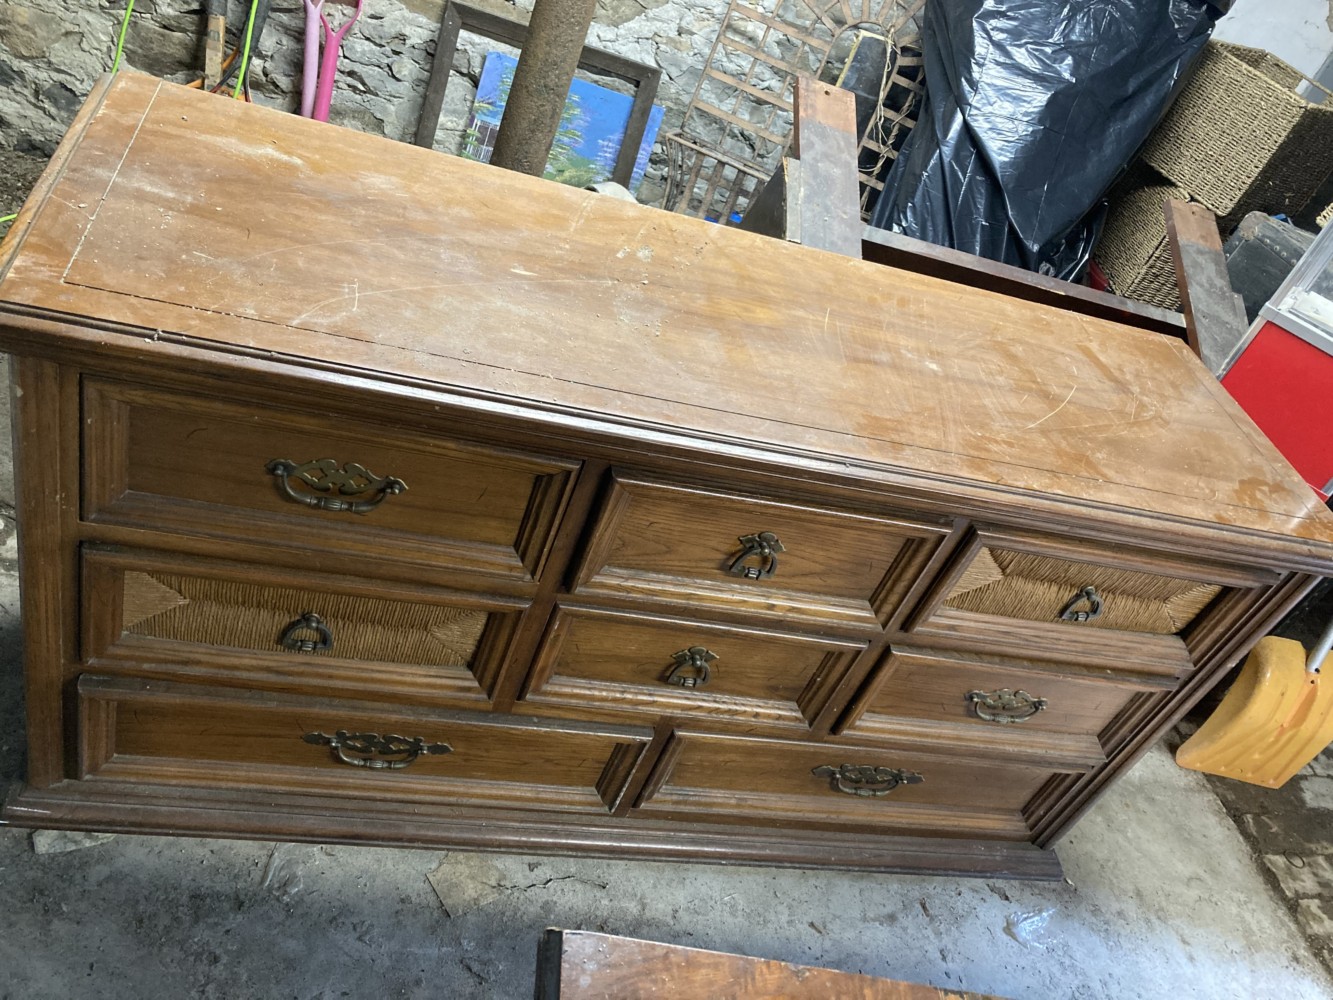
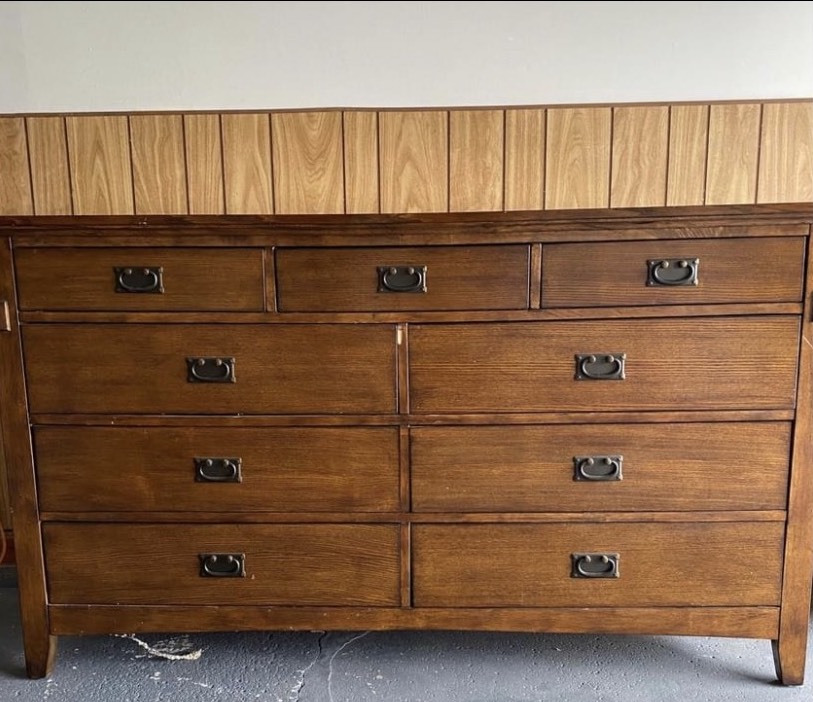
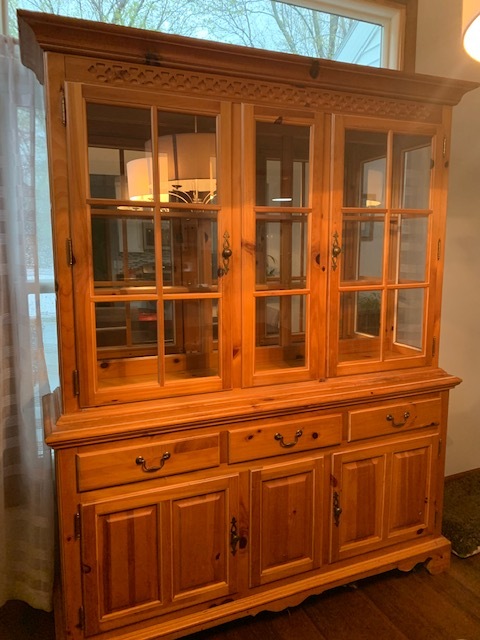
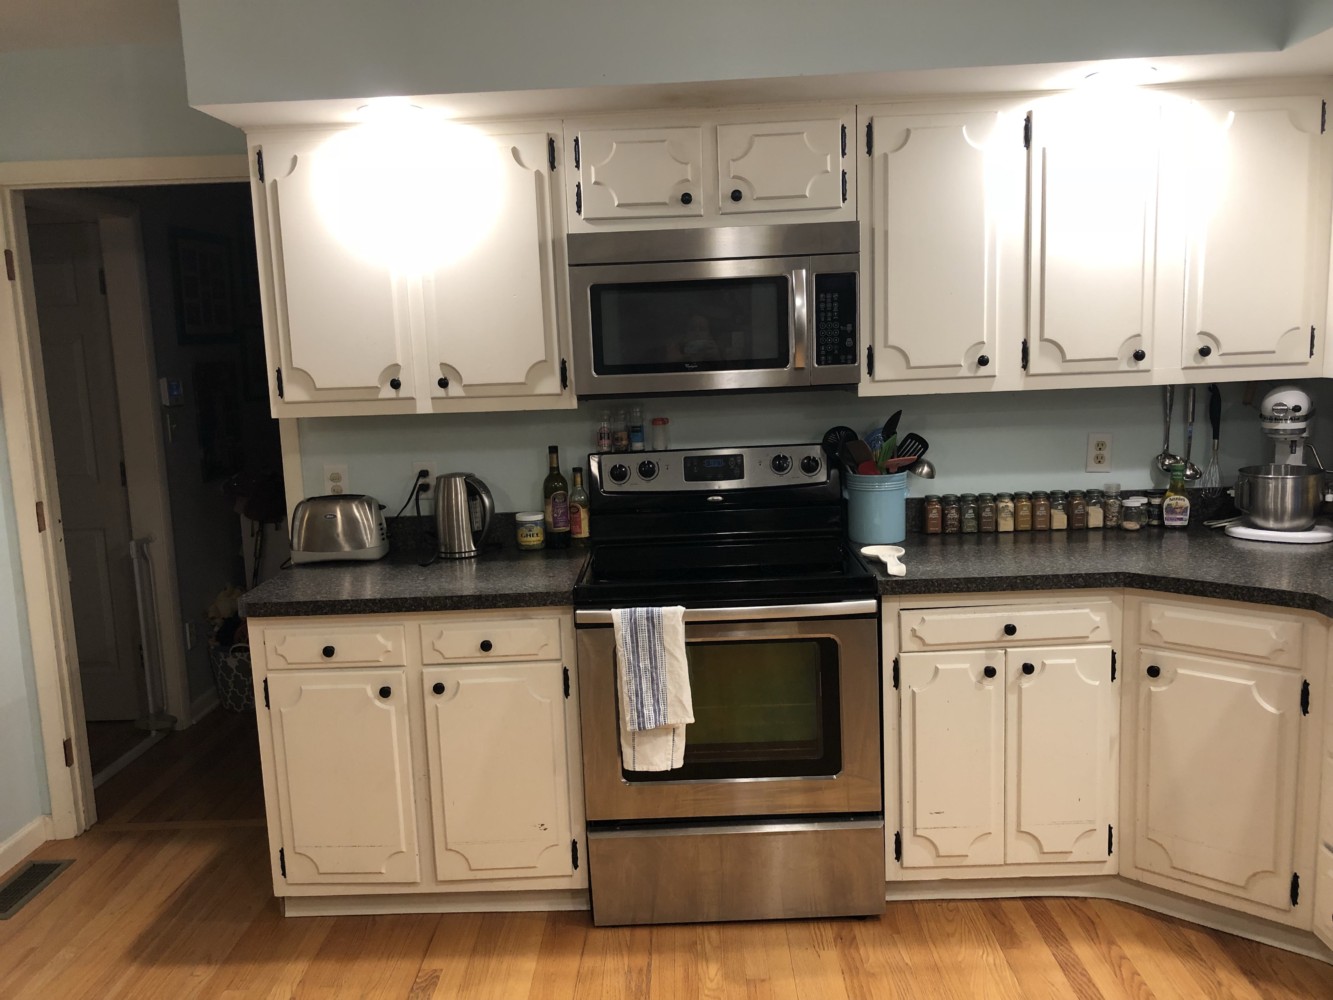
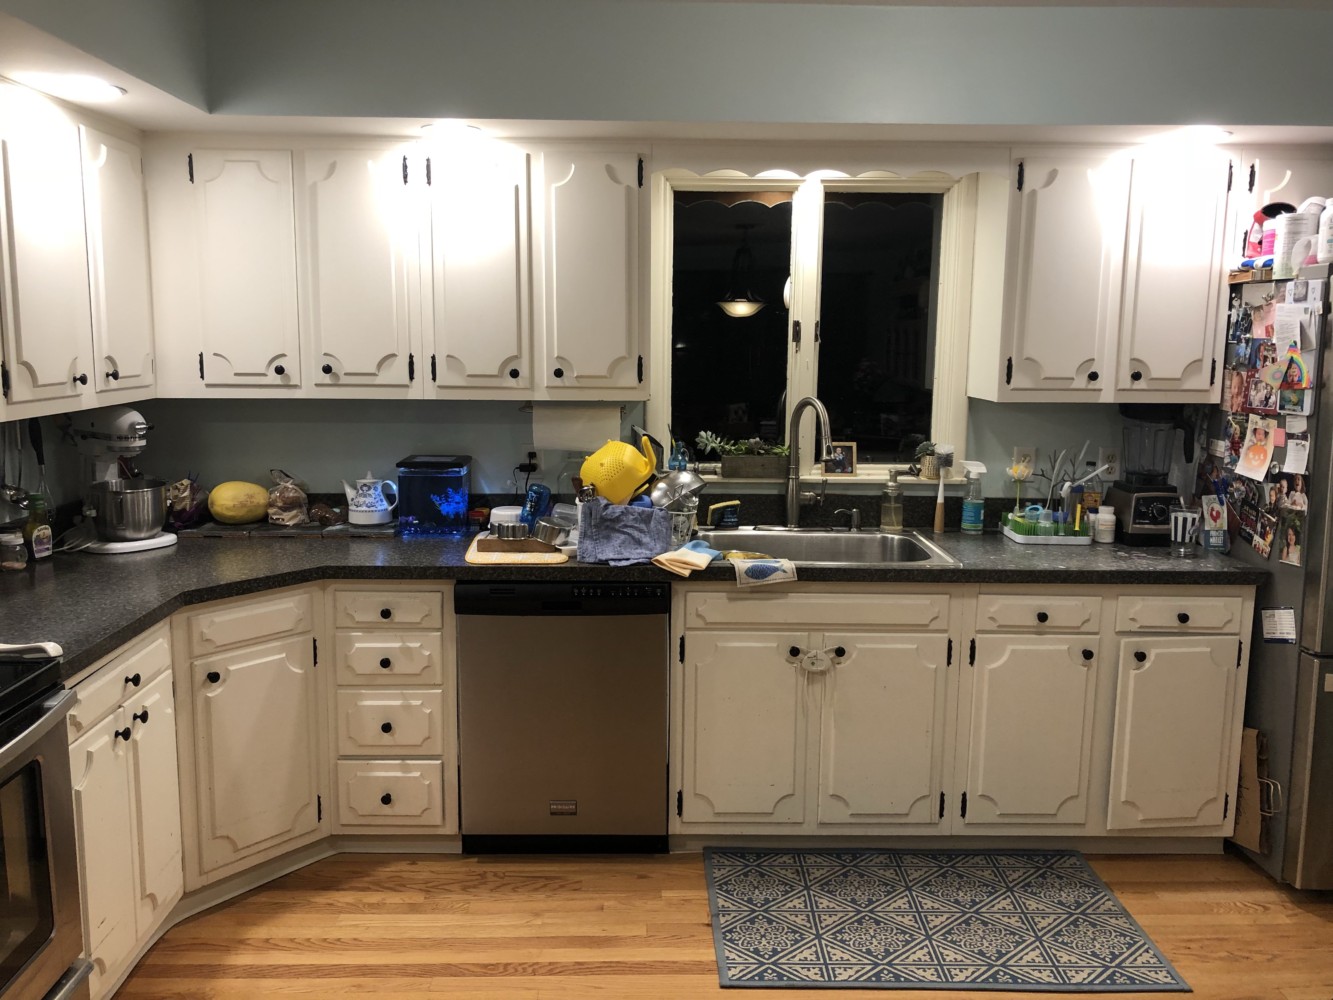
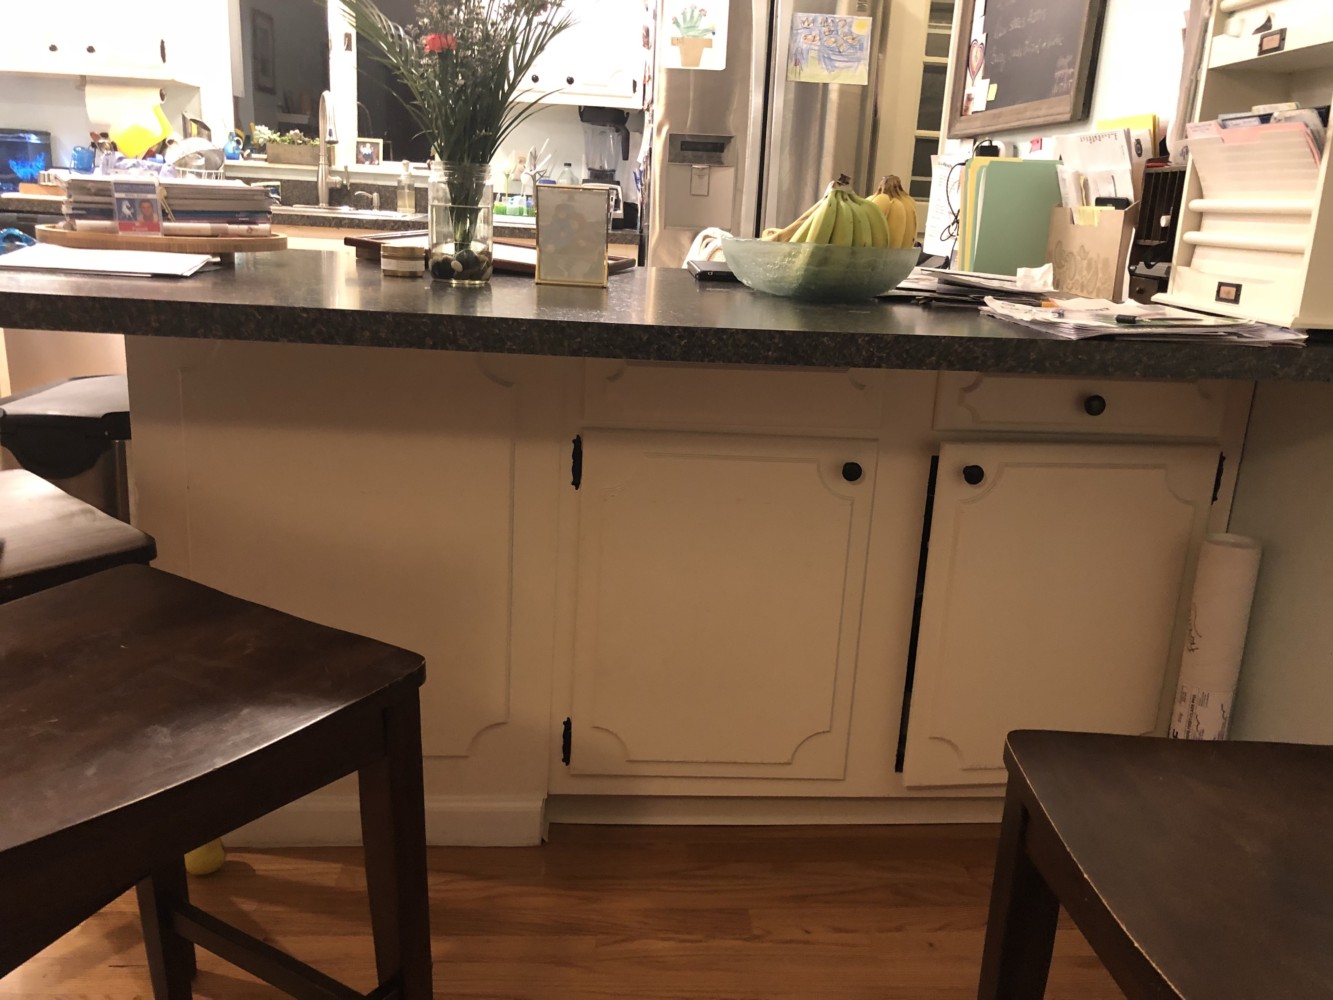
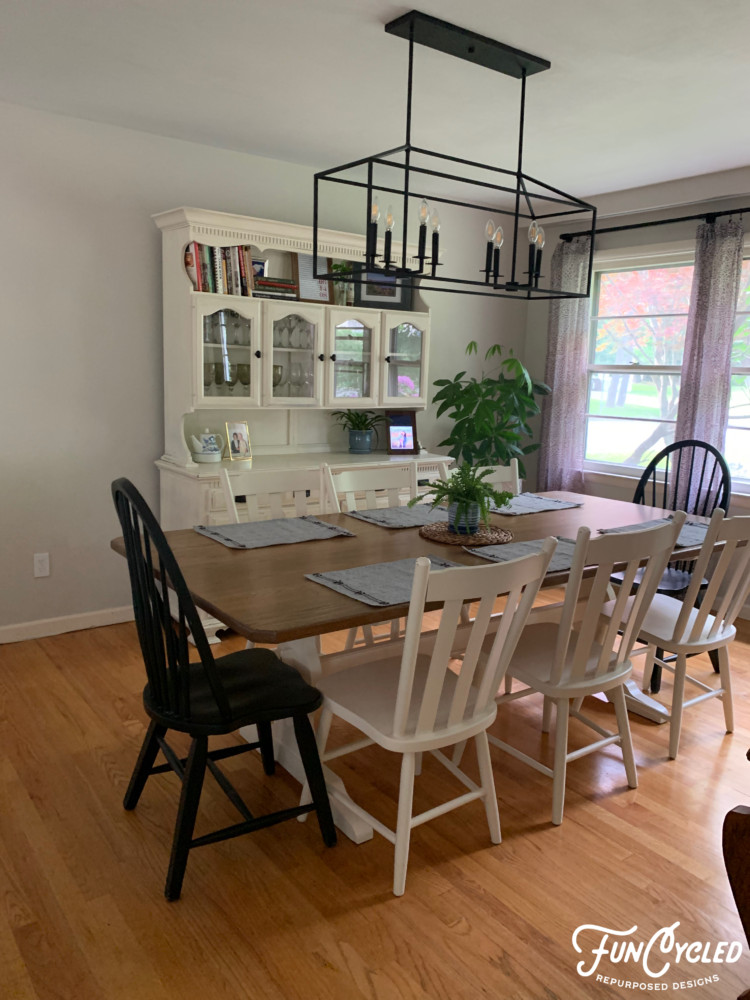
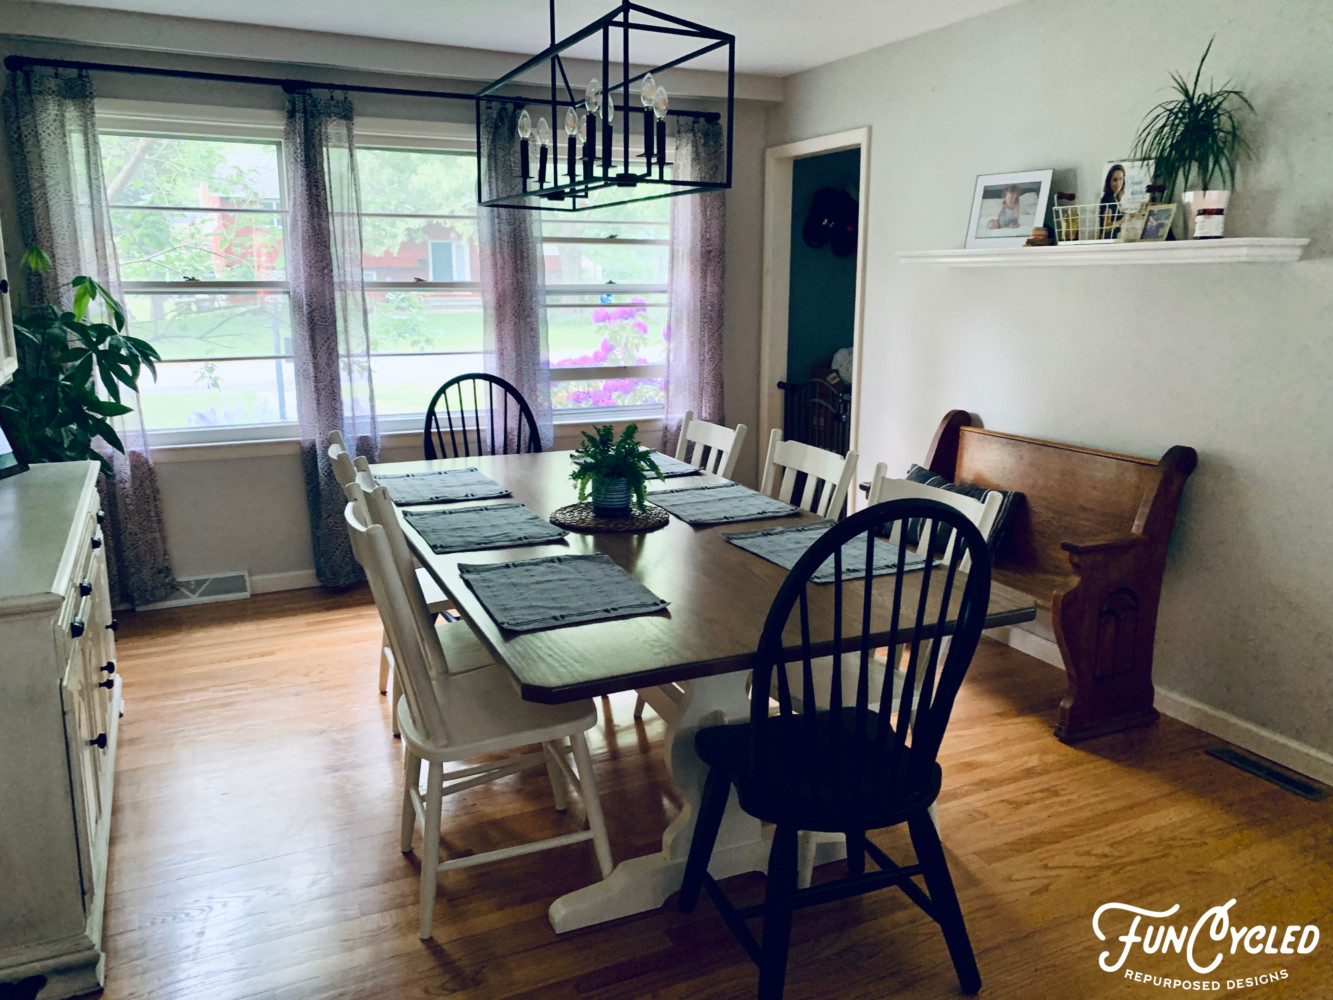
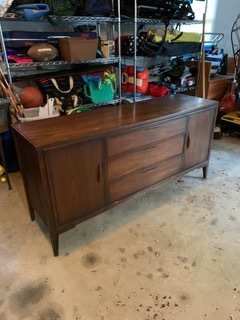
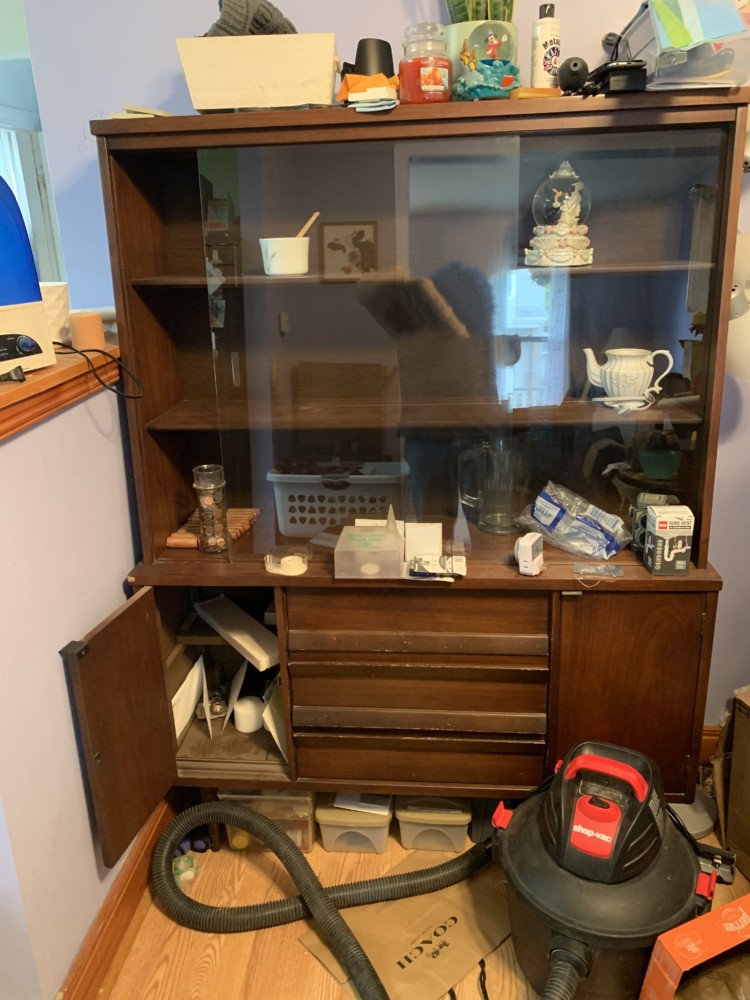
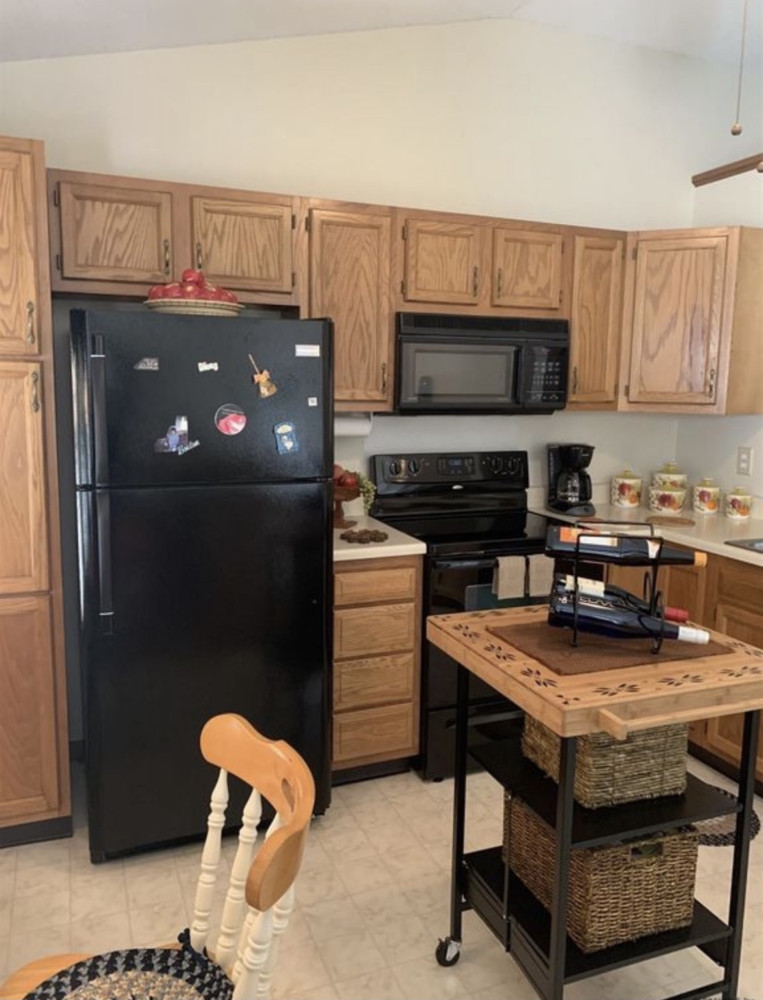
Here’s the kitchen before:

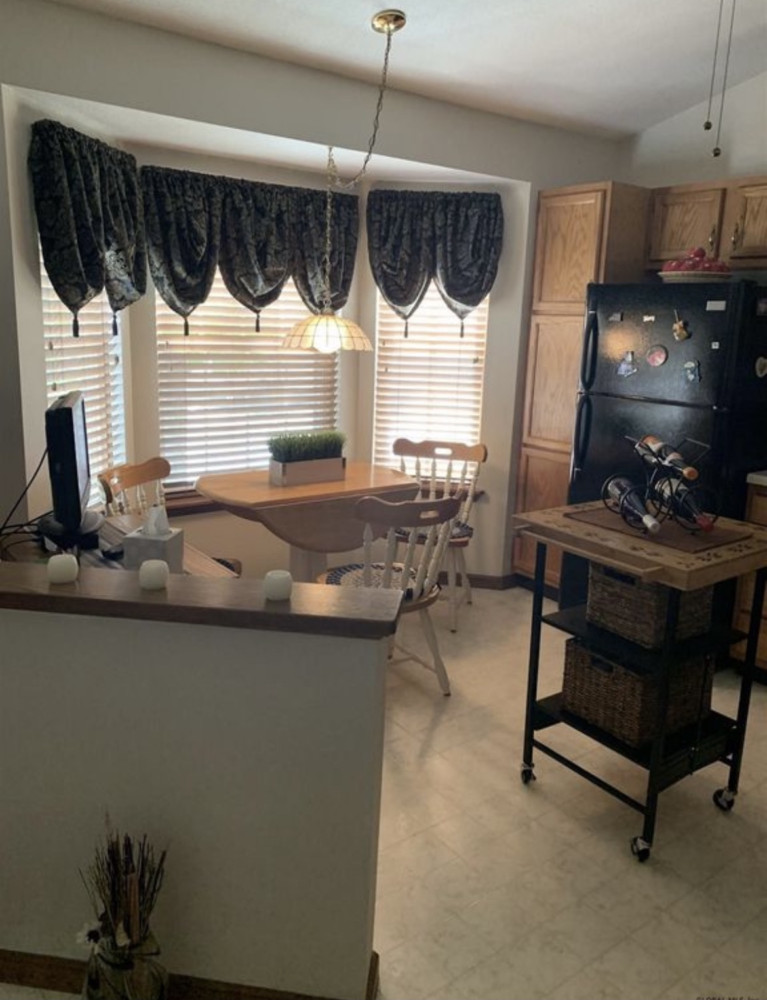
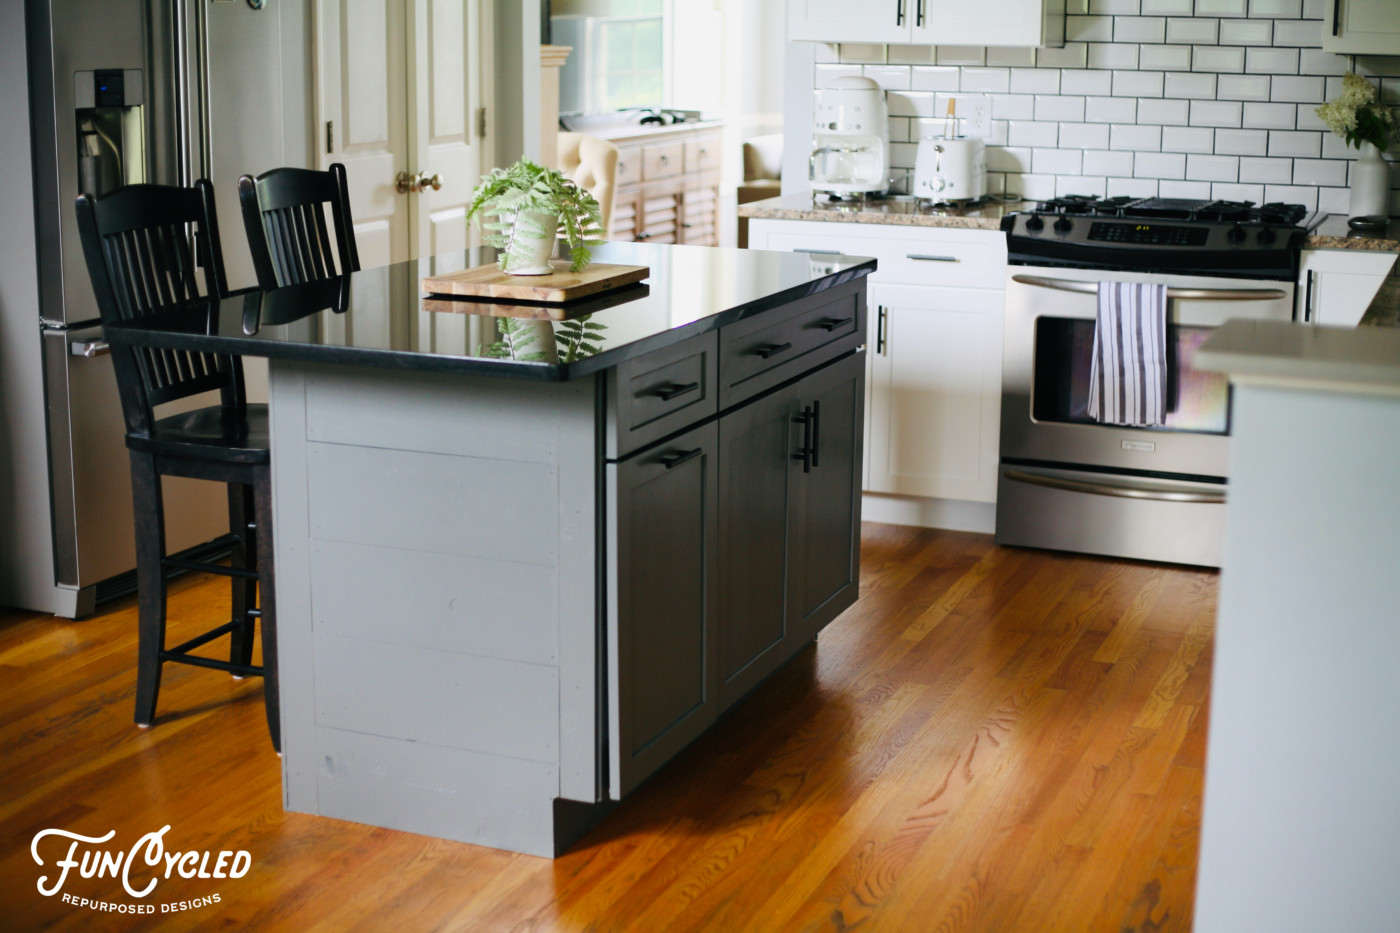
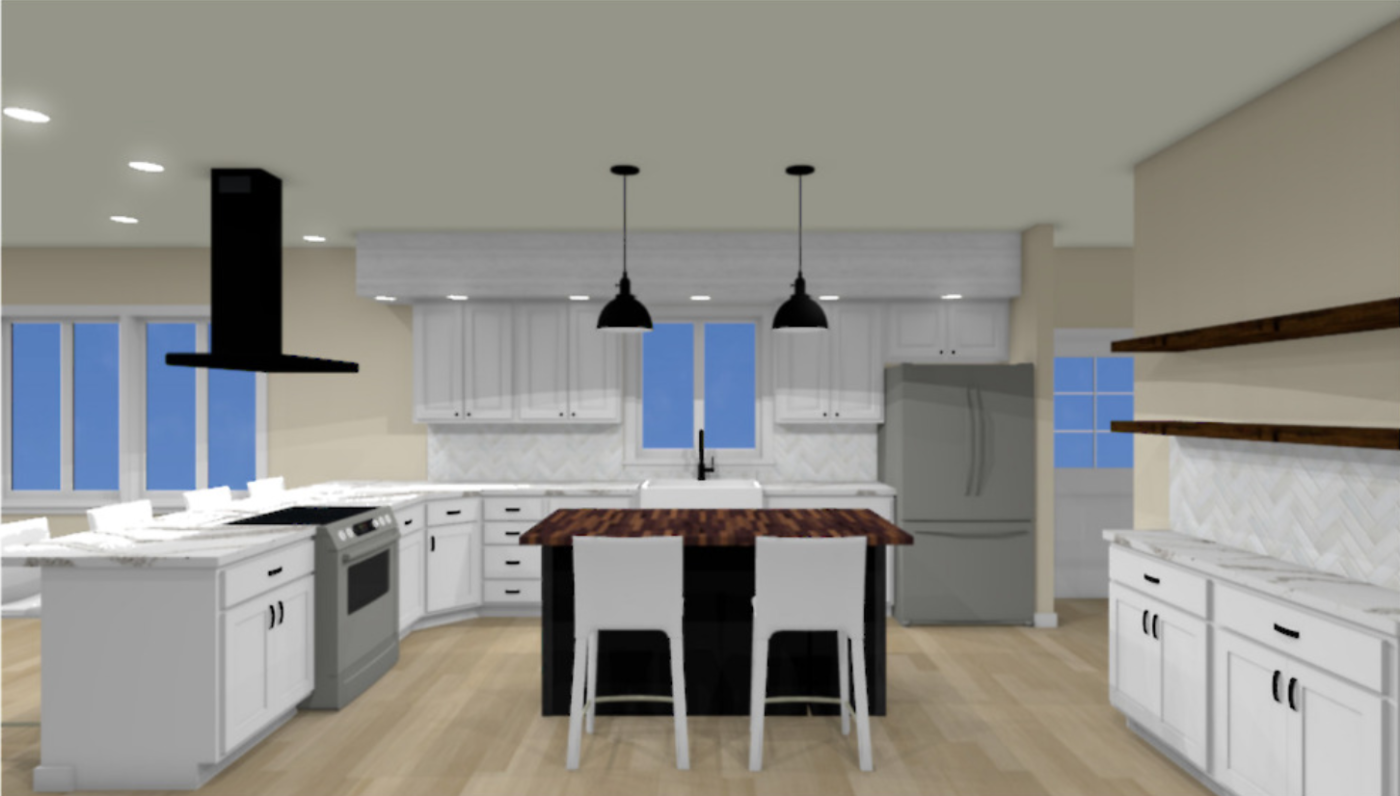
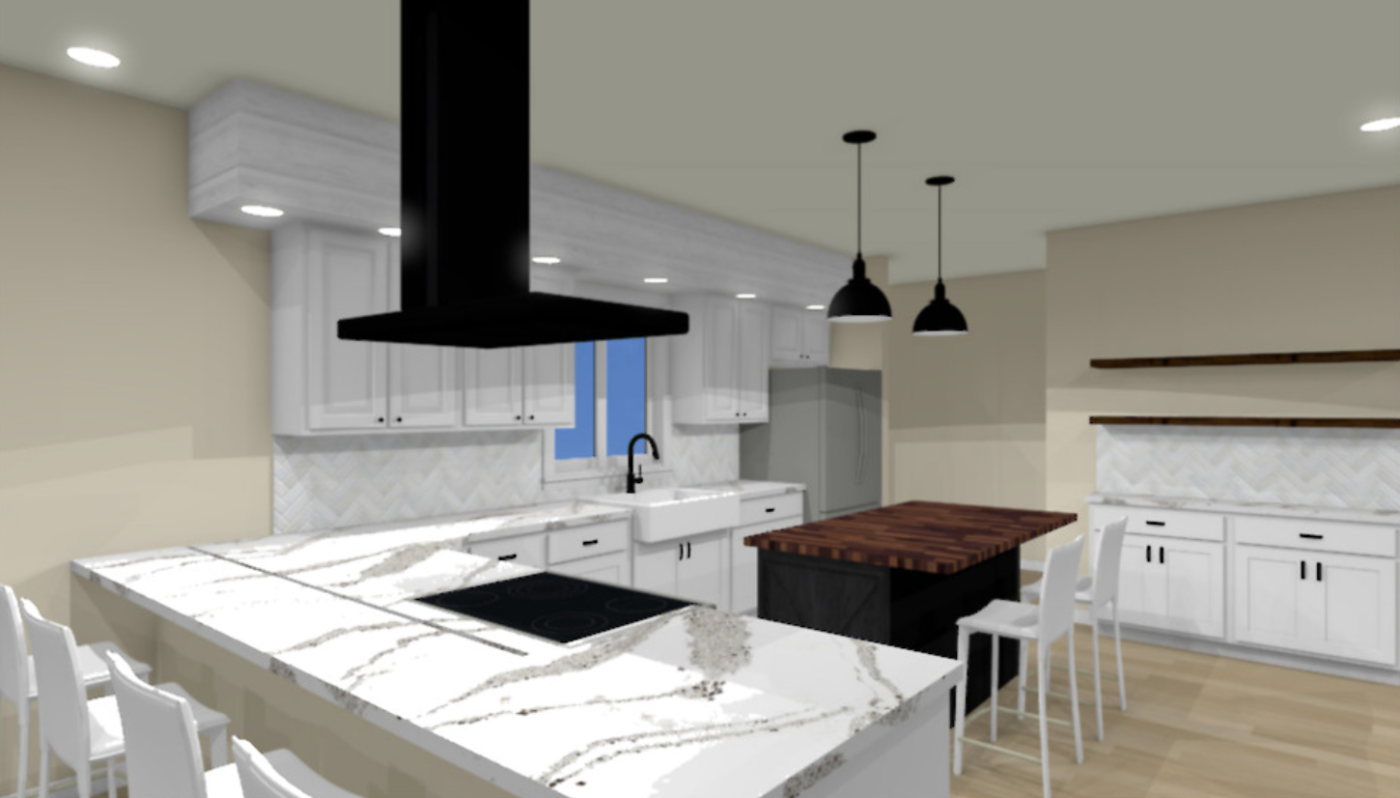
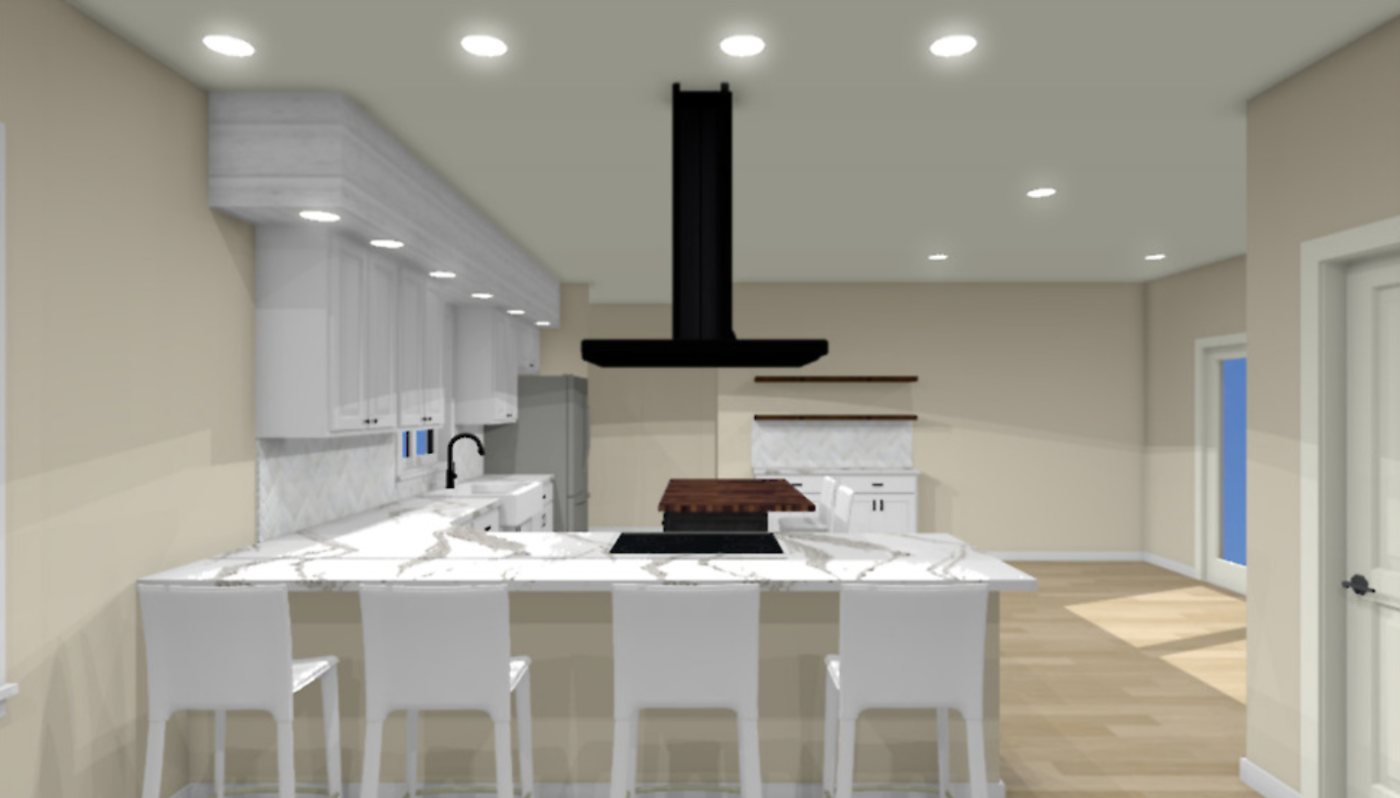
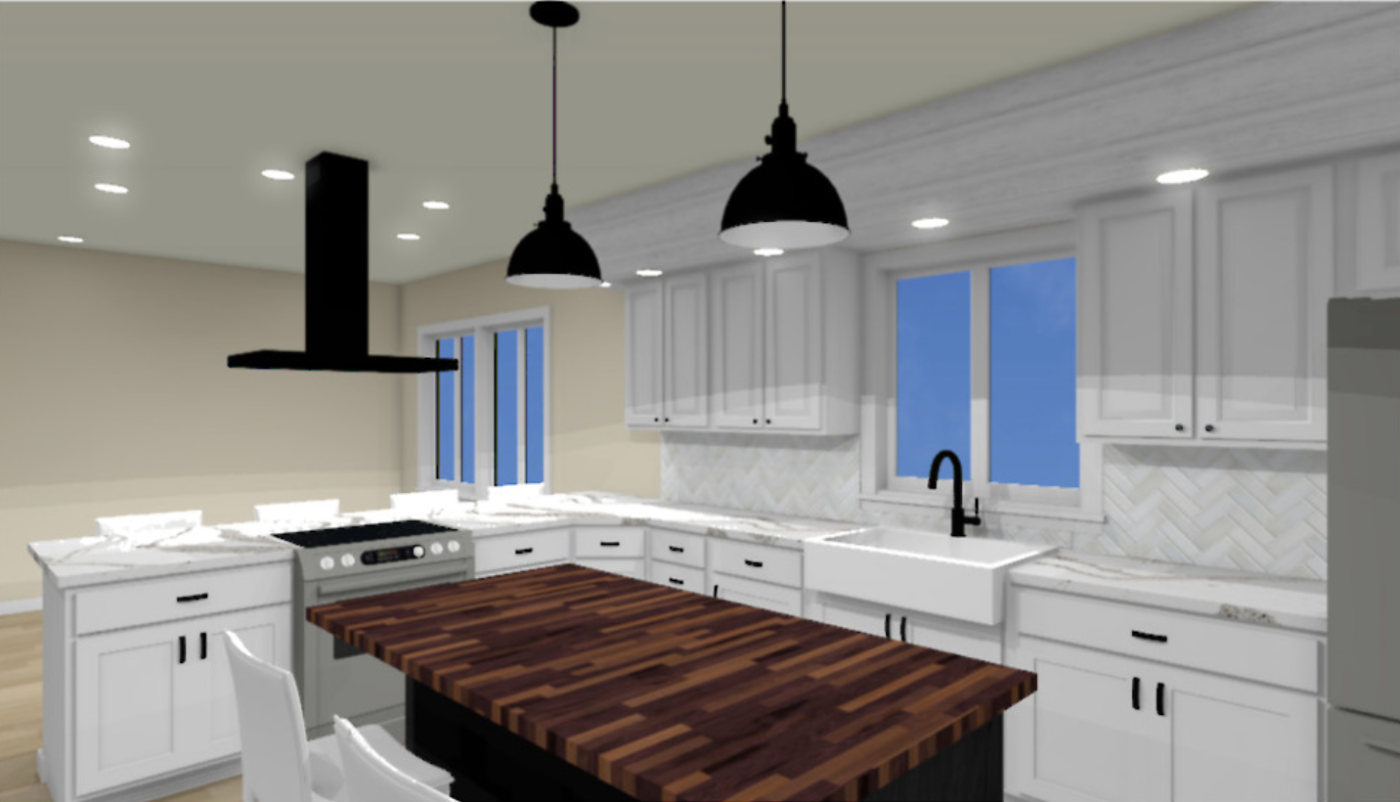
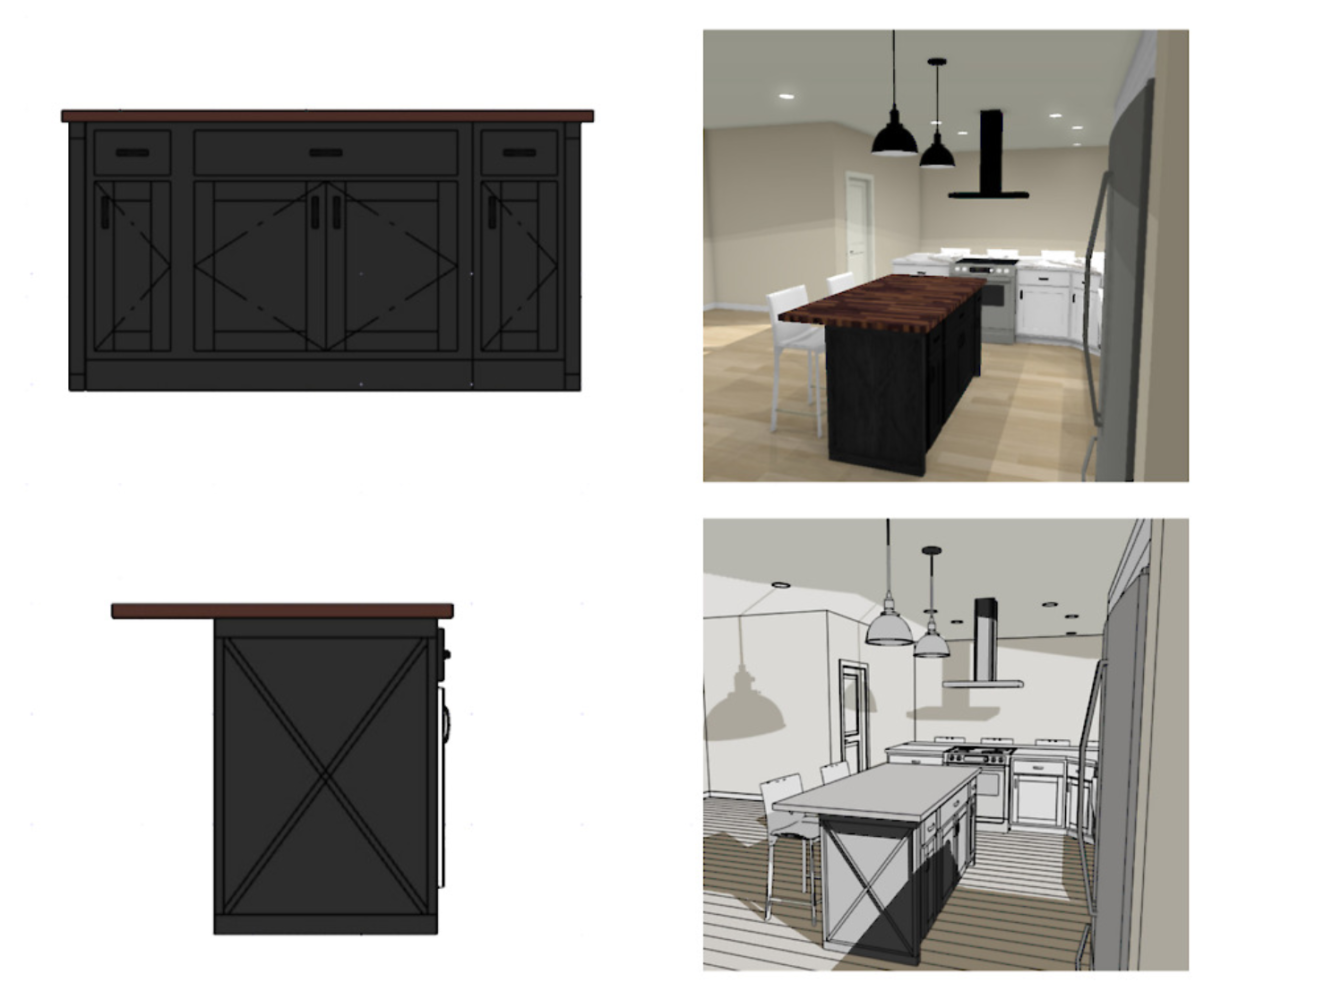
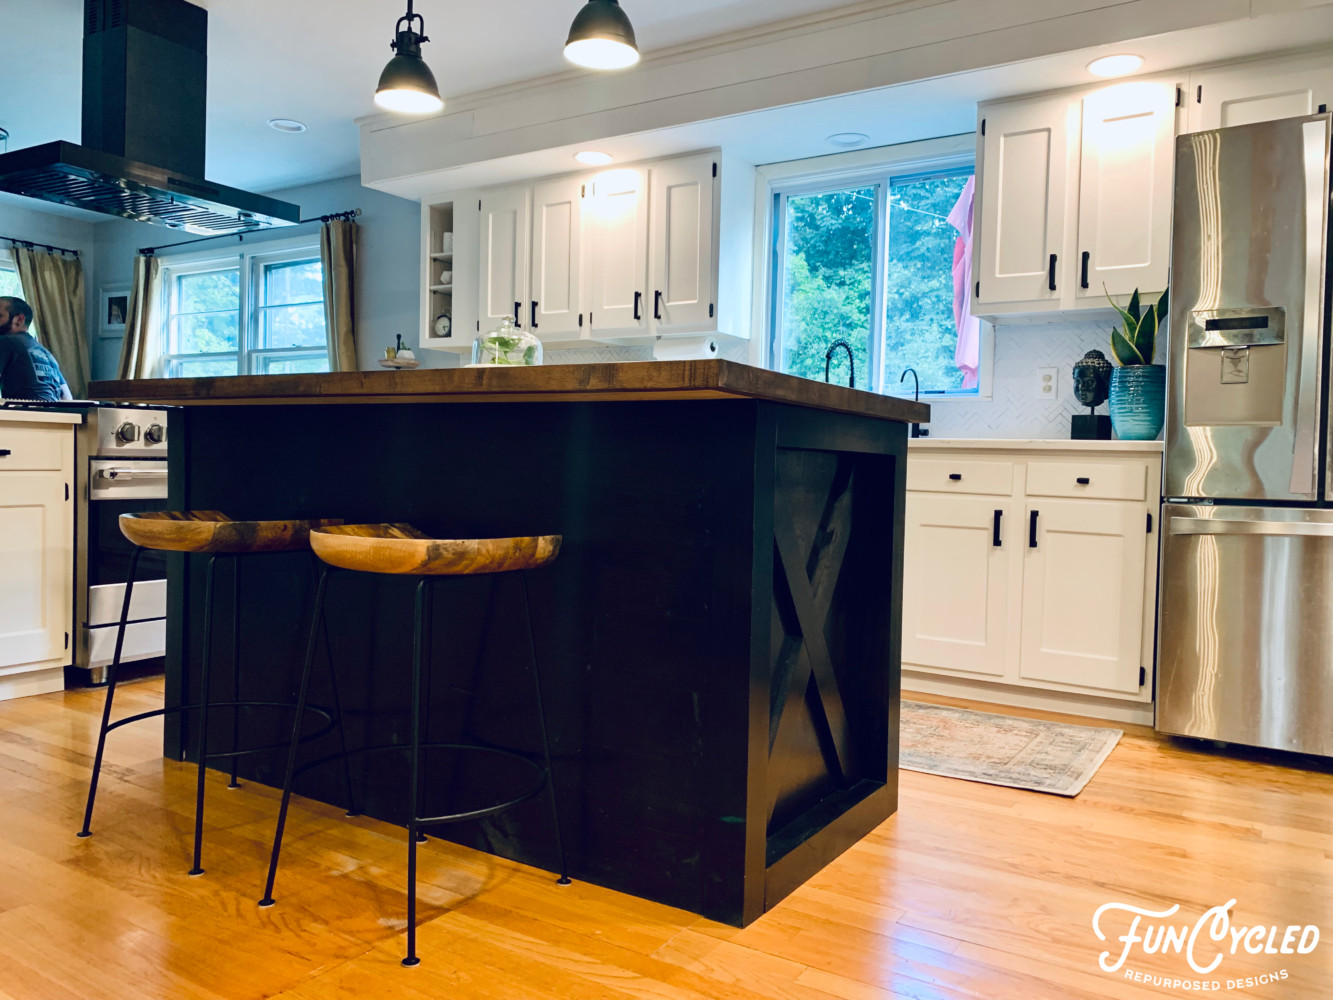
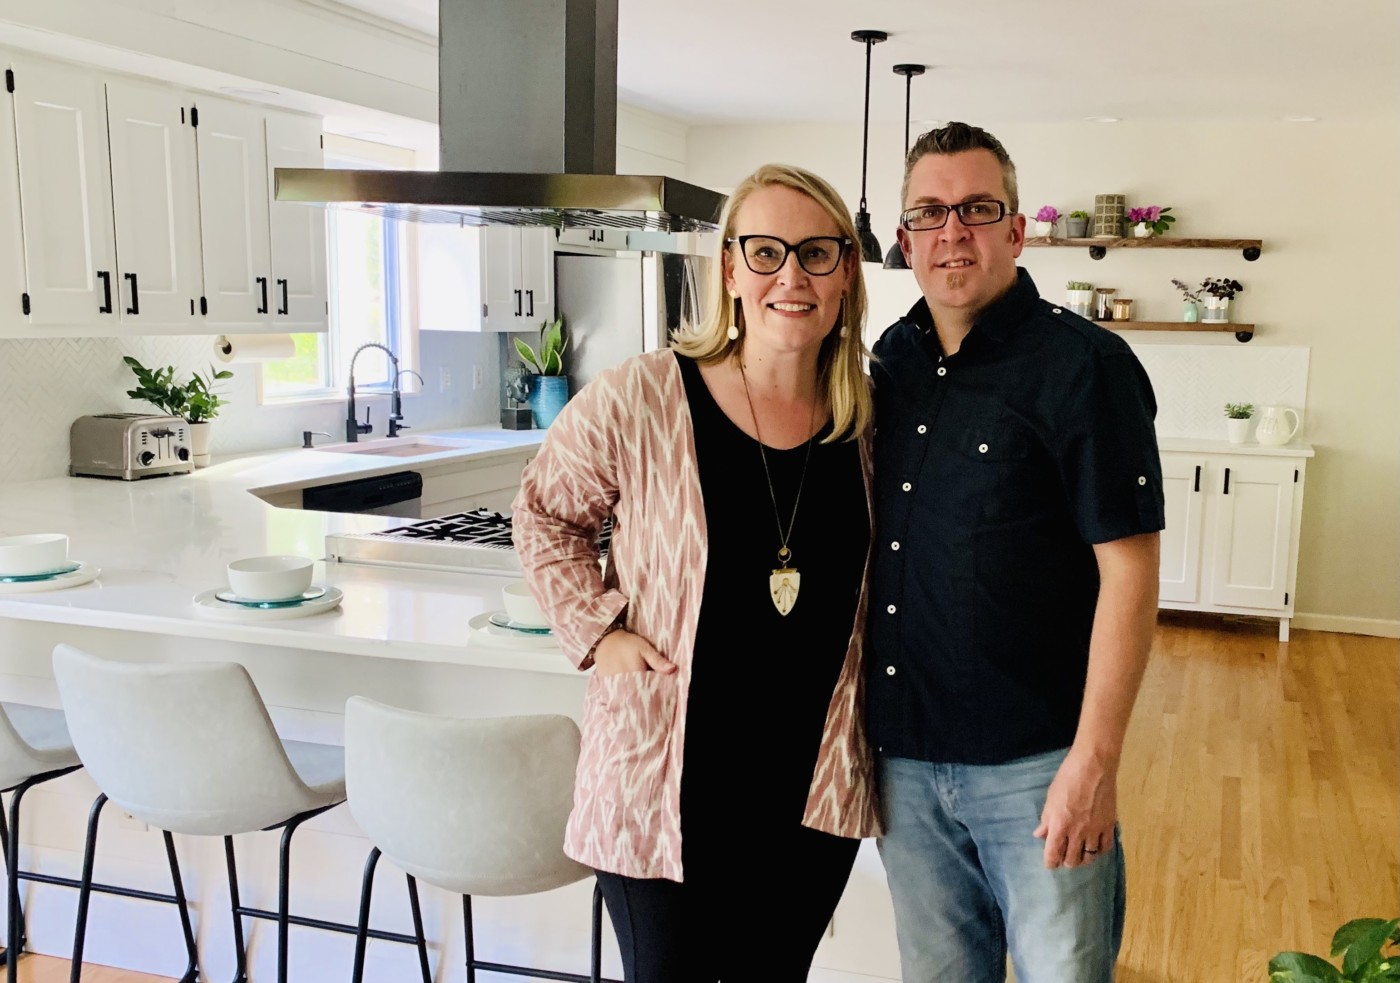
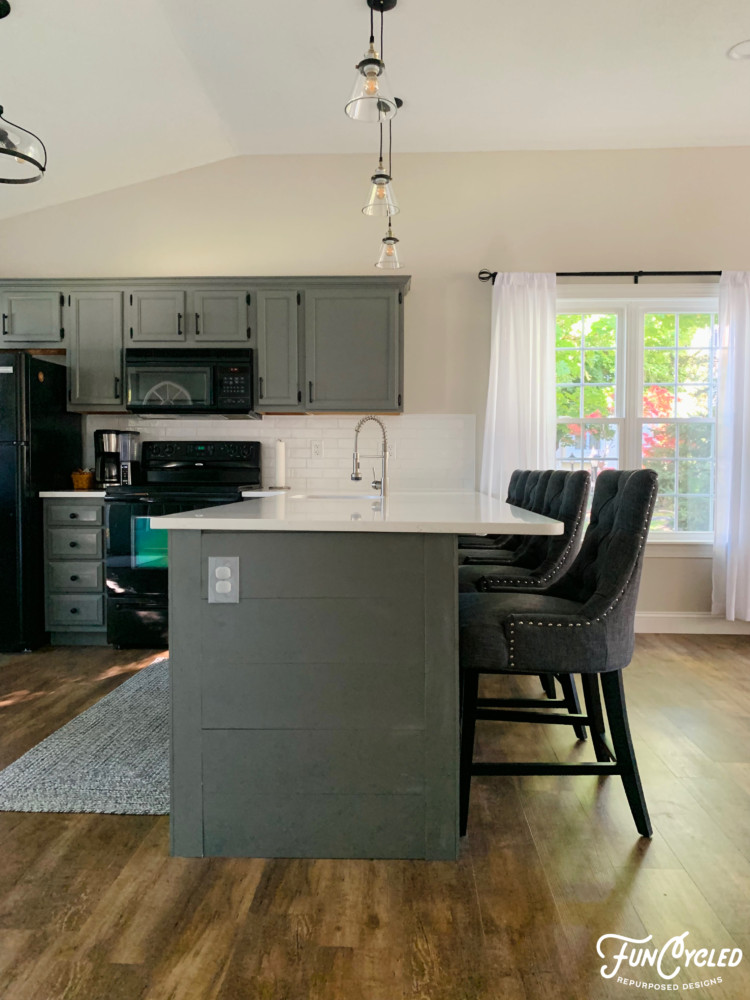
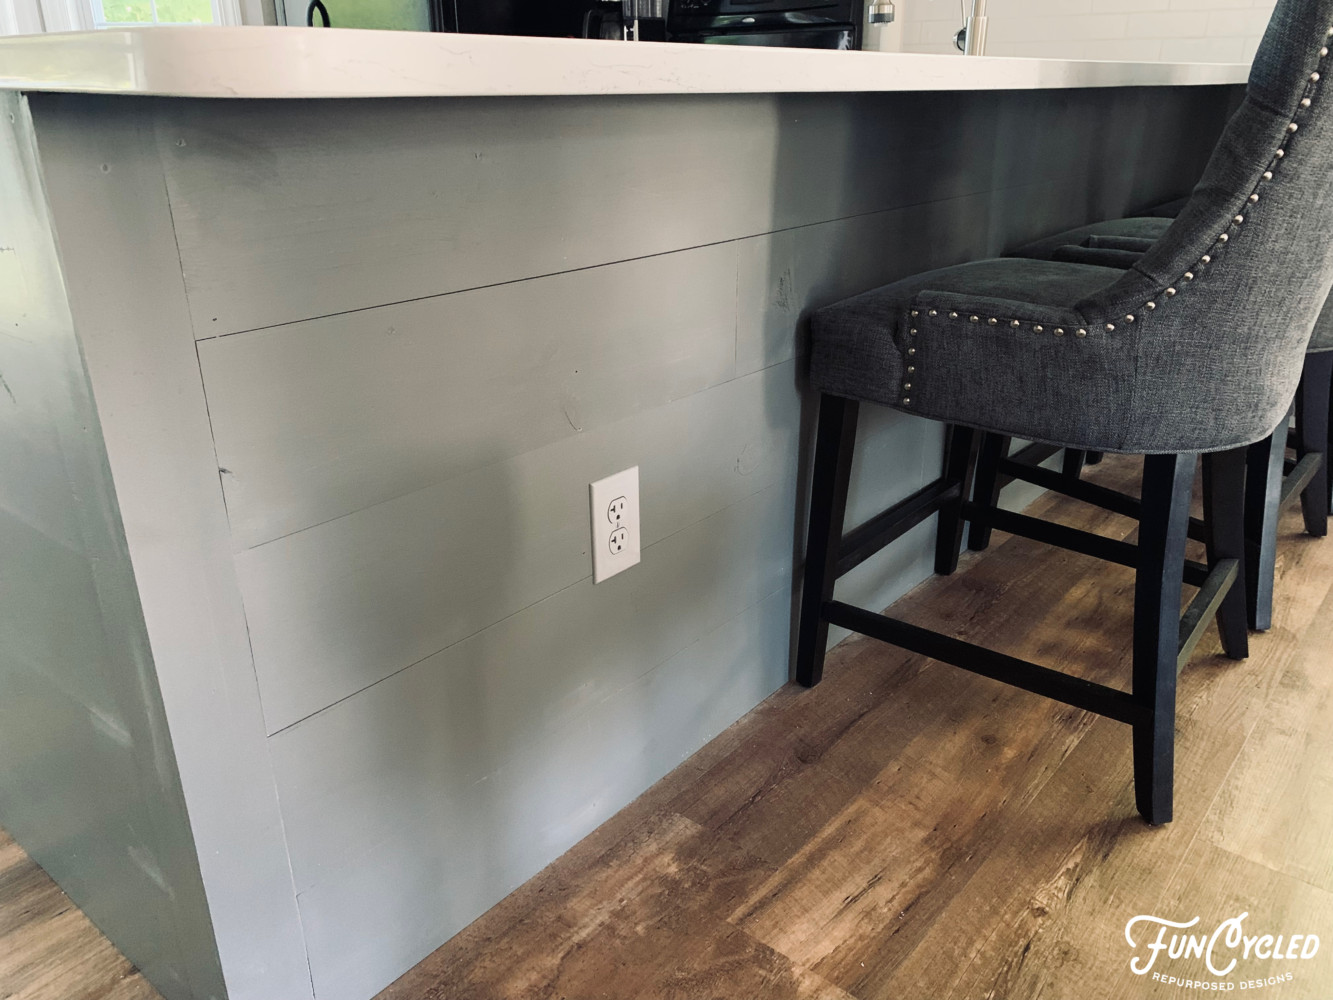
Ann Marie hired me to do an in person design consult to start the process of the kitchen design. She was such a delight to work with every step of the way. We talked through taking down the partial walls and creating a peninsula instead to open up the room. Then we wrapped the whole island with shiplap.
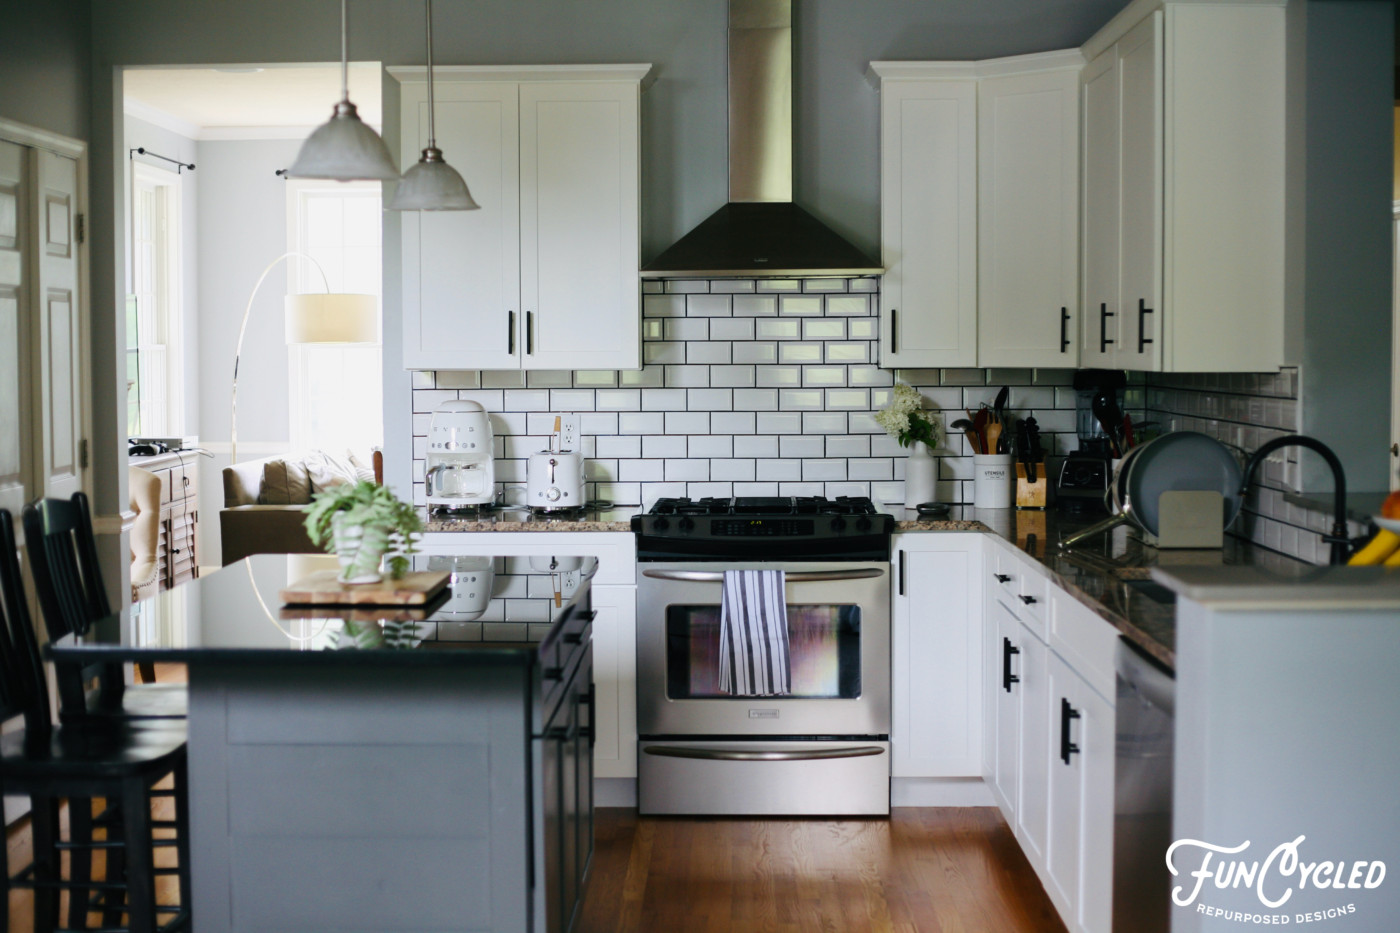
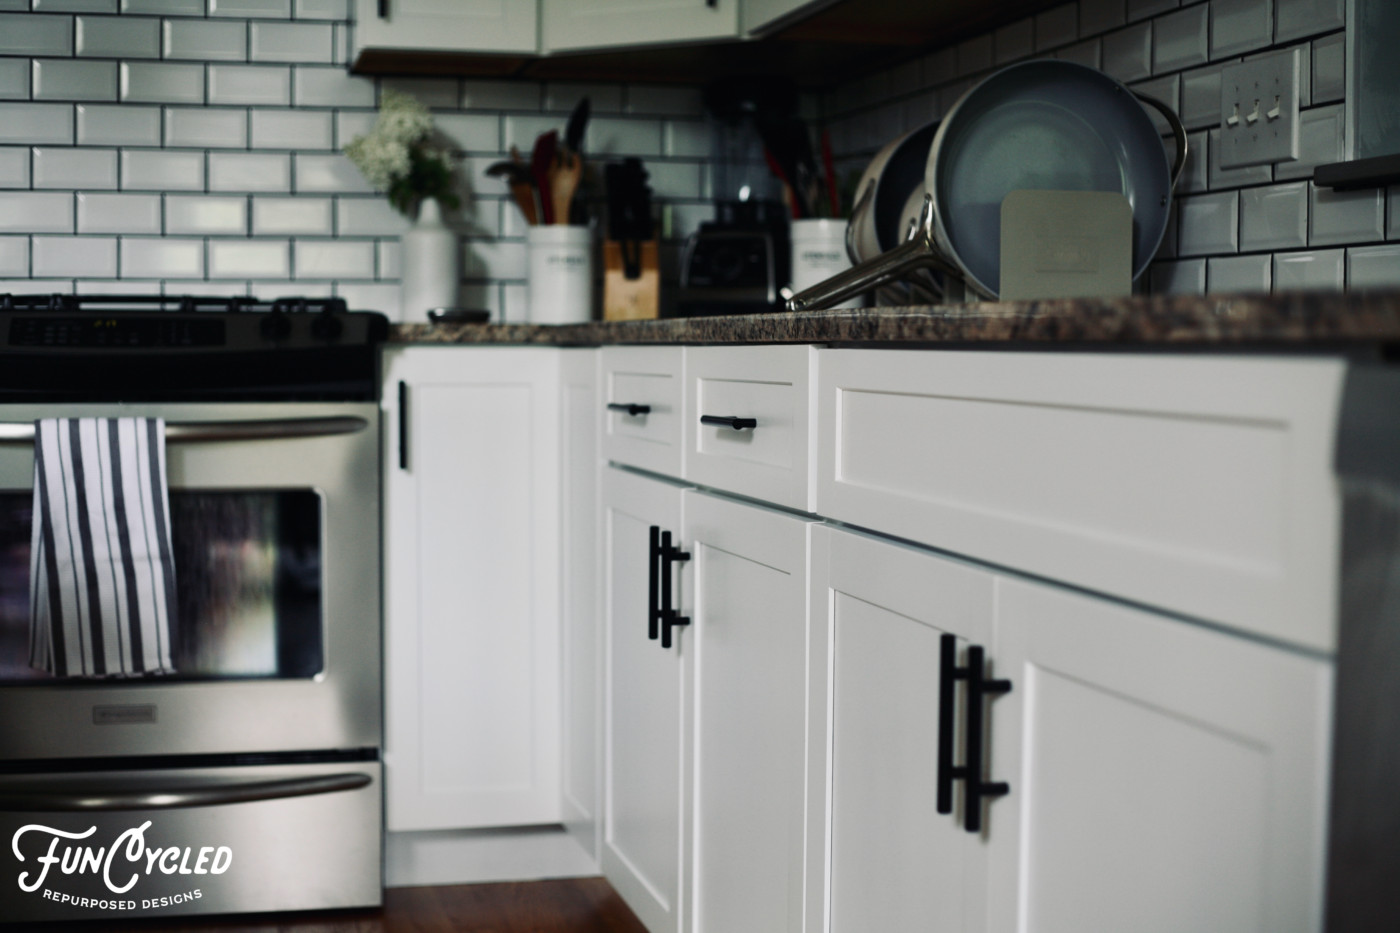
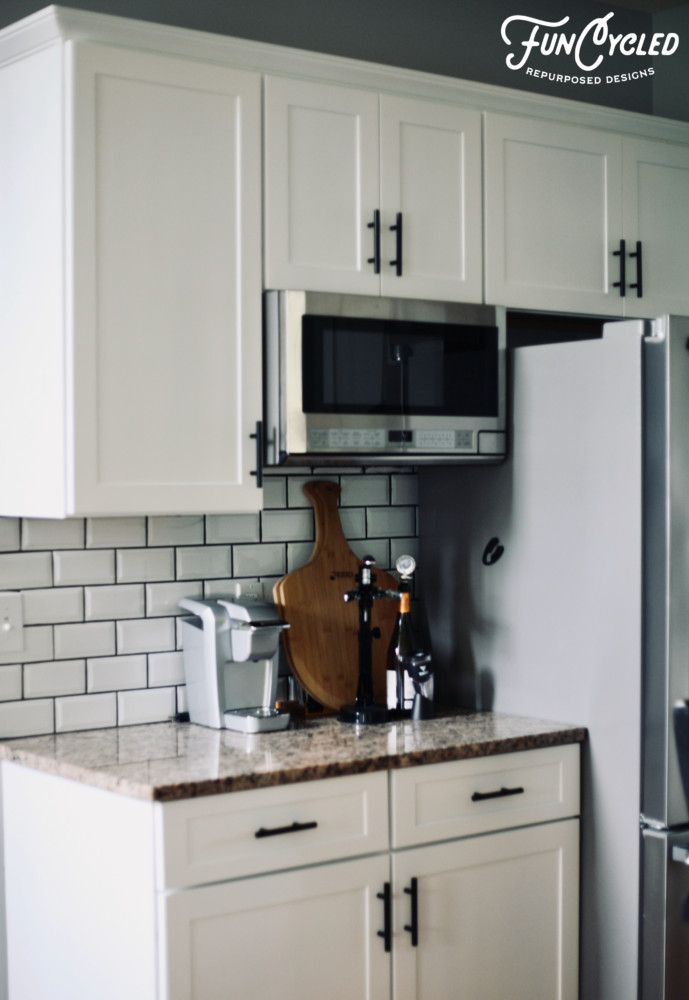
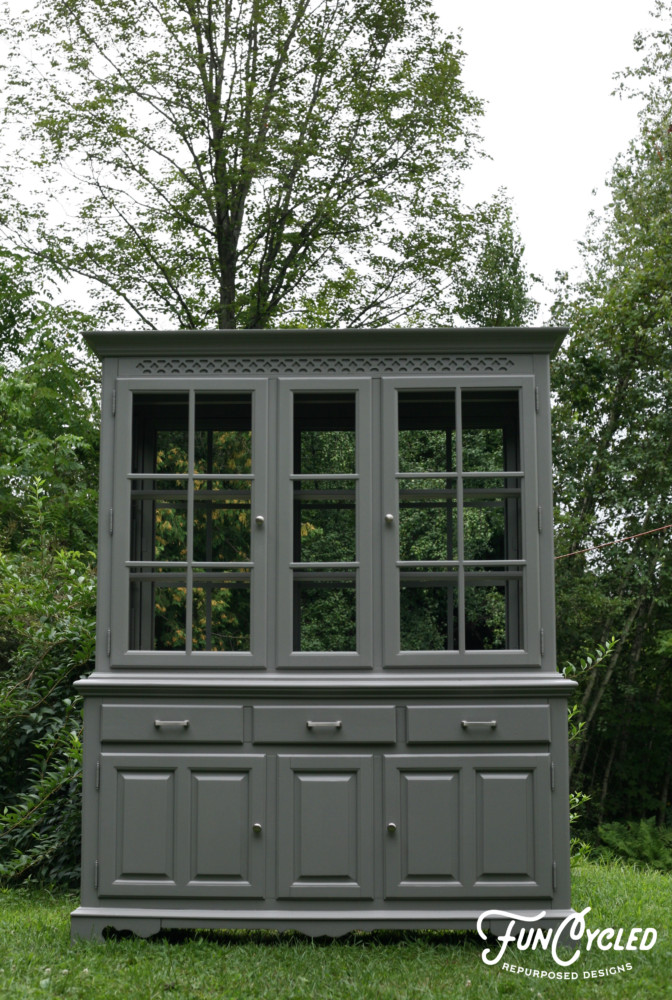
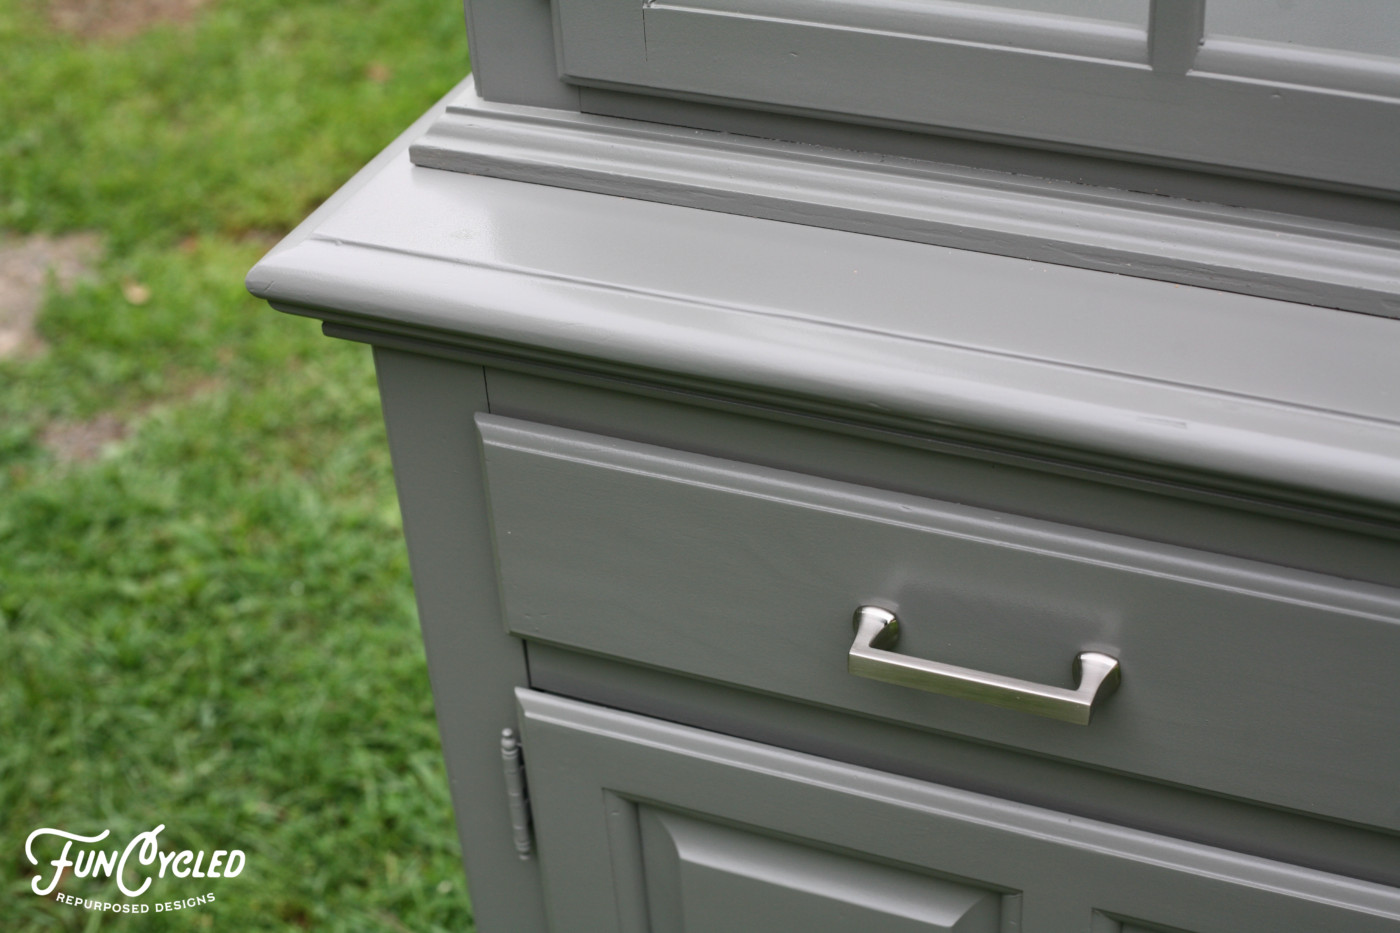
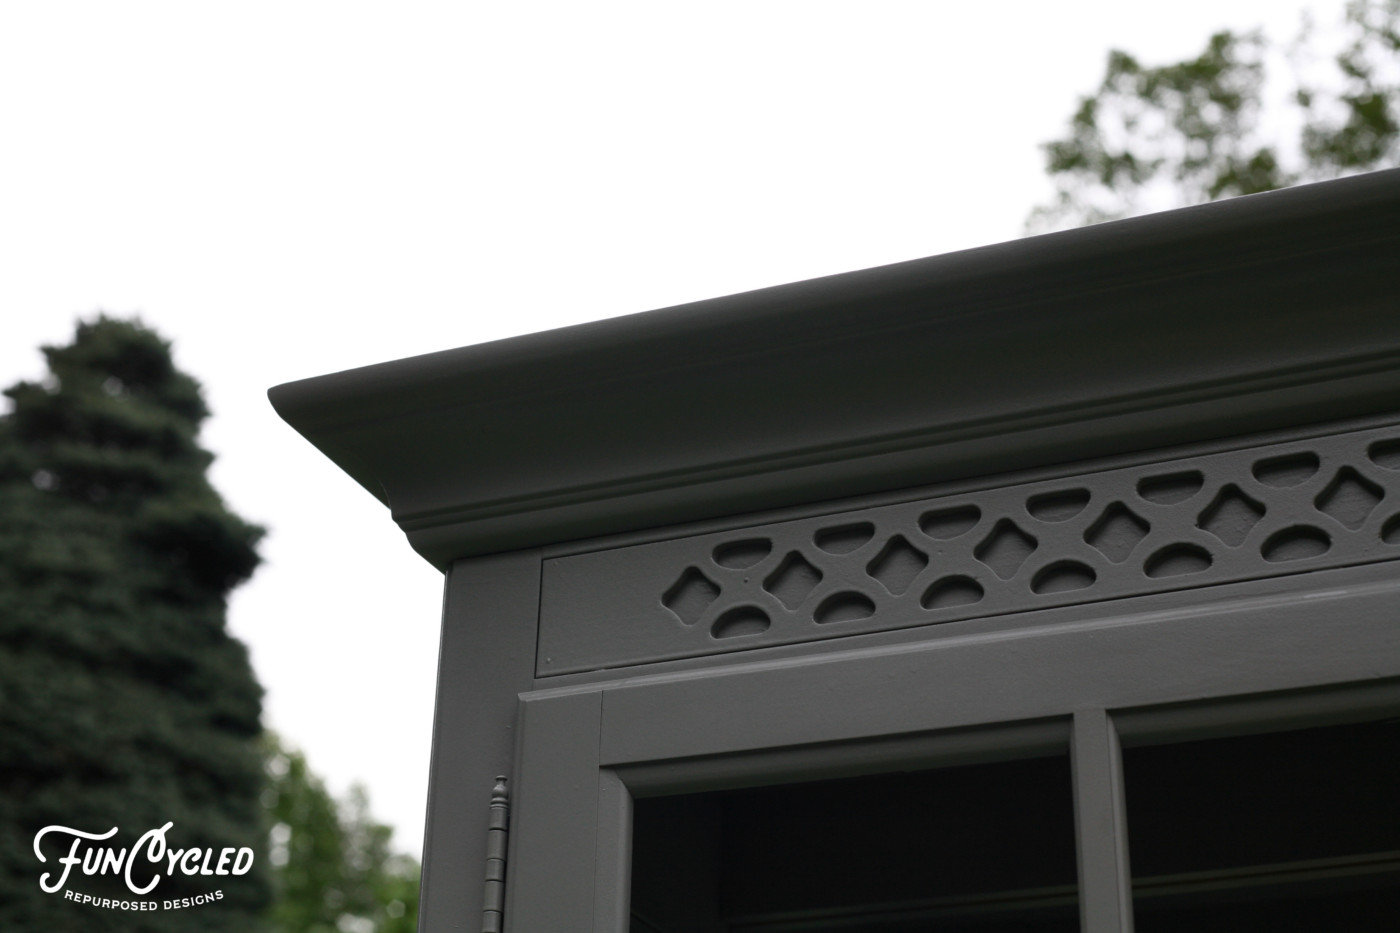
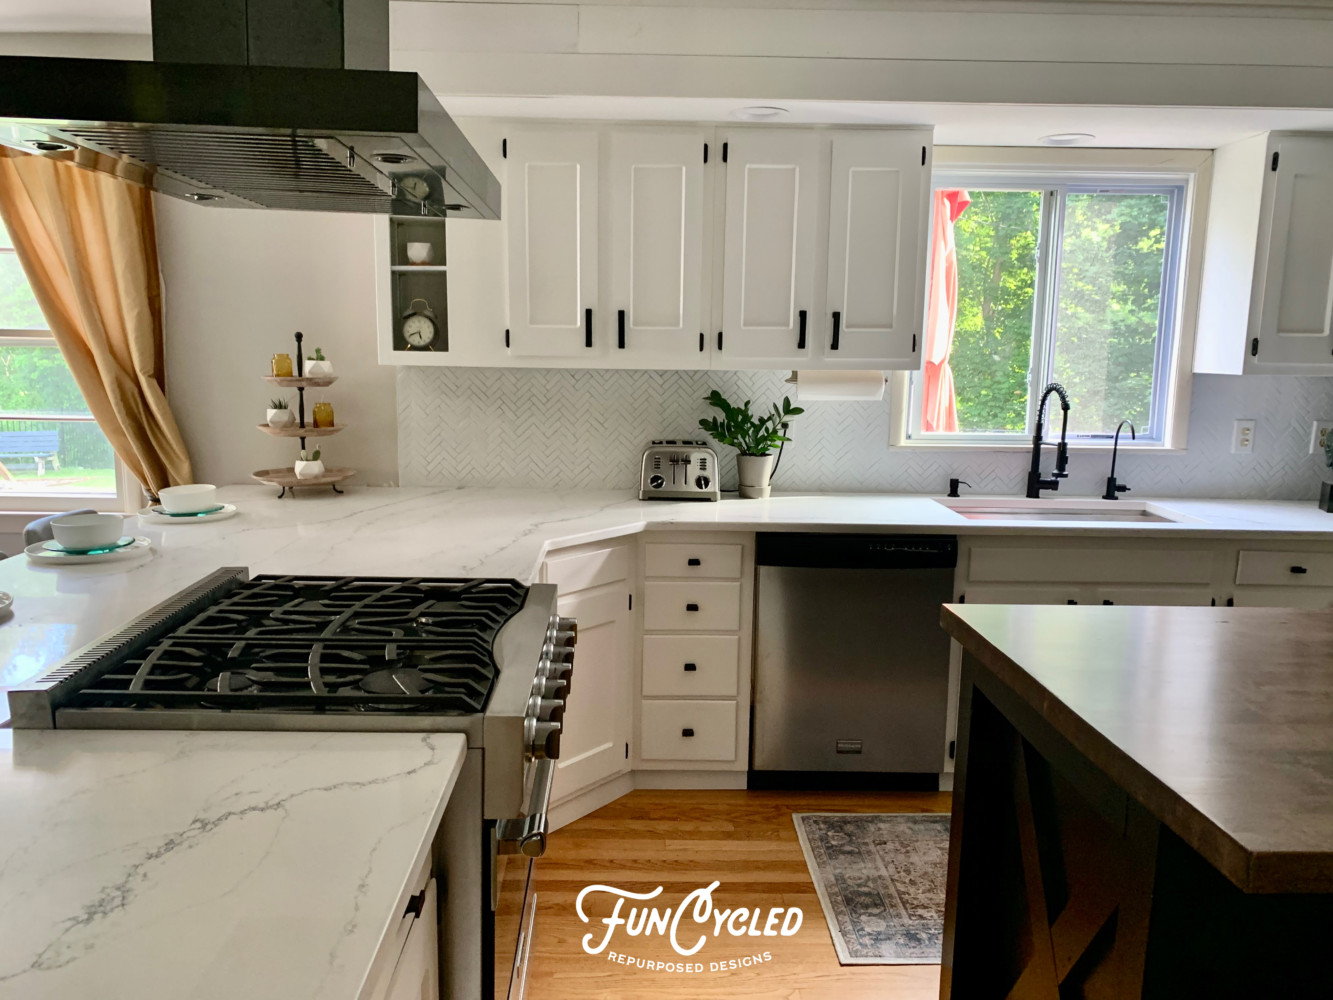
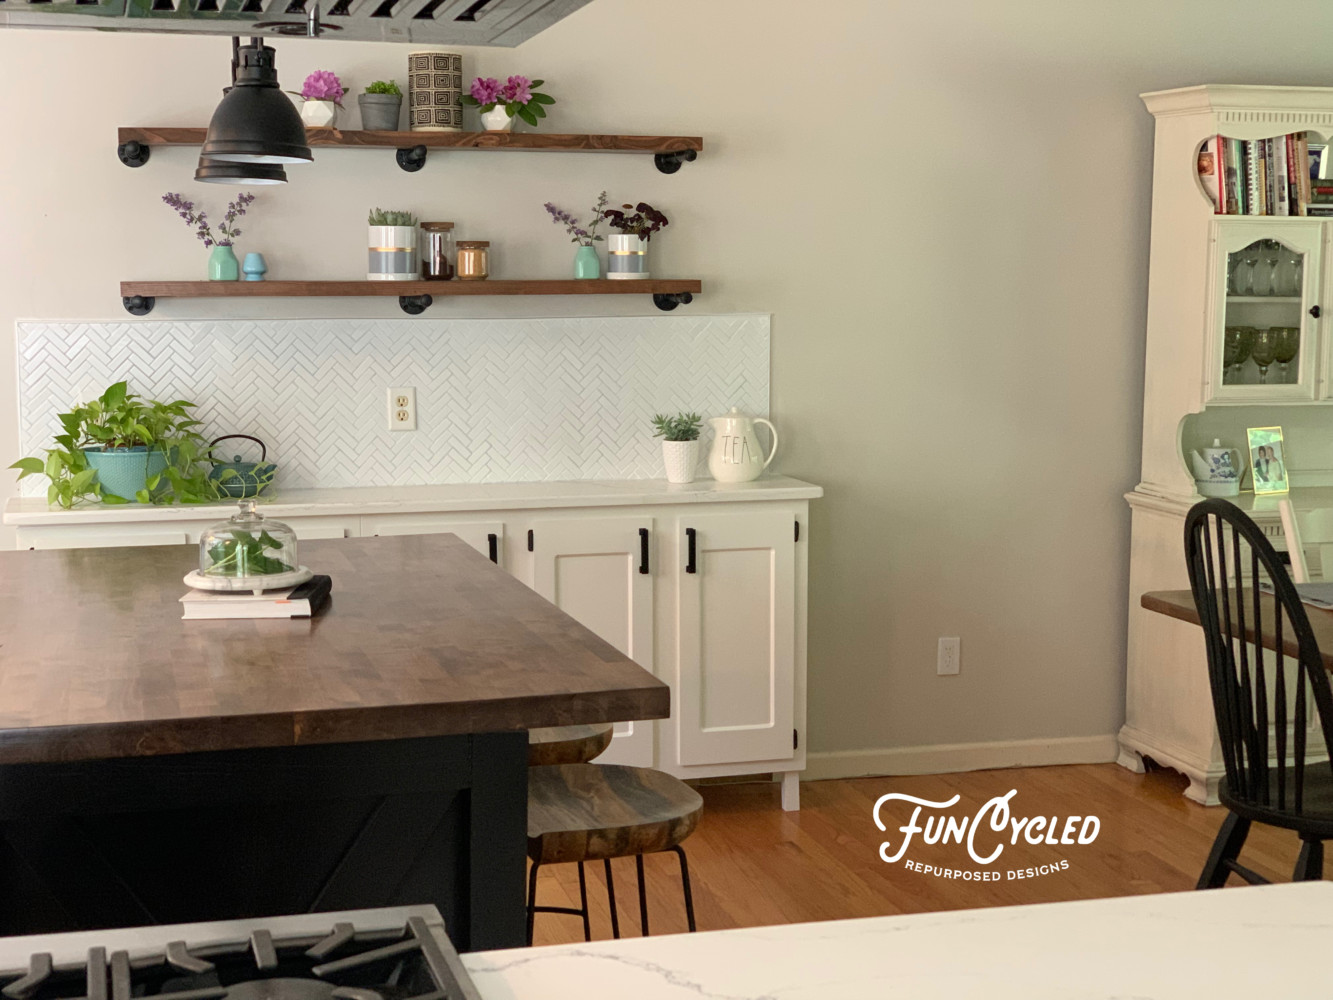
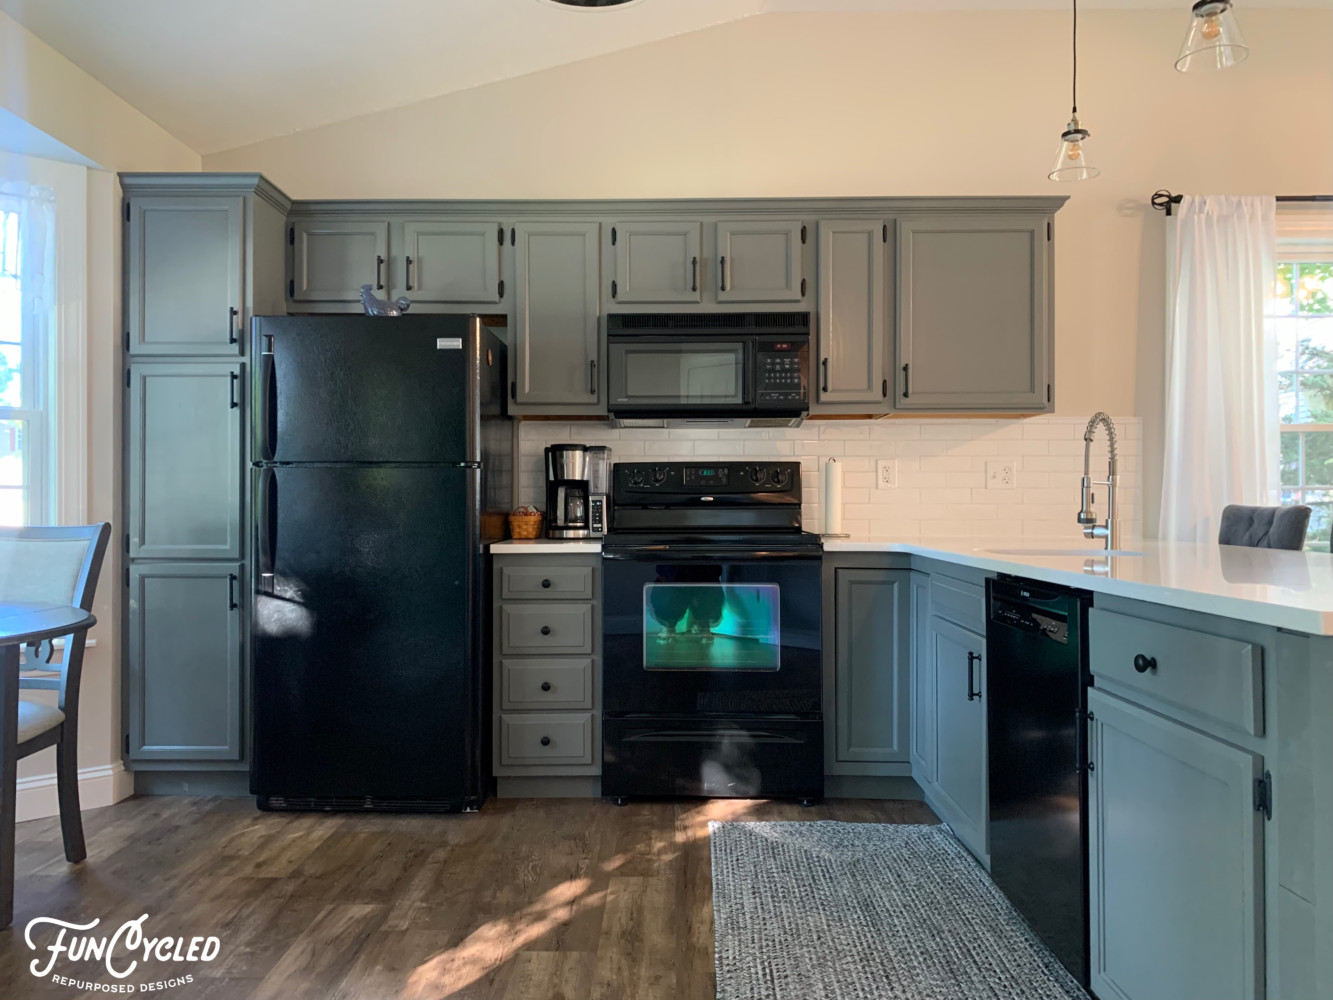
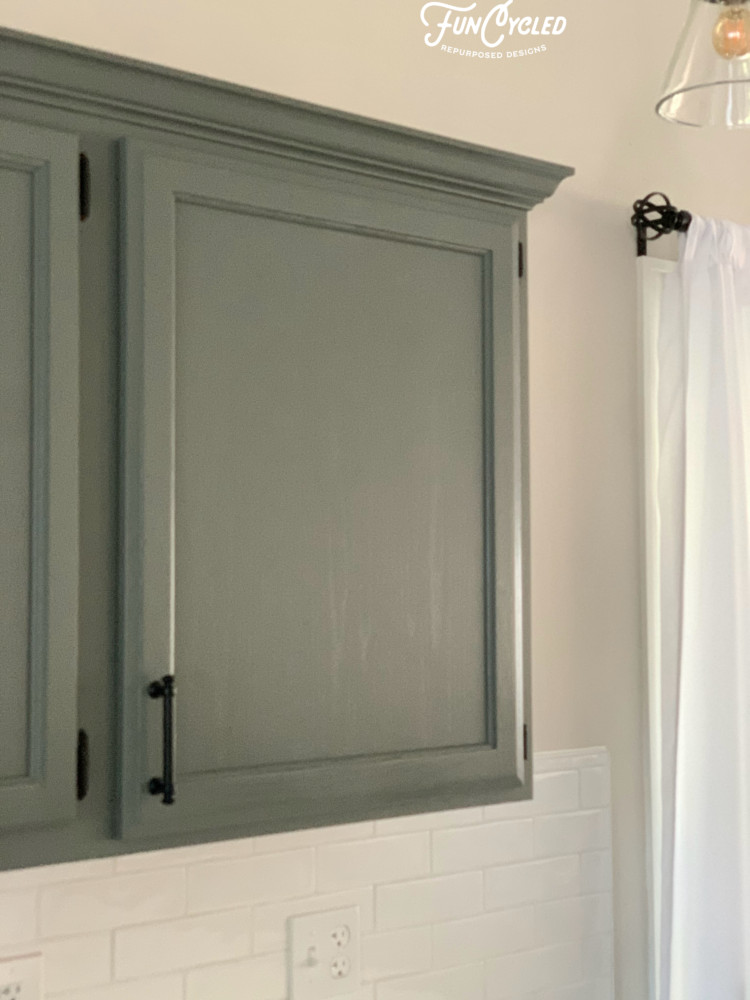
We also added crown molding to the cabinets to make them feel higher end and finished. I recommended adding hardware as well to give the cabinets more visual interest.
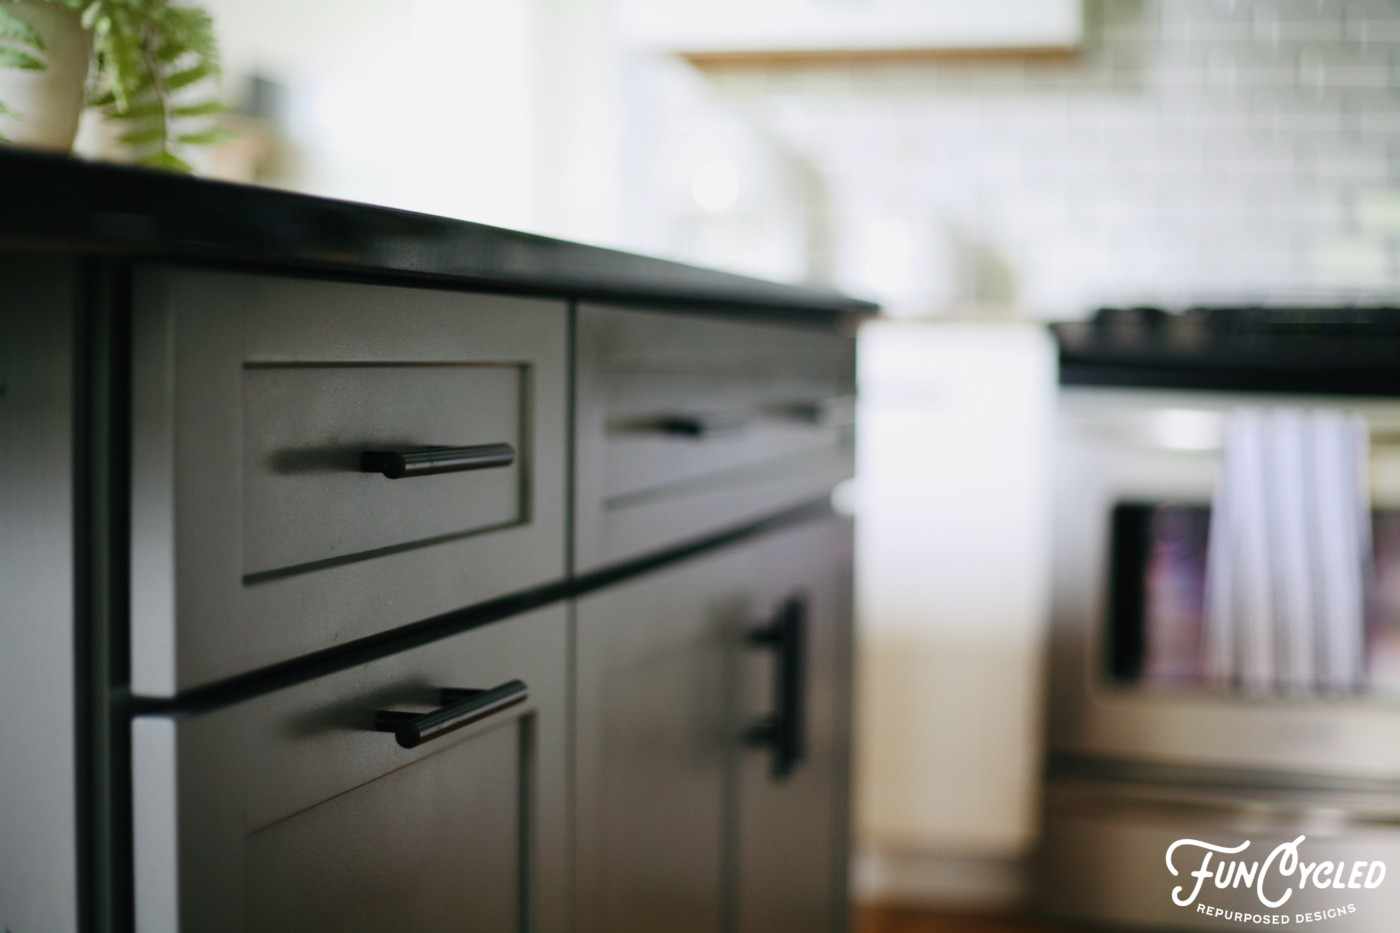
Cabinet Color: Amherst Gray by Benjamin Moore
Wall color: Balboa Mist
Sprayed the cabinets with a satin clear coat on top.
If you’d like to see how we paint kitchen cabinet, check out our YouTube video tutorial.
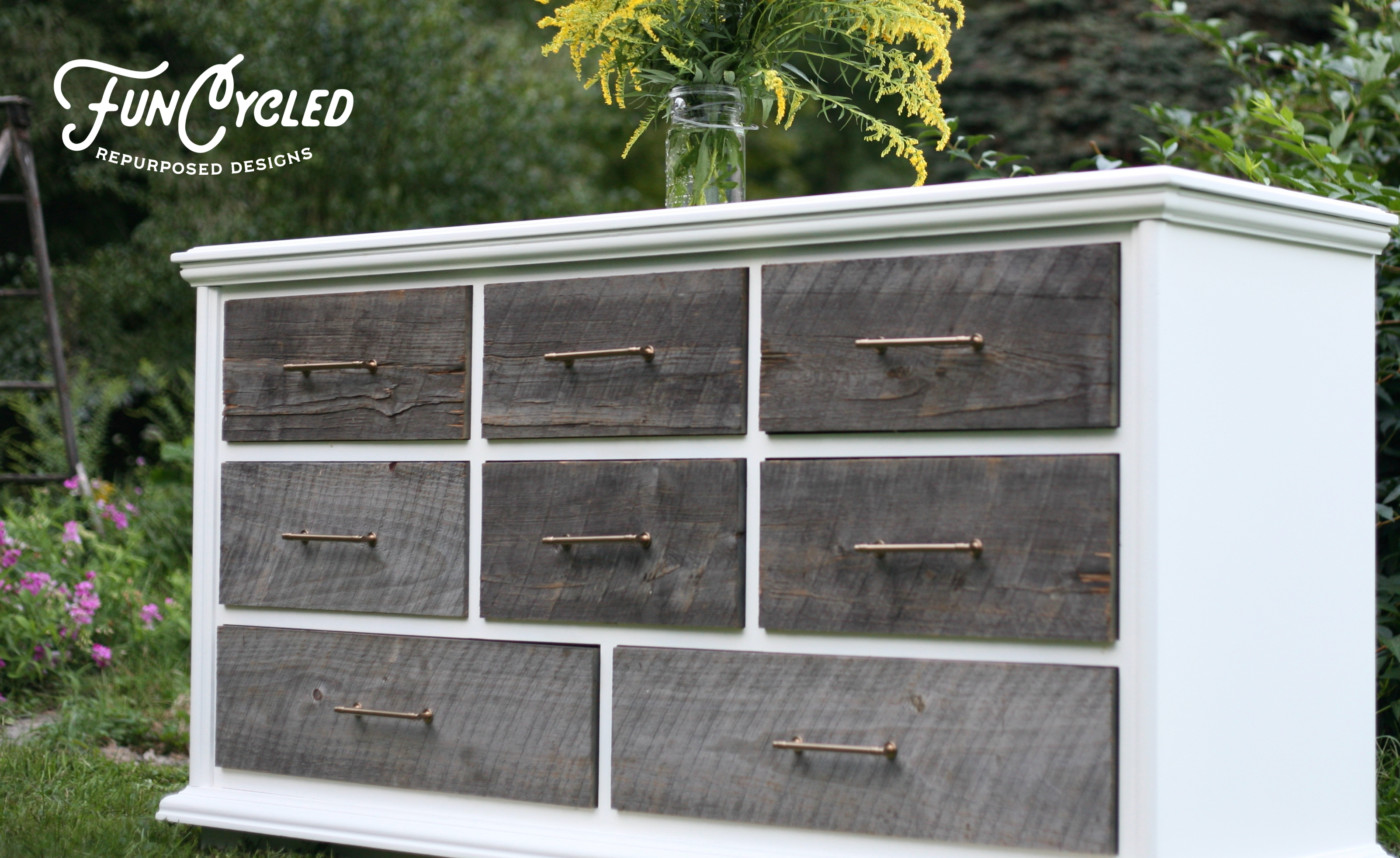
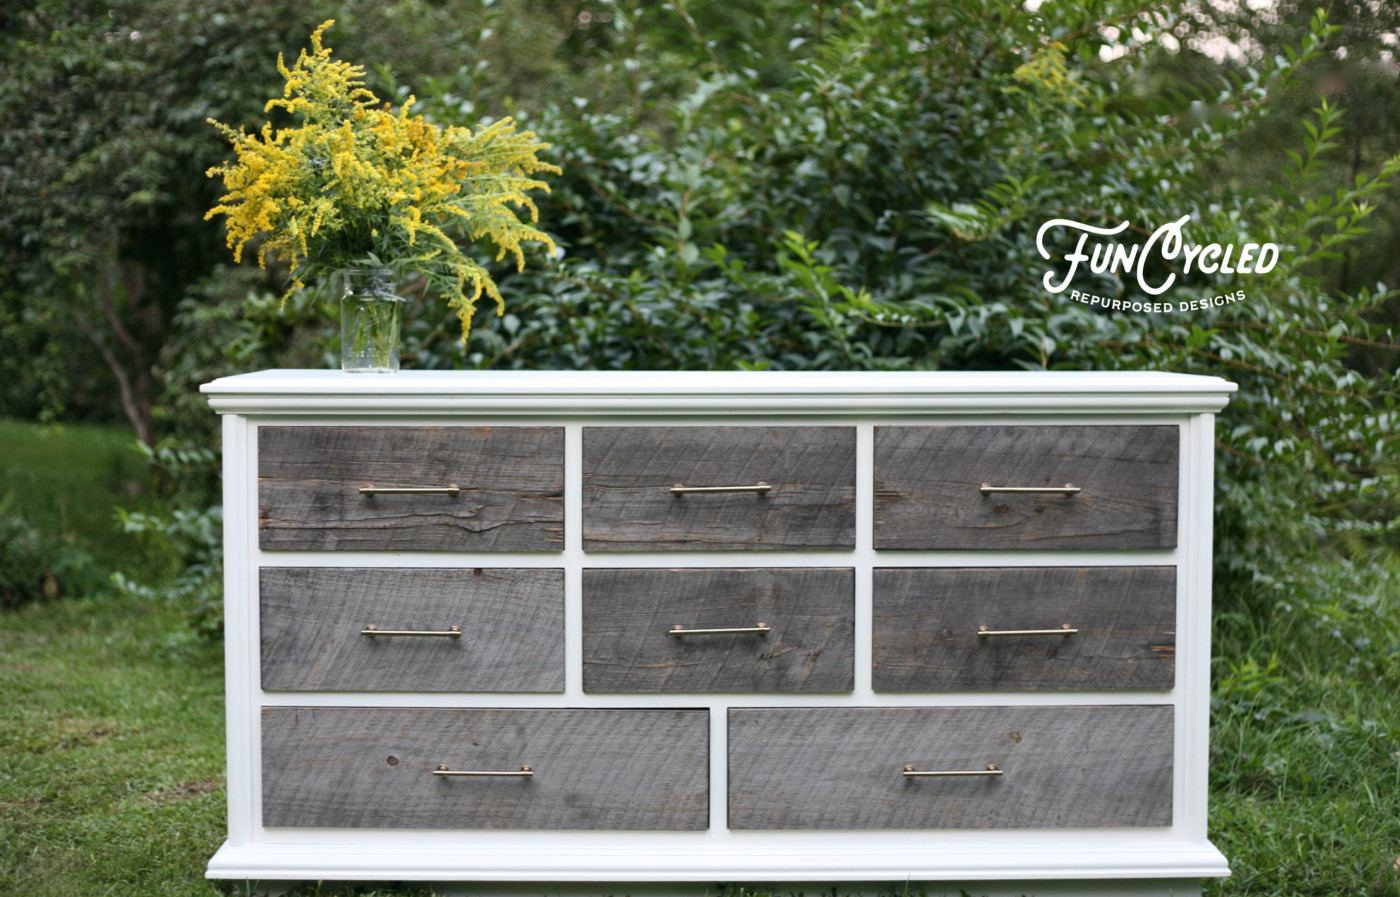
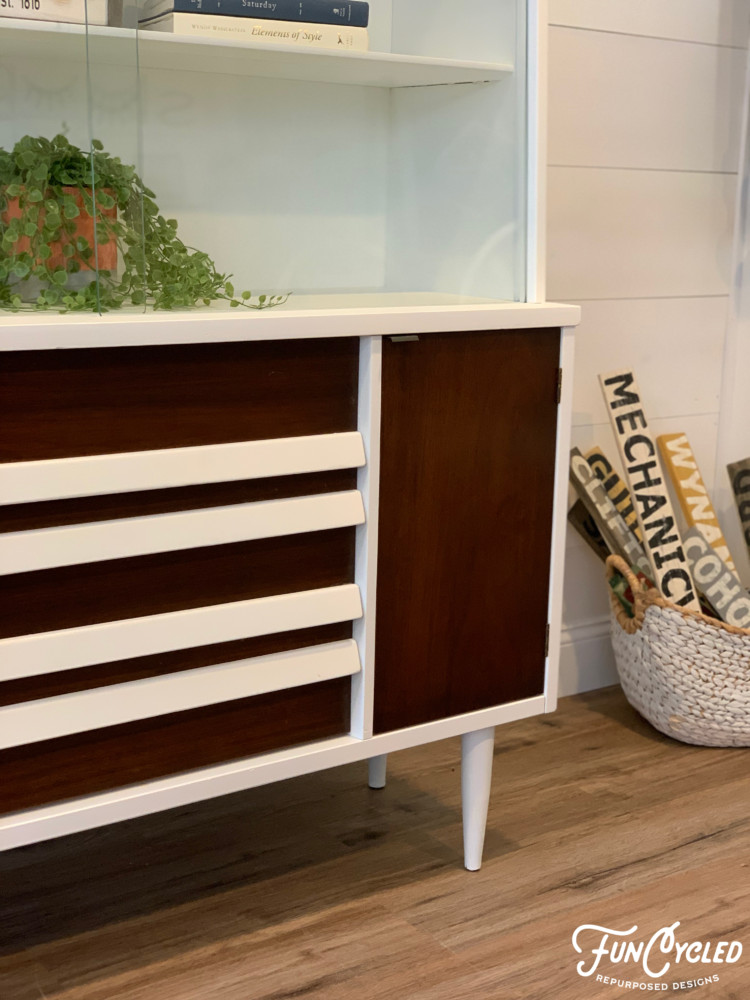
Ready for the afters??


Could your kitchen use an update? We’d love to help!! We can help pick out colors, finishes, product and do the cabinet painting, tiling, add new hardware. You can use our Contact Us form to request our design services or a quote for painting your kitchen. Please check out other kitchen projects on our For Sale page. We’ll need to see a picture of your kitchen, a list of how many doors and drawers there are, and where you are located to email you an estimate. This change ups the value of your home and gives you a whole new look at a fraction of the cost of new kitchen cabinets!
Please sign up for our weekly newsletter by adding your email in the little box below my picture.
Happy FunCycling Friends,
Sarah ;)
If you like what you see, please like FunCycled’s Facebook page to keep up to date on the newest finds, vote on colors and give your input on our creativity. We also offer interior design, kitchen cabinet painting, and custom built tables, barn doors, and furniture. We can deliver for customers in upstate NY and also help you ship throughout the US. Send us a note with what you would like using our contact page. Or buy something that we’ve already designed from our online shop.