What’s a gold dipped piece of furniture?? Well, it’s just what is sounds like. A piece of furniture that looks dipped in gold. Dipped furniture is so “in” right now. It doesn’t just have to be gold, but I want to share this gold dipped dresser set that I’m over the moon about. Theresa bought other pieces from me in the past… she’s likes different styles and I love that about her. From her son Colin’s Chevron Dresser to her Pottery Barn Style Coffee Table, she knows how to pick ’em. She noticed this dresser on our Upcoming Projects page and gave me a call to see what I had in mind for it. When I told her I really wanted to gold dip it, she thought that sounded weird. I showed her what I meant by gold dipped and she was all in!! Thanks for being open to new styles Theresa!!
If you haven’t heard about gold dipped furniture, it’s all the rage!! Homedit called paint dipped furniture the new trend for 2013. I totally agree!!
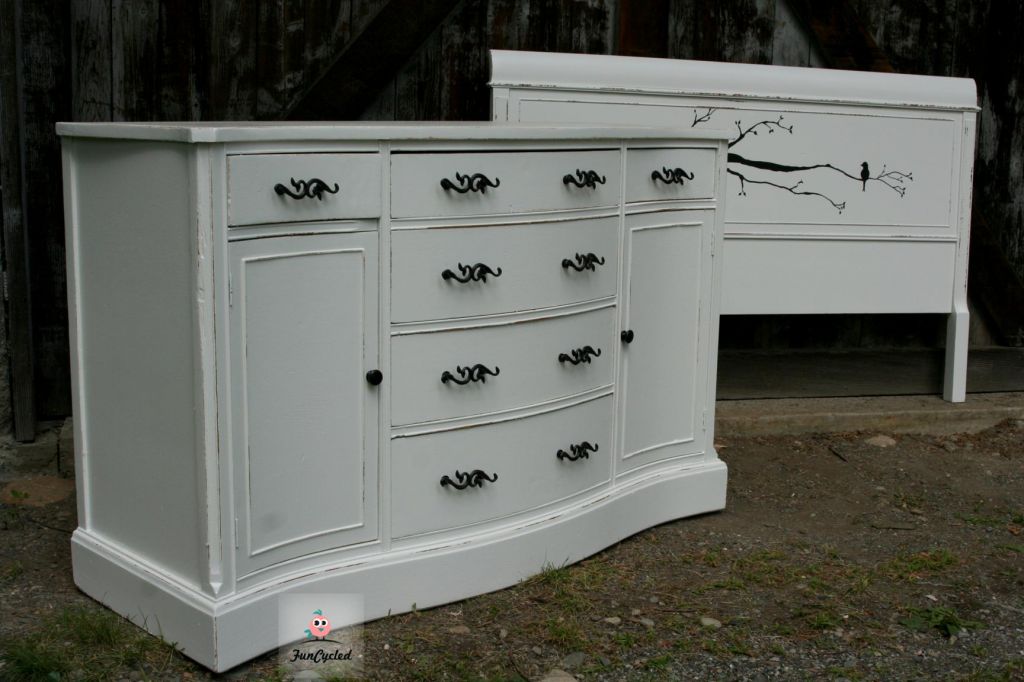
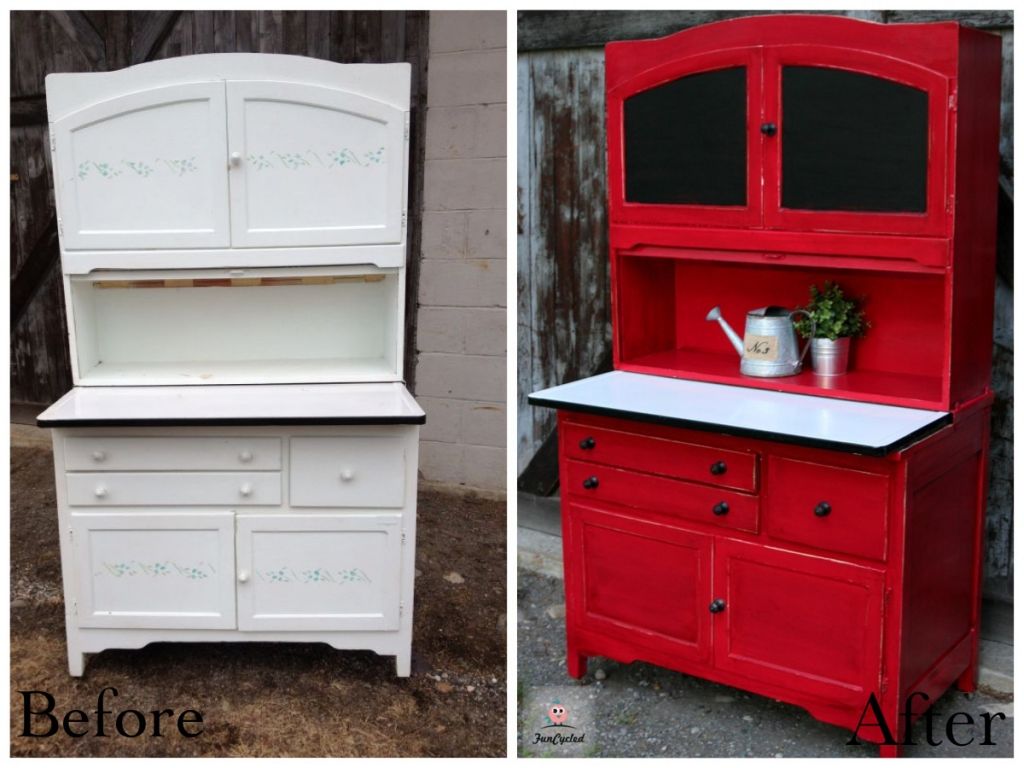
Here’s the beauty before…

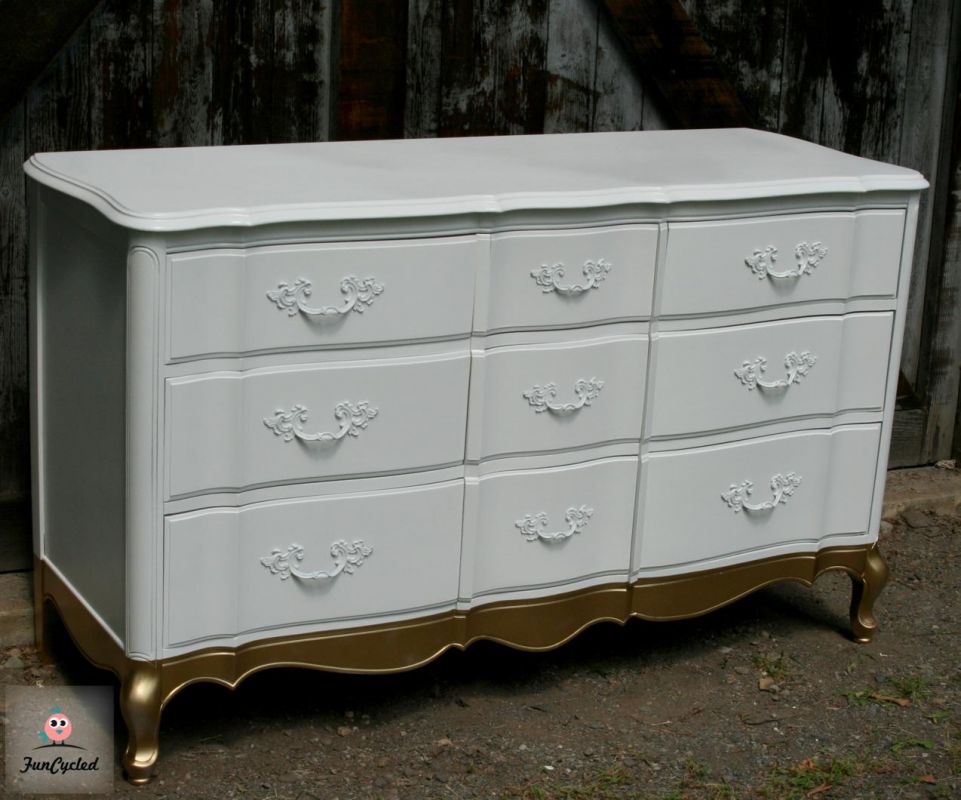
We painted the whole dresser using Benjamin Moore’s Decorator White. If you want to see how we paint furniture, you can check it out here. We used green Frogtape to tape a straight line wherever you want the gold dipped section to come up to.
Use another pieces of masking tape attached to a roll of paper and attached that to the green frog tape to prevent any over-spray onto the white. We used Rust-oleum’s Metallic Gold spray paint on the bottom section.


See the tape on the left of the dresser as we pealed it away? Use high quality painters tape so it leaves a straight line and press firmly over the tape to ensure there are no air pockets that the gold can get into. After a couple of coats of gold spray paint, pull off the tape and you’ll have a stunning, hot new piece of furniture.
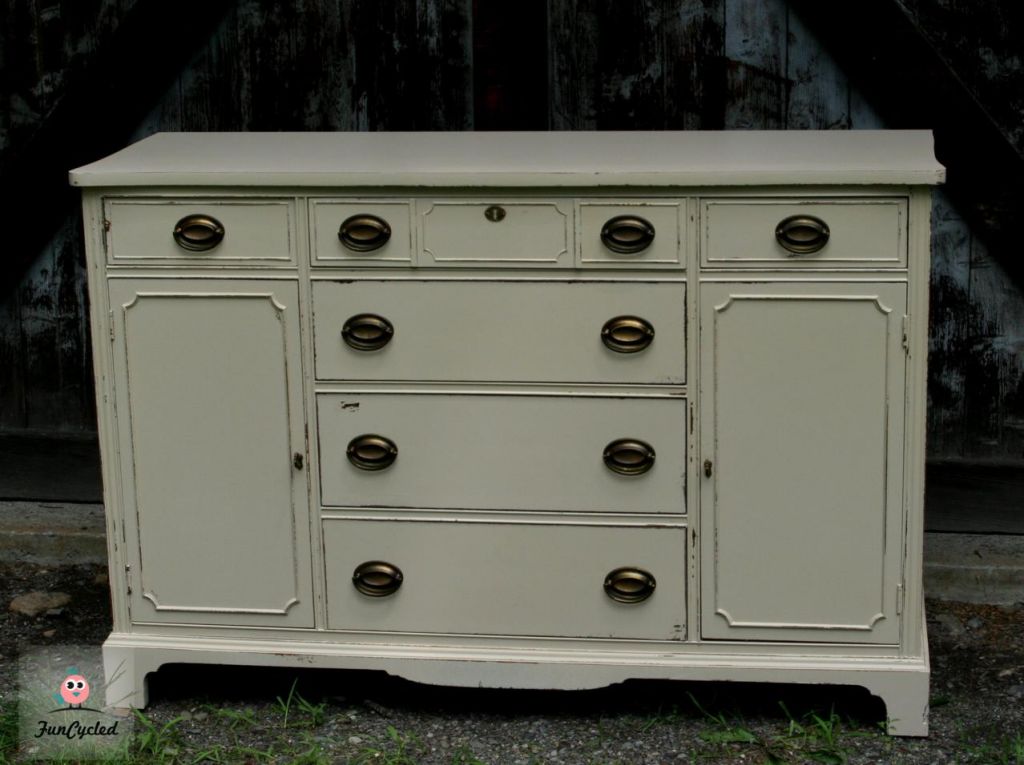
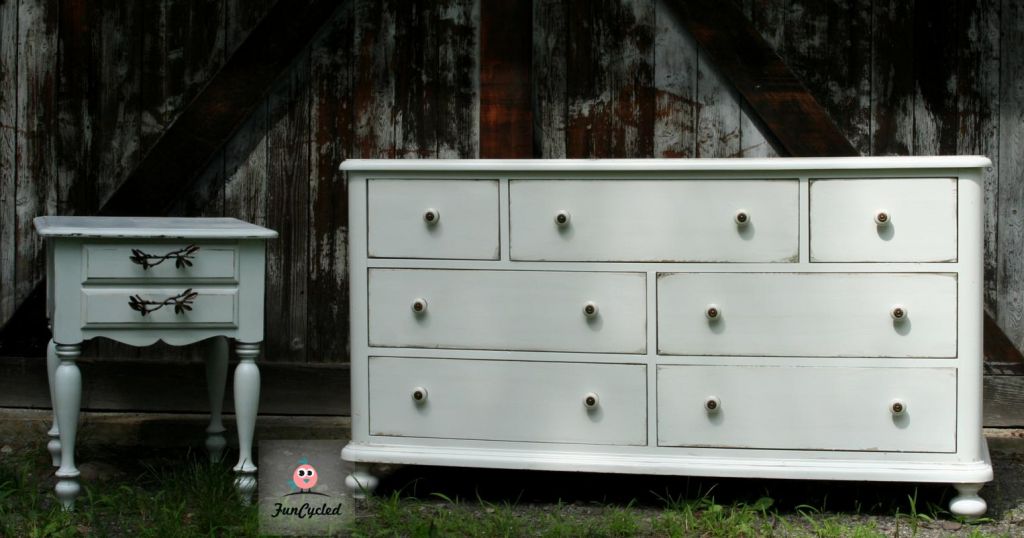
Here she is!
Straight on…

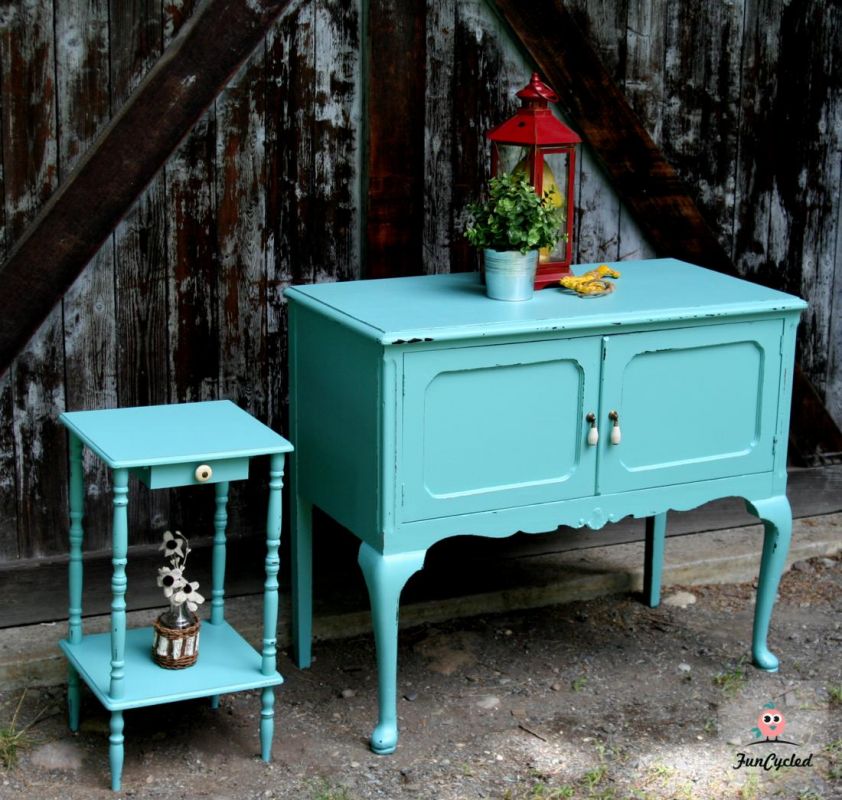
Theresa also had a couple end stands that were a similar style so she brought them over and I sprayed those as well to match. Super cute, right?

Happy redesigns everyone,
Sarah
If you like what you see, please like FunCycled’s Facebook page to keep up to date on the newest finds, vote on colors and give your input on our creativity. There is a box at the top right of this page to enter your email address in to receive notifications by email when I post something new on this blog. Please sign up today!
Last but not least, let us customize a furniture piece for you. We create custom furniture and will deliver for customers in upstate NY and will also ship throughout the US. Send us a note with what you would like using our contact page. Or buy something that we’ve already designed from our furniture for sale page.