Hi Friends!
For this week’s makeover, I thought I’d step you through what a typical design job looks like for me. I’ve been really busy with design work and I love it for so many reasons. I love designing and I love people. So it’s a joy to be filling my days with beautiful things and beautiful souls. I don’t think I share enough about this part of our business. Often because I don’t always get finished pictures of the space if the client opts to do the set up themselves.
Let’s jump right into a bedroom makeover for a client who I’ve worked with in the past, Tammy! She hired us to help with her living room makeover a couple of years ago and she just decided it was time for her bedroom makeover next.
When a client reaches out for a design consult, I start with a one hour in person (or virtual) consult where we talk through their style and the colors that would or wouldn’t be ok for the space. I try to see what can be reused and repurpose in the space, talk through the budget, and finalize what has to go and what can stay.
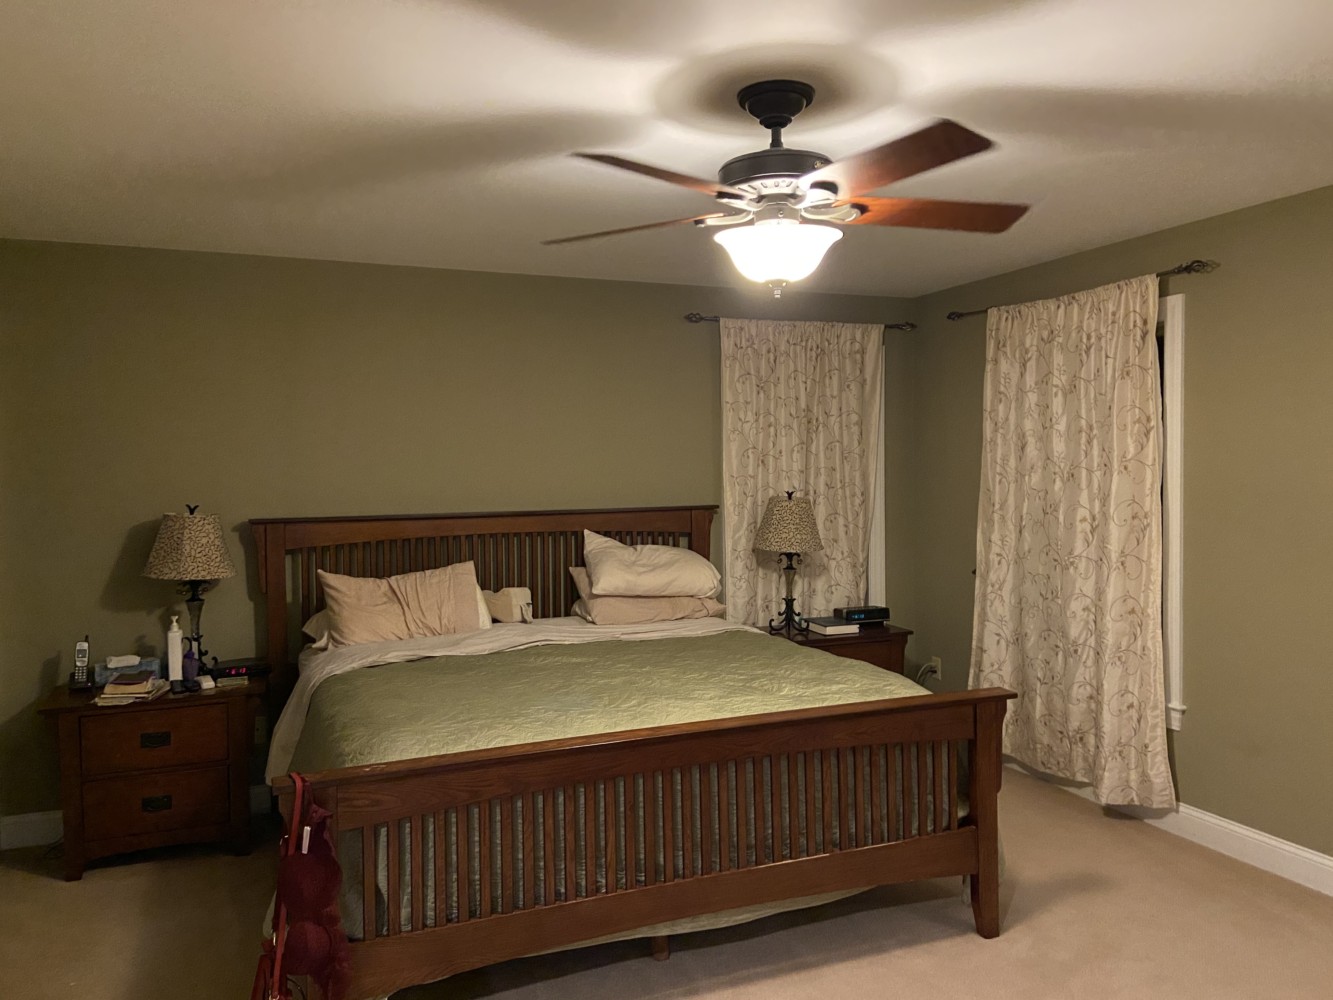
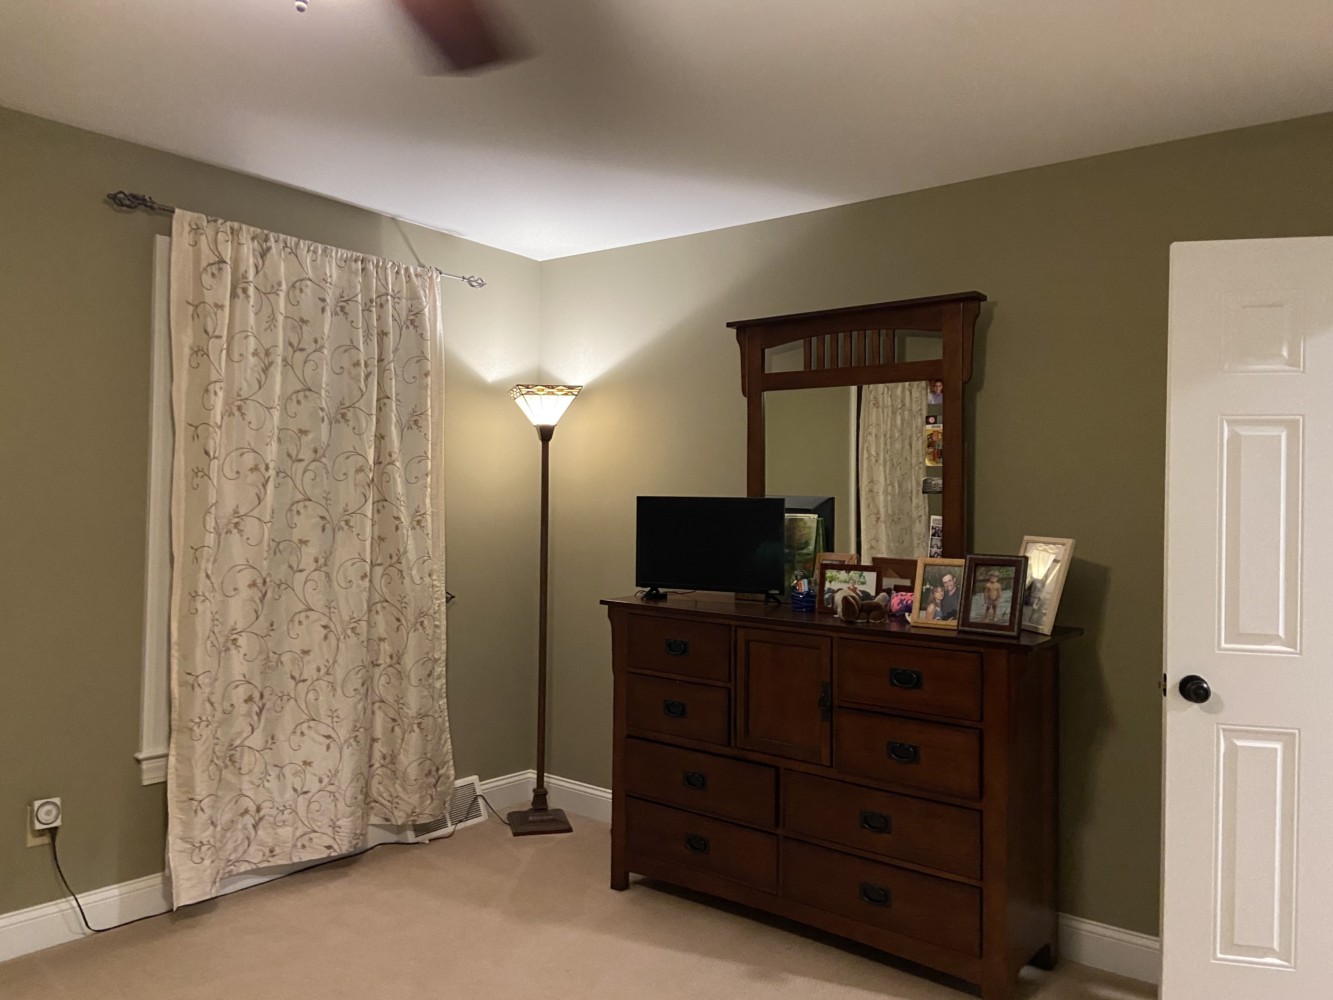
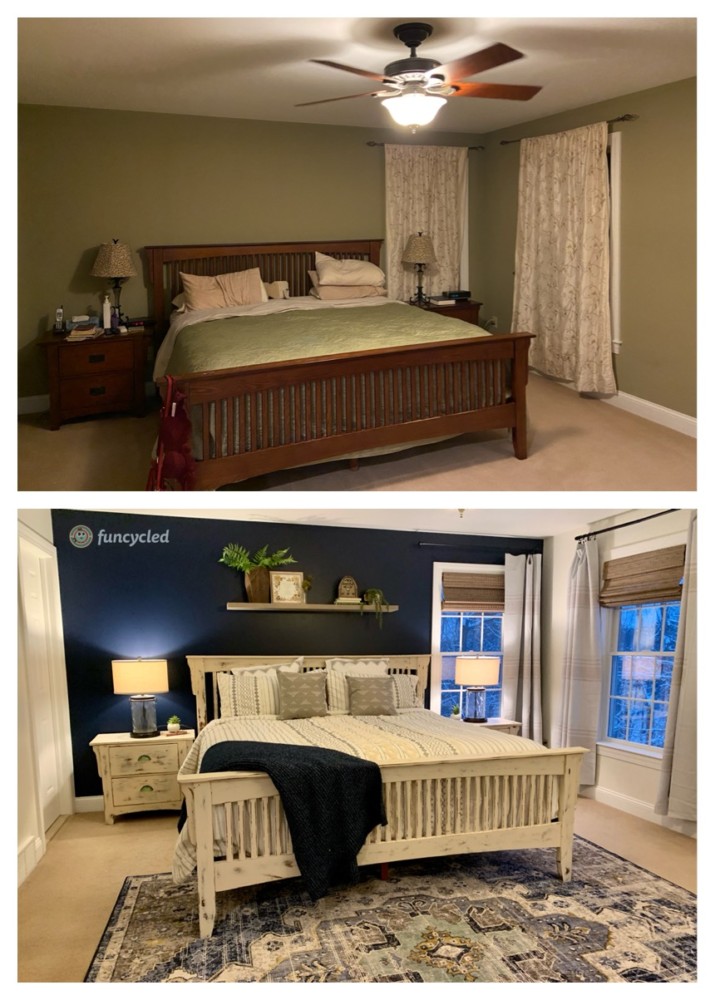
Here’s what I started with on the consult day with Tammy.
Once we have the answer to those questions, I can either make recommendations during the consult or I can do more design work offsite. I can create a design board which basically puts together all the different design elements for the space. A client can then click on any word in the board to bring them to a website where they can order the products and create the new room themselves or they can order the items and I can come back to set up and install everything for them. In this case, Tammy opted to have us do the install as well.
What Tammy wanted to stay:
✔️ The tan wall to wall carpet
✔️ The ceiling fan
What could go:
✔️ Everything else!
Here’s a quick look at her design board to see what I mean when I describe it. This is just a photo of the design board so the links aren’t included.
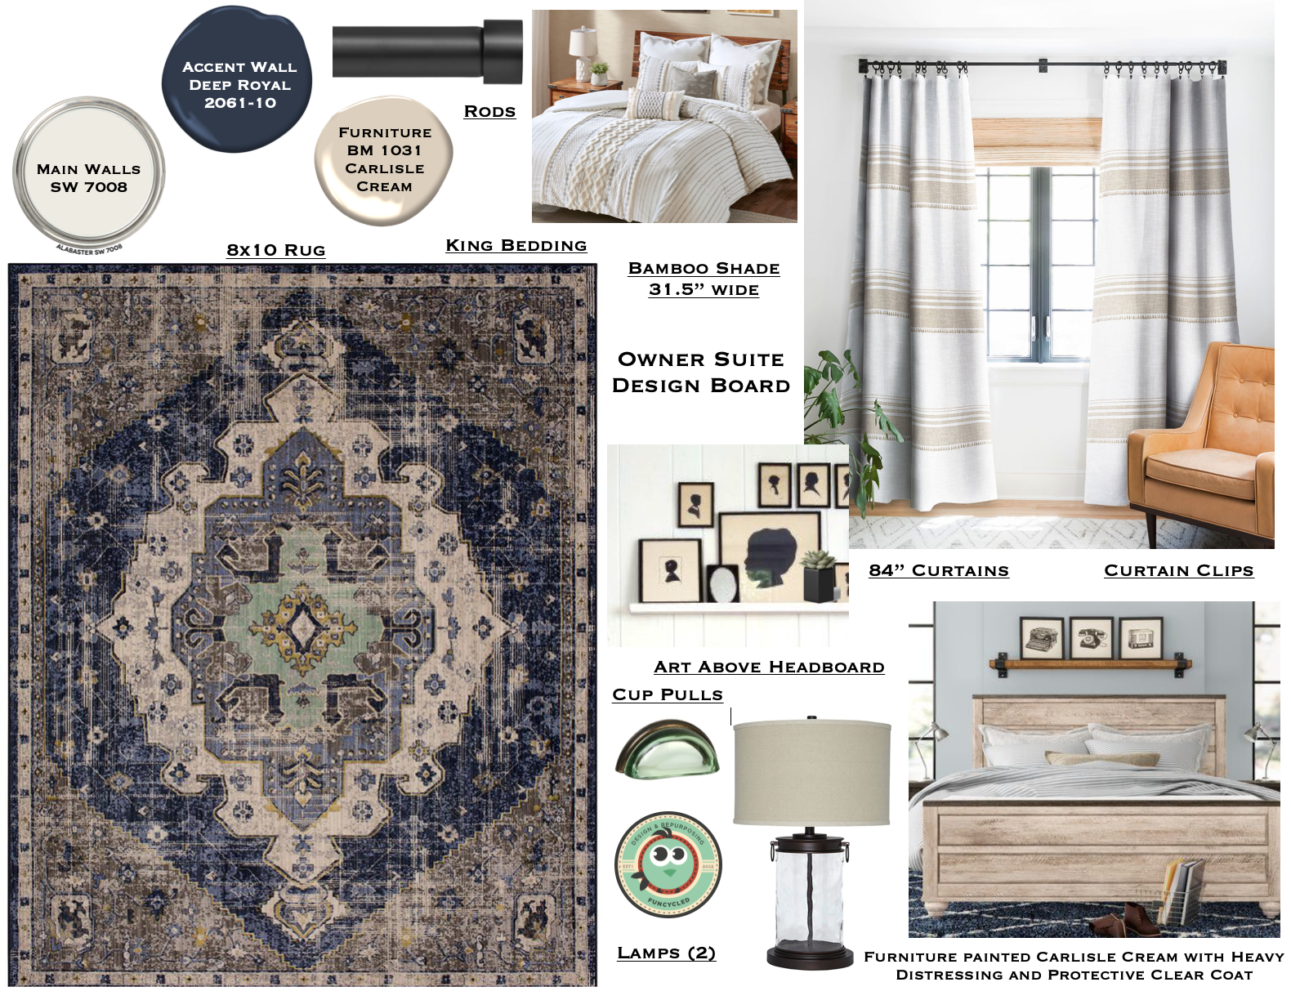
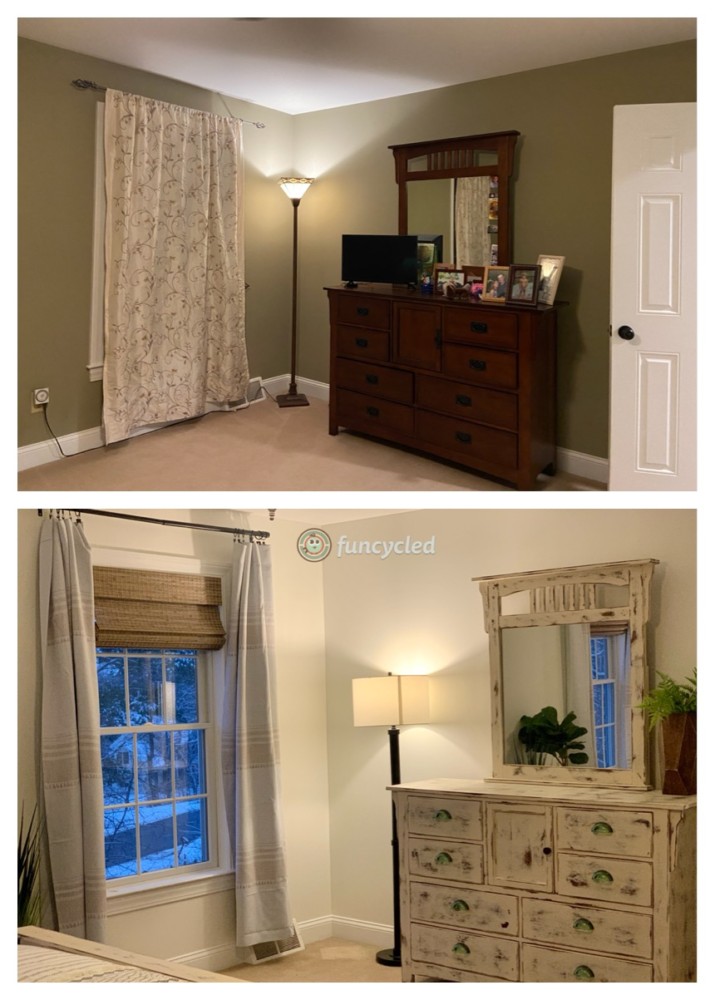
One thing Tammy had asked me about was if her furniture was worth redoing. While I was there, I looked it over. It had dovetail drawers, all the drawers slid smoothly, and the style worked with the overall design board so I recommended painting all of it to give it an updated finish. It’s amazing what paint can do to repurpose almost anything.
We started by redoing the furniture while Tammy ordered everything on the design board (except the silhouette photos). It was just over a month turn around time for this complete makeover.
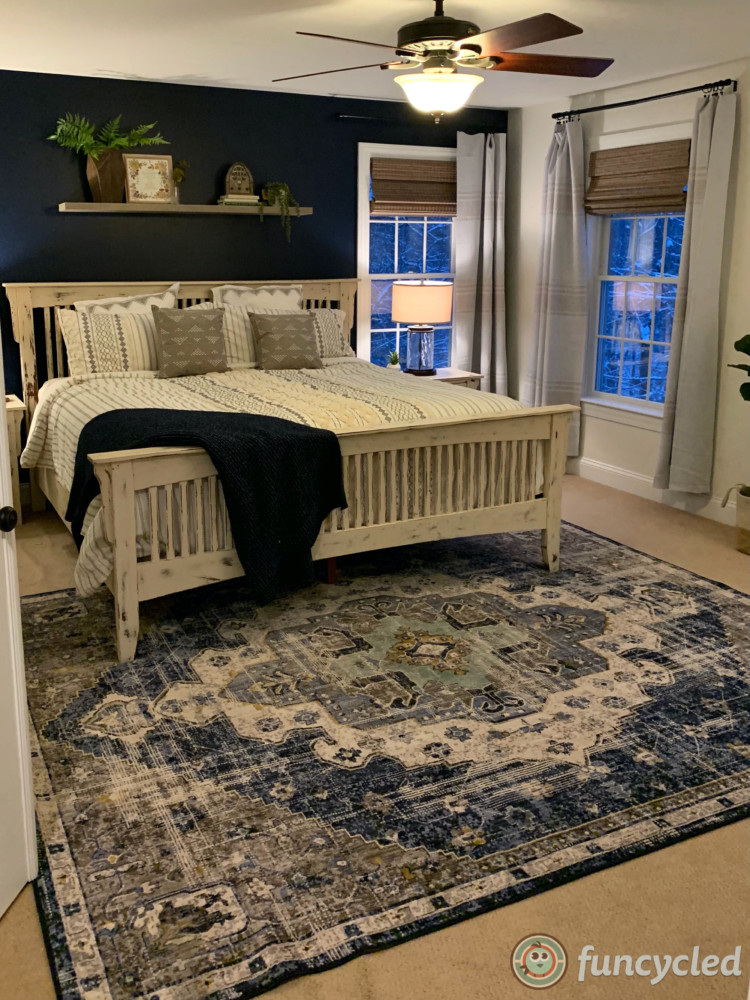
One of the big questions for Tammy when I looked at the space was the carpet. It’s very tan and also had some aging, but they didn’t want to replaced it just yet. Flooring can eat up a huge part of the budget. So I recommended layering a rug. Often clients don’t know that this can be an option and question whether it will look right. In this case, it saved so much for other items and the area rug pulled the whole design together. We both loved how the layered rug look turned out.
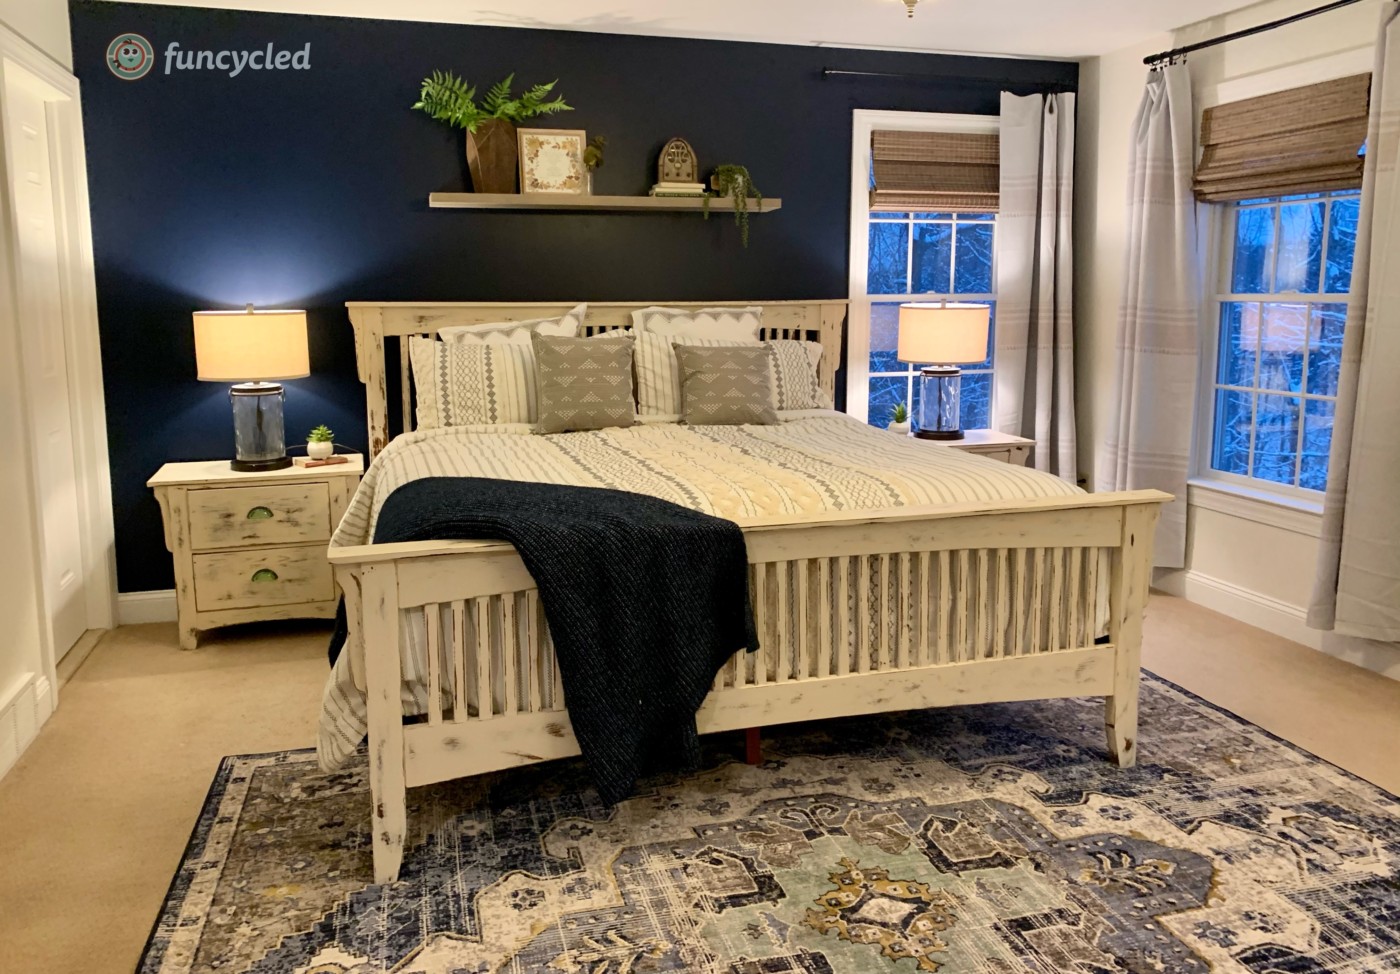
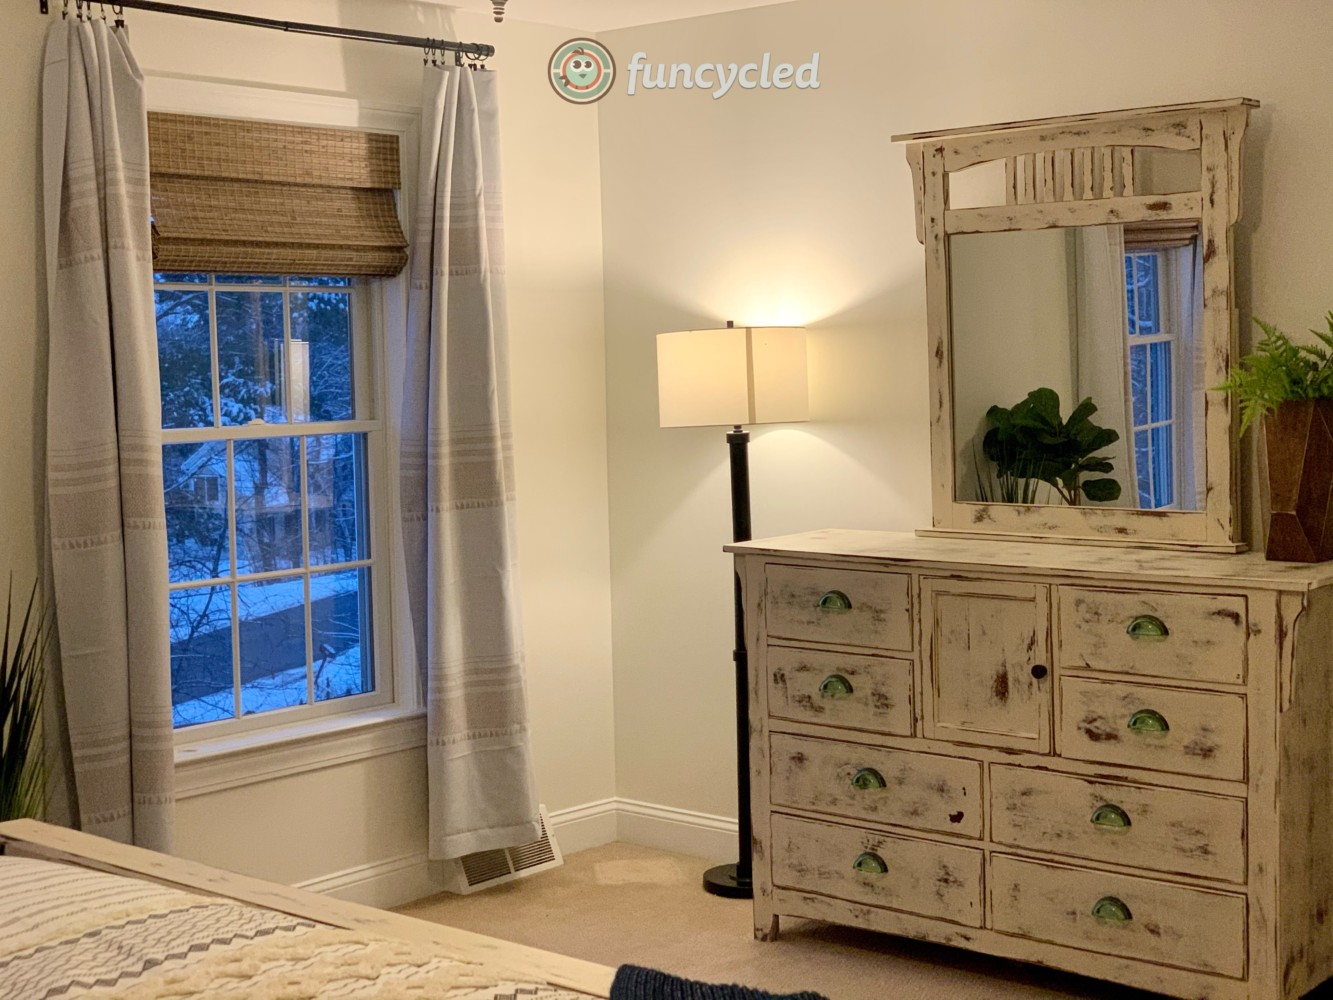
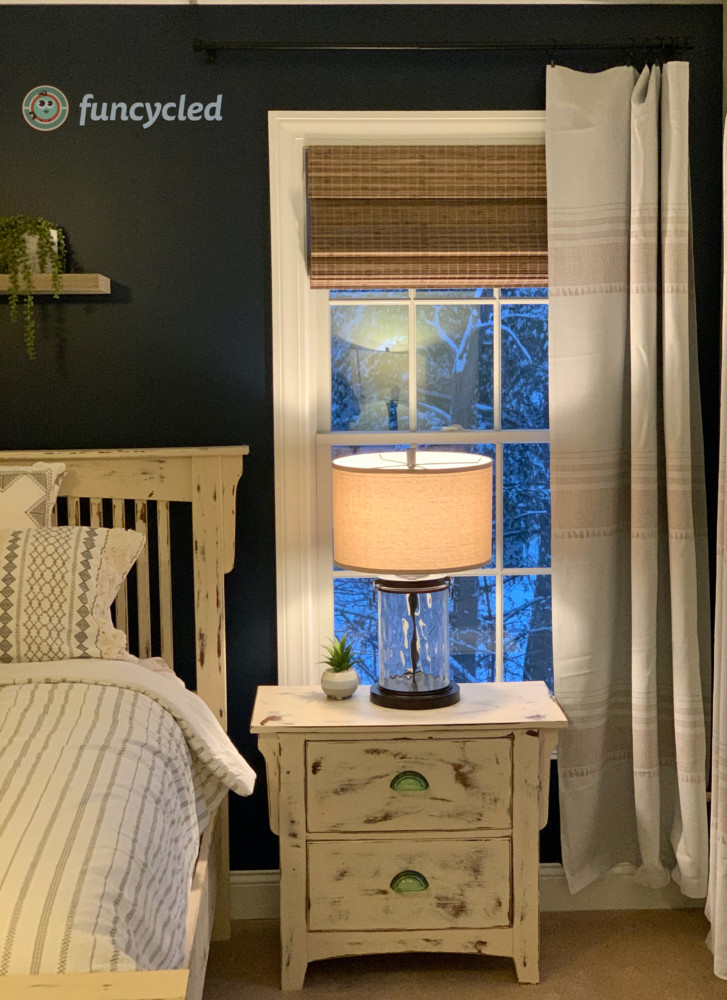
When you’re looking to add some visual interest with your windows, you can install blinds and curtains. It’ll make the room darker when everything is closed up, but it will also add quite a bit of texture. In this space, the wooden blinds brought warm brown tones together with cream and gray curtains. We also brought the curtains up and out a bit so we could add curtain clips which also added a lot of interest and allowed us to install two panel instead of one panel per window on the larger wall. This filled the wall significantly and made it a focal point instead of a forgotten area in the room.
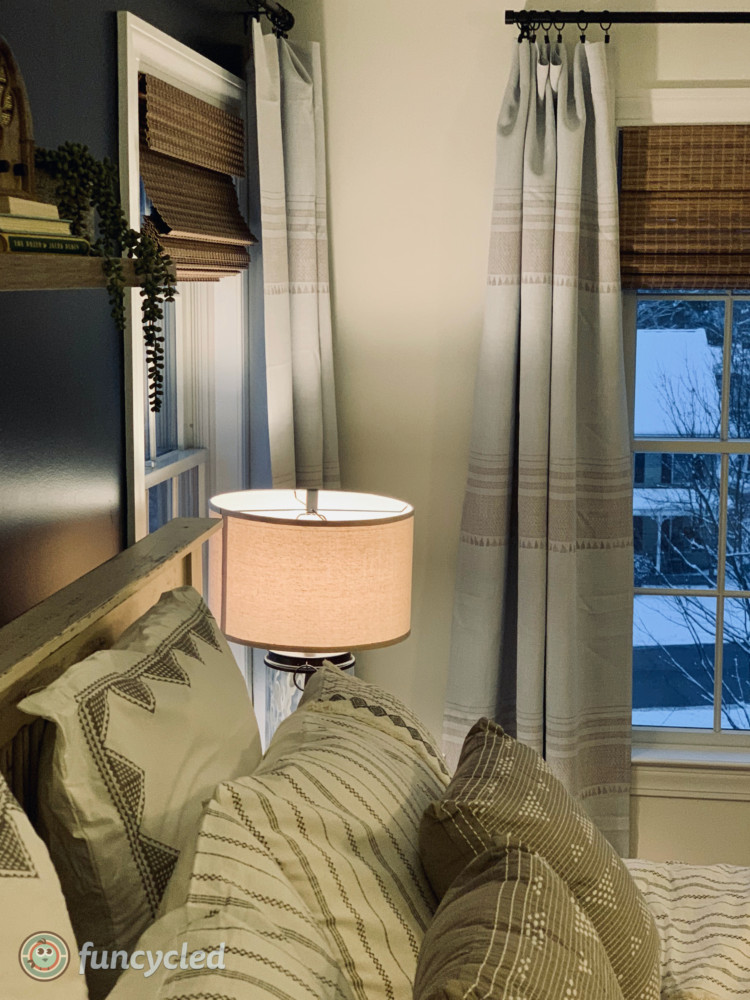
The bedding continued to bring the tan color into the space from the rug, but in an trendy, beautiful way. I love this bedding!
We also added a shelf above the headboard. As you walk into the room, this is the first wall you see so I wanted it to be a bit of a statement.
Here are some quick side by side photos for easy sharing and comparing!
The installation part – going from basically an empty room to hangin the curtains, blinds, shelves, shelf, staging the shelf, and making the bed took 2 people 2 hours. I recommend this part if you’re looking to have a staged, finished, complete look.
Thank you so much for the business, Tammy! I enjoyed working with you on this project.
If you’re looking for some design help in your home, please reach out to me! You can use our Contact Us form start the process of help with design work in your home. Check out our Interior Design page for more information about the process. Or see some of our past design projects on our Portfolio Page.
Please sign up for our weekly newsletter by adding your email in the little box below my picture.
Happy FunCycling Friends,
Sarah ;)
If you like what you see, please like FunCycled’s Facebook page to keep up to date on the newest finds, vote on colors and give your input on our creativity. We also offer interior design, kitchen cabinet painting, and custom built tables, barn doors, and furniture. We can deliver for customers in upstate NY and also help you ship throughout the US. Send us a note with what you would like using our contact page. Or buy something that we’ve already designed from our online shop.