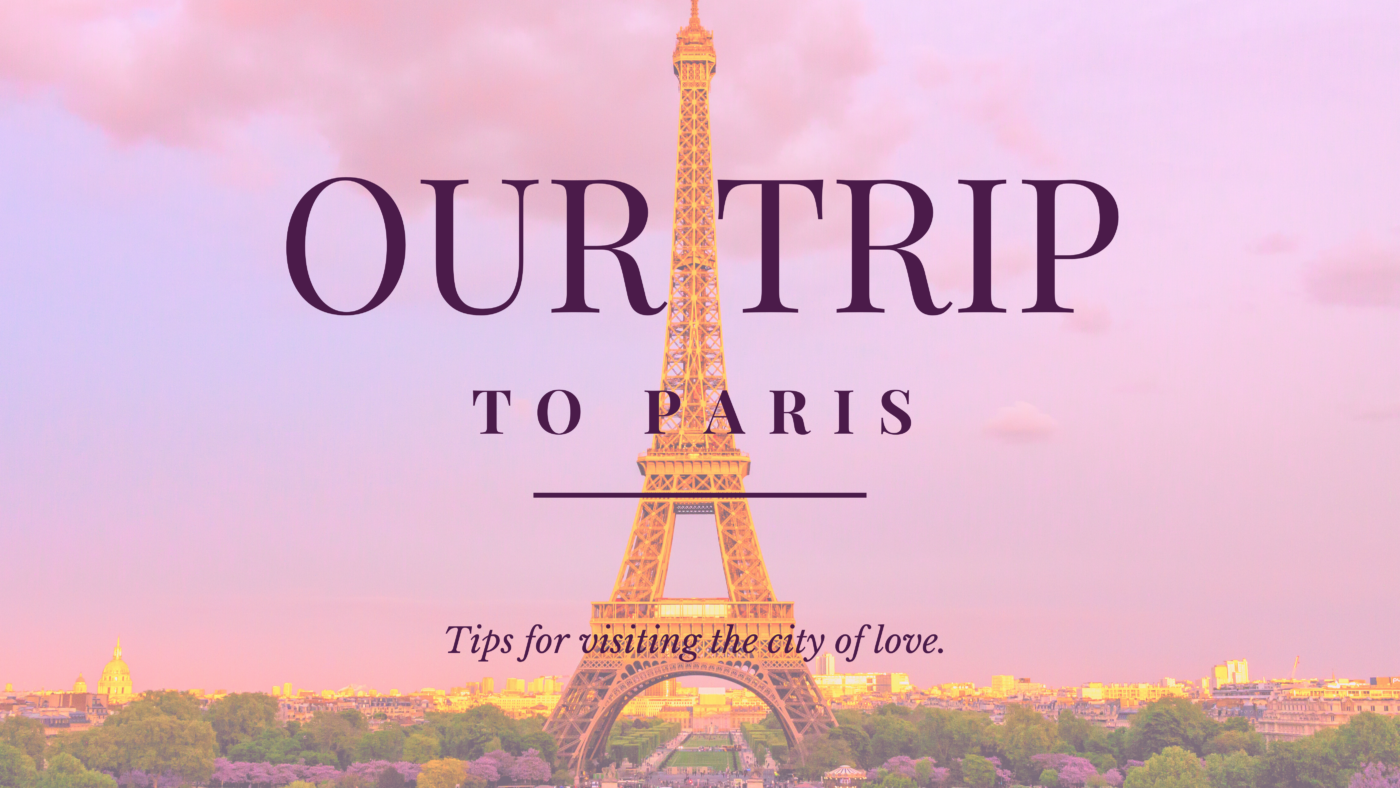
Hi Friends,
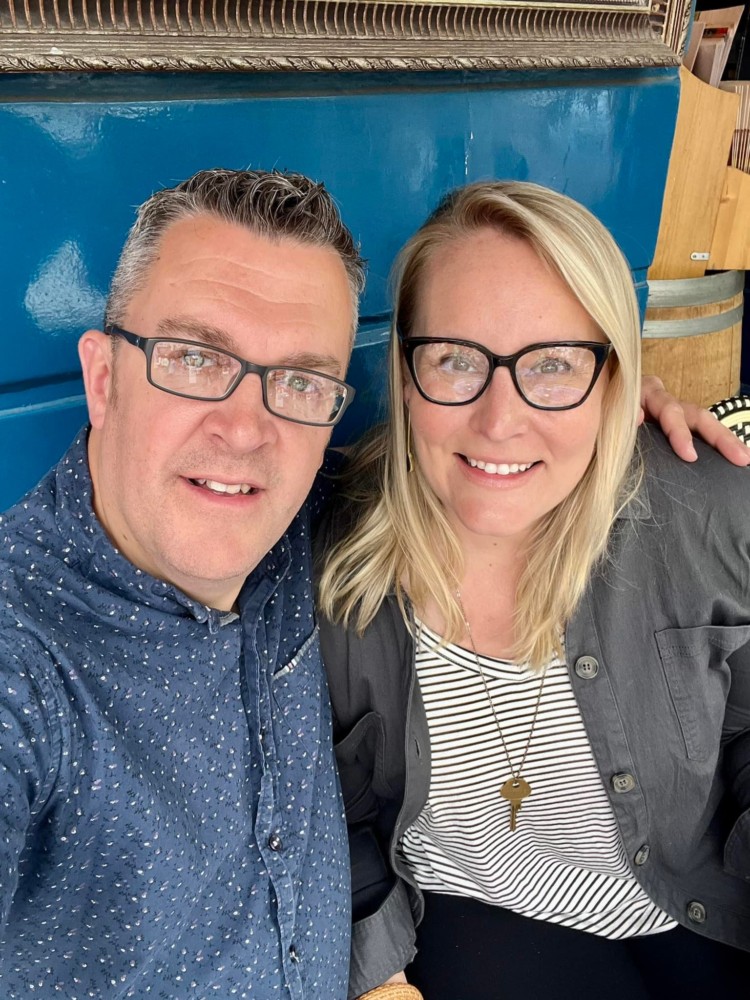
As you may have already seen on our social media channels over the last week, we recently went on a trip to Paris. I’m excited to share some of the highlights with all of you!
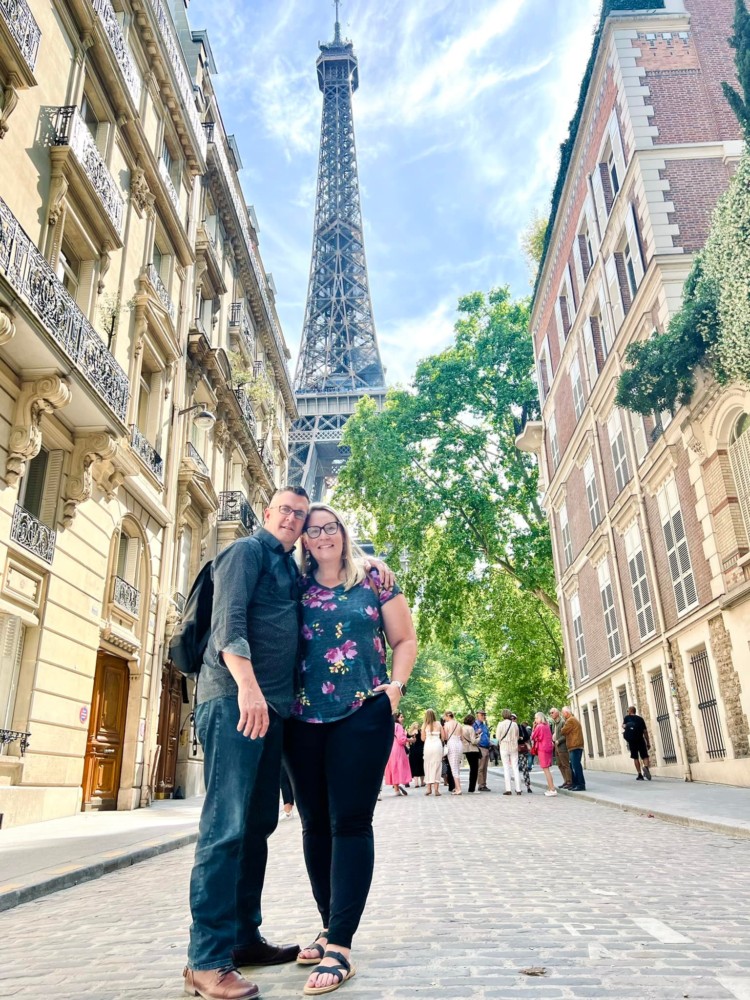
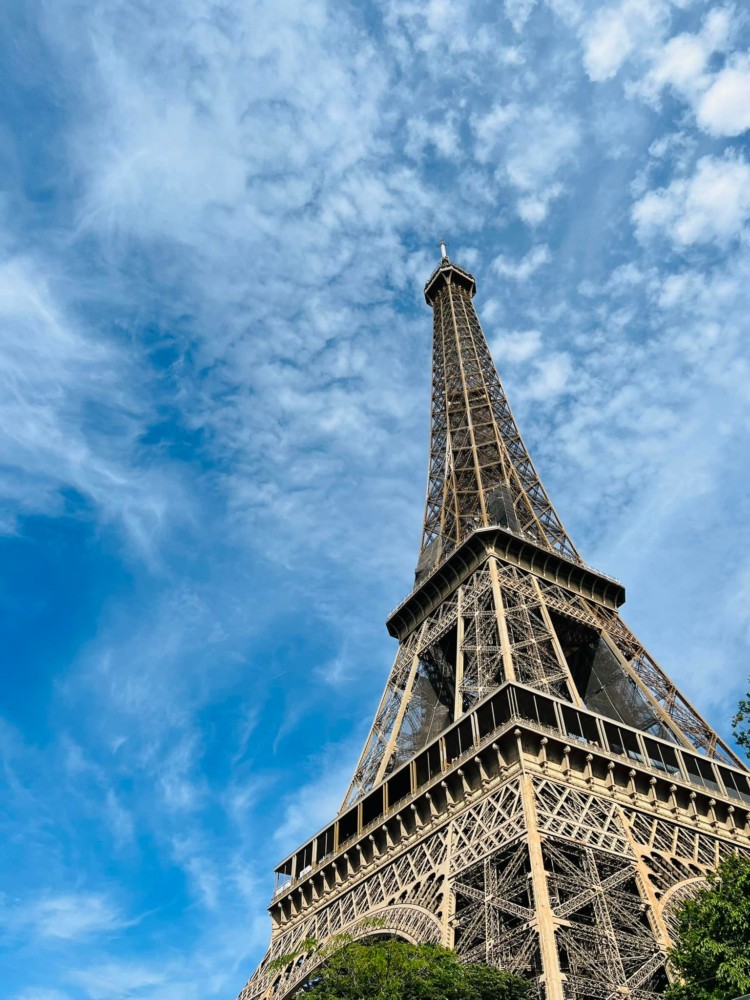
The first thing we did once we landed was drop our bags at the hotel and head down to the Eiffel Tower to take a look.
Such a beautiful piece of architecture!
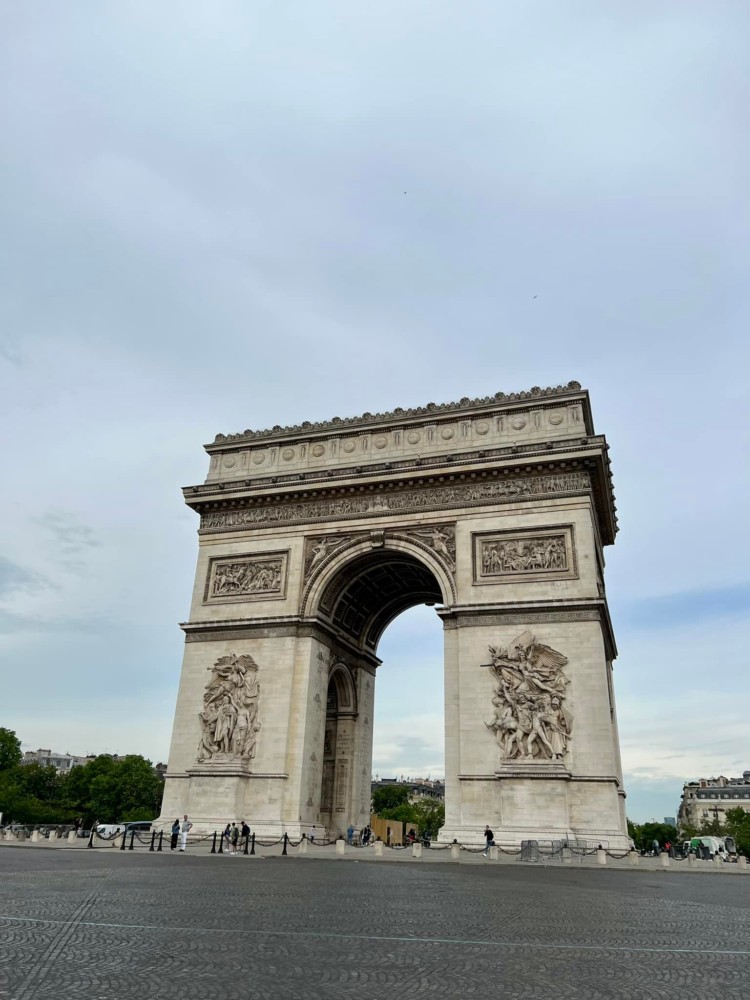
We rented scooters to get around the city quickly on this day since it was as short day. We also passed by ARC DE TRIOMPHE so we had to stop and get a picture.
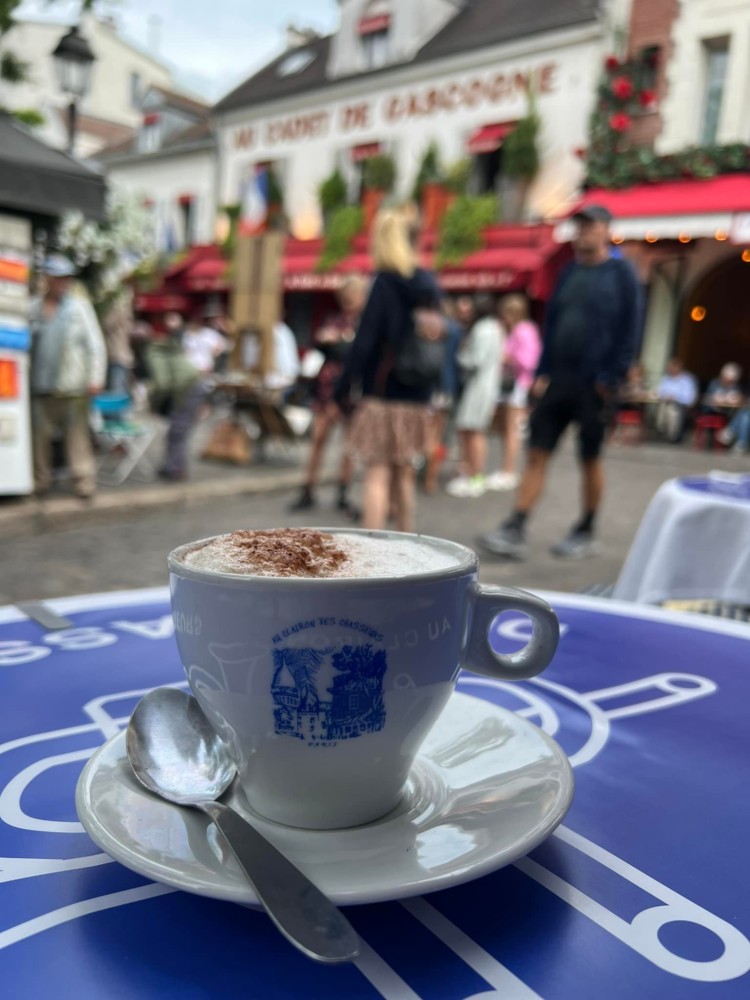
The next morning we spent some time people watching at an adorable little cafe. The seating in Paris cafes face toward the road not toward the person you’re with. This was also where I tried my first French hot chocolate. It was so much better than in the states! It isn’t as sweet and it comes with one tube of sugar to sweeten it if you’d like.
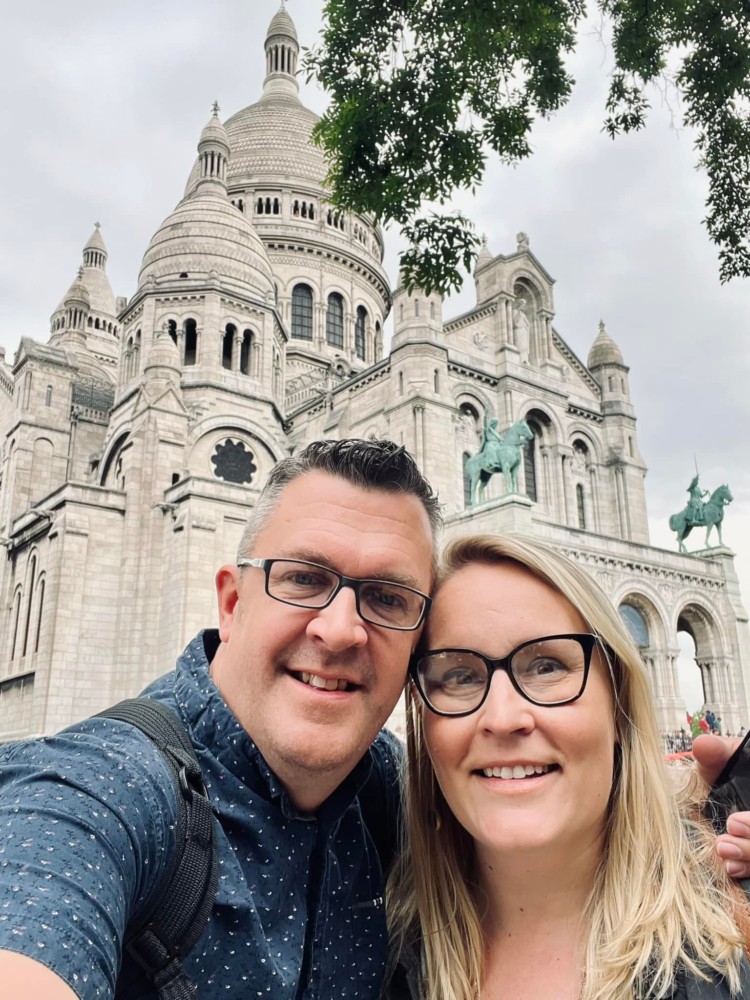
Up next we went to SACRÉ-CŒUR and climbed 292 steps to the top section behind us for a full view of the city.
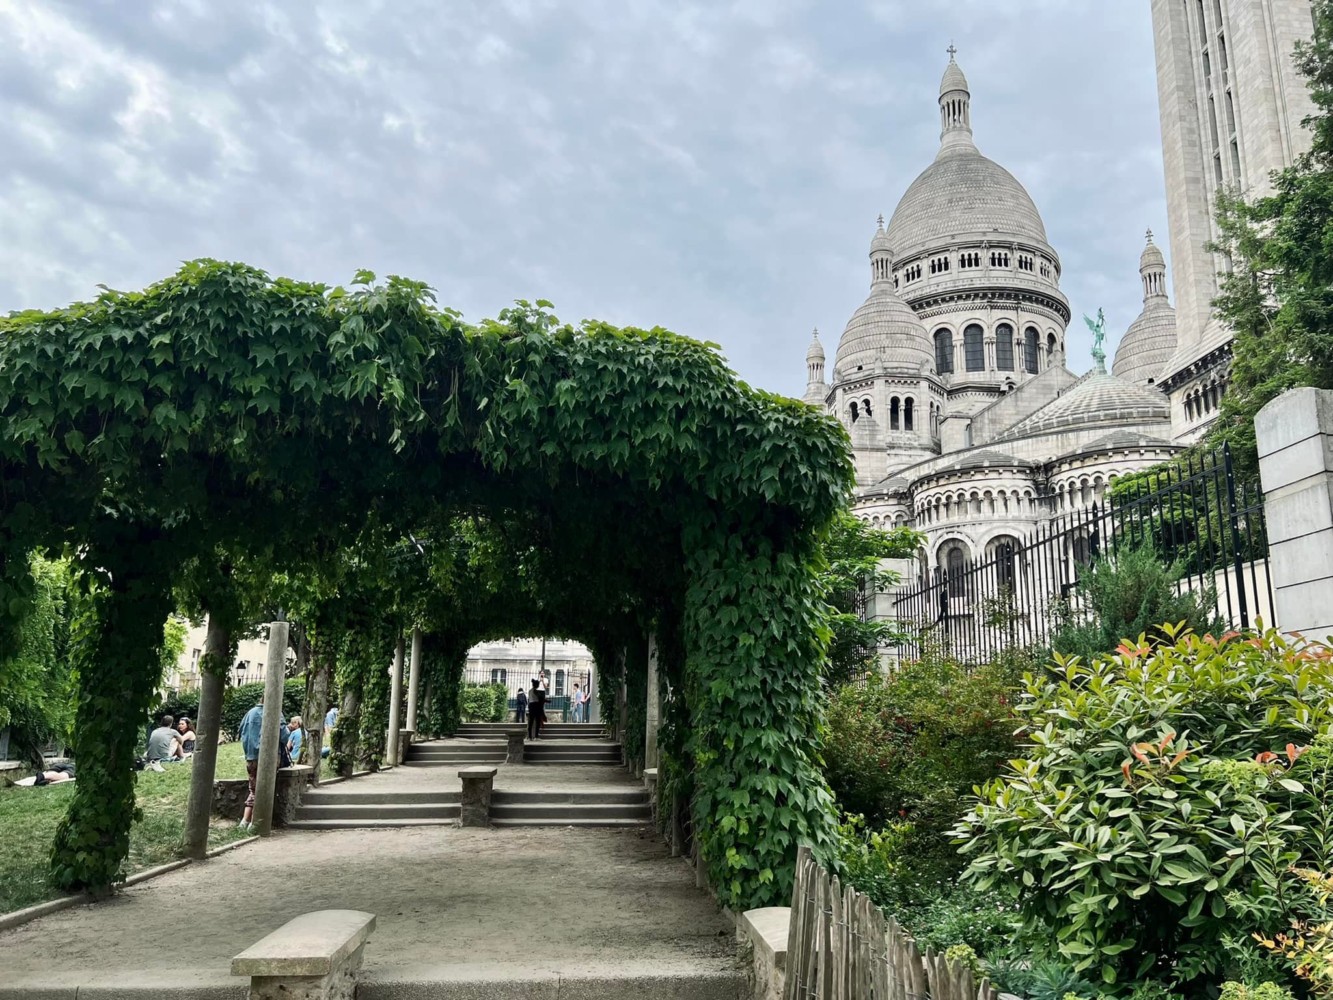
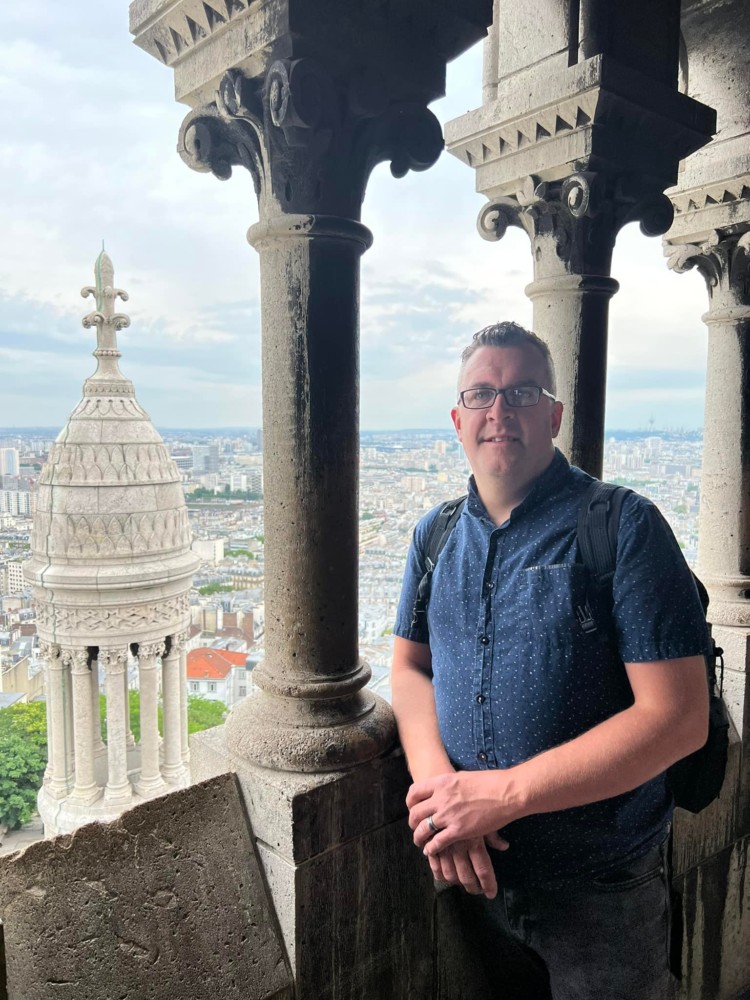
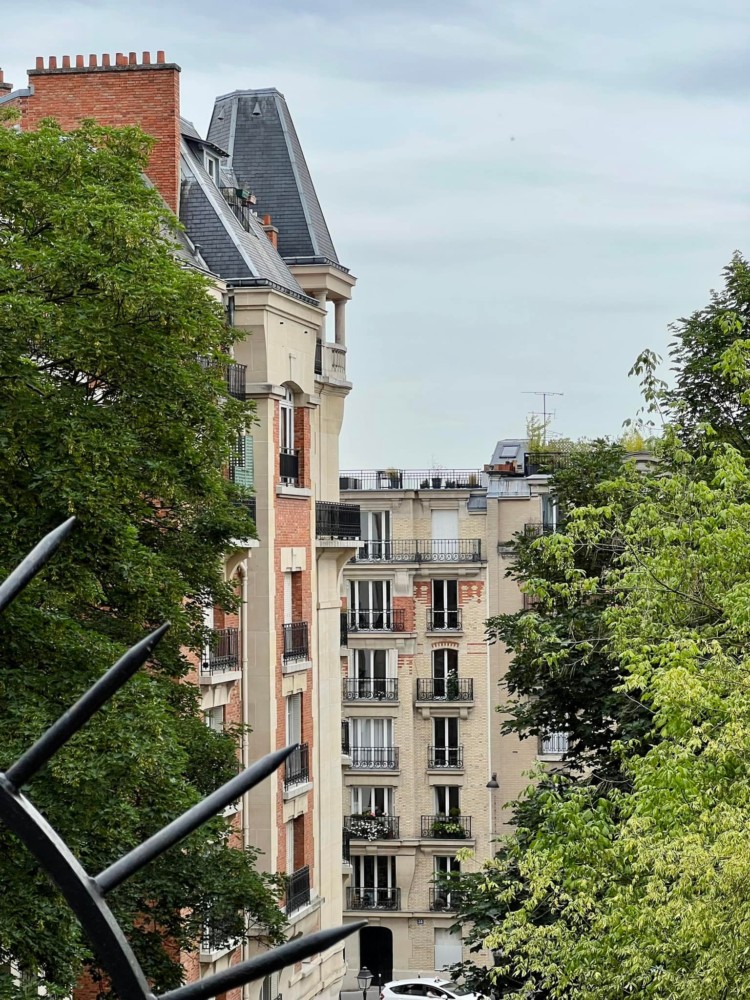
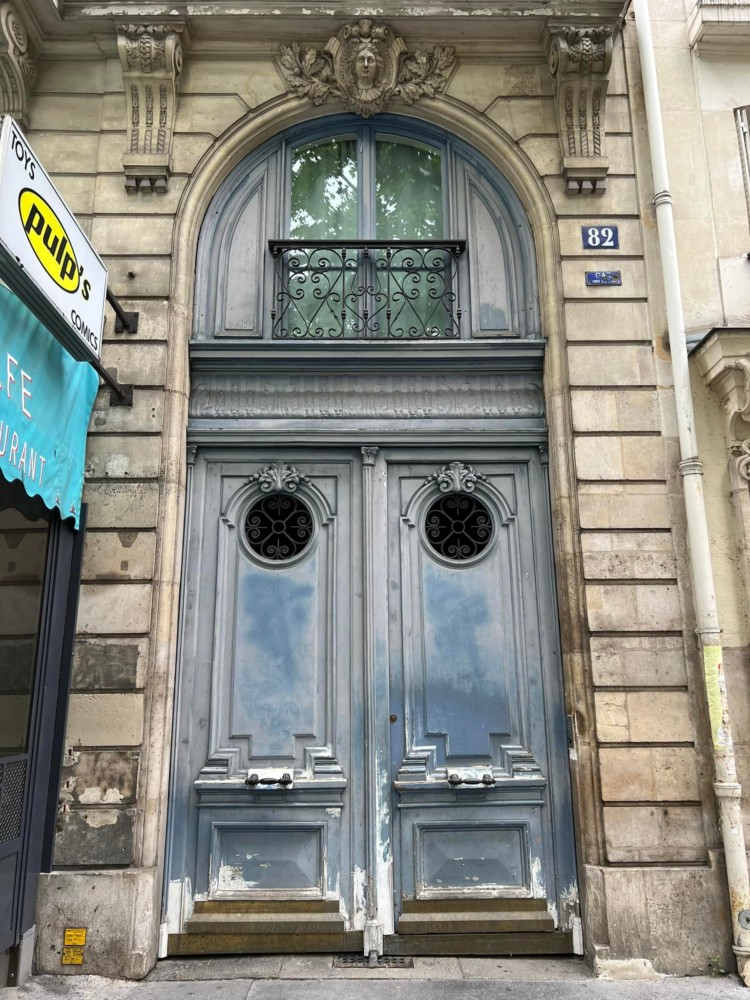
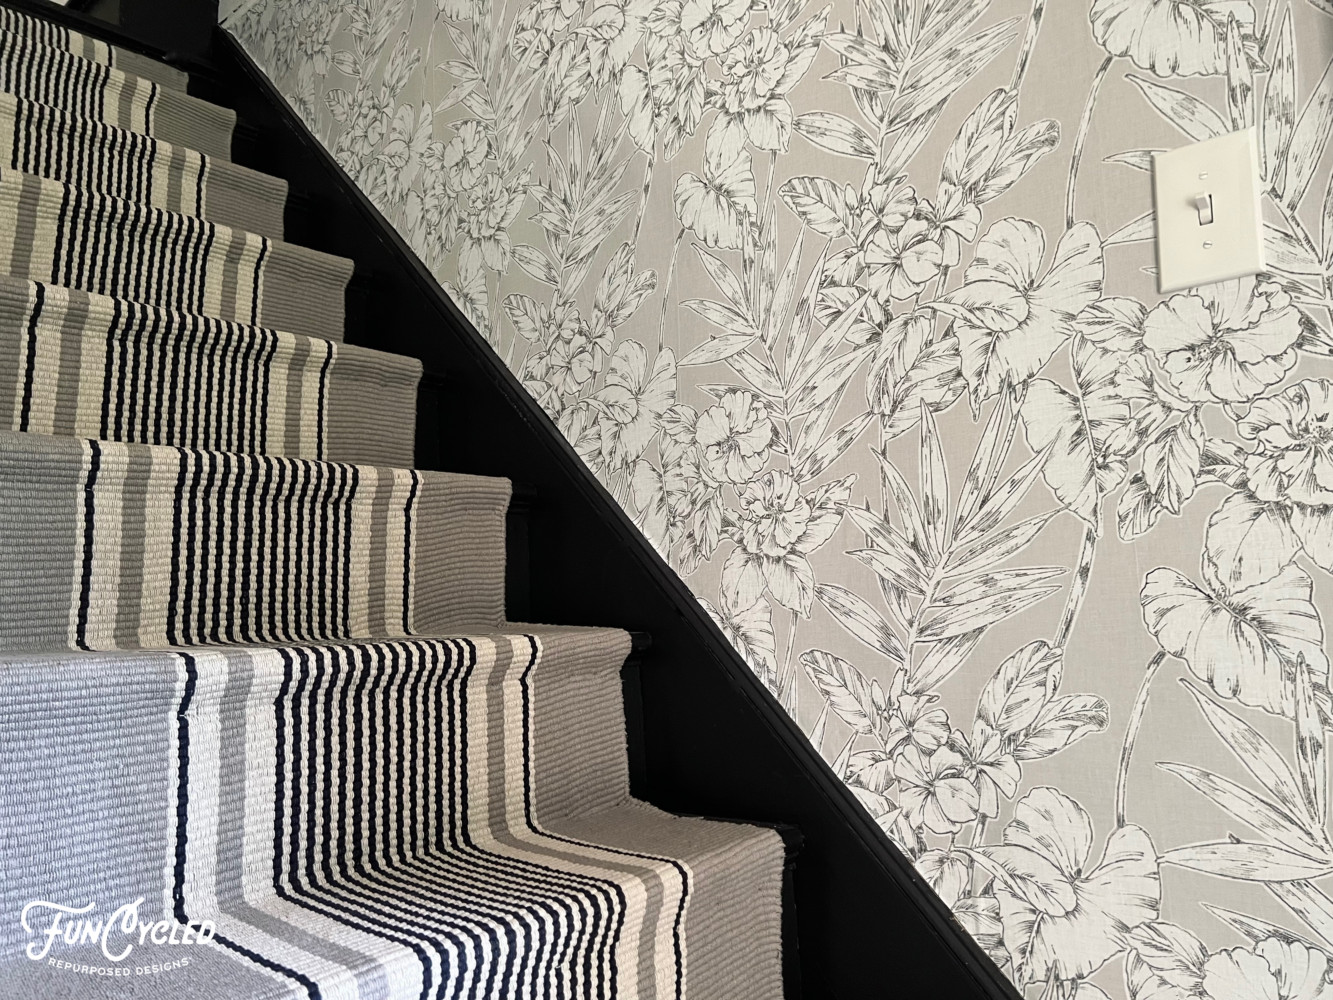
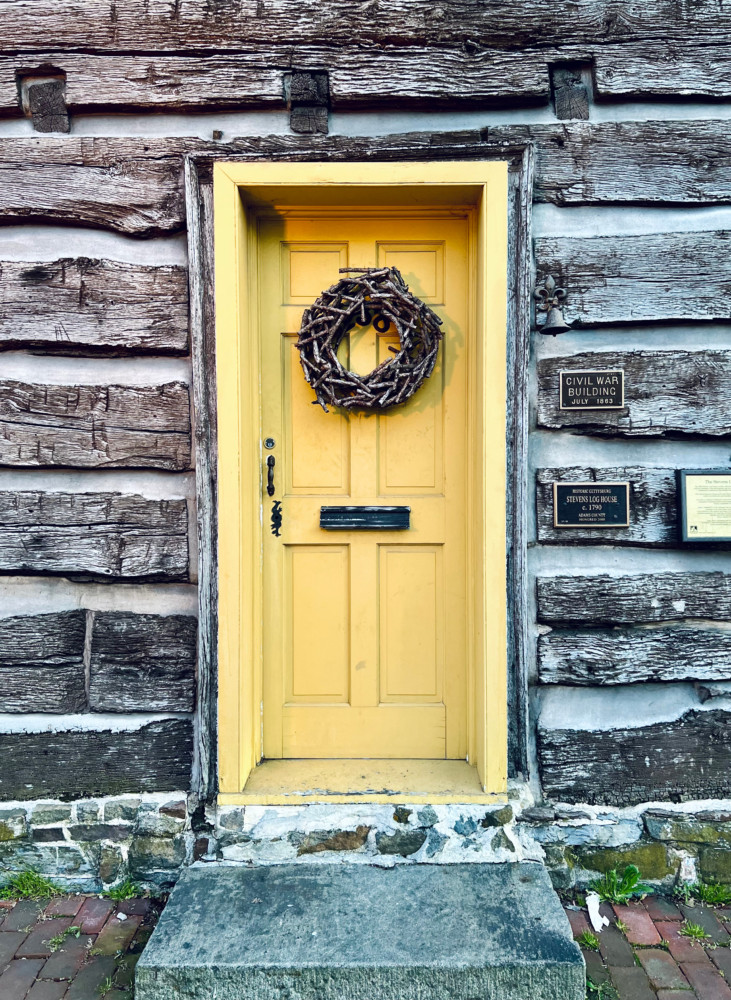
The architectural details throughout Paris was stunning. Everywhere we looked we saw balconies, roof top gardens, beautiful old doors, ornate details.
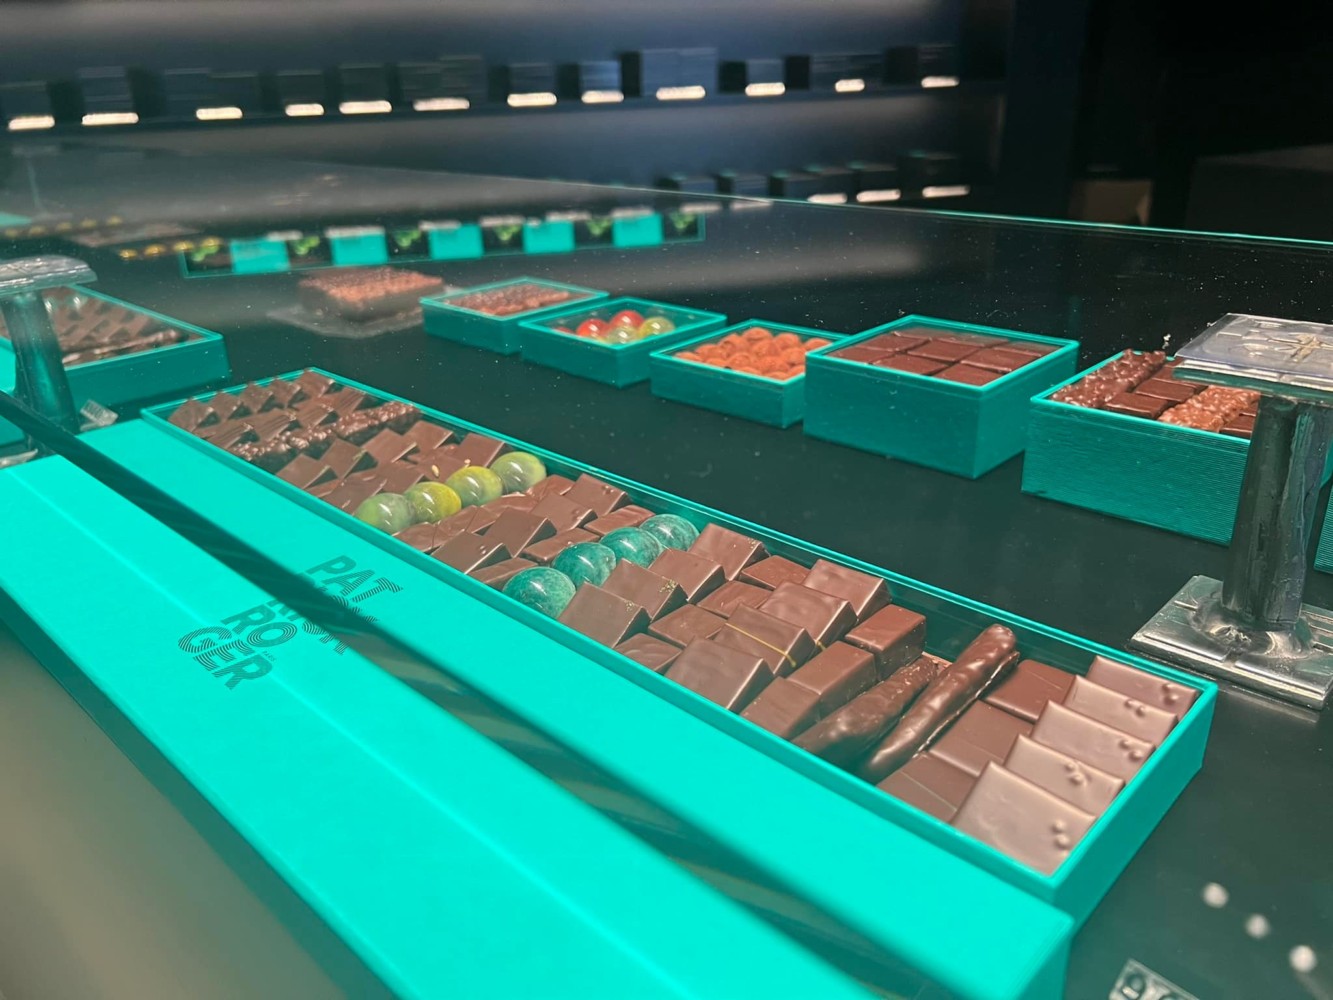
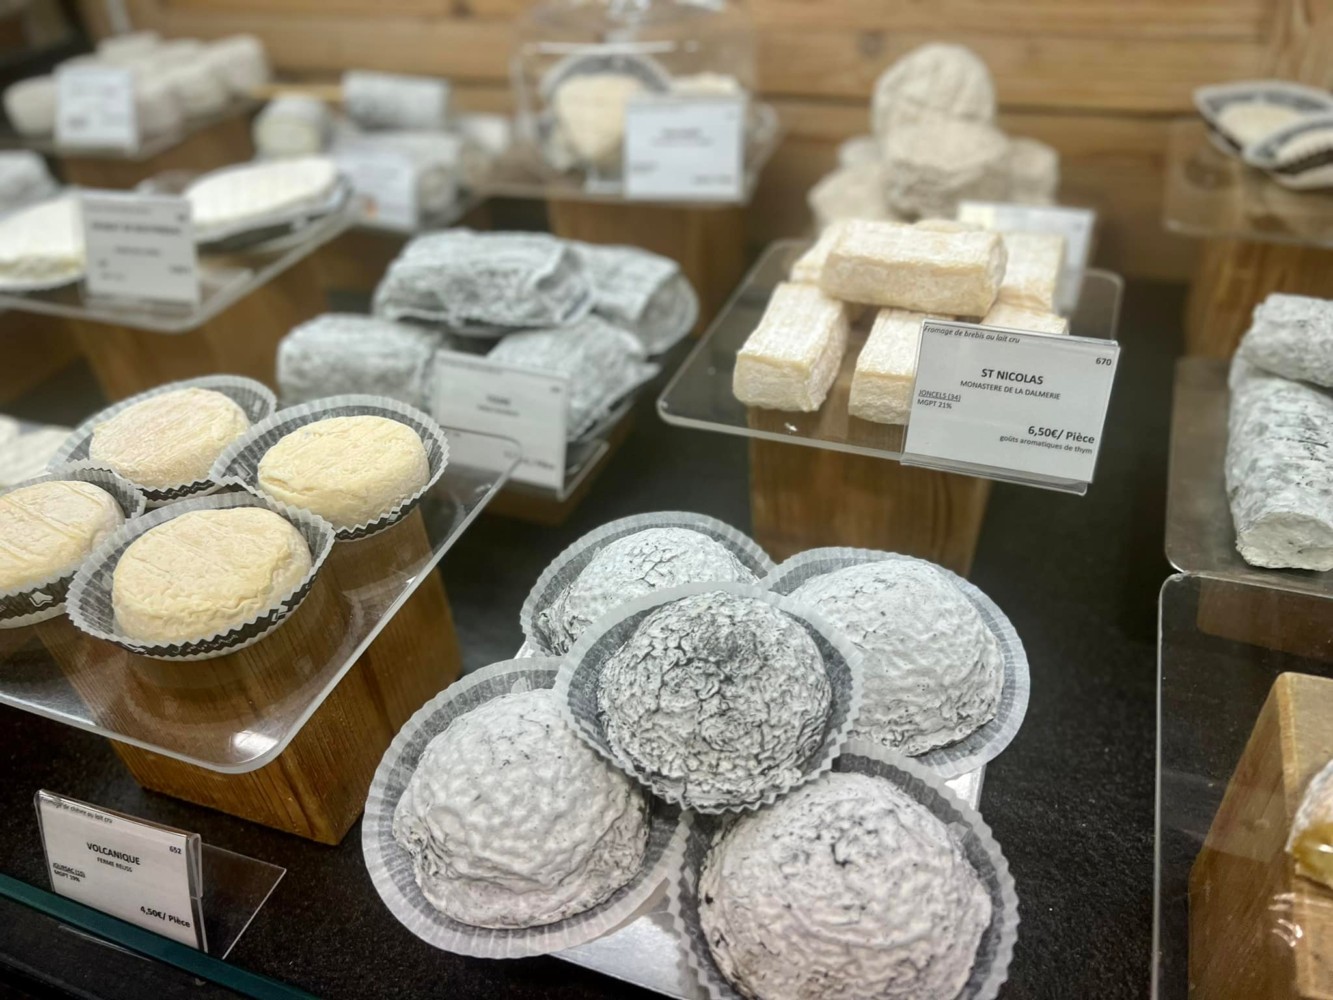
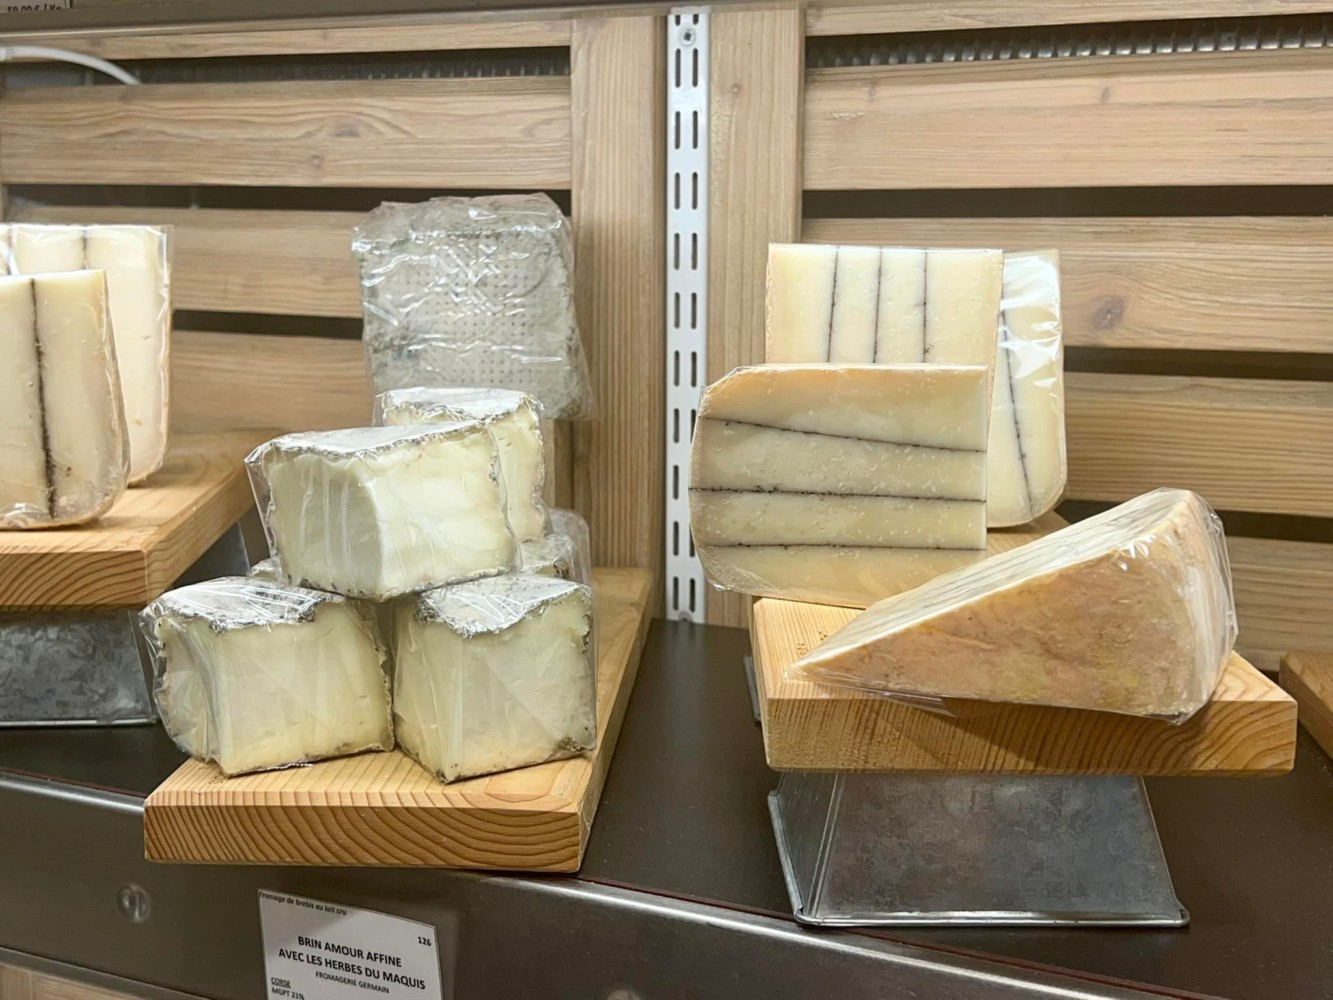
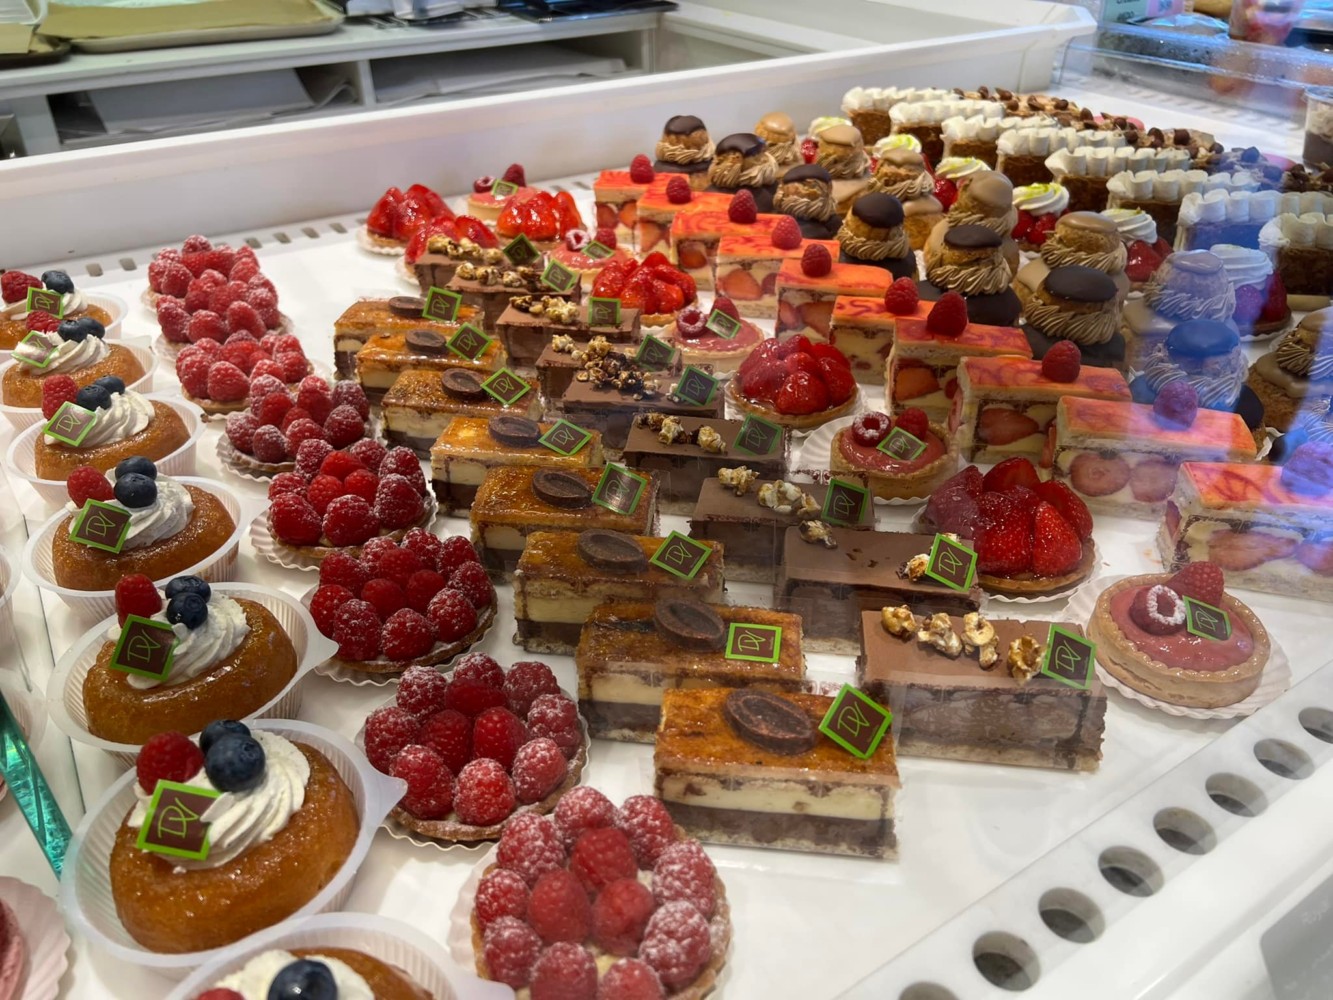
The next day we went on a food walking tour of Paris and enjoyed the fresh croissants, world famous chocolates, and cheese that was the most delicious cheese I’ve ever had!

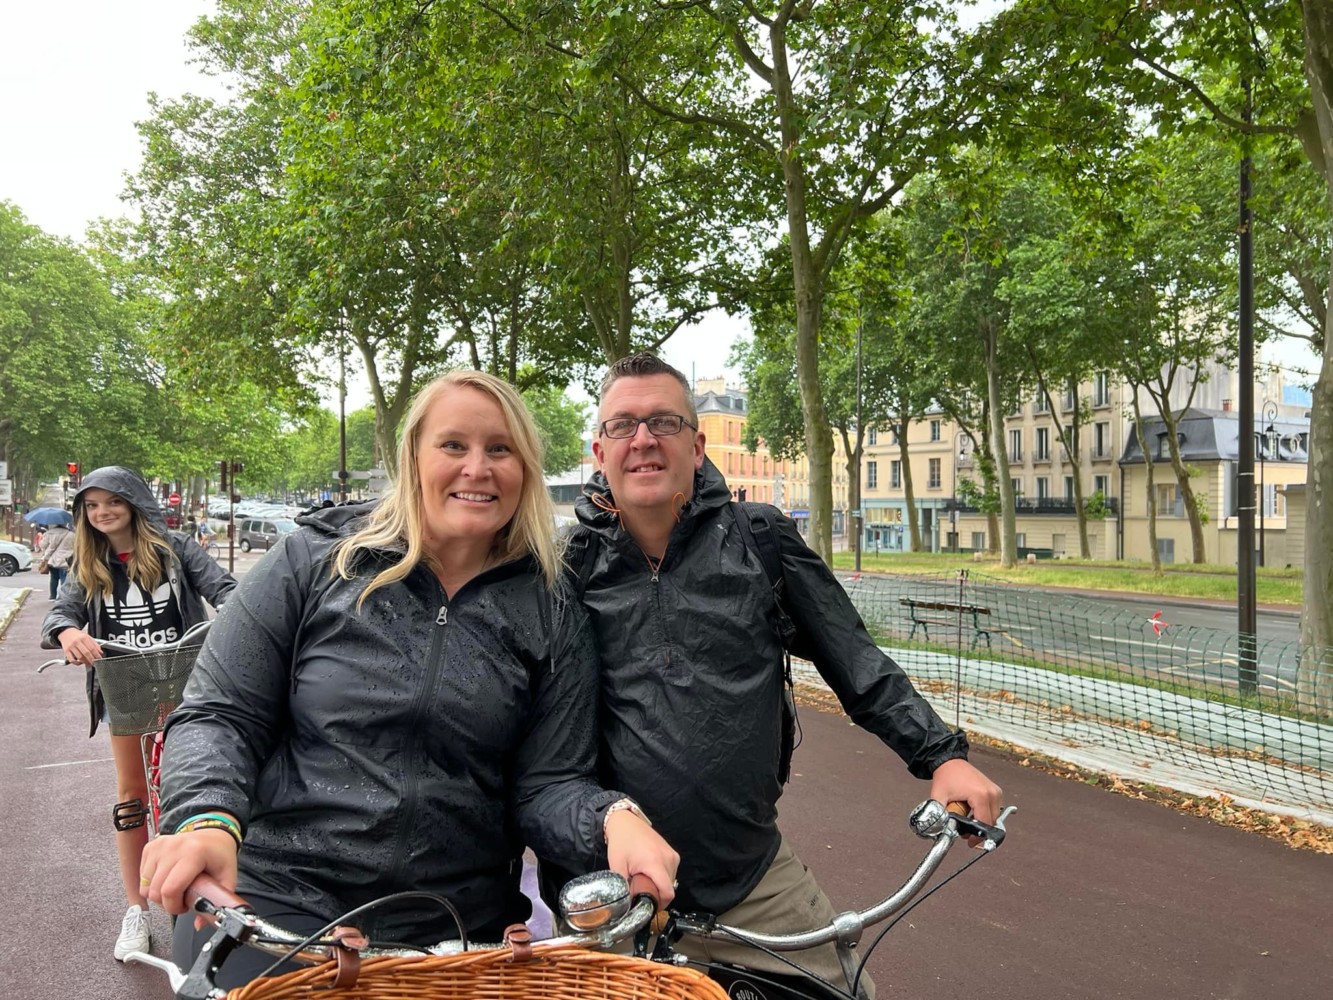
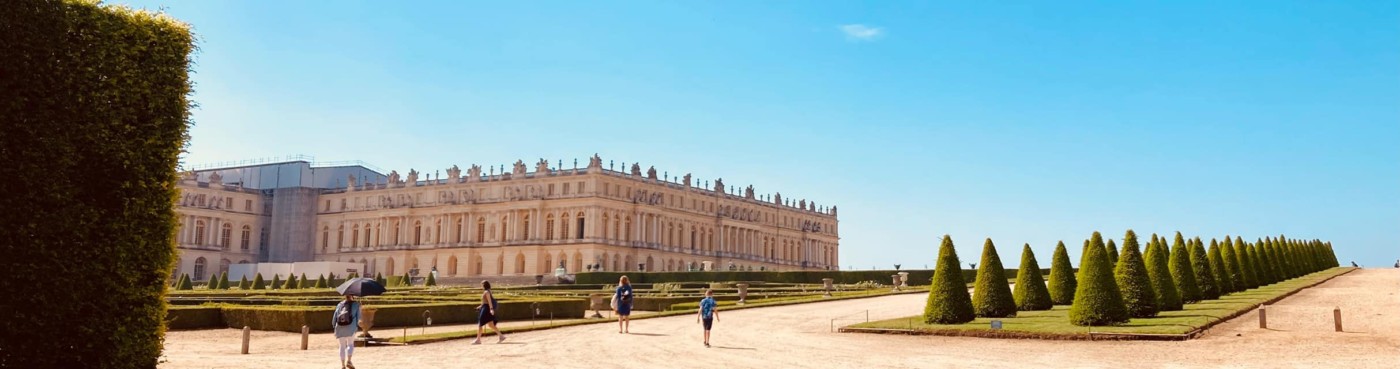
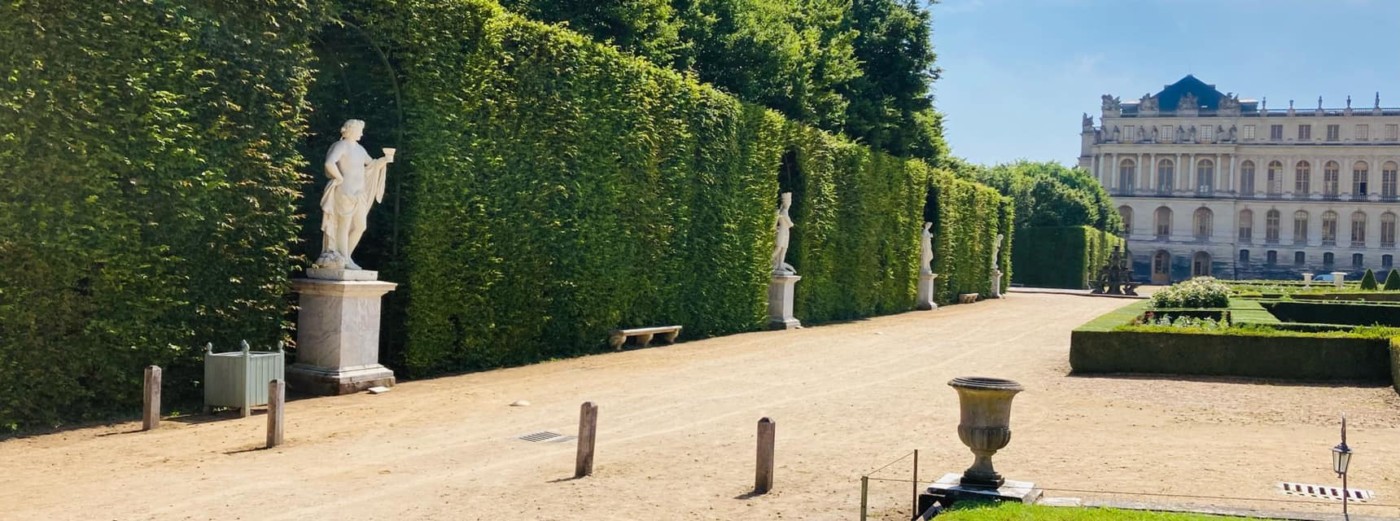
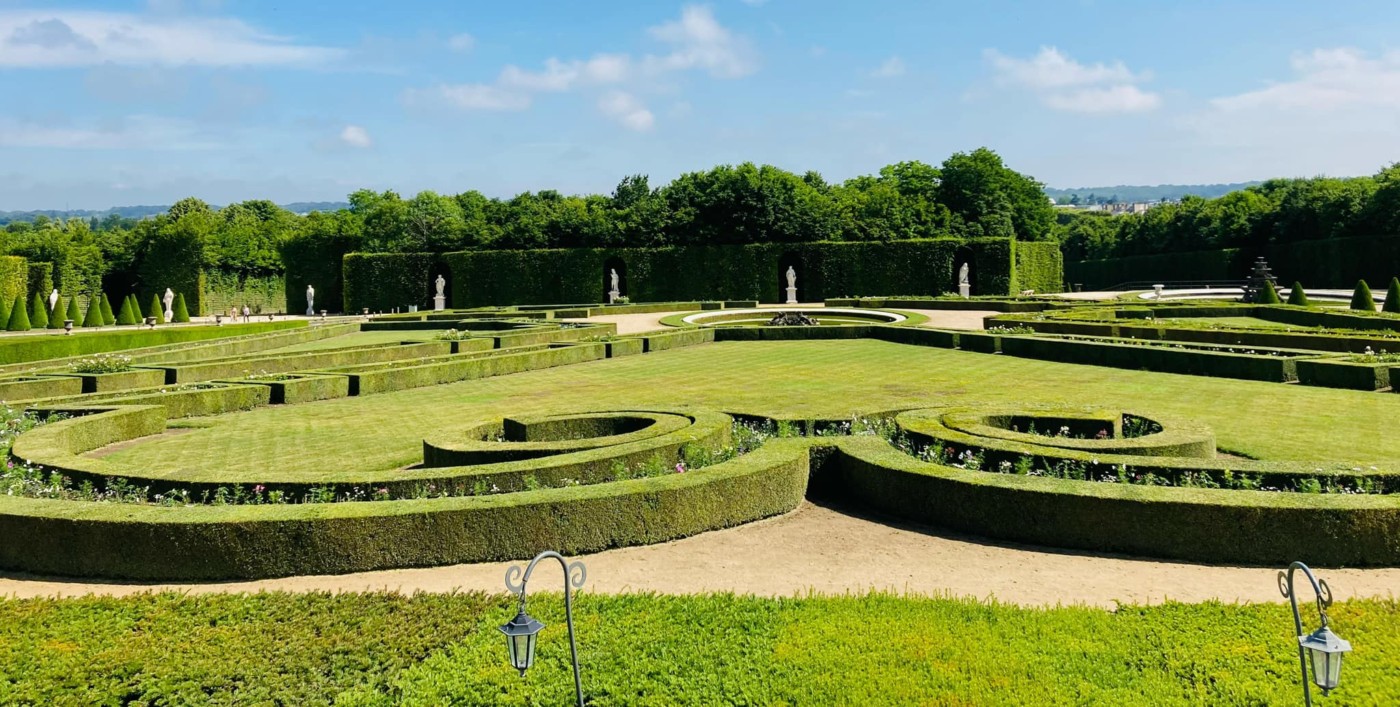
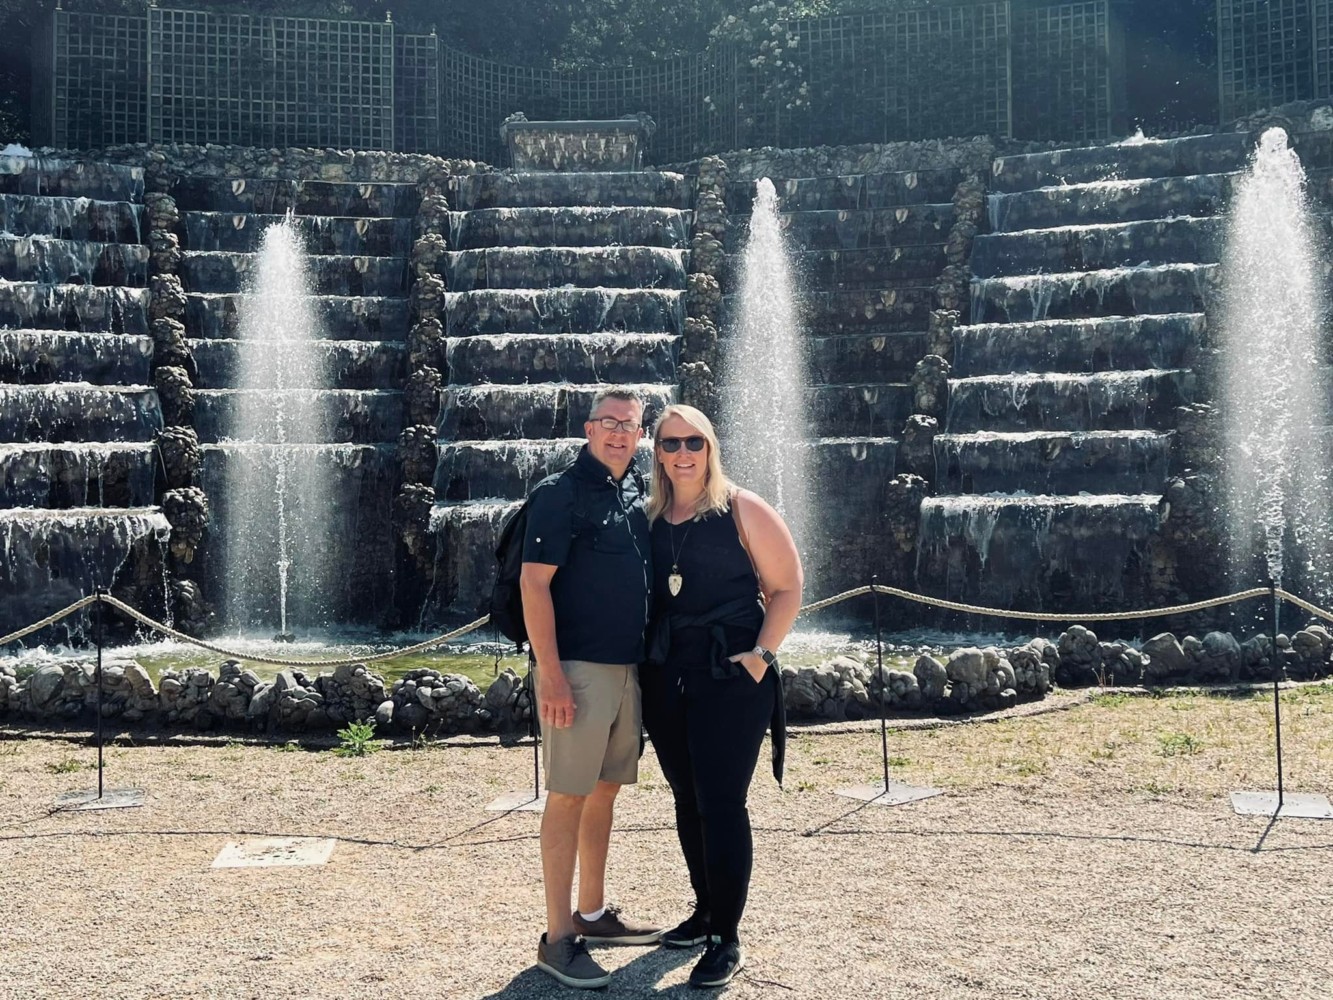
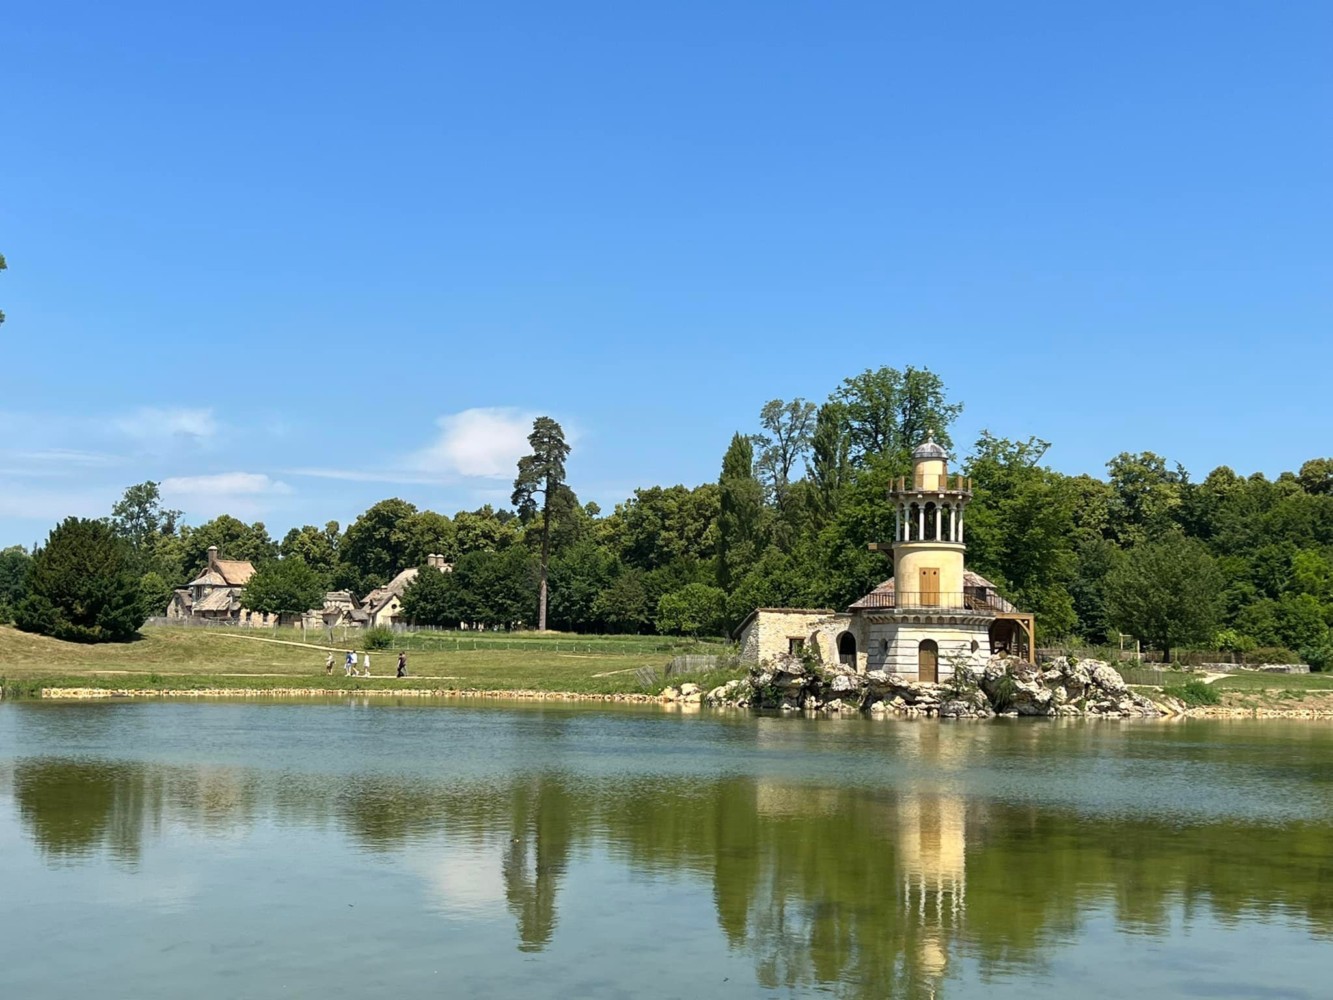
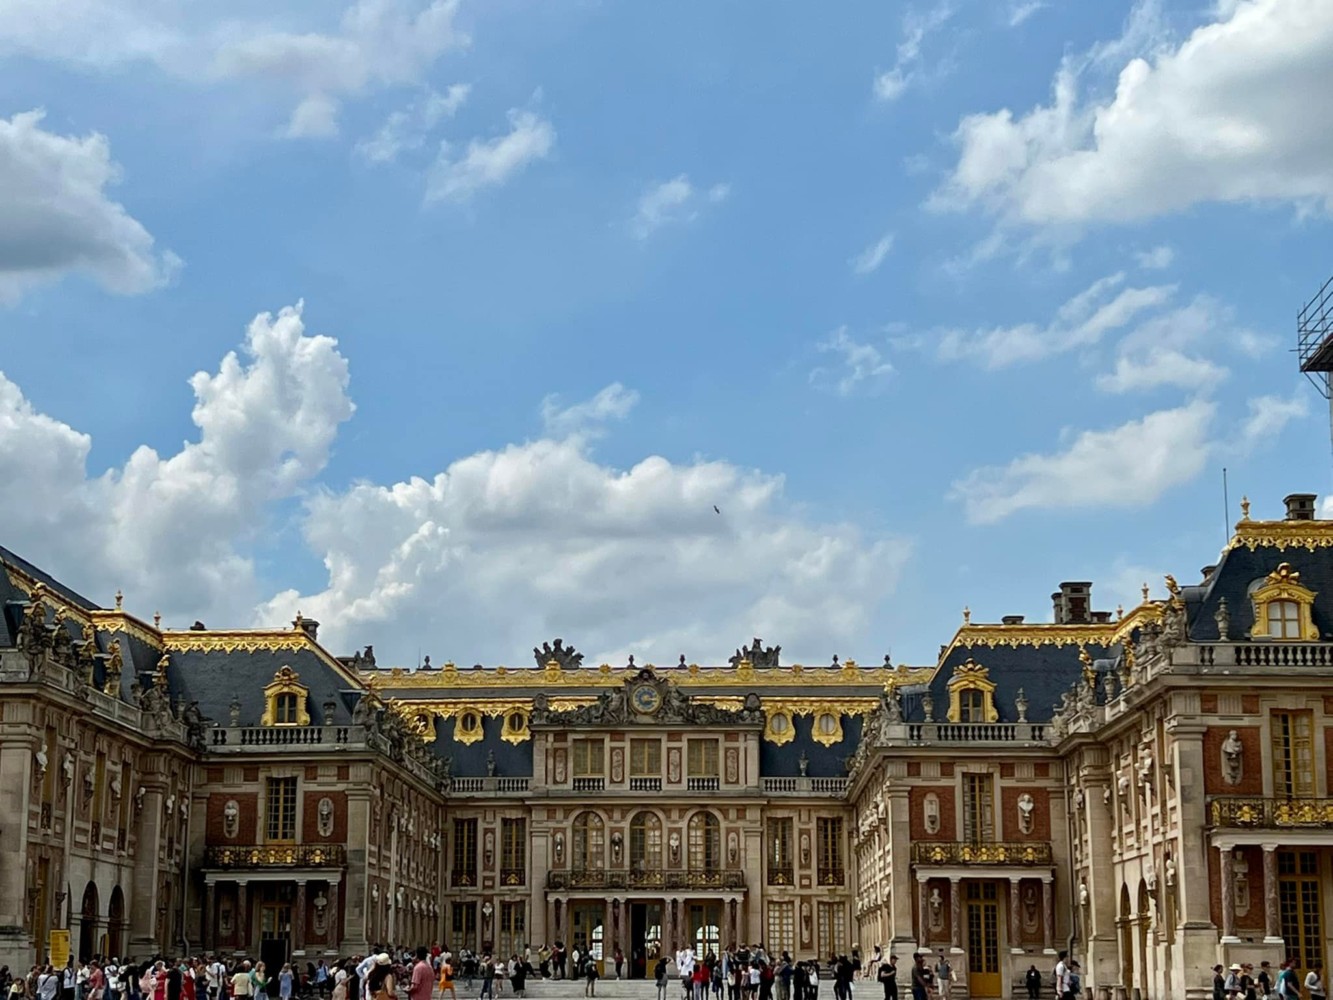
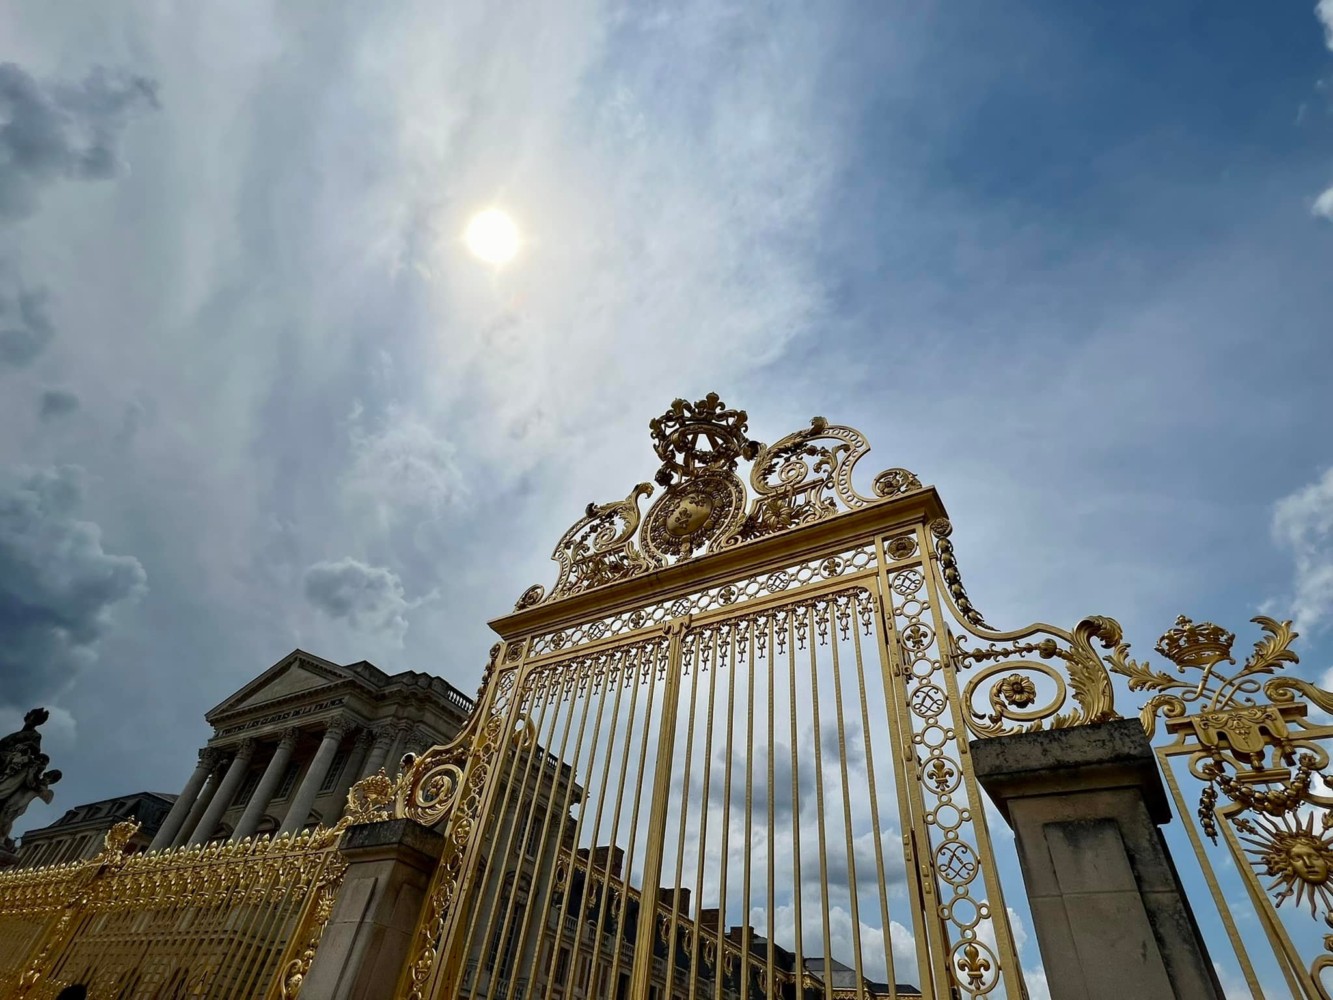
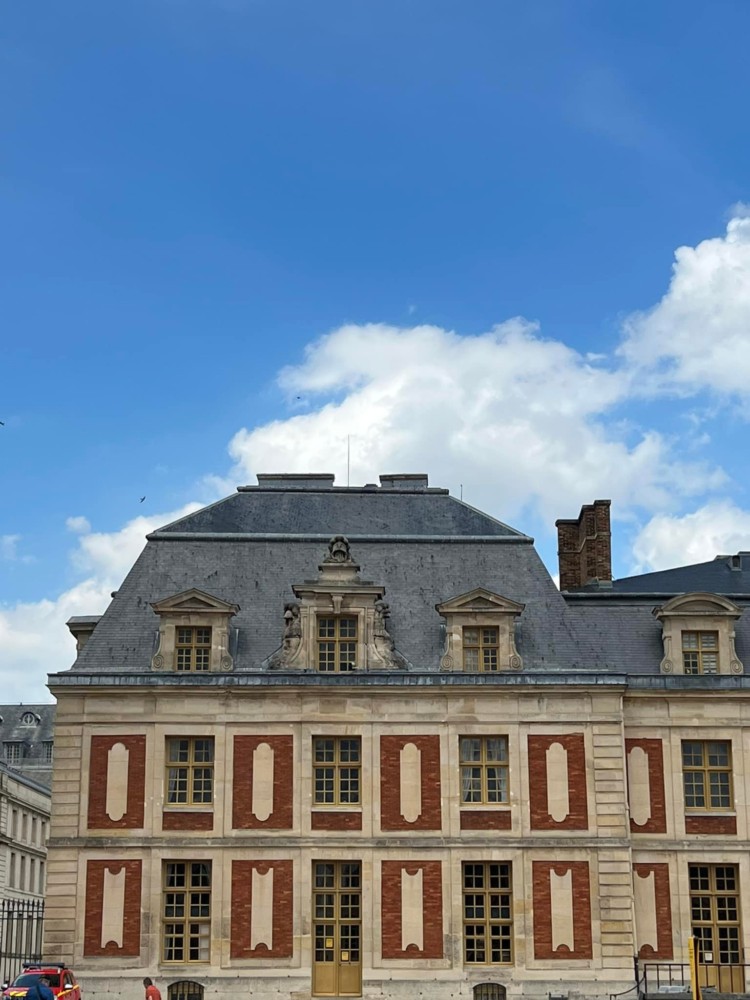
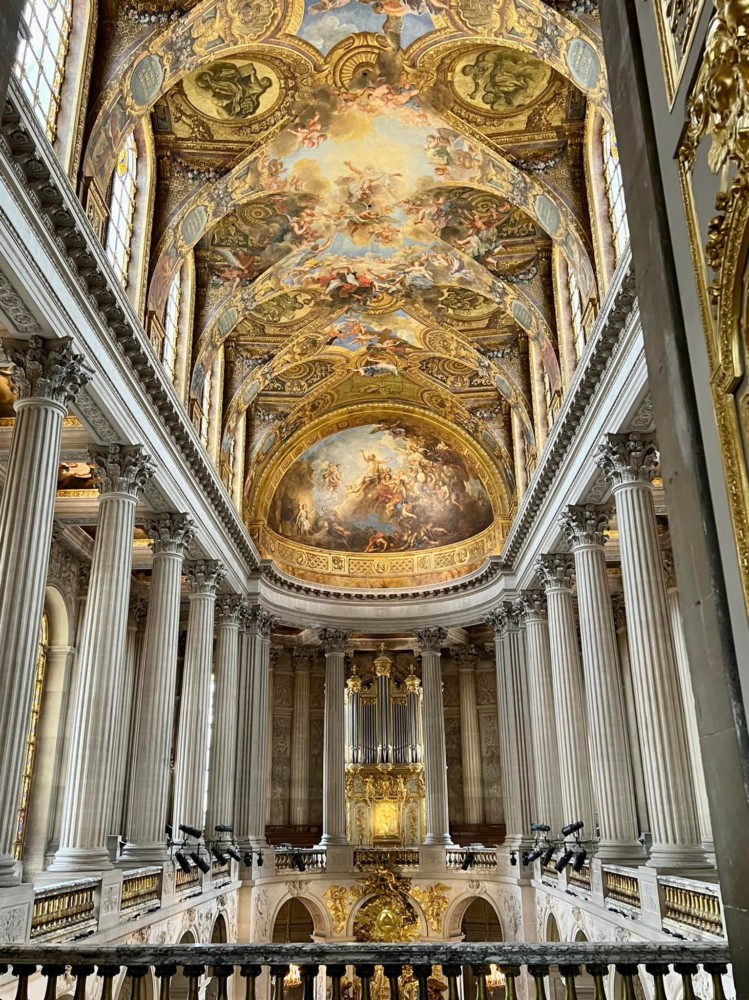
My favorite day in France was a day where we went on a day tour of the Palace of Versailles.
It started with a bike ride while it gently rained.
We rode the bikes to a market where we picked out lunch and dessert for our lunch on the lawn later in the day.
Then we went on a tour through the gardens. Over 2,000 acres of stunning symmetrical French gardens.
Then we hopped back on our bikes and went to a different area where there were play houses that Marie Antoinette had built for her children.
Then back for our picnic and into the front of the palace for a tour of the inside.

Then we biked back the train station in the pouring rain to finish the day!
The doors in Paris are BEAUTIFUL! Just so stunning. Take a look at this one:
The flowers were so unique and dainty!

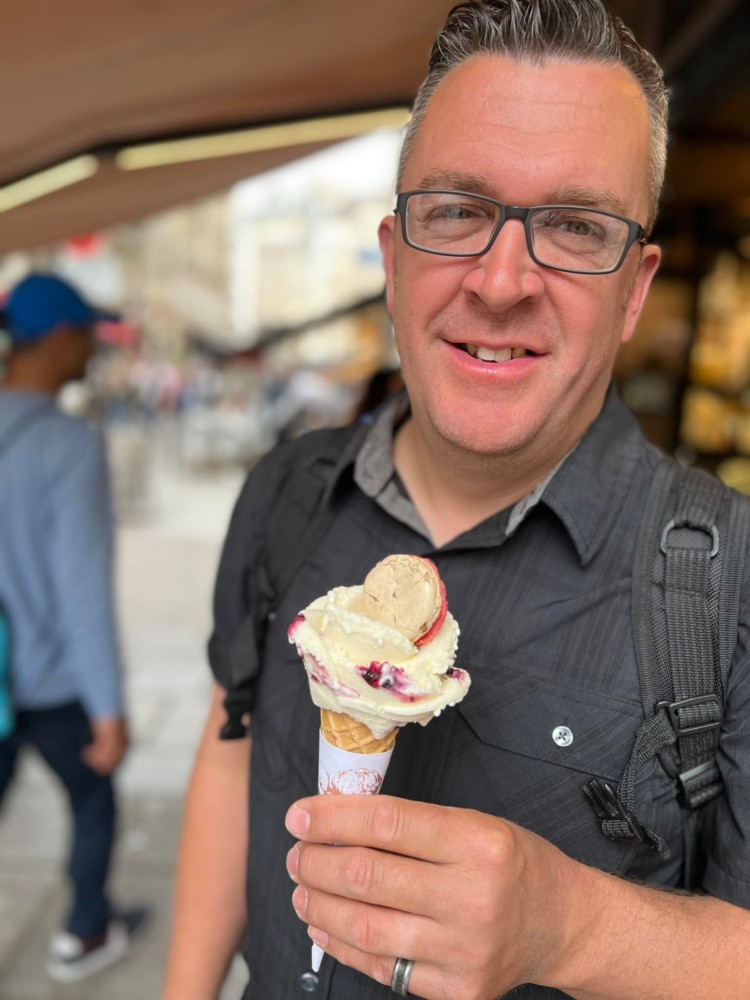
Oh, and the ice cream looked like flowers, too!
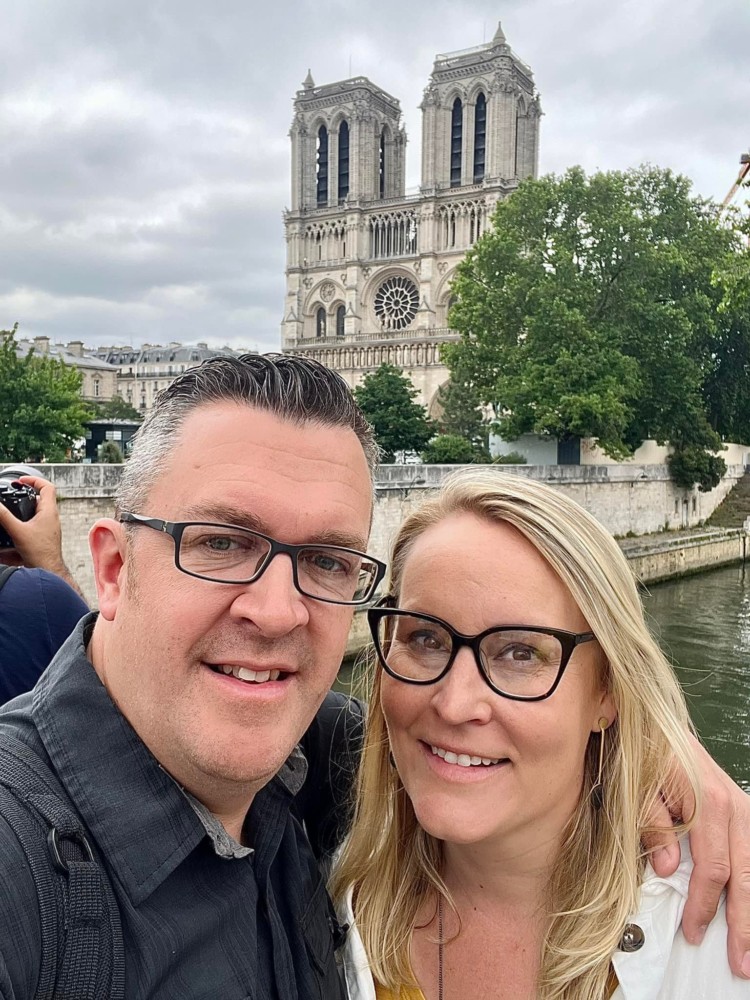
Last, but not least, we got as close as we could to Notre-Dame de Paris.
If you liked this post, be sure to follow our stories on Instagram and Facebook.
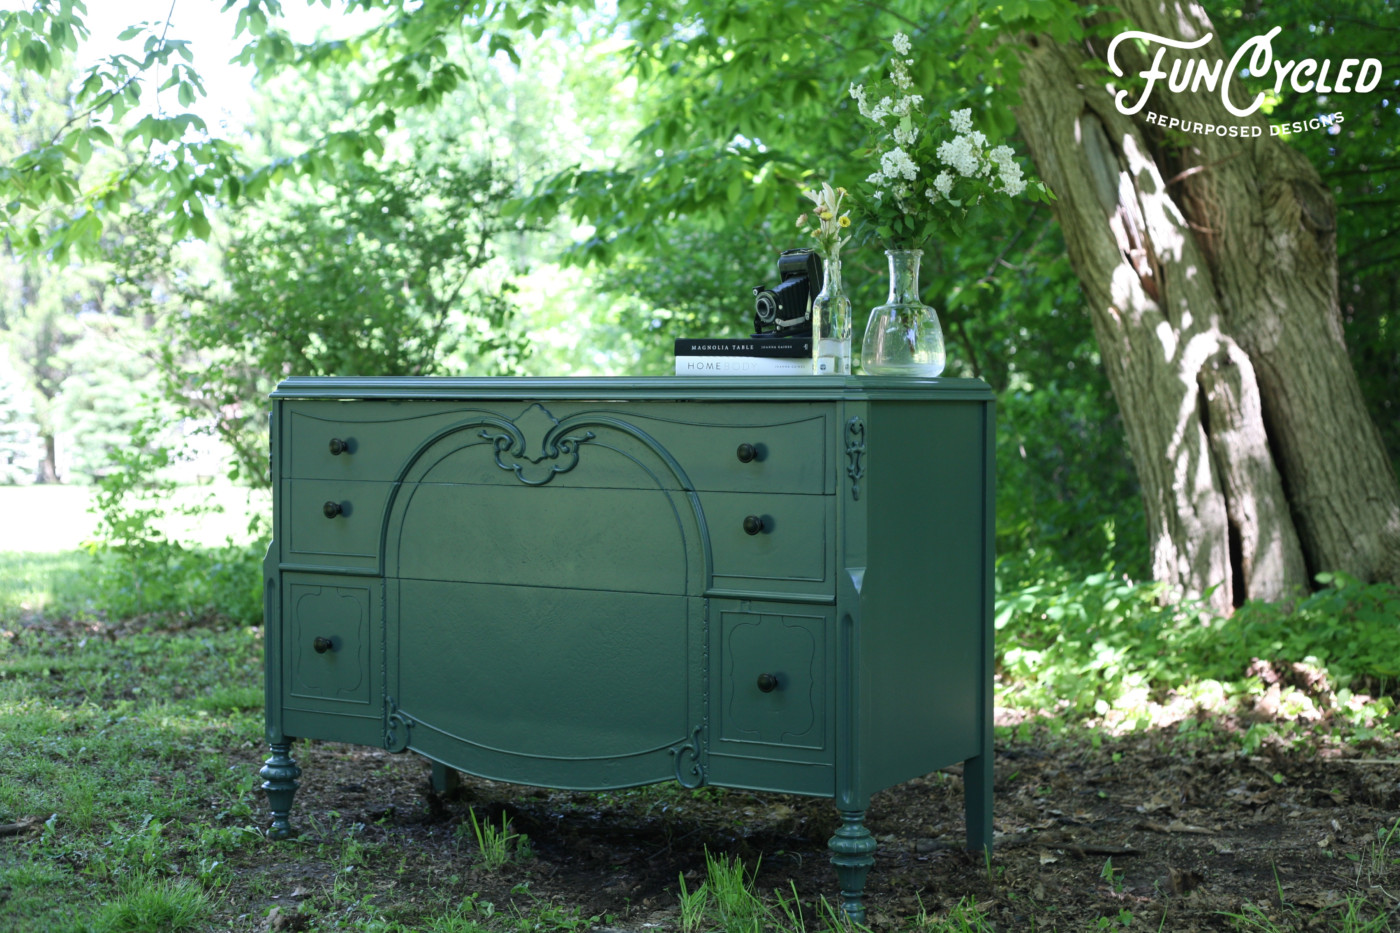
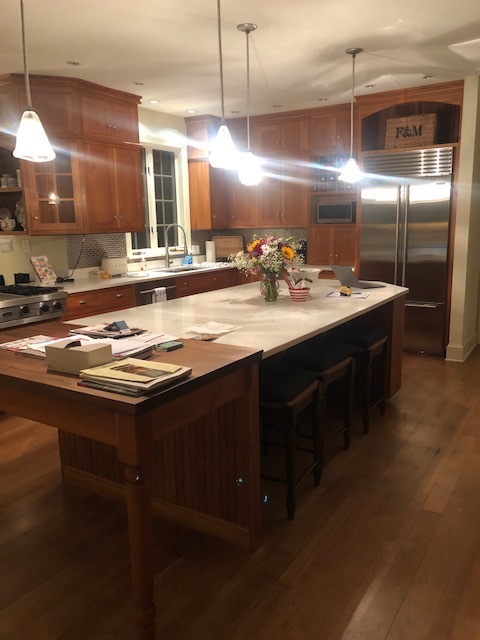
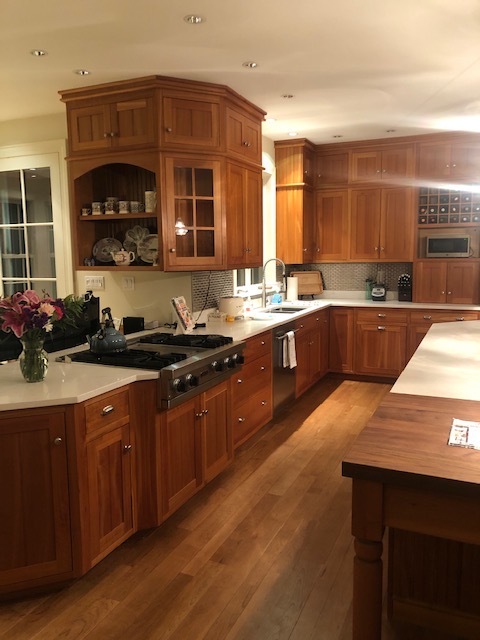
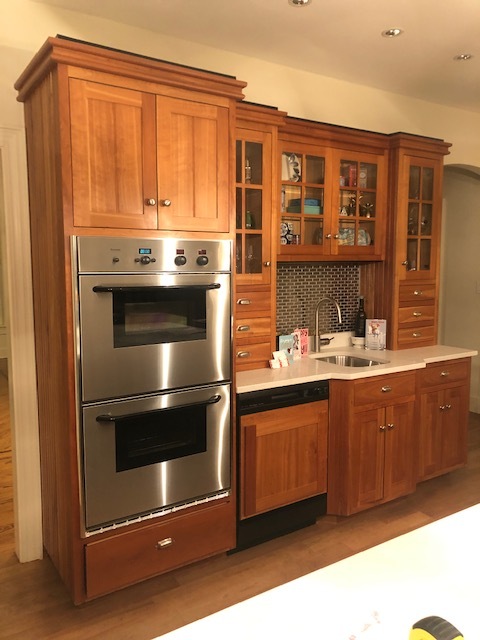
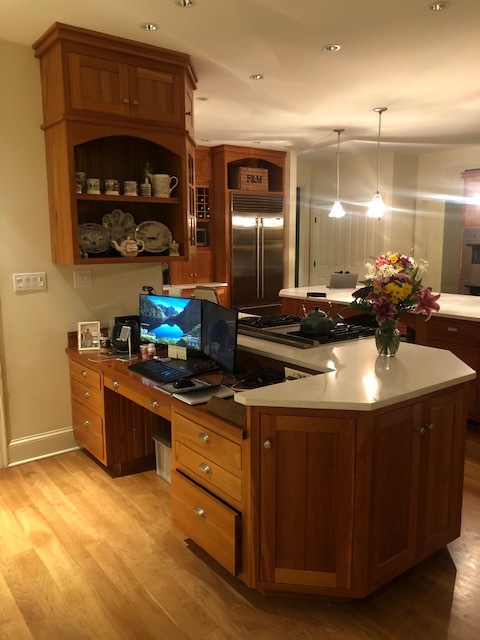
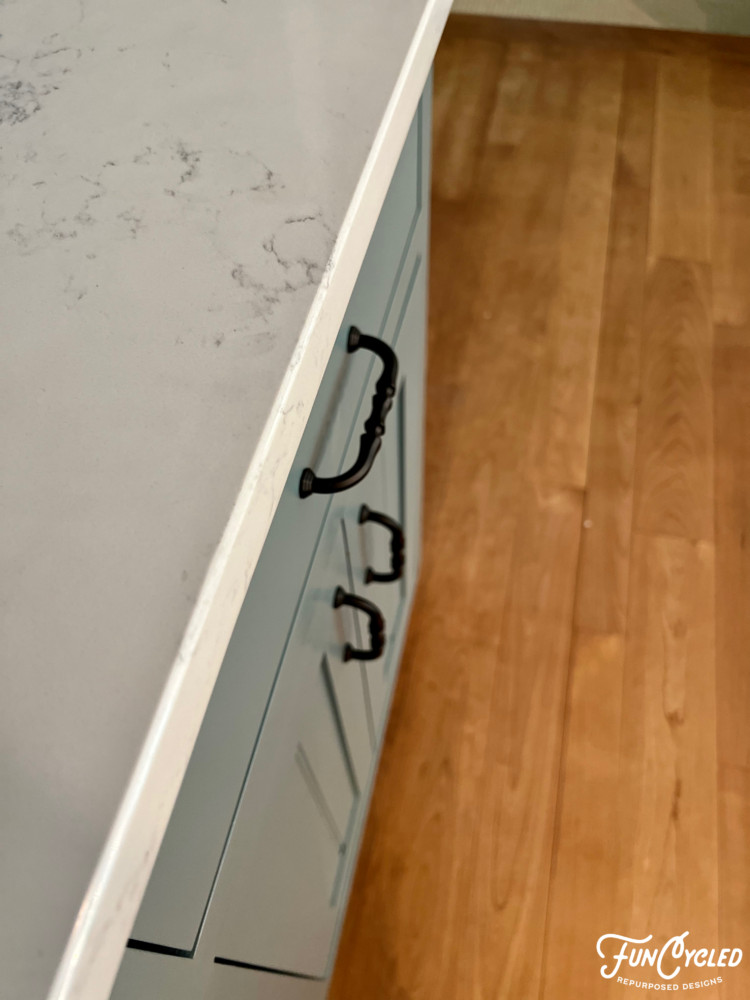
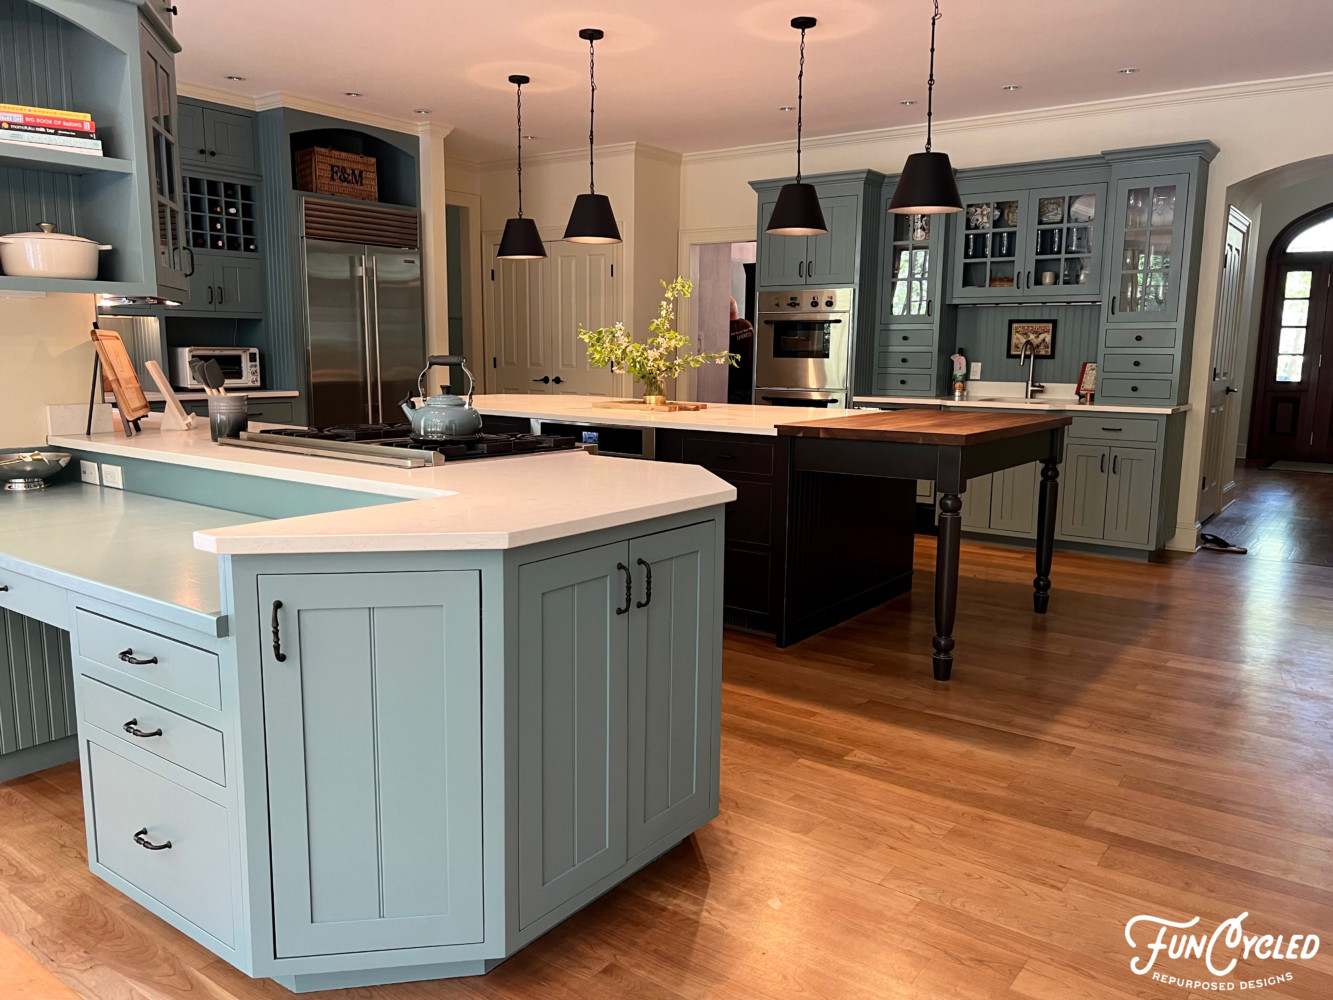
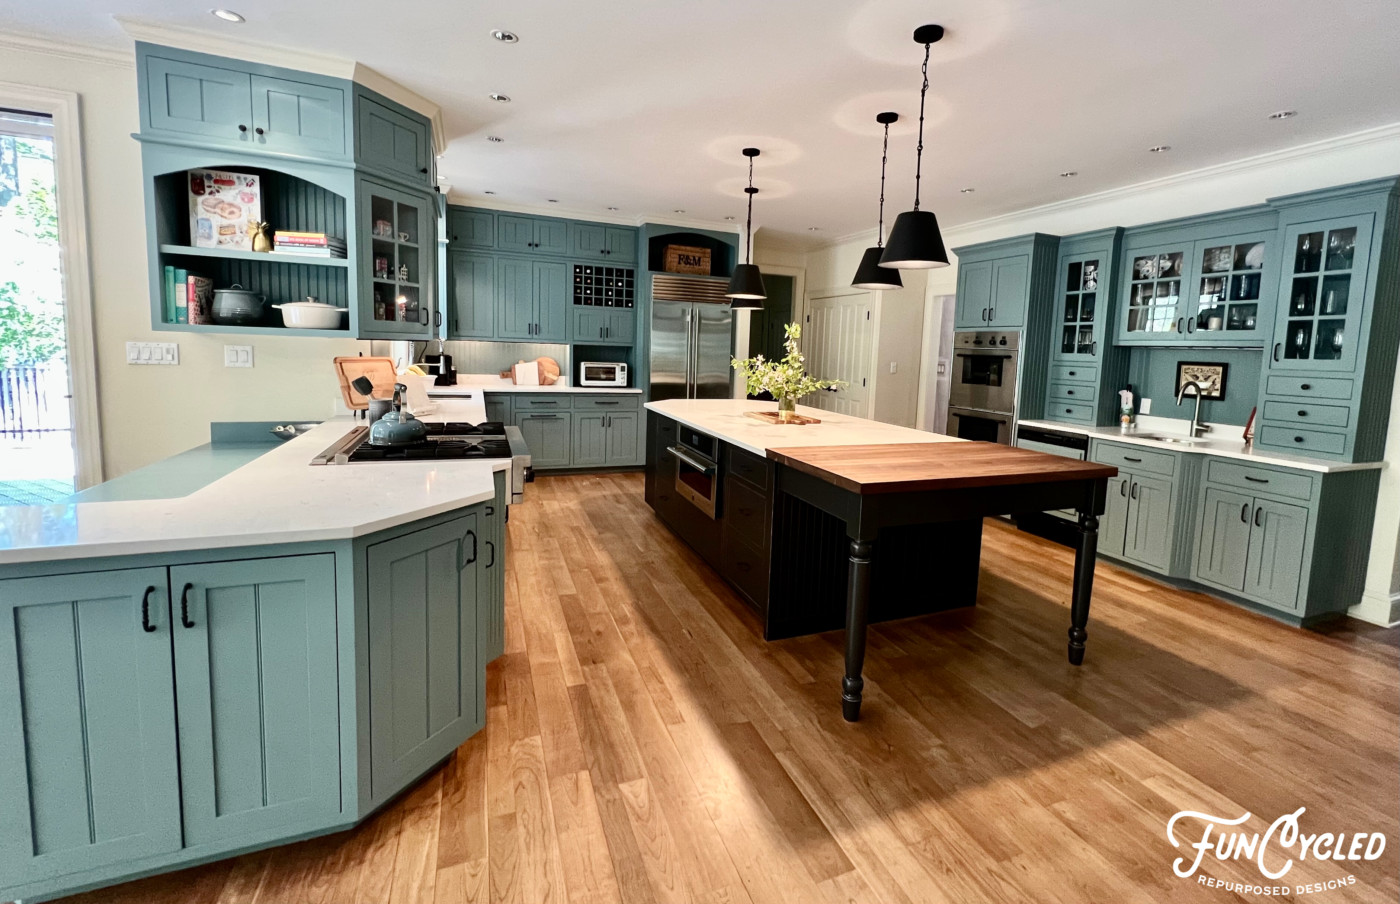
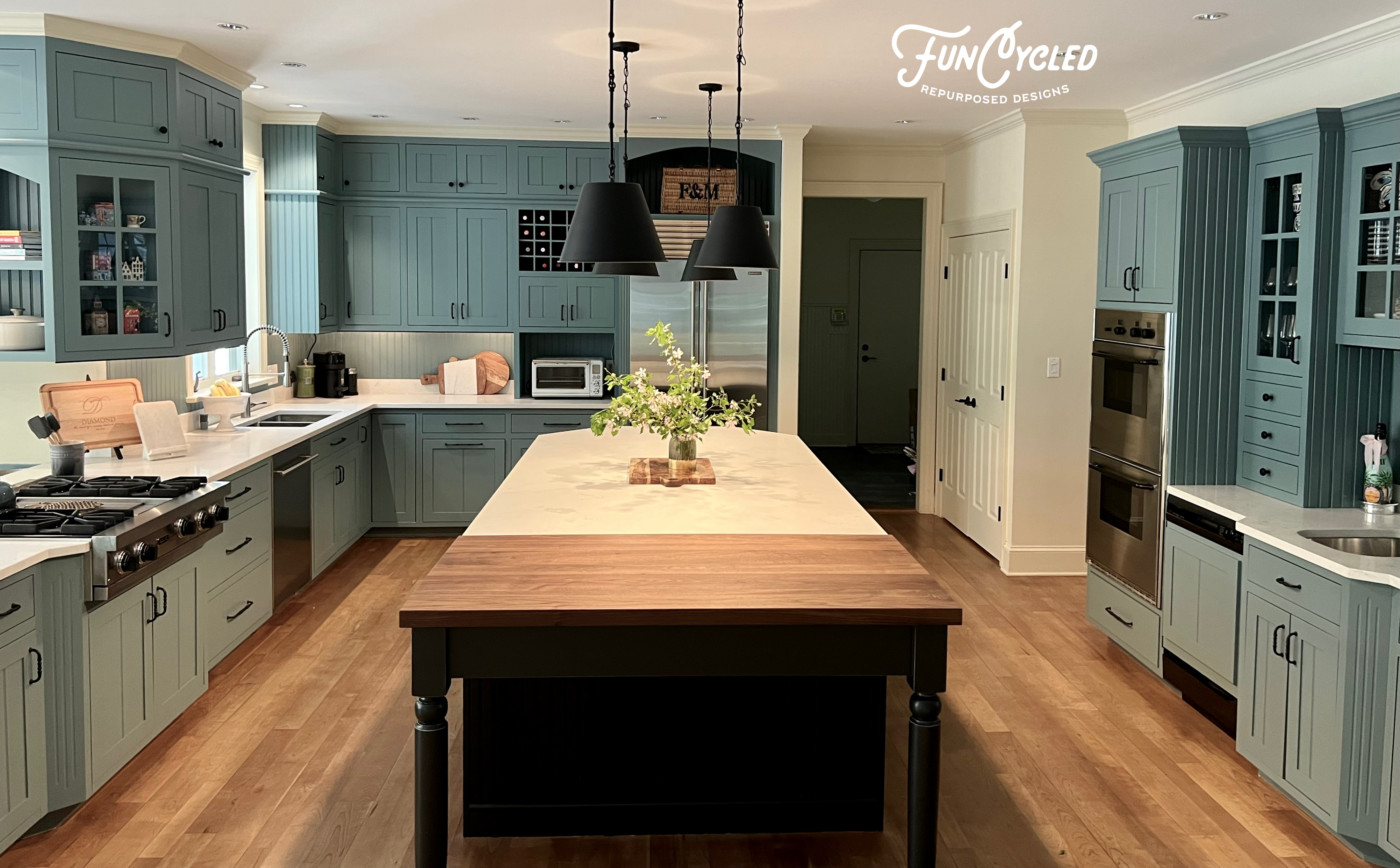
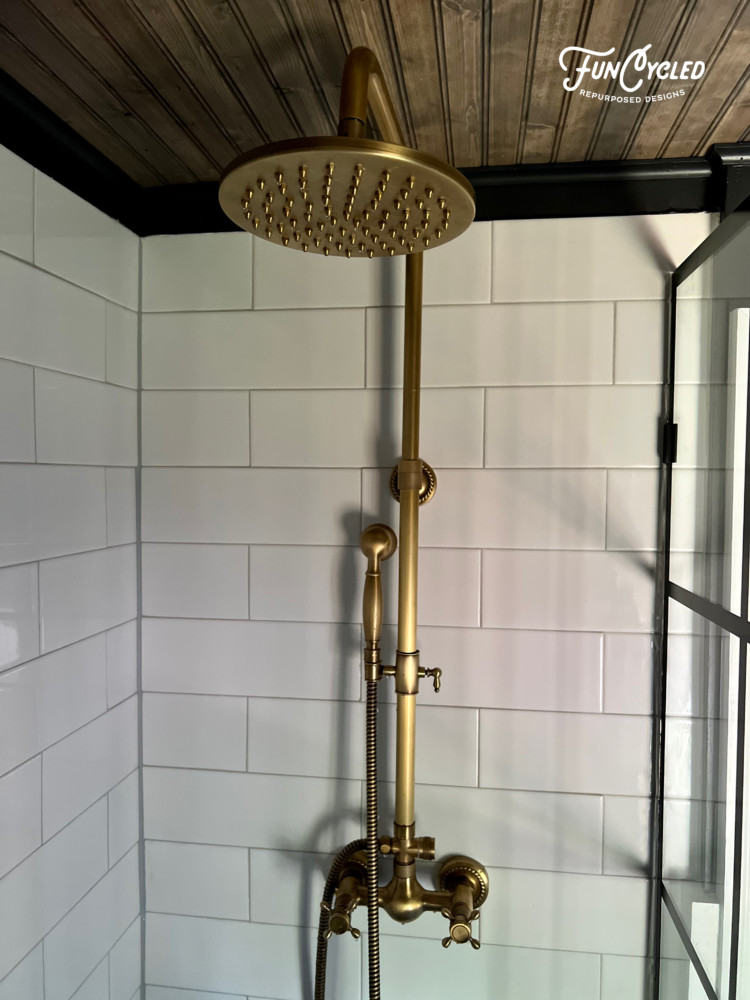
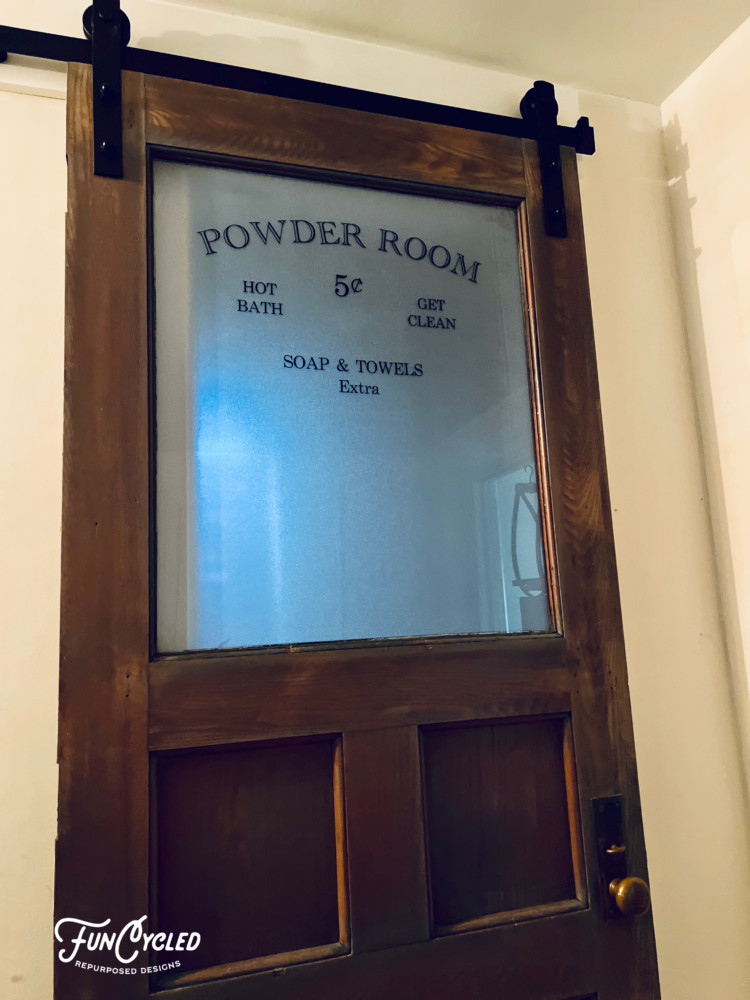
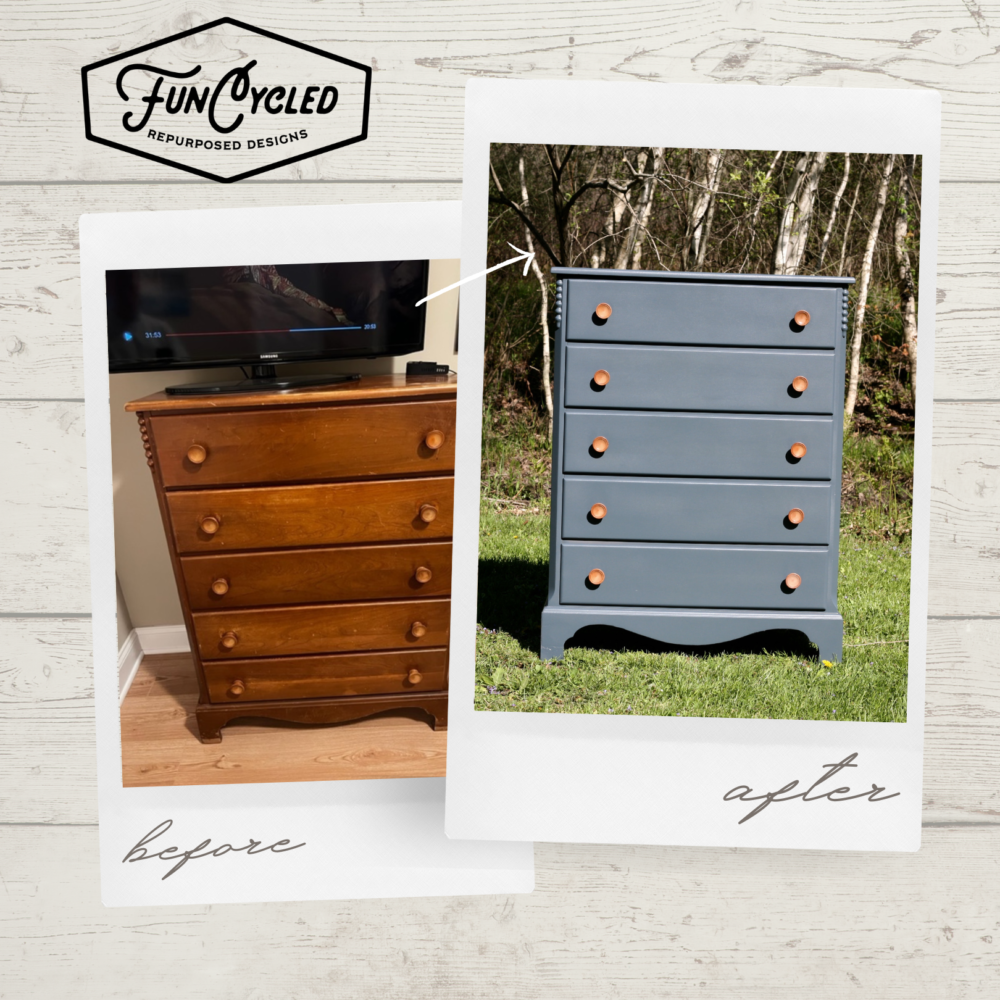
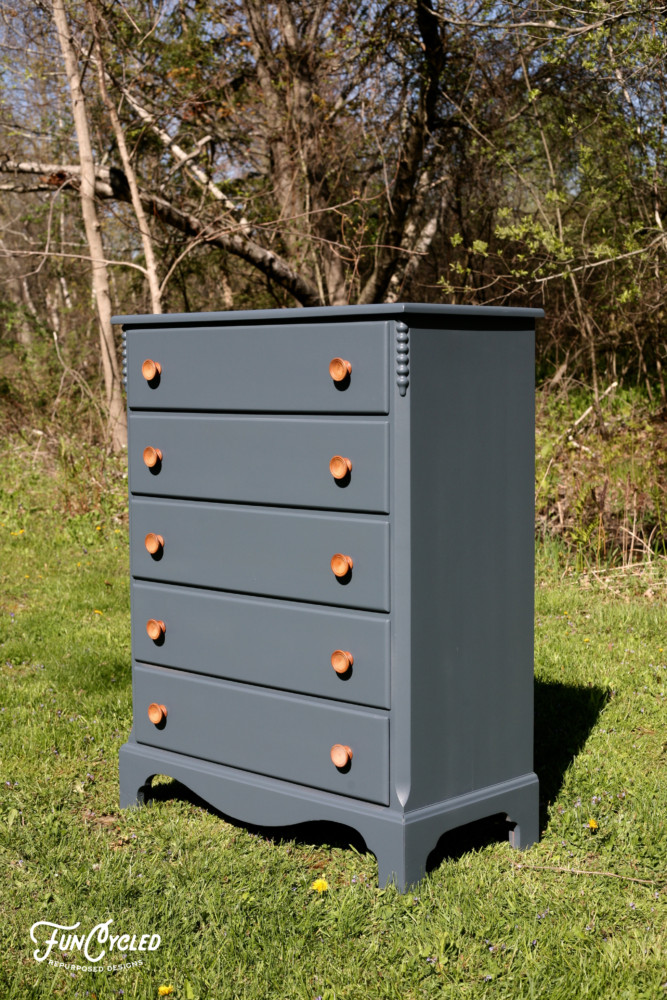
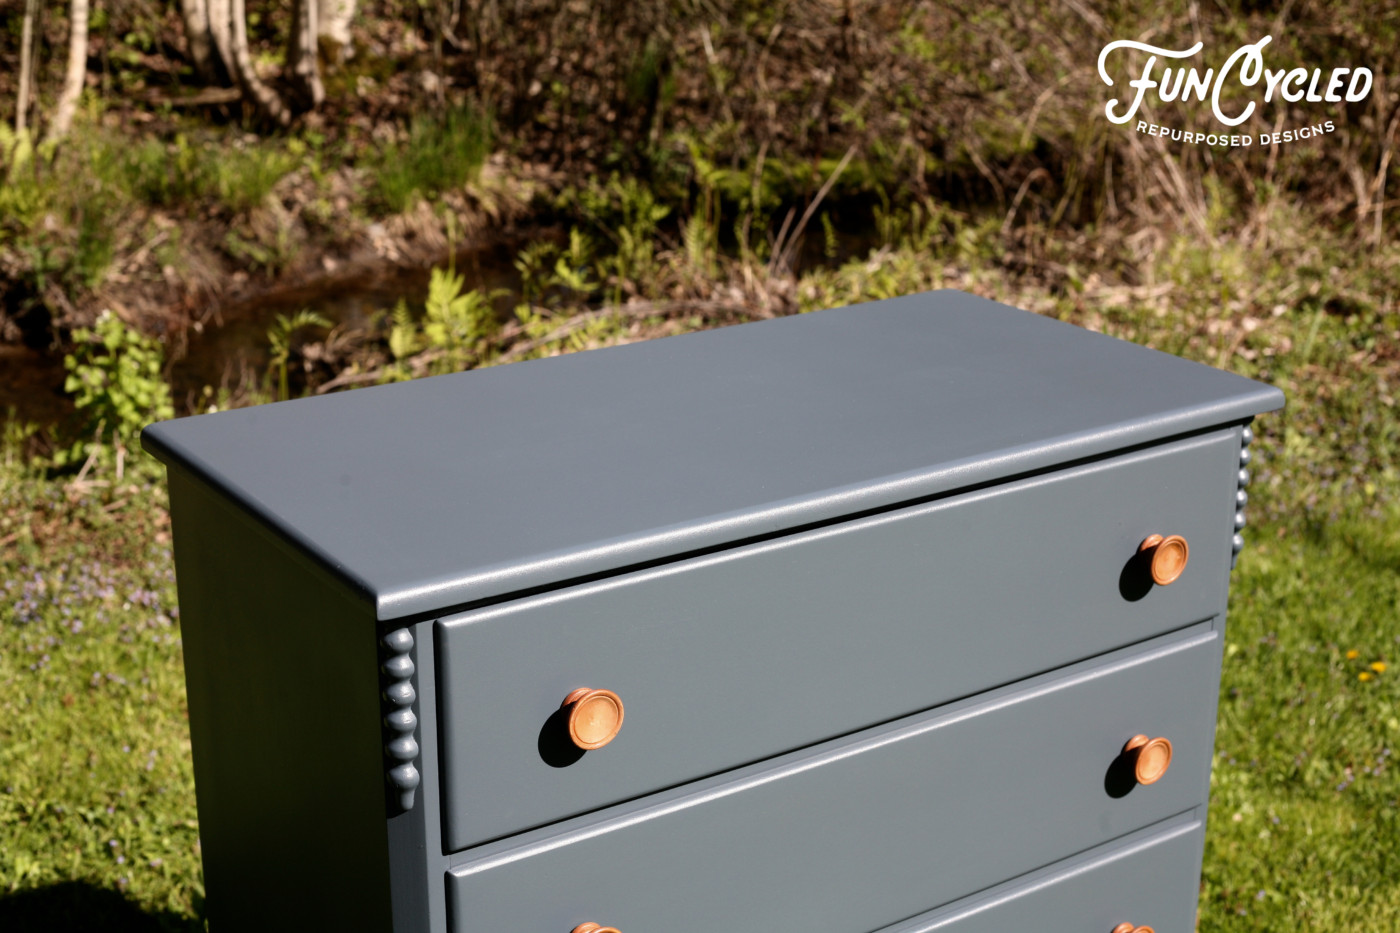
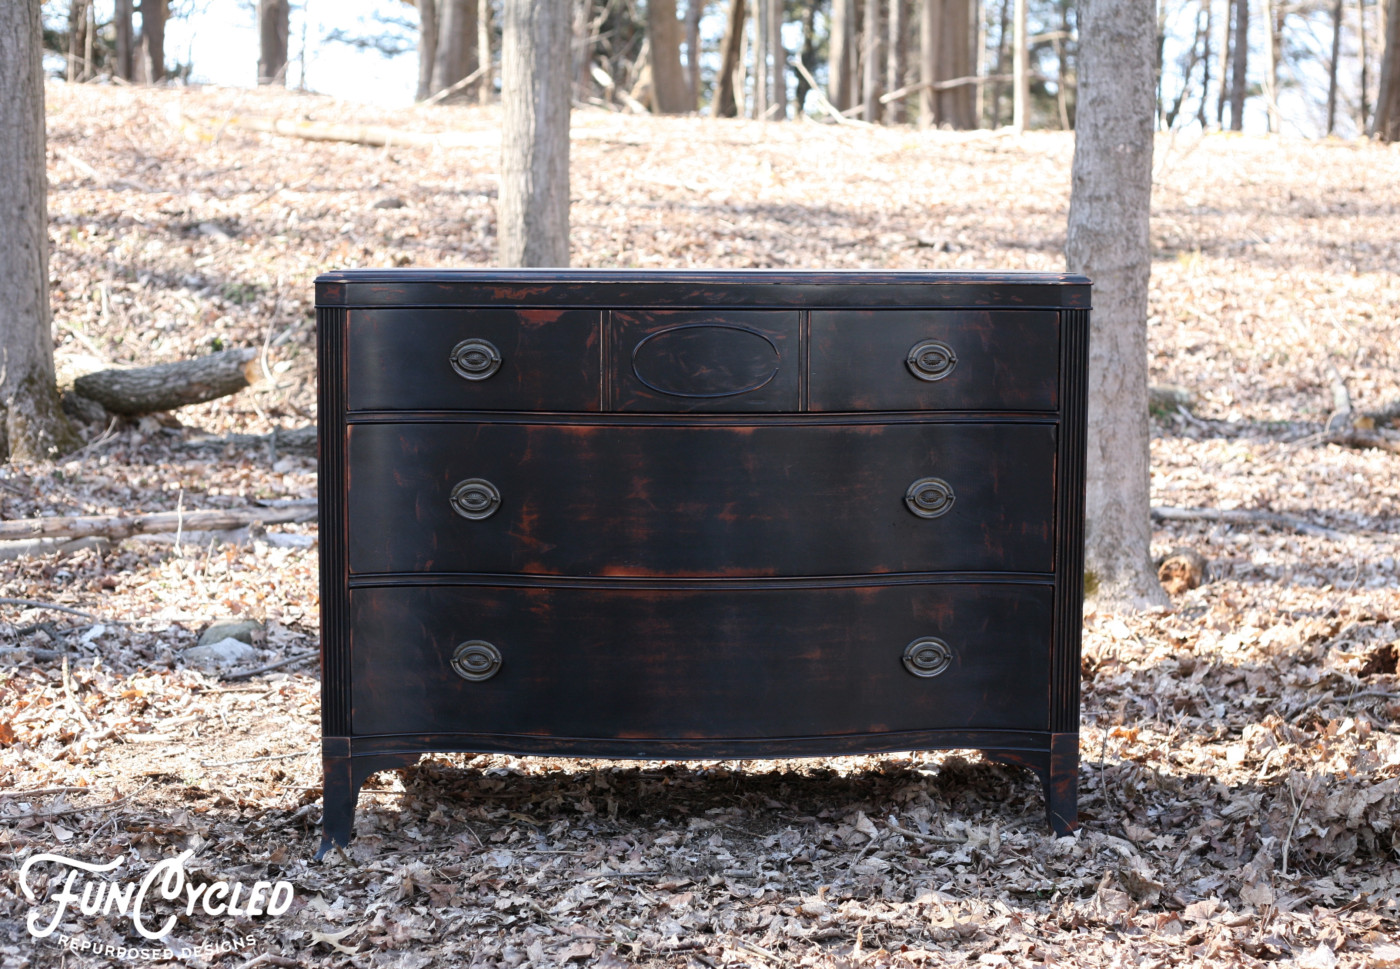
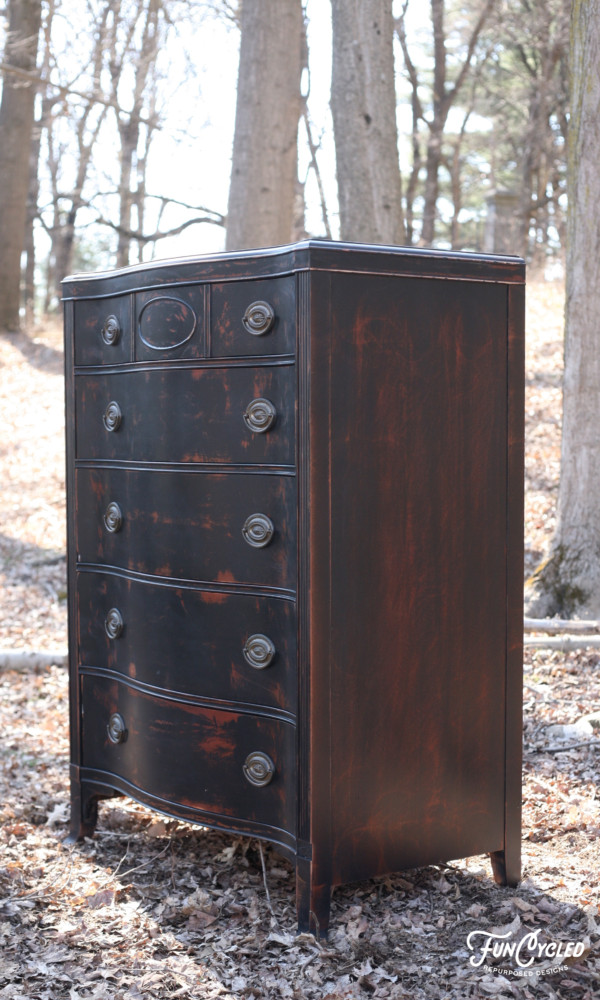
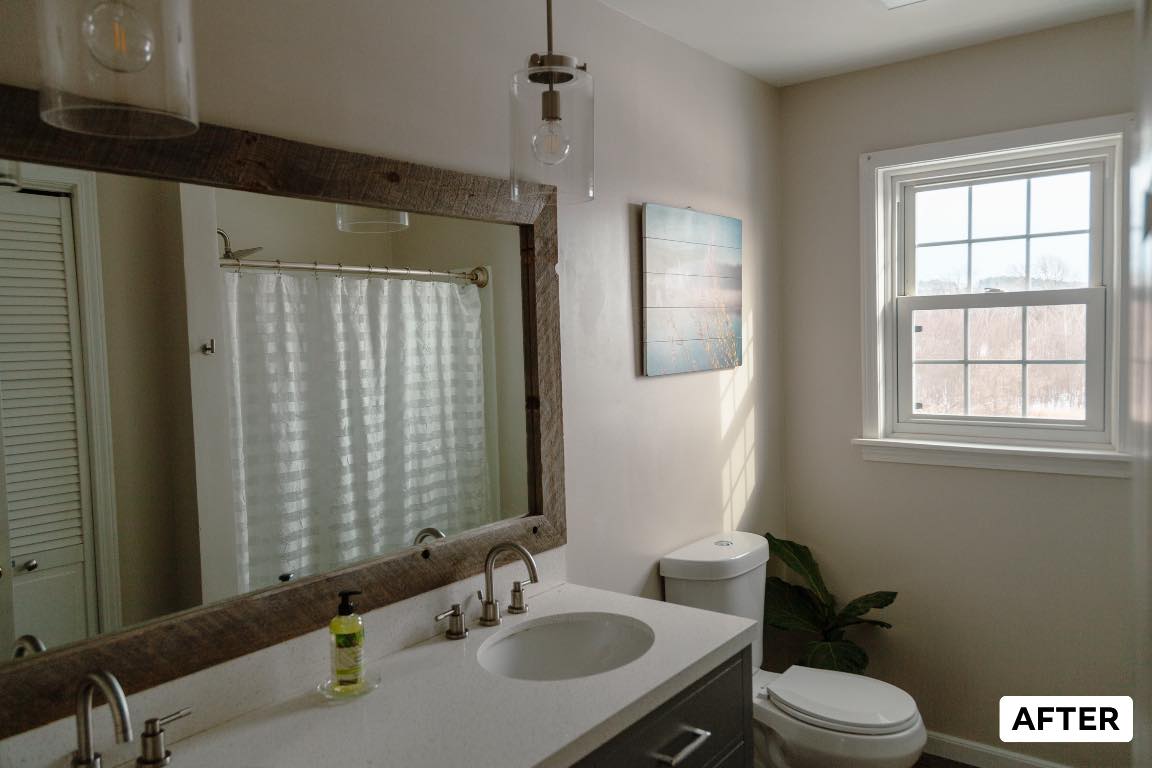
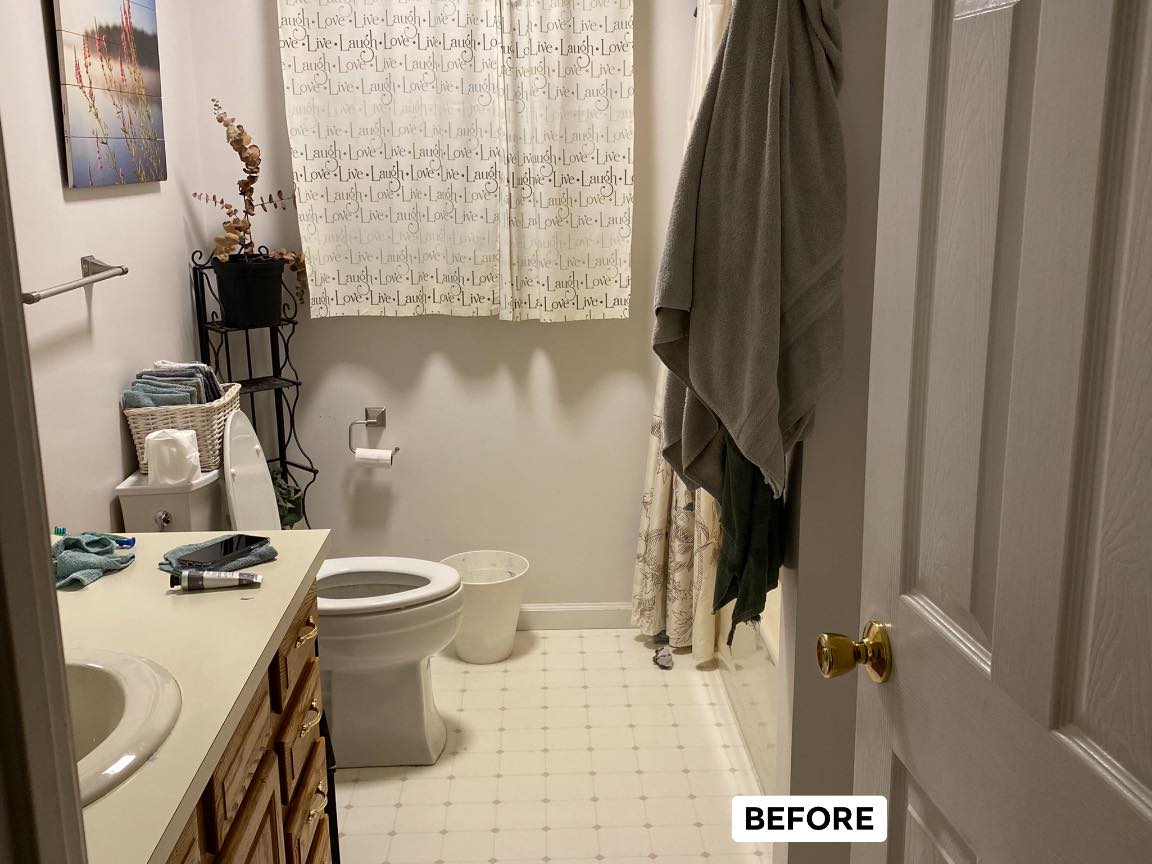
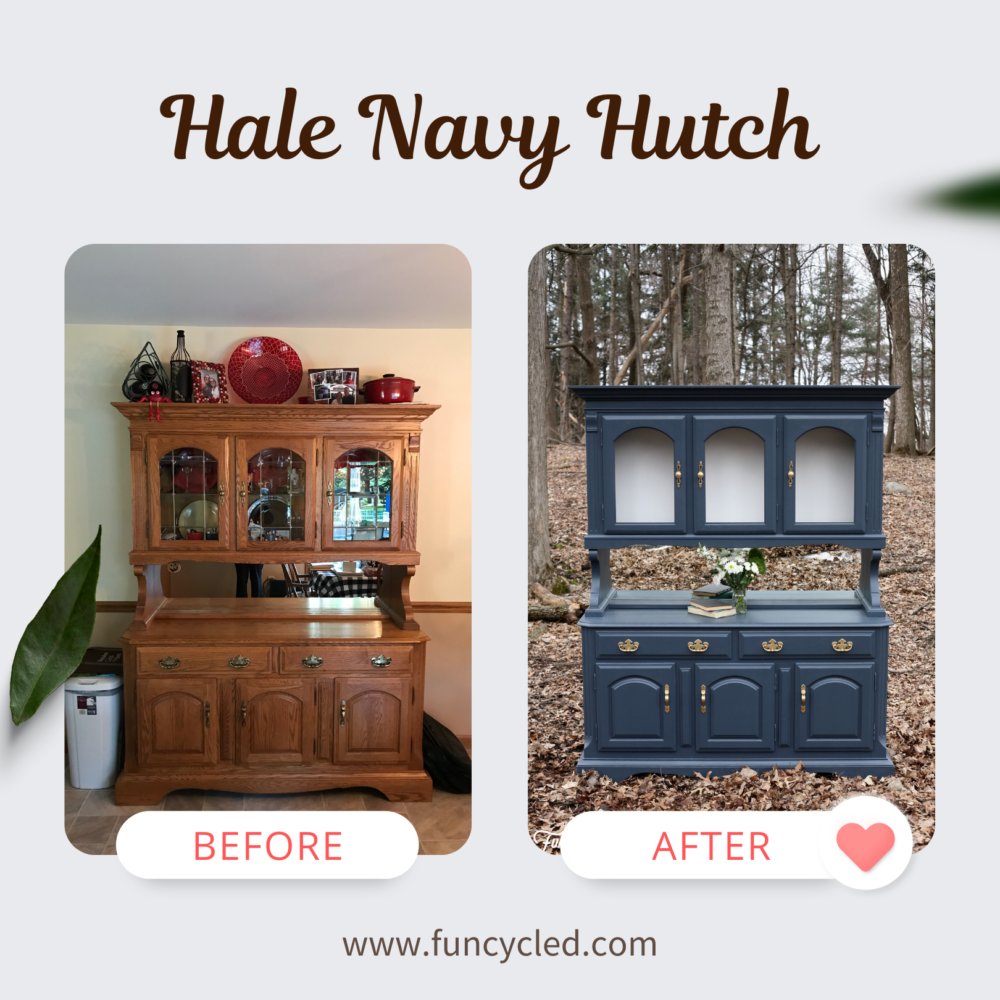
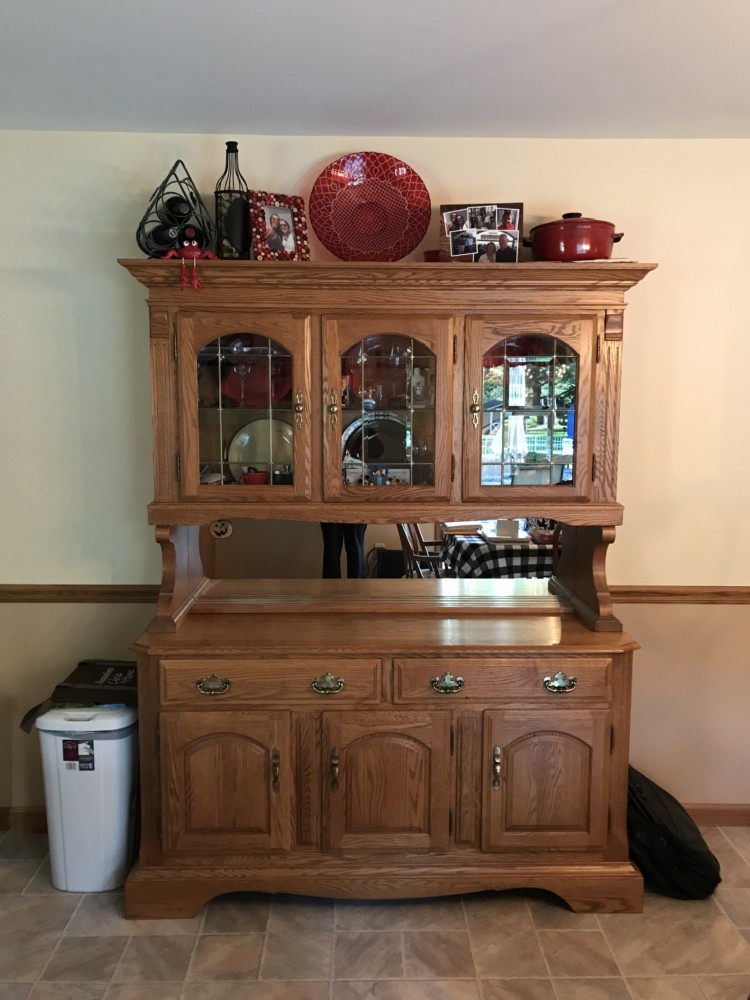
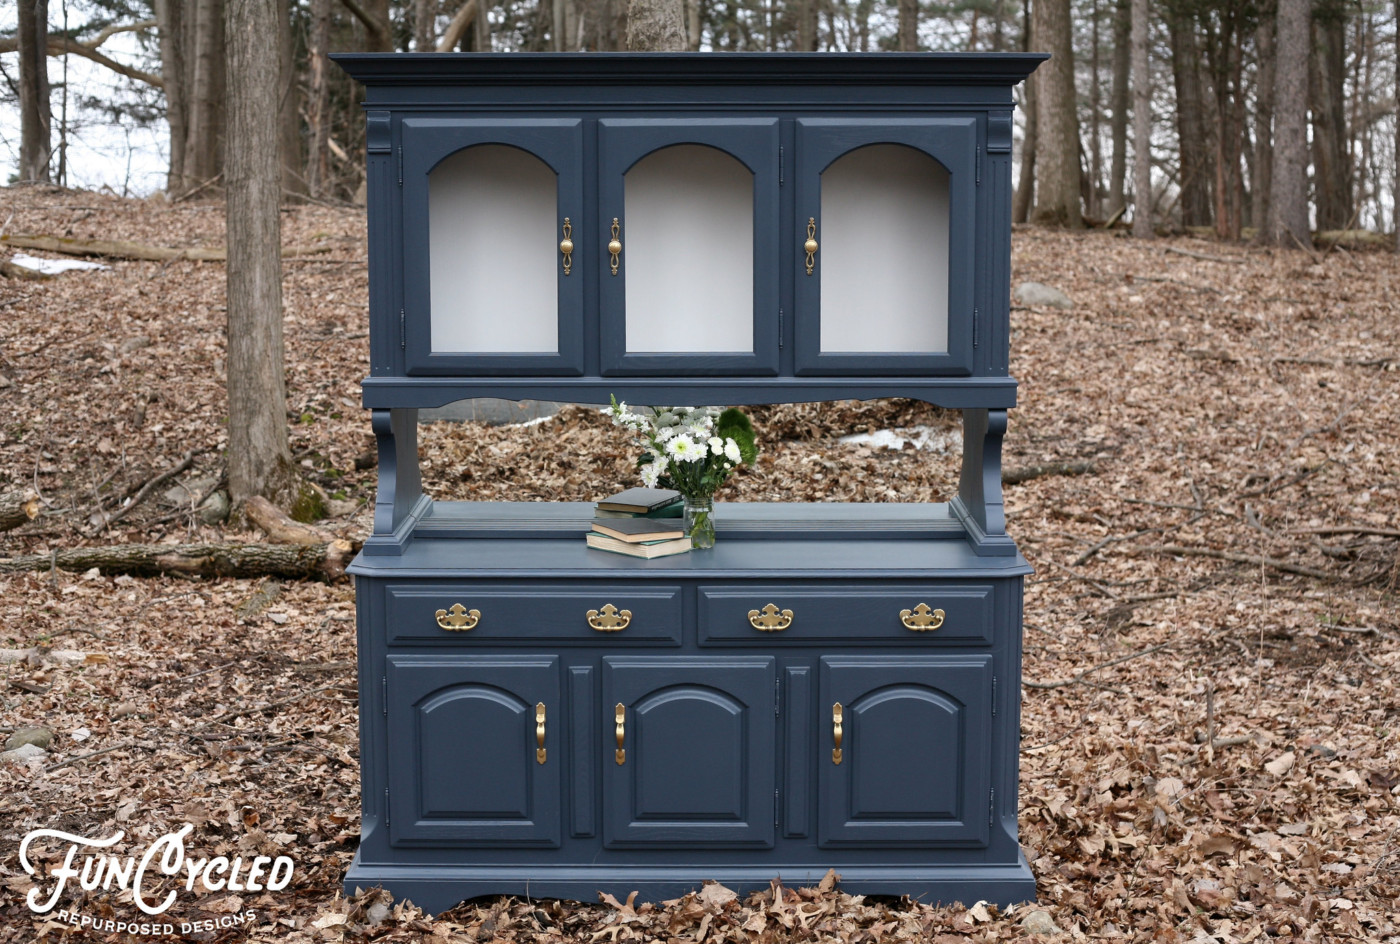
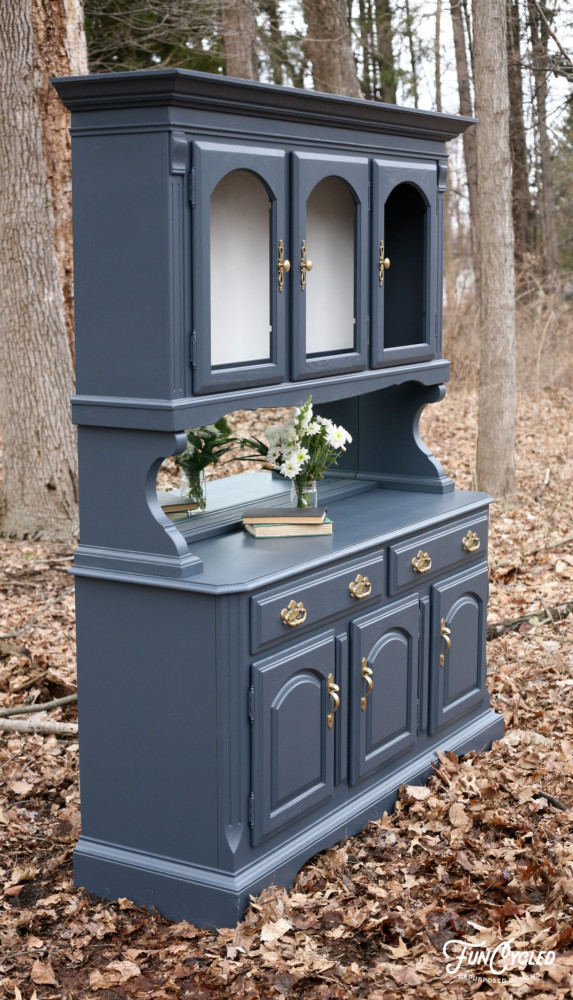
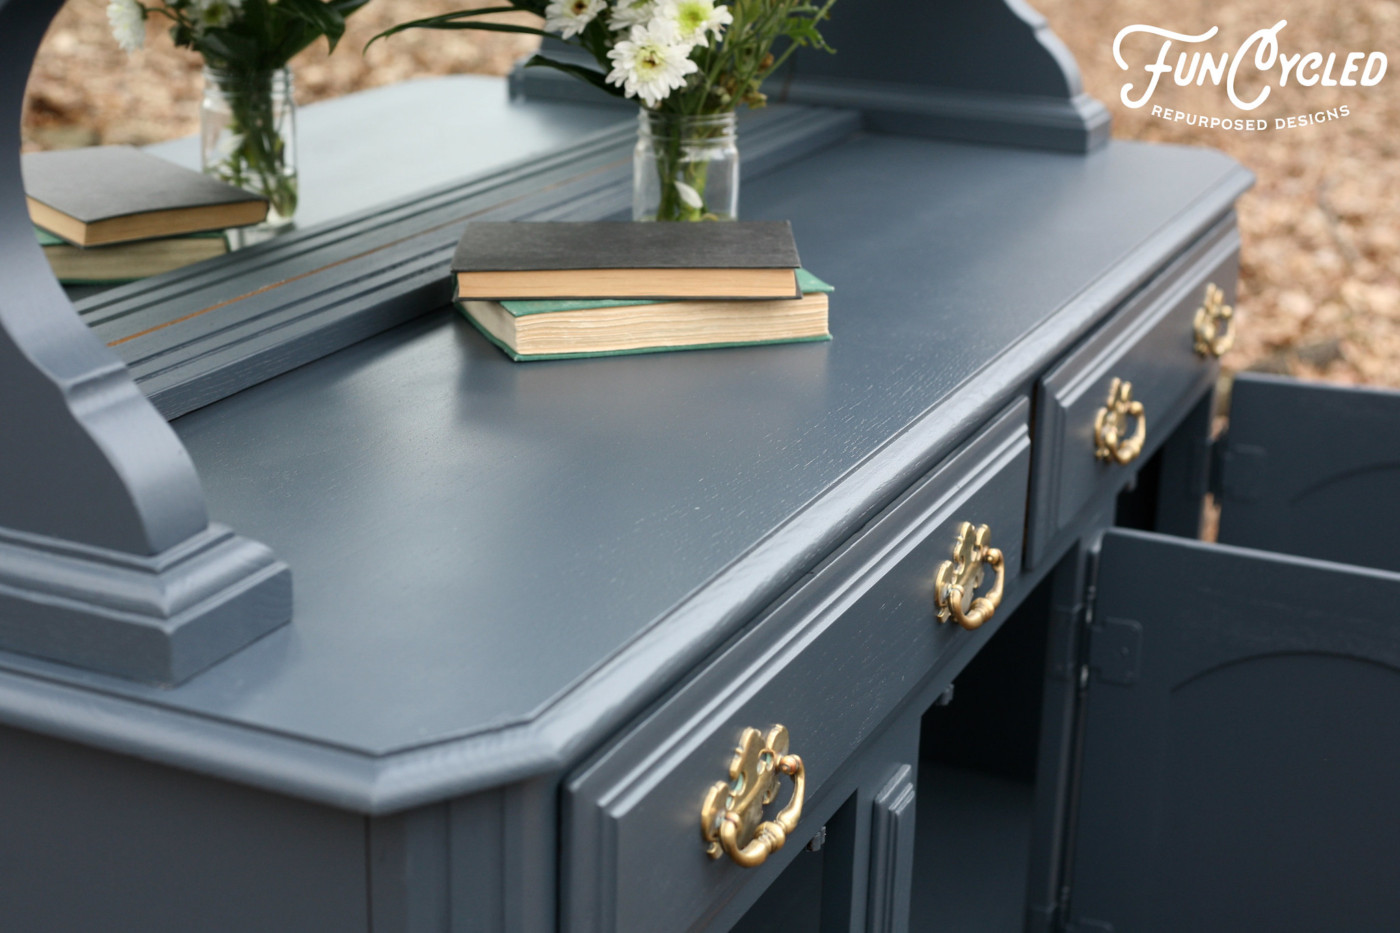
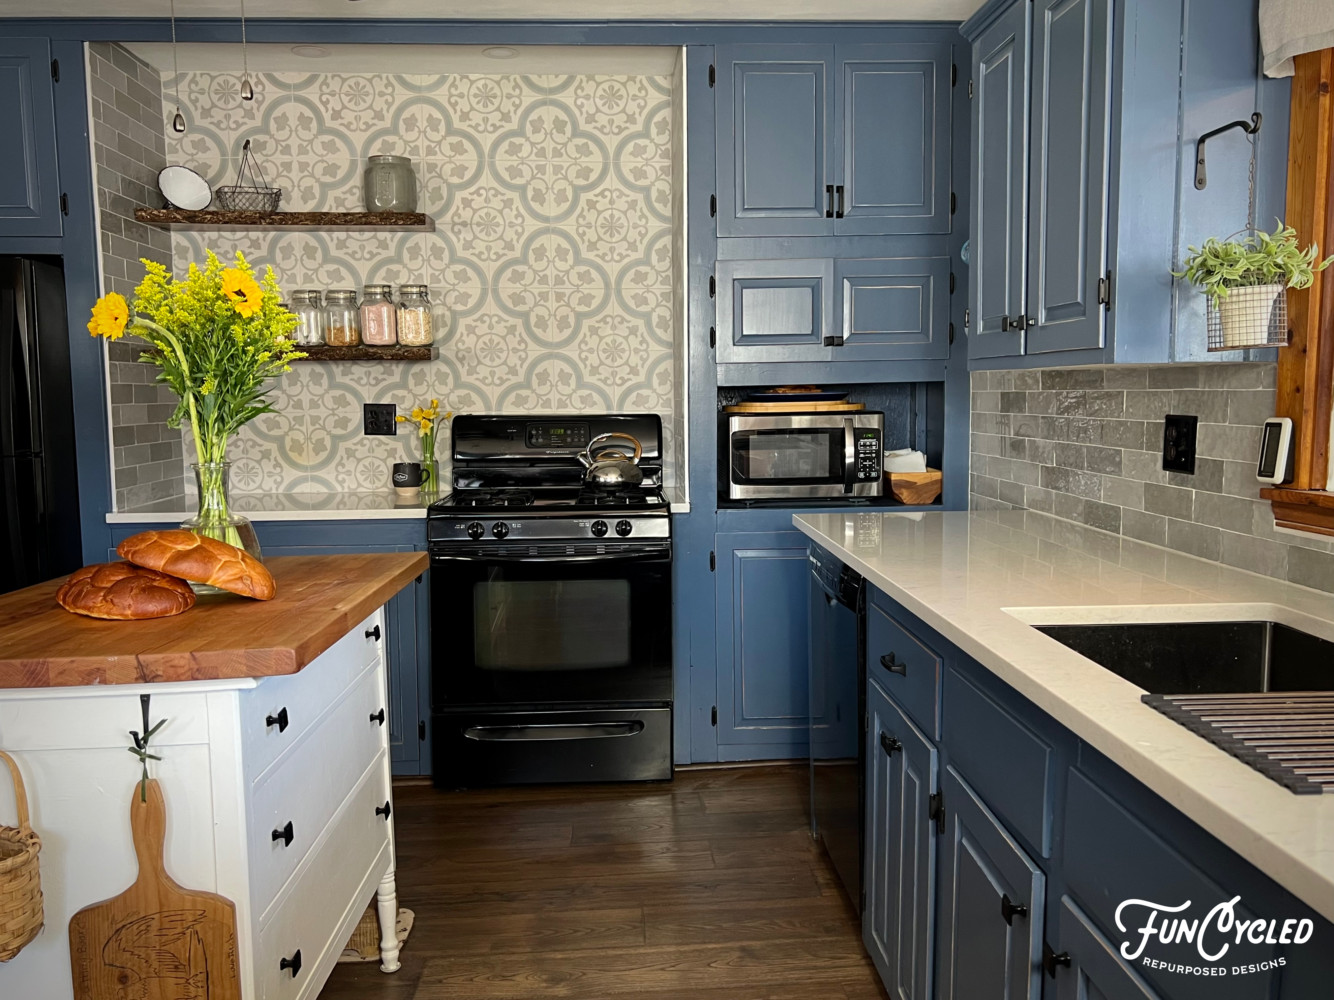
In addition to traveling the world lol, we offer interior design, kitchen cabinet painting, and custom built tables, barn doors, and repurposed furniture. Thank you, again, for working with us and for taking the time to spread the word about what we do.
Happy FunCycling Friends,
Sarah ;)


