Posted on

Retro Dresser

Ok, please don’t hate me, but I forgot to take a before picture of this next piece. How could I do that?? I’m sorry!

So, it was all wood and it was in good shape, but just looked outdated. I have been wanted to do a retro dresser and this one was just asking for it.

To see the steps on how to repaint a dresser, see our post How to Repaint Furniture

For this piece, I used Benjamin Moore Low Luster Wood and Metal Black paint for the top and the top drawer. Then I used a metallic silver specialty paint for the bottom two drawers. I was inspired for the colors by the knobs I found at Hobby Lobby.

I wanted to leave some of the original wood on the mirror and the top of the drawer. I ended up taping off the section of wood on the drawer and just painting it twice. Then pulled the tape off after both coats had dried. I love having some of the original wood exposed.

Here he is all done!

If you are interested in purchasing this piece, please email me with any questions at sarah@funcycled.com.

Happy Redesigns,
Sarah

PS- If you like what we’re doing, please like us on Facebook at: www.facebook.com/funcycled or share this on Pinterest! Also, you can now get each of our new projects emailed to you when you enter your email address in the box at the top right side of this page.


Posted on 2 Comments

A Splash of Teal Brings New Life

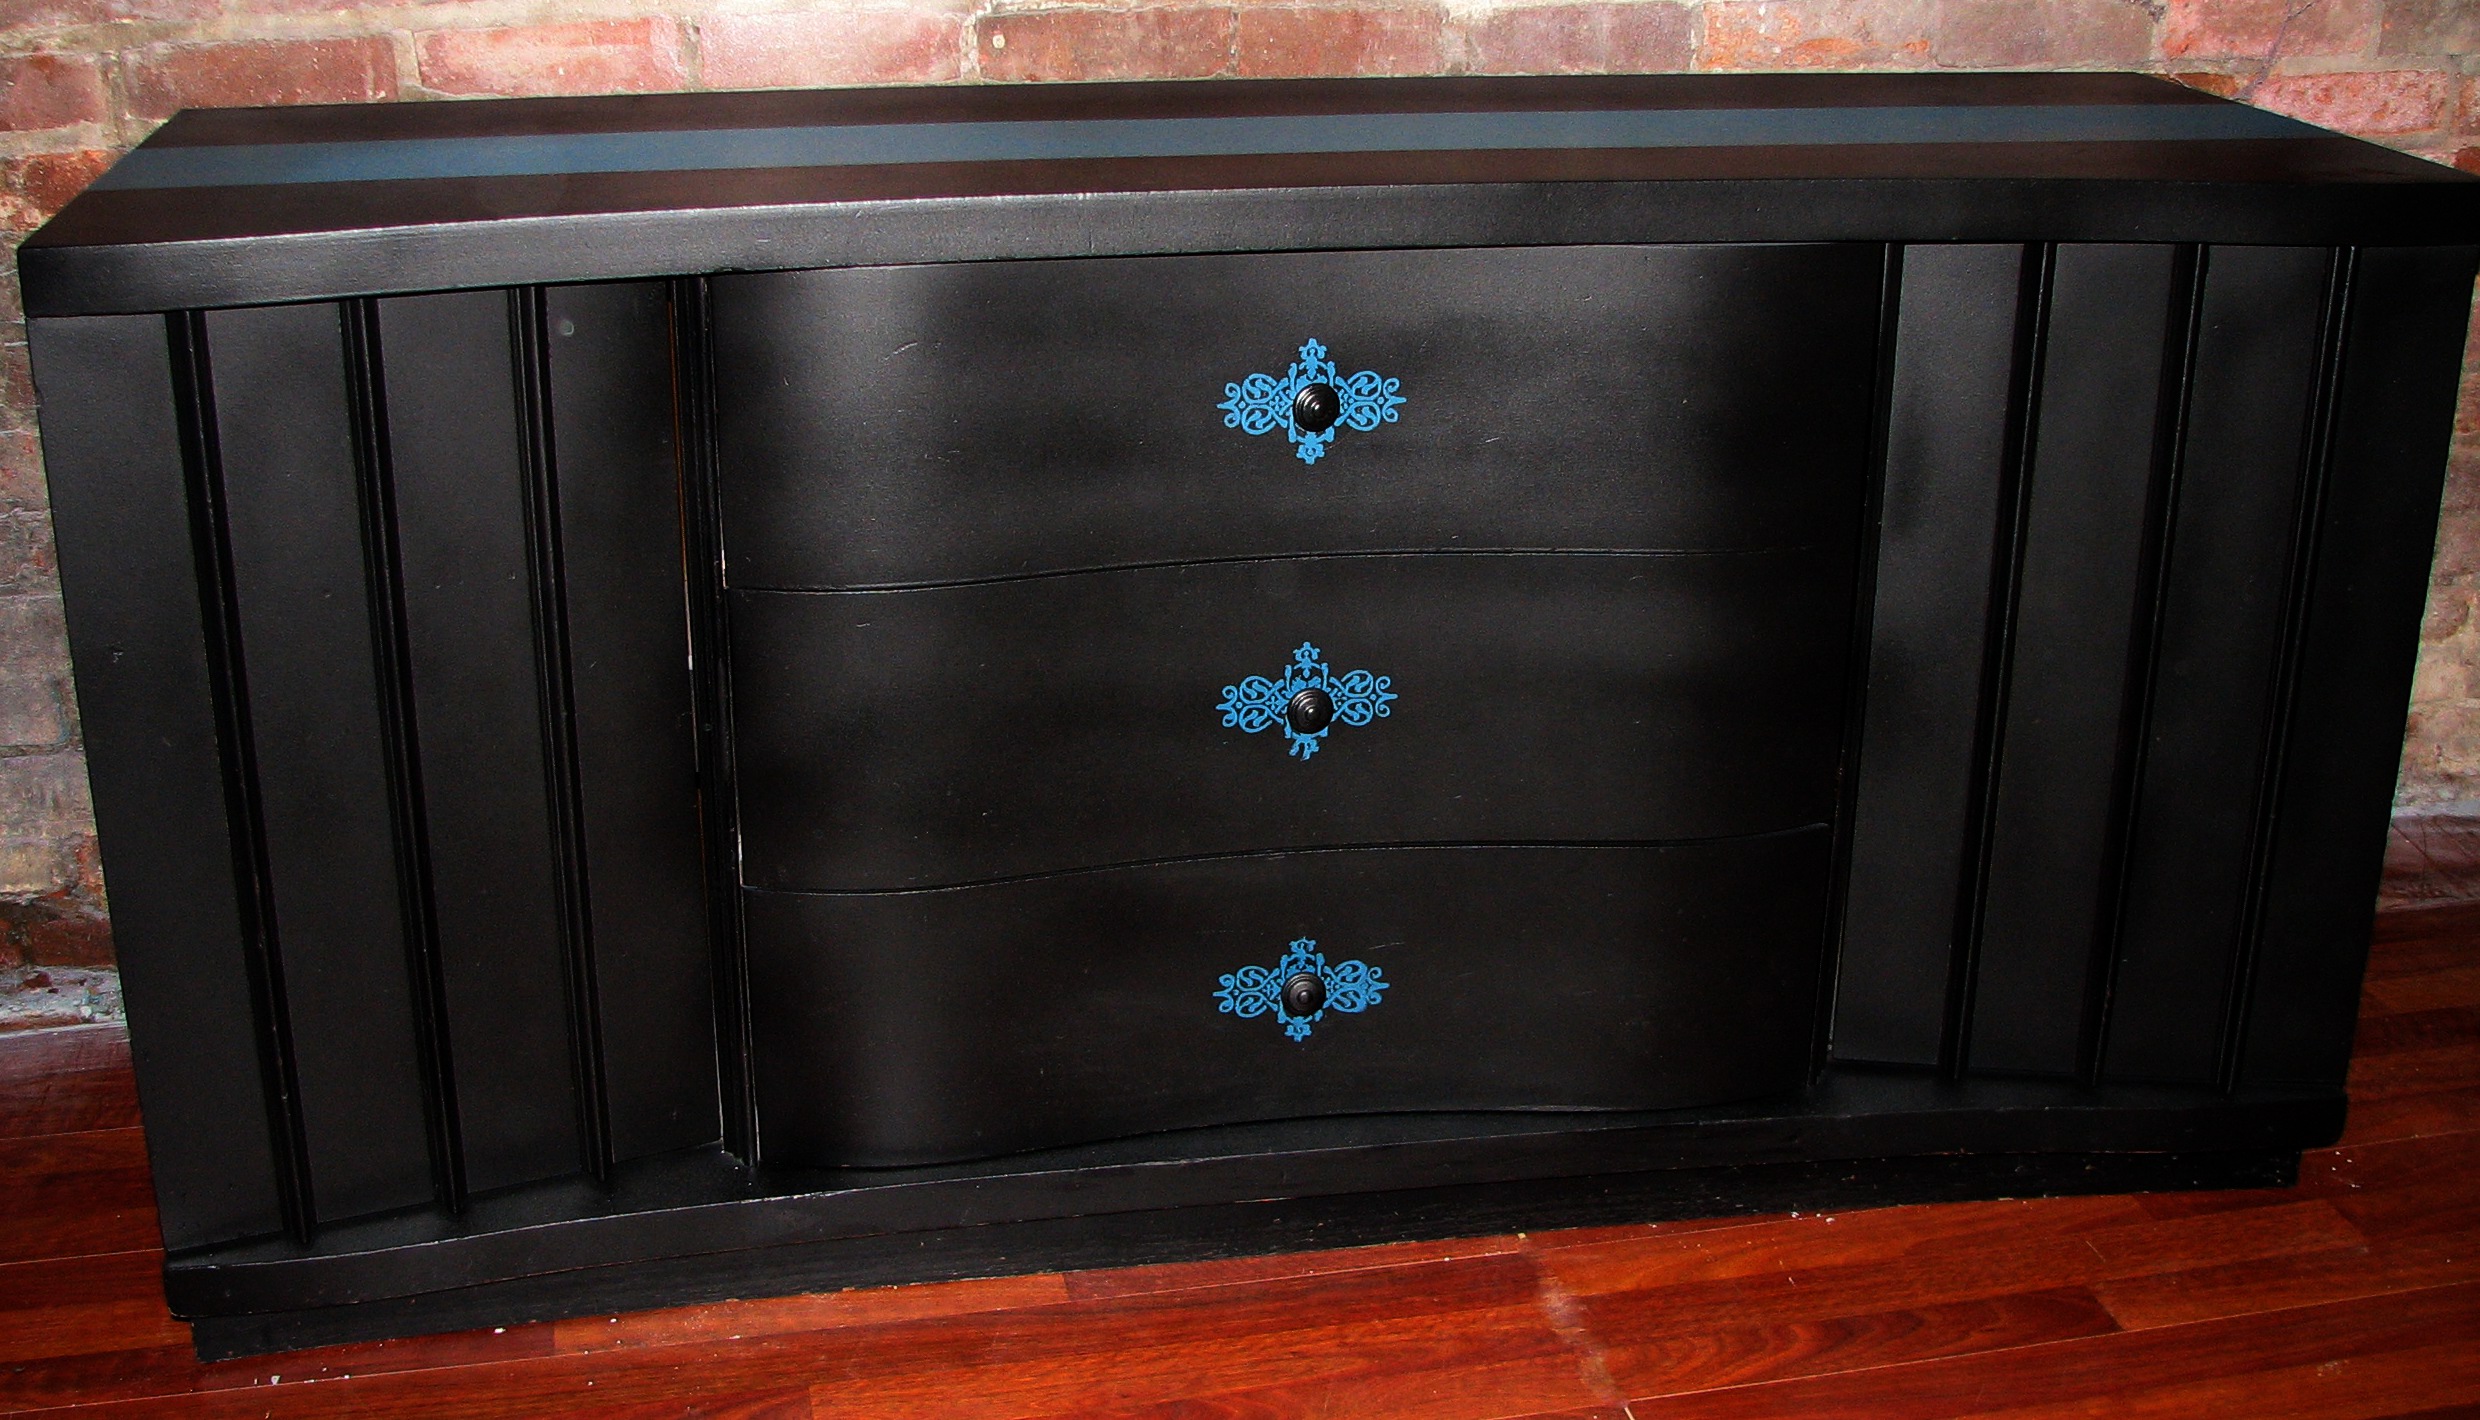
This buffet is actually the first piece of furniture John and I ever worked on together. When we first got married we had VERY little money  so our friends John and Devon gave us this buffet. It was almost that orange yellow wood color… not my idea of pretty. So we lugged it down the stairs of our 2nd floor barn apartment and bought a couple cans of spray paint and painted it black. Then headed off to the hardware store to grab new handles. It’s been almost 9 years now and it’s held up well. Thanks John and Devon! :)

Remember the beautiful California Poppy Red Hutch that we just finished??  Well, that took this oldies place in our dining room. As I was lugging it around to make room for the new hutch, I just couldn’t bare to get rid of it. I still love the look of it and it’s a solid piece of furniture. Ok, insert sentimental comment here. :) Anyway, we decided to give it a quick face lift instead and make it our entertainment center. It’s a simple, makeover that really gave our living room a unique look.

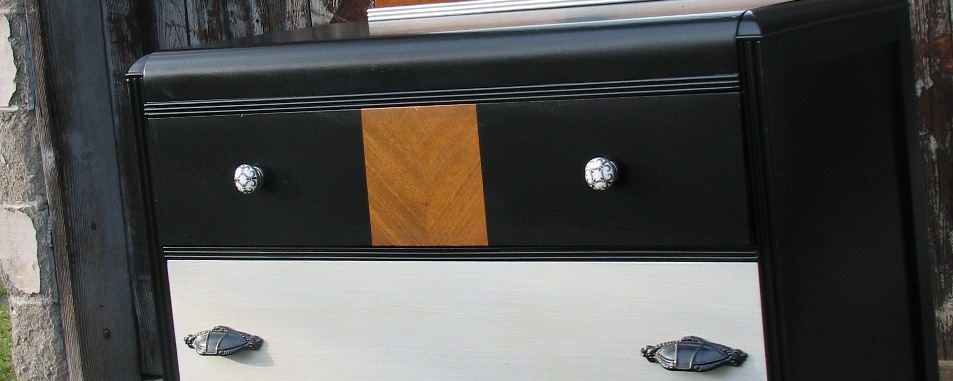
First, we sprayed the whole thing with a couple coats of black.

Then I decided I wanted teal, you know how I love teal! So, I put two strips of painters tape across the top (once I knew the black had time to really dry and set). I hand painted the teal with the same color teal I had hand mixed from the Pine Dresser. Trying to be thrifty and I LOVE the color. Have I mentioned that already?

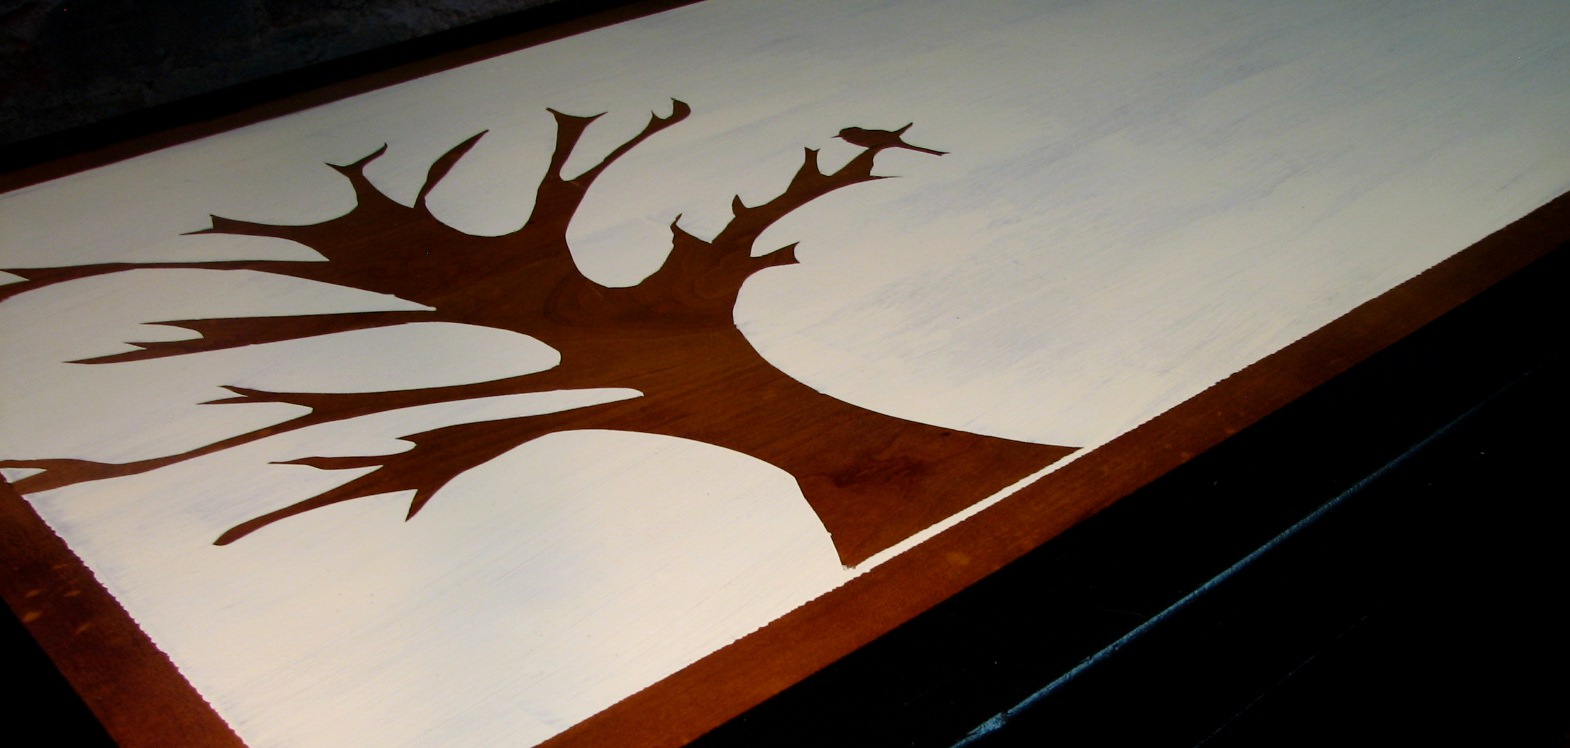
I wanted to try out using stencils on this piece, as you know I like to try new things on my own pieces first. I bought a $2.99 stencil from Hobby Lobby and taped it on using the painters tape. I am not sure if this is the best way, but it seemed to do the trick for me. I just centered the stencil to the hole where the knob was going to go. I should have used a sponge to dab the paint on, but I used a paintbrush. It made it a bit of a pain, but it still turned out well. I’ll just remember that for next time.

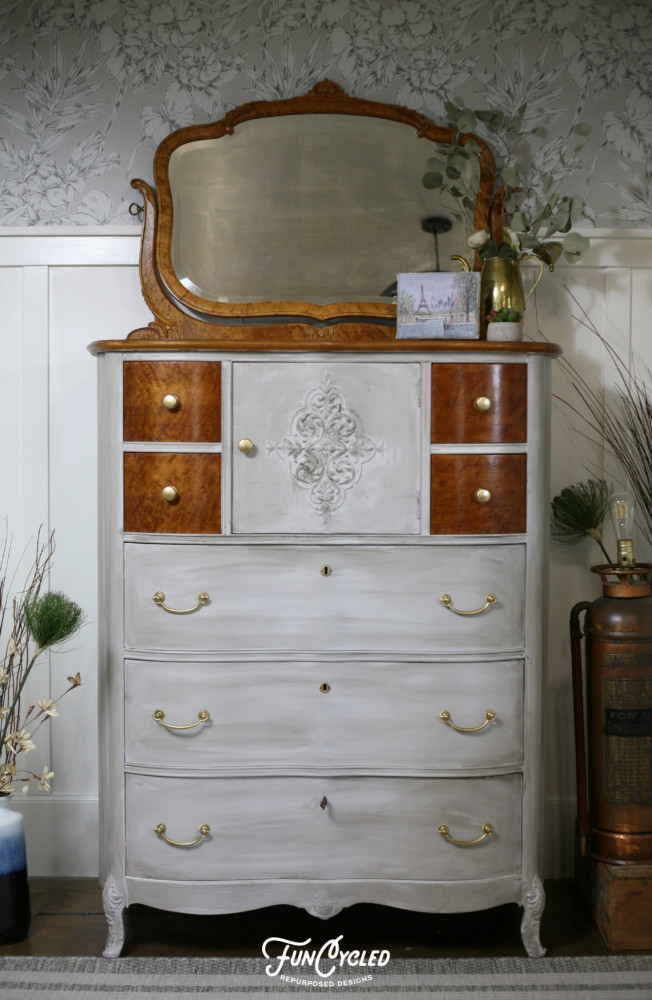
And voila, the pop of color I was looking for!

Ok, time to seal it twice (three times on top because I know my kids will beat it up with swords, etc). Here’s the finished project.

Oh, and another thing I was reminded of while doing this project. It’s REALLY hard to get good pictures of black furniture. I’m not sure why, but it’s true…. this is so much cuter in person.

Once I have my new TV and everything looking pretty, I’ll post a picture of it in my living room. Now, time for you to go make something old look like something new for less than $10. Enjoy!

If you like what we’re doing, please like us on Facebook at: www.facebook.com/funcycled or share this on Pinterest!

Hope your enjoying a restful Sunday!
Sarah


Posted on 4 Comments

Modern Tree Coffee Table

This was a really fun coffee table redesign! I wanted to push myself to try something new. We got this at a yard sale two summers ago. Sad, I know, that it sat for so long. Let’s get right to it, shall we? Here’s the before picture.

I didn’t mind the color and I liked the style, but I wanted to give it a modern feel. I forgot to take a picture of the underneath, but the whole thig was colored with markers and crayons. Believe it or not even primer wouldn’t cover it! So, I had to paint the underneath black as well. I was toying with the idea of making the picture on a piece of furniture by having the wood be the image color; kindof like backwards stenciling. I wanted to make a tree that had a modern feel, but I also wanted to add a bird. Just in the mood. So, I went to Hobby Lobby and bought contact paper and a swiveling X-acto knife.
I originally wanted to keep the outside edges brown so I put duct tape down in a square. I know, don’t use duct tape. John took the painters tape to work on the apartment so I didn’t have it. Hence, I gave duct tape a try. Believe it or not, it worked well (not that I’m officially recommending it). It would take paint off if you tried to use it on something painted.

Ok, this is a really bad picture, but I could not get it to come out well. I laid the contact paper down on the table and hand drew how I wanted the tree to look.

Once it was the right size and I liked it, I moved it to another table and put an old piece of Sheetrock underneath it, and got my cutting on. Then, I placed it onto the table very carefully. This took four hands, thanks Johnny. ;) Then I pressed all the edges down to make sure there were no air bubbles. I painted over the whole thing with a cream color.

I waited about 15 minutes until the paint was tacky and pulled the contact paper off. Are you ready for it??

Cool right?? Then, I wanted to add black around the border. So, this time I made another trip to Hobby Lobby and bought actual painters tape that was thinner. Then I painted the rest of the edges black. All of the painting on this piece was done by hand using a regular paint brush.

Then, I sprayed it three times with Polyacrilic just to make sure it was sealed well.

So, as my three year old son would say… How you think?? Oh, and this one sold in less than a day on craigslist. Thank you for buying it, Angela!!

If you like what we’re doing, please like us on Facebook at: www.facebook.com/funcycled or share this on Pinterest!

Sarah

Posted on 4 Comments

Antique Night Stand – Sanding and Glazing

This night stand was in rough shape when it was given to us. The nice part about getting a furniture piece for free is that I don’t feel so nervous about messing it up! This is my first attempt at sanding a piece and glazing it without John’s help! :) Here’s the before (I forgot to take a before picture so all I have to offer is the picture they texted (is that a word?) me of it to see if we wanted it.

I wanted to try sanding the top and the front of the drawer to see how they came out because they were very distressed and I liked that.

I really liked how it came out so I went ahead a painted the rest using our air sprayer. First, I had to cover the top so I grabbed what I had handy… an Aldi bag. That’s right, sometimes I forget to bring my big IKEA bags and have to spend money on a bag… tisk, tisk.  Anyway, it did the trick and I used painters tape to seal it around the top so the top didn’t get any paint on it.

Pretty already, I know! Ok, so on to the hard part. My first attempt at glazing. I went and bought Martha Stewart’s coffee glaze at Home Depot. I read about it on other sites and loved the look in the end. So, based on everything I read about glazing… less is more! I started with a little bit on the bush, then dabbed it in a cloth to make it even less. Here’s what it looked like when I first brushed it on.

Then, I took a cloth and rubbed it out until it was a look that I liked.

LOVE it! Now I need to keep myself from wanting to glaze everything. It’s a sickness… I’m sure of it!
Here’s a couple pictures of the finished product.

I had to also display a couple cool antiques that were given to me this weekend from my Aunt Alice.

-Sarah

We Love Taking Something Broken and Making it Beautiful

We’re John and Sarah, and this is our story. Sarah started FunCycled in 2012 to share tips for redoing furniture and then sell the furniture. Since our start in 2012, we’ve grown from selling repurposed furniture to designing custom furniture orders like dining room tables, launching into interior design services, and kitchen cabinet repurposing. We’ve also been able to have once in a lifetime adventures like being on the Rachel Ray Show, winning on HGTV’s Flea Market Flip show, and winning BYU tv’s show Survivalist!!


We have two teens who help in the business and are the reason we started FunCycled. We wanted to have more time at home with them while they were little. They are our biggest blessings in life. Such a joy!

John has extensive woodworking skills from working in contracting and carpentry for 10 years; he knows how to create all the requests Sarah sends his way. As a family, we’re upcycling and rejuvenating homes, kitchens, and furniture on its way to the curb into something beautiful. We service much of New York state and are able to ship to other parts of the US.

Specialty Furniture Painting and Design
Custom Built Barn Doors
Kitchen Cabinet Painting
Interior Design Services

We also bought a house in 2019 and have been repurposing it room by room! We call it our Repurposed Idea House and you can see some of the project we’ve been working on here.

Thank you, from the bottom of our hearts, to all our local clients who have made this dream our reality!